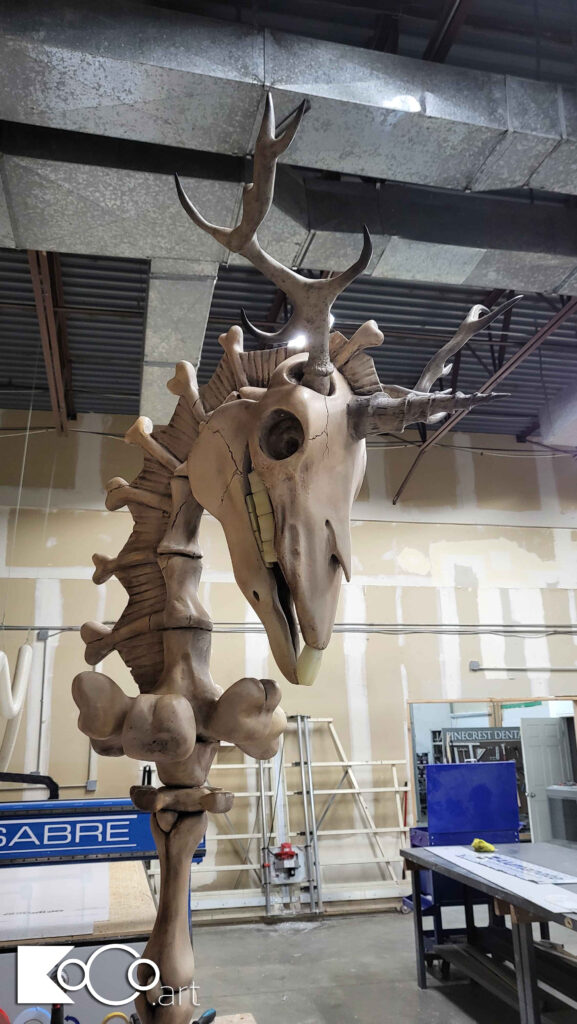
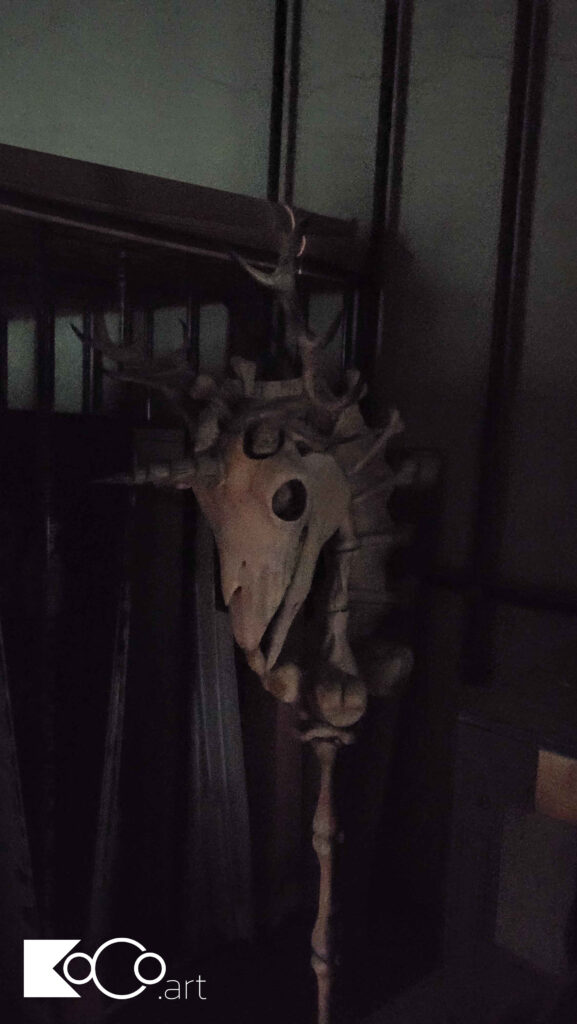
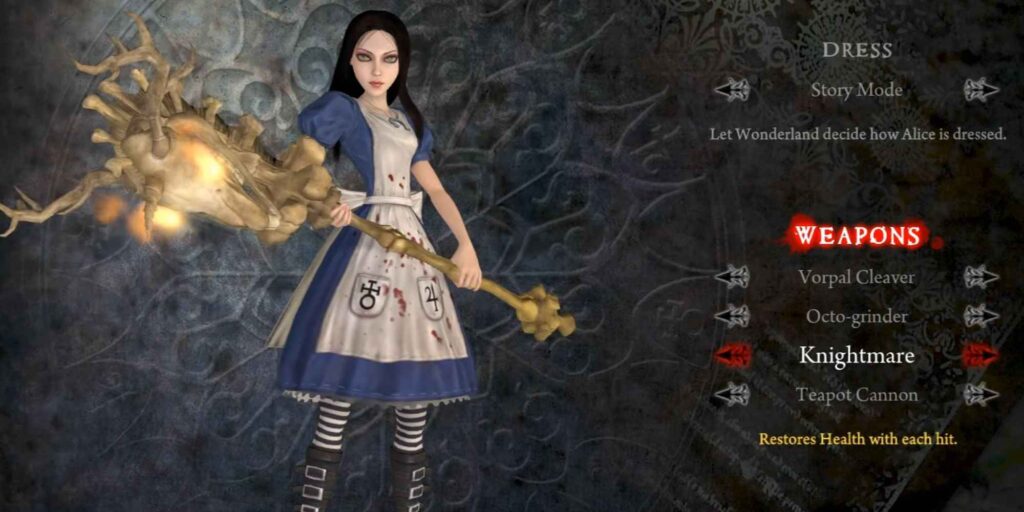
This project is near and dear to me. I gave it to my fiancé when I proposed. I spent 6 months making it in absolute secrecy in 2024. It was something she had wanted since she first played Alice: Madness Returns in 2011, and it had been one of her ‘grail items’ ever since. In the game, Alice uses many weapons to vanquish her inner demons. Among these, a hobby horse with flaming eyes. This particular model was a piece of DLC, which changed the appearance of the horse to be skeletal, with giant antlers and a unicorn horn.
The base of the beast is 1″ high density urethane foam. I started by drawing up the silhouette of each basic part of it in Illustrator, and then routed those silhouettes on a CNC router, also routing a rounded channel in the middle of them, so I can align them with a rod in the center.
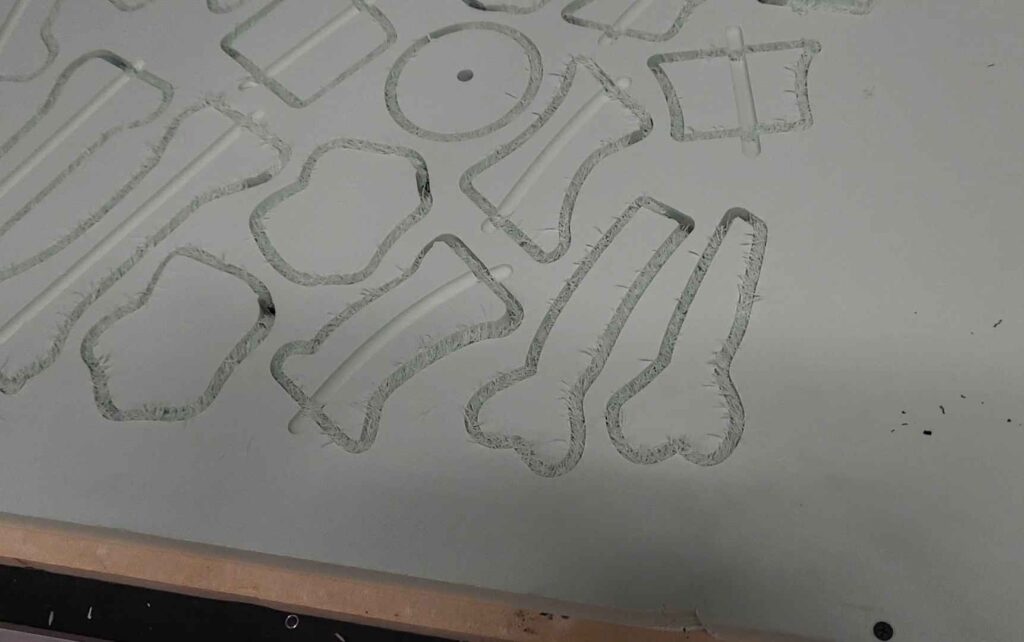
Here’s all the major parts that attach to the rod of all-thread:
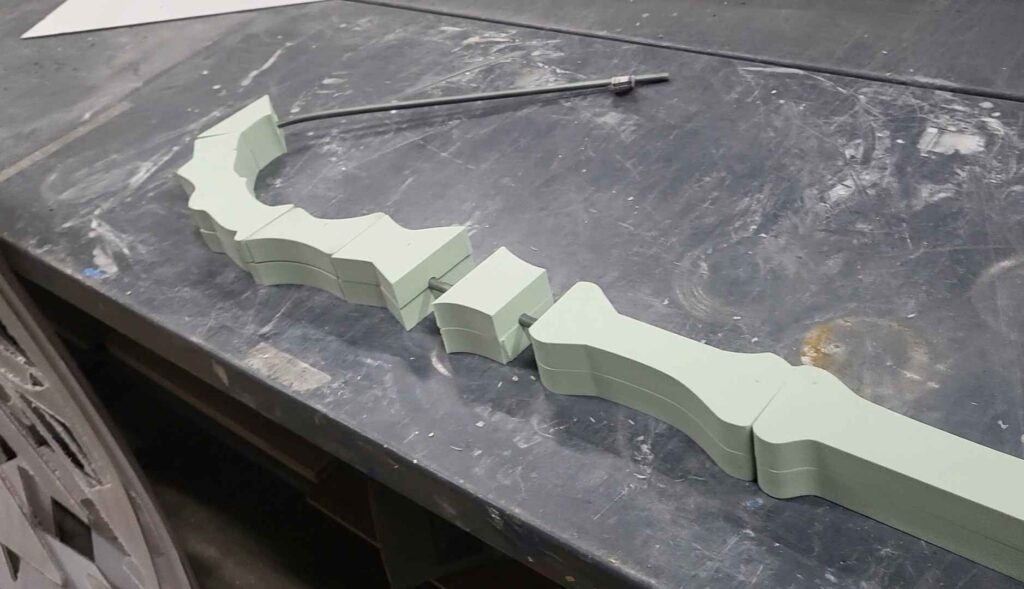
From there, I started carving and refining each part with an angle grinder and oscillating sander. At this stage I was just roughing them out still.
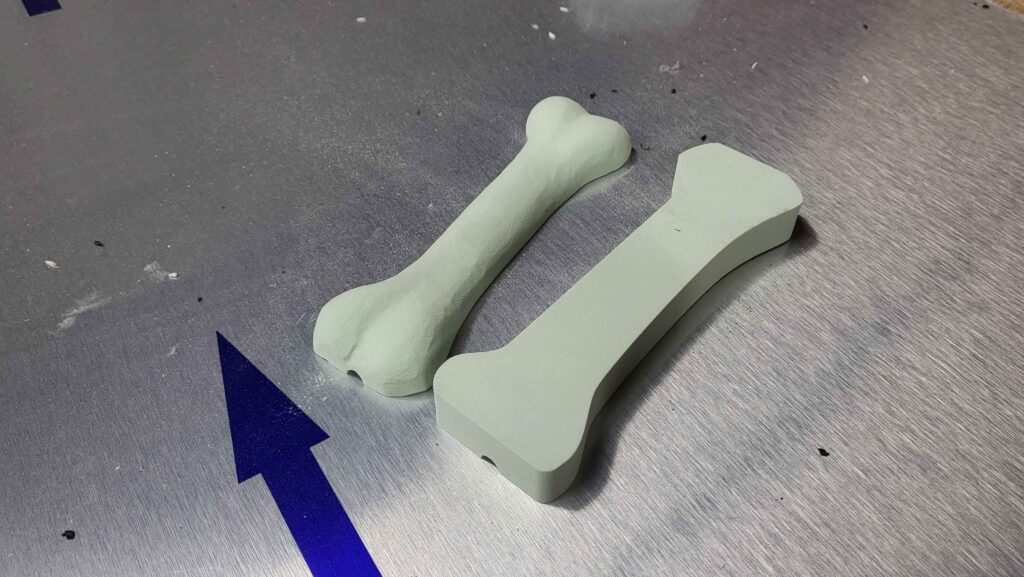
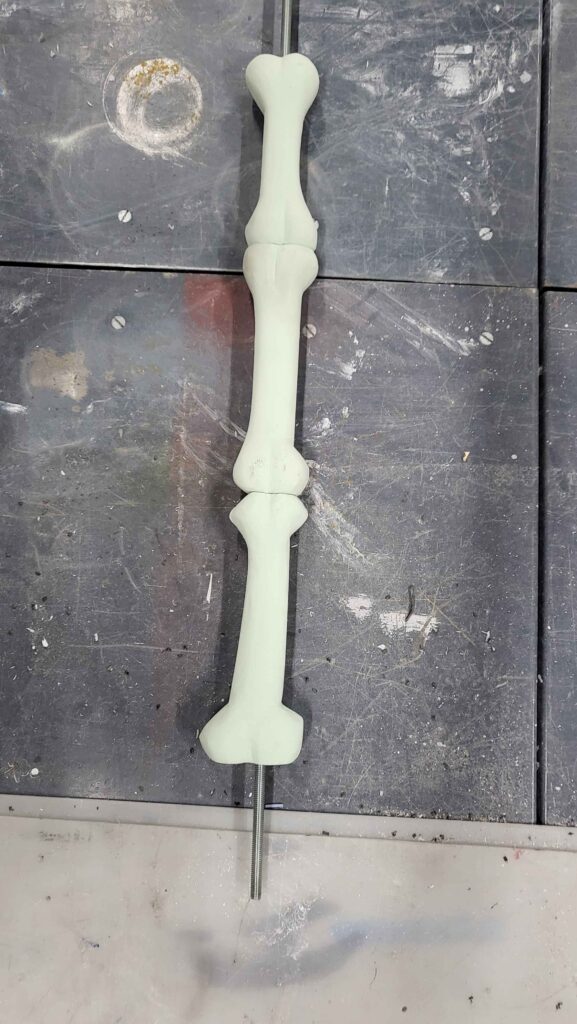
Here’s the three handle-bones, all roughed out.
In addition to the handle and vertebrae, I also routed out several pieces to be connected together to make up the skull.
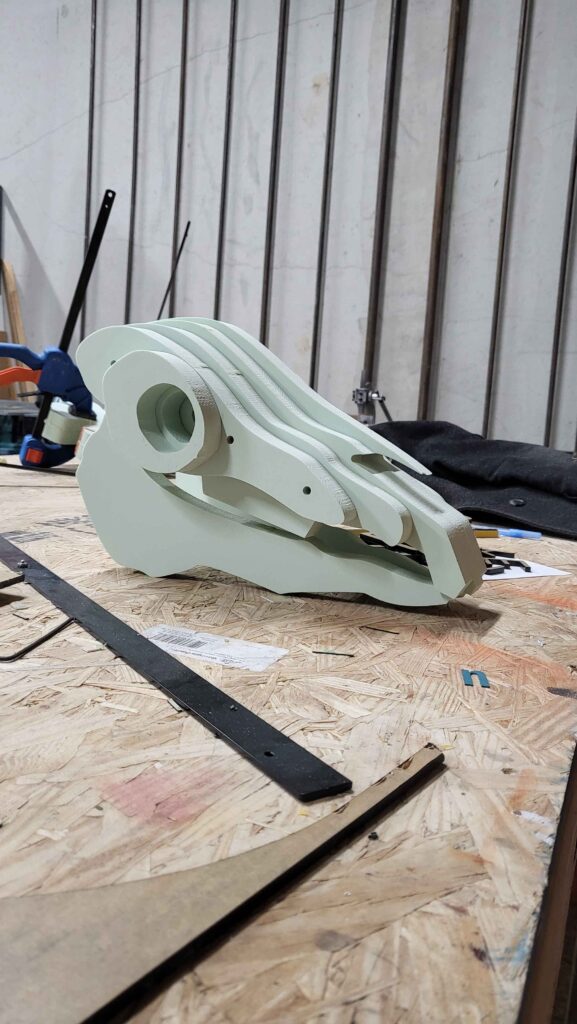
I knew I had to fill out the bridge of the nose a little more, so I went pretty heavy with the Gorilla Glue. Gorilla Glue works wonders for urethane products like this foam.

After this, I drew along the top of the skull the silhouette from the opposite direction. I cut that out on a bandsaw, and was left with this:

That doesn’t look like much, but I saw the skull in there even then.
After some roughing out in the same way I had done with the previous bones, it looked a lot better.

I then did the same thing with the jaw, rounding it out.

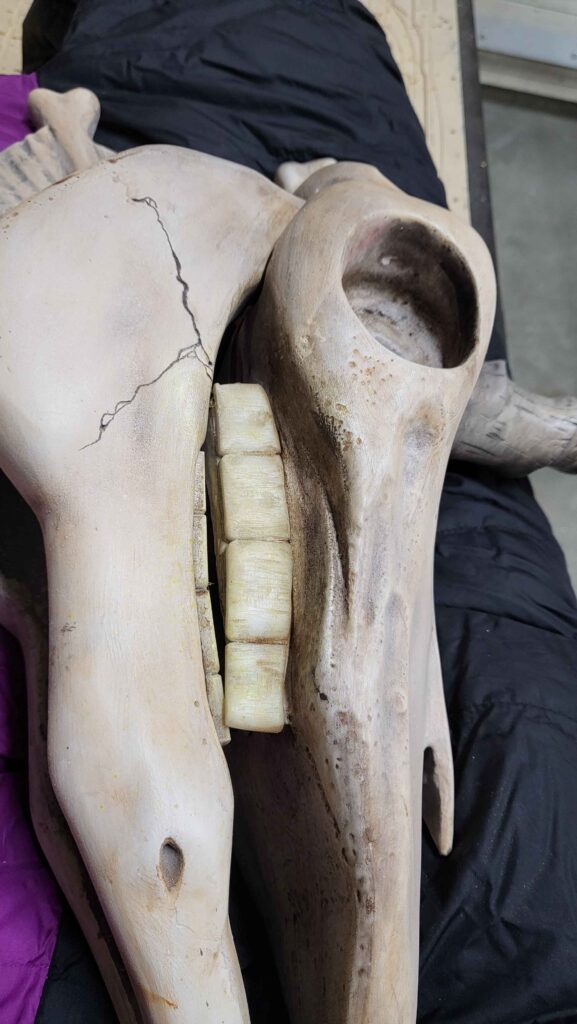
I then moved on to the teeth. The teeth are carved from white acrylic, and have a really nice translucent look because of that.

The molars are just a flat piece of laser cut acrylic, which I carved texture and shape into.

To make the angle of the upper teeth and jaw line up properly, I cut the foam that the teeth were attached to at an angle. This picture of the bottom of the skull should illustrate what I mean.

Next, I glued up the parts to what I refer to as the flower petal, a big mass of bone, which serves only to confuse anyone looking at it for more than a moment. I don’t know what a lot of the bones on this are supposed to be, but the flower petal more than any of them seems like it has no basis in reality.

Here’s everything on the cane of all-thread, including the flower petal.
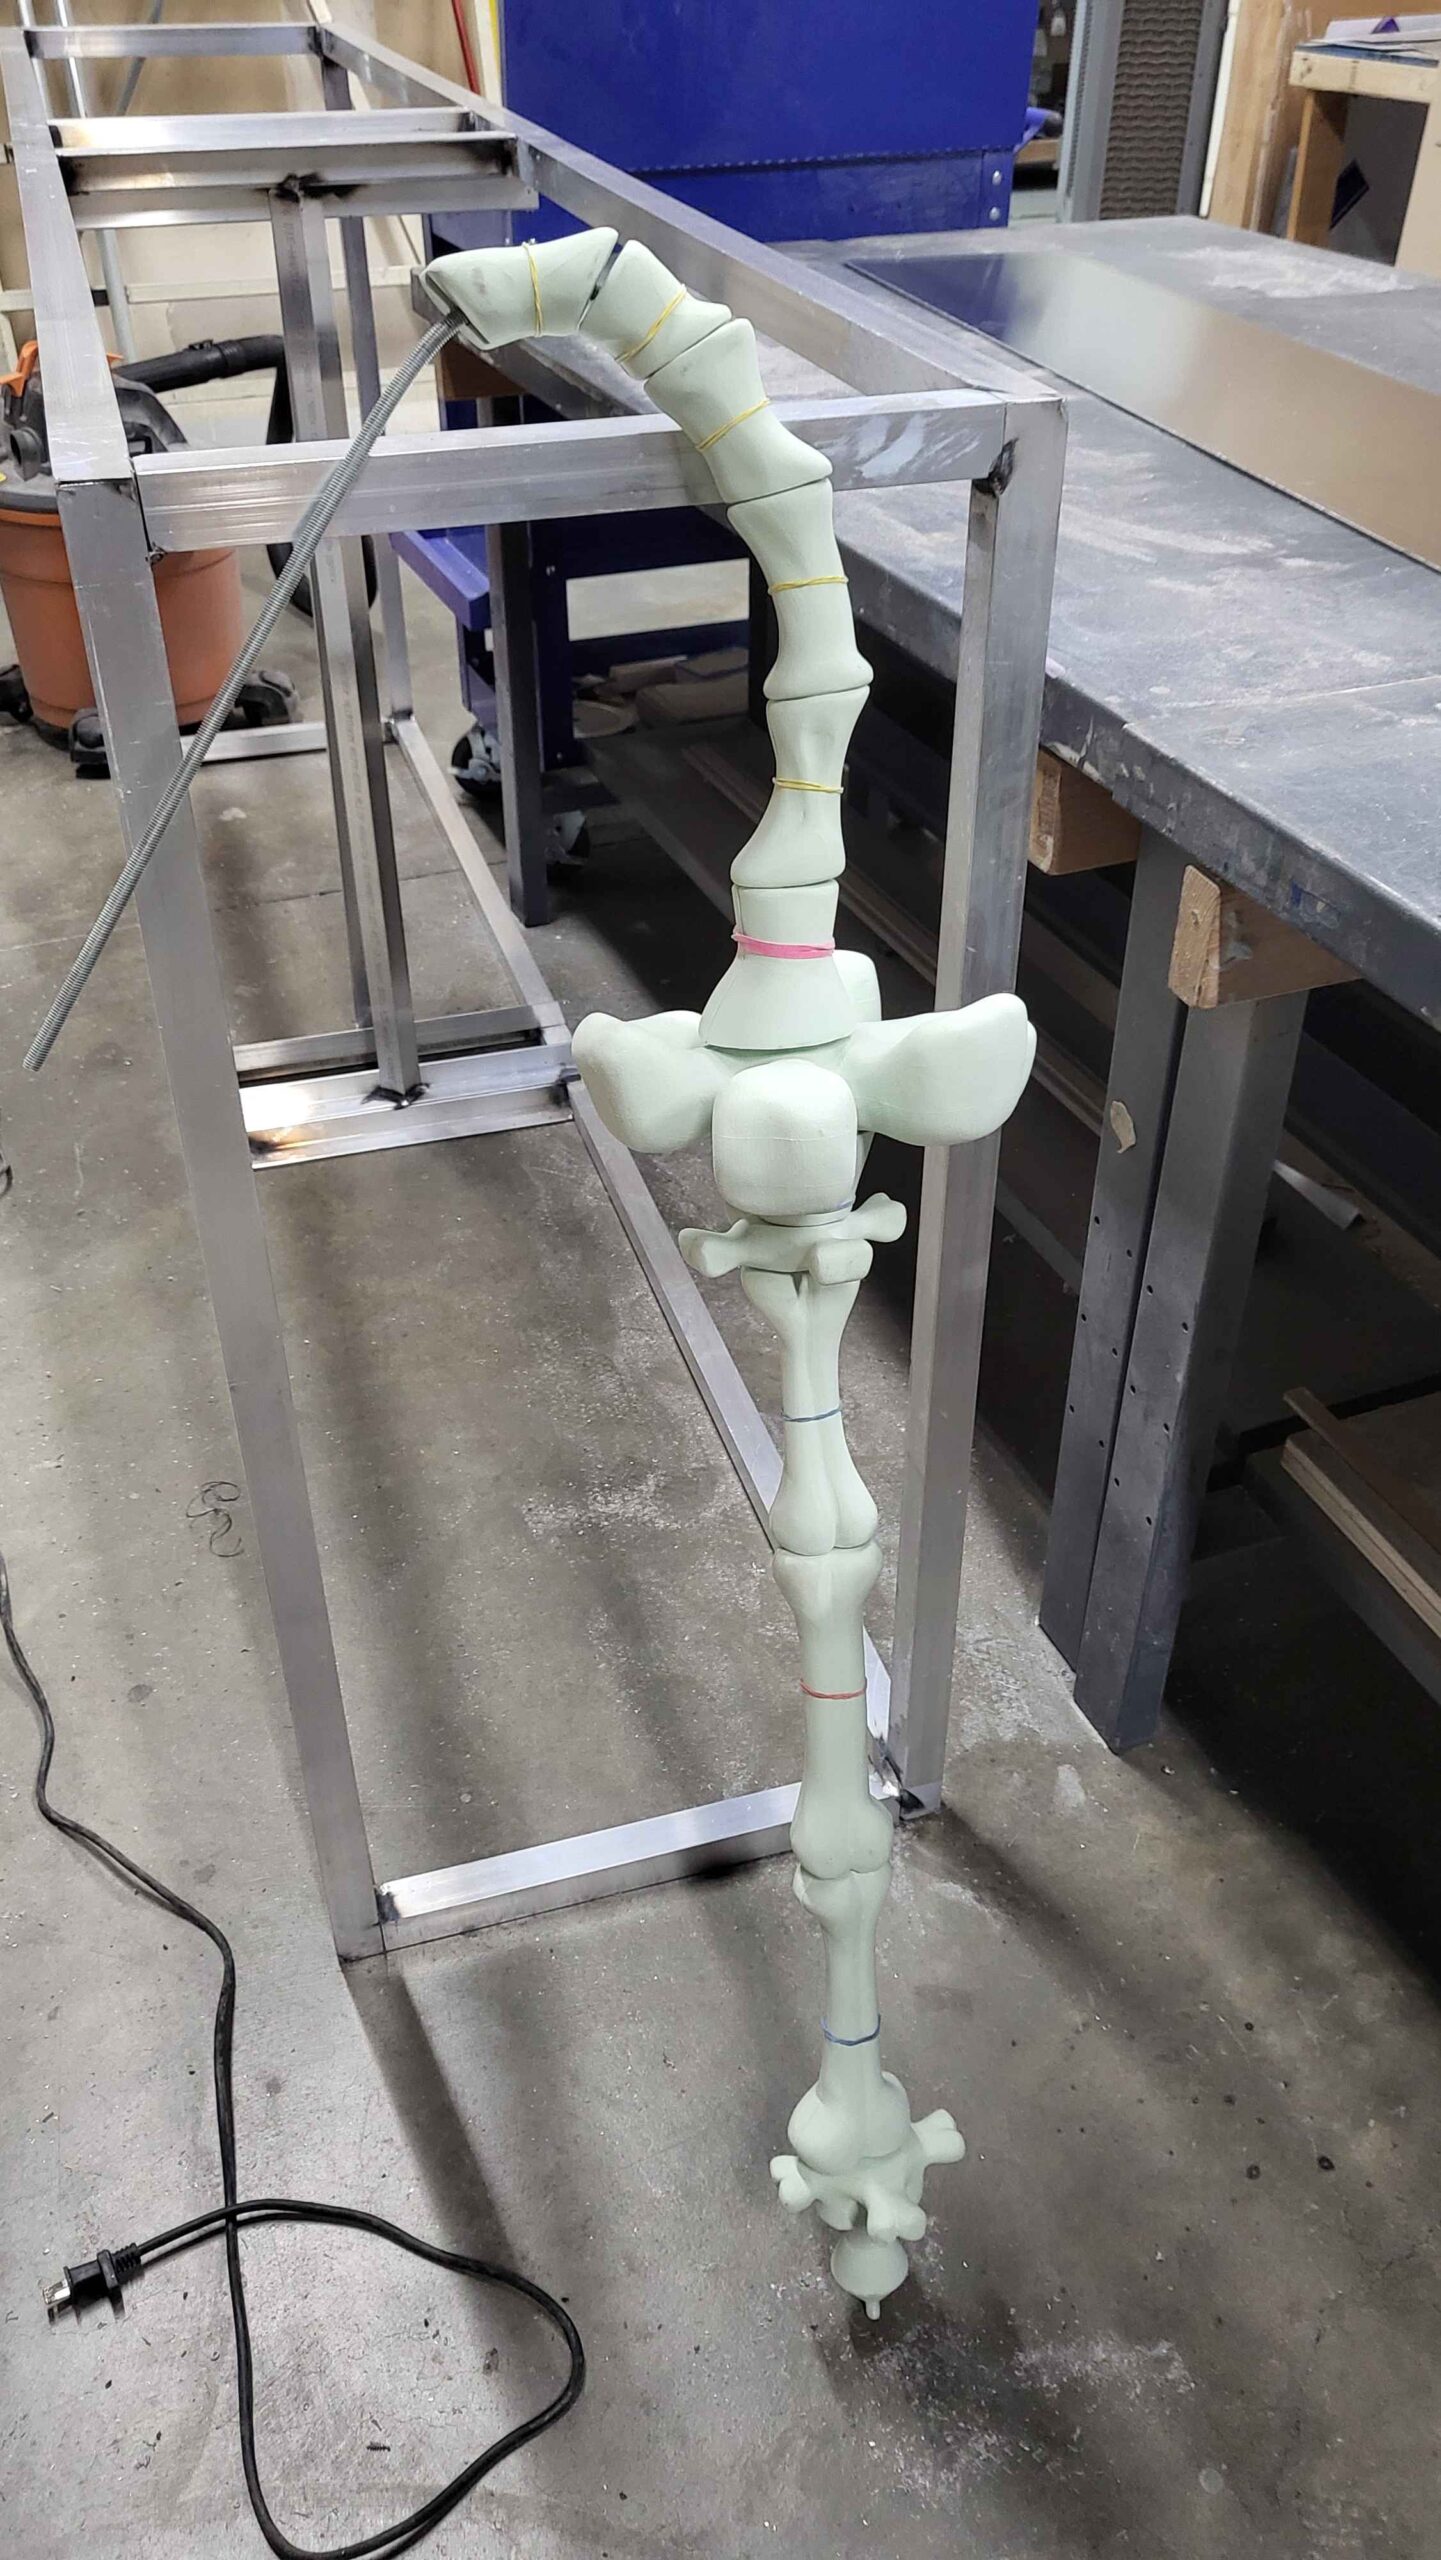
Next, to prepare for the skull being mounted, I started into some of the things that would attach to it. Namely the unicorn horn. I made the base cone shape out of SmoothOn Free Form Air, and sculpted the ridges with Aves Apoxie Sculpt.
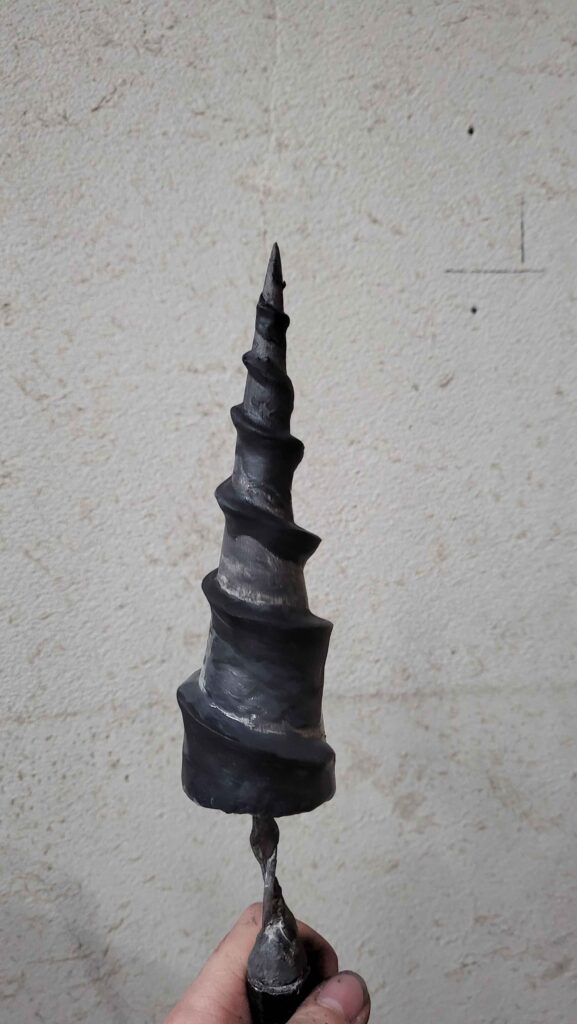
And I also made the “bone fin”. I speculated that the fin might be baleen or petrified/fossilized hair, but I dunno, it kind of just looks like a bone fin.

I roughed out the shapes of… *ahem* the “bone-fin bones”, which is what I called them throughout this build, and then attached them with a cavity in the middle of each one.


Once everything was glued together finally, I mounted them onto a heavy outdoor umbrella stand.

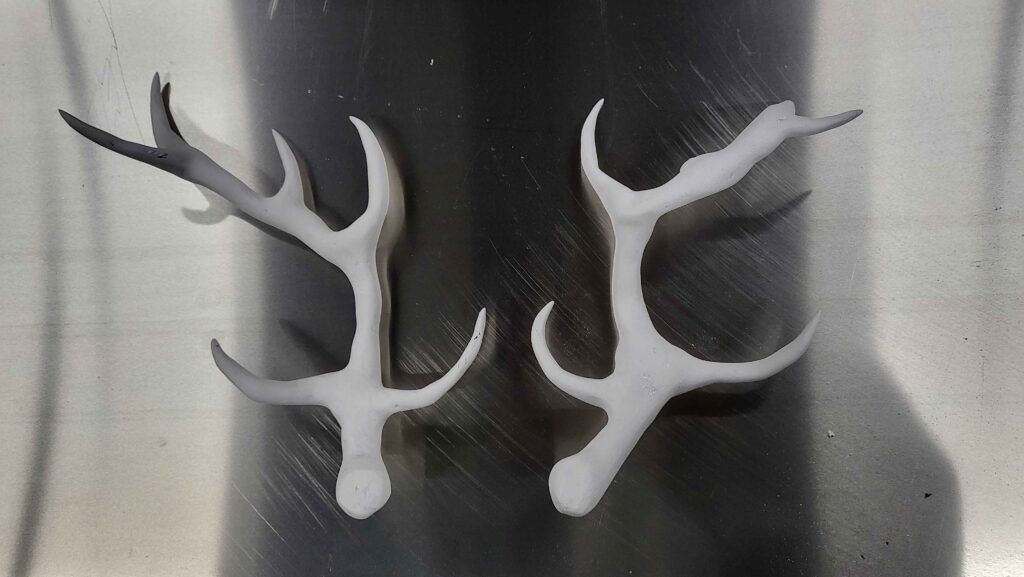
Then it was time to start the antlers. I drew them up in Illustrator, then had them printed at full scale, so I could reference them. To start, I wrapped armature wire with aluminum foil.
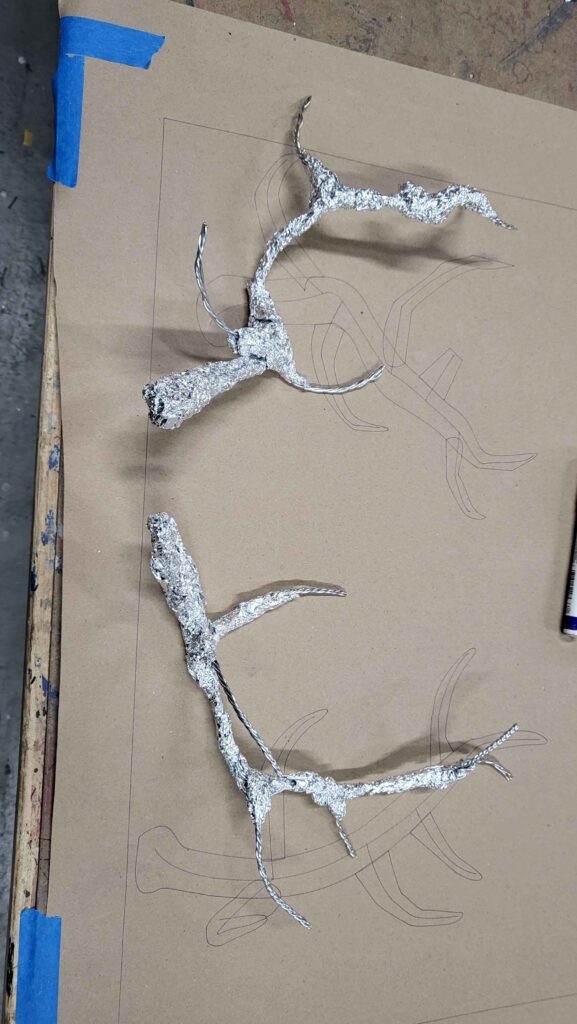
Then used more SmoothOn Free Form Air to sculpt the basic forms
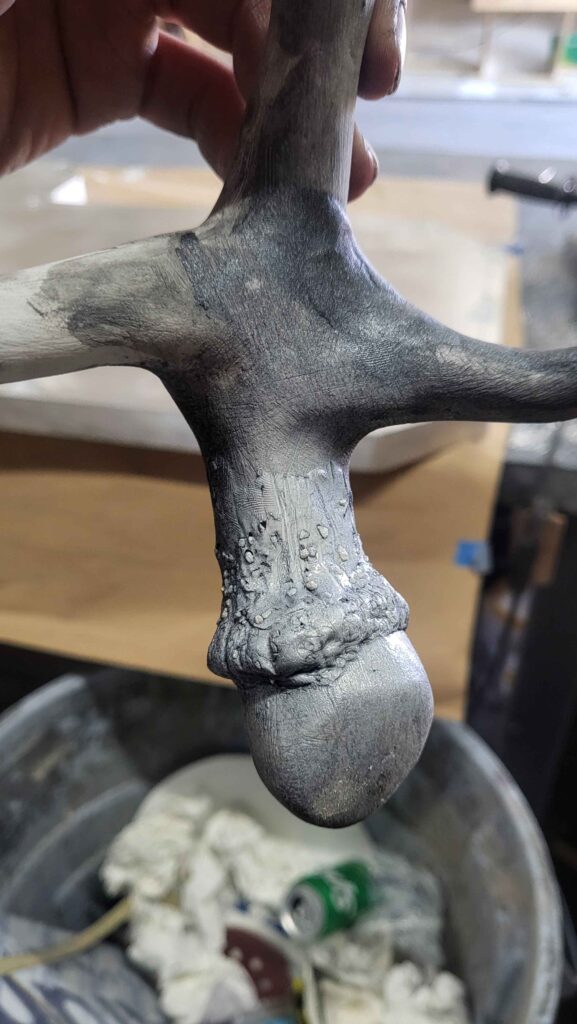
I decided to mix some Aves with salt to try to get some sort of uneven texture on the antlers’ burrs.
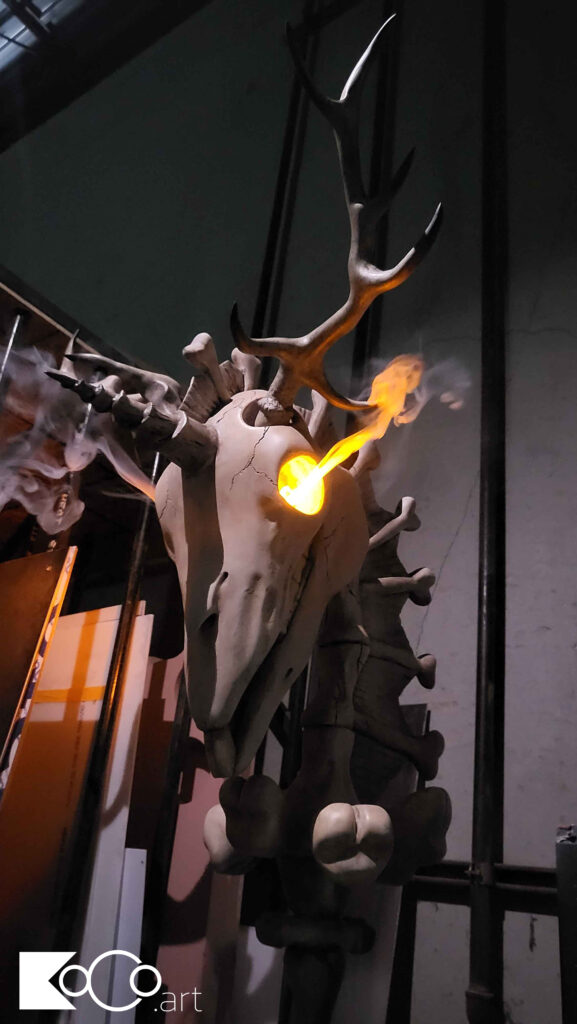
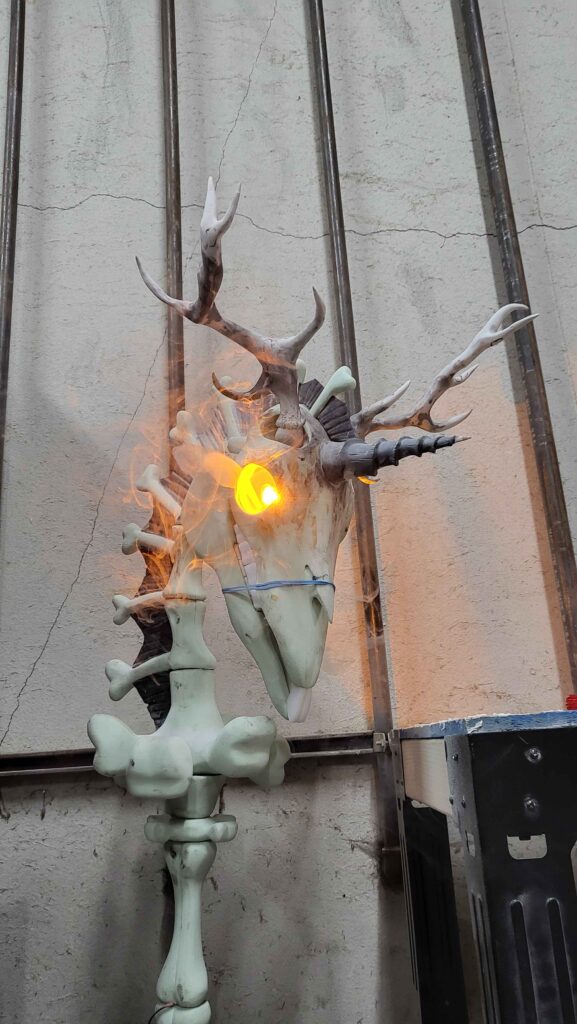
Once the antlers were roughed out, I embedded a smoke machine into the back of the skull. I have an orange LED behind each smoke port, so the smoke appears to be flame. It’s pretty convincing. There will be a video of this effect at the end of this journey.
Now that it looks like we’re almost done, it’s time to slow waaaaay down by coating everything in resin. I did this both to strengthen the urethane foam, and also to give a nice smooth texture for paint. I used SmoothOn Epsilon for this process, and after this, it took quite a while to get it back down to painting standards.
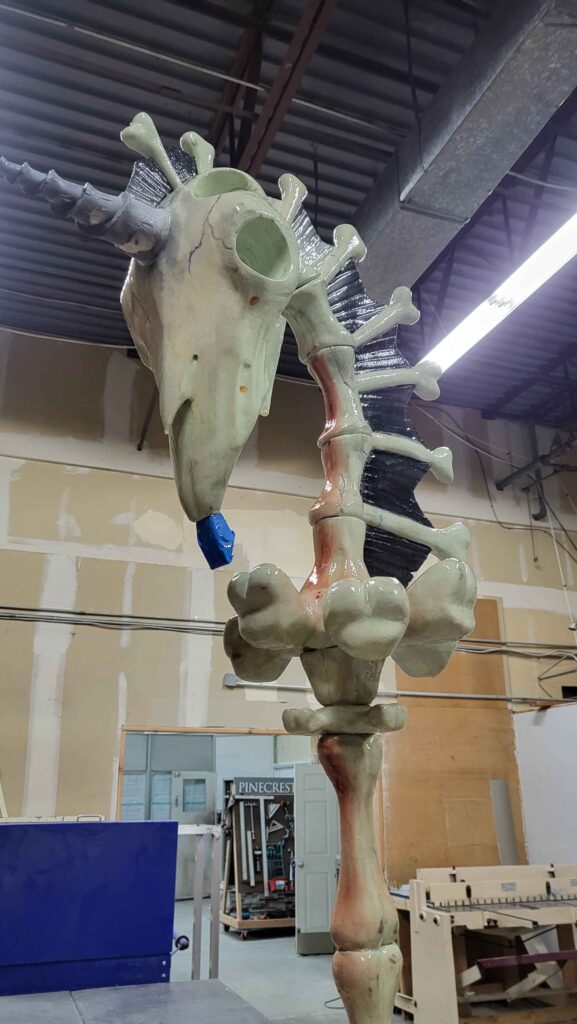
I started sanding everything smooth, making sure to leave a little bit of texture where appropriate. Bone is not perfectly smooth, so some pitting and bumps are actually desired in the finished piece, albeit in small portions.
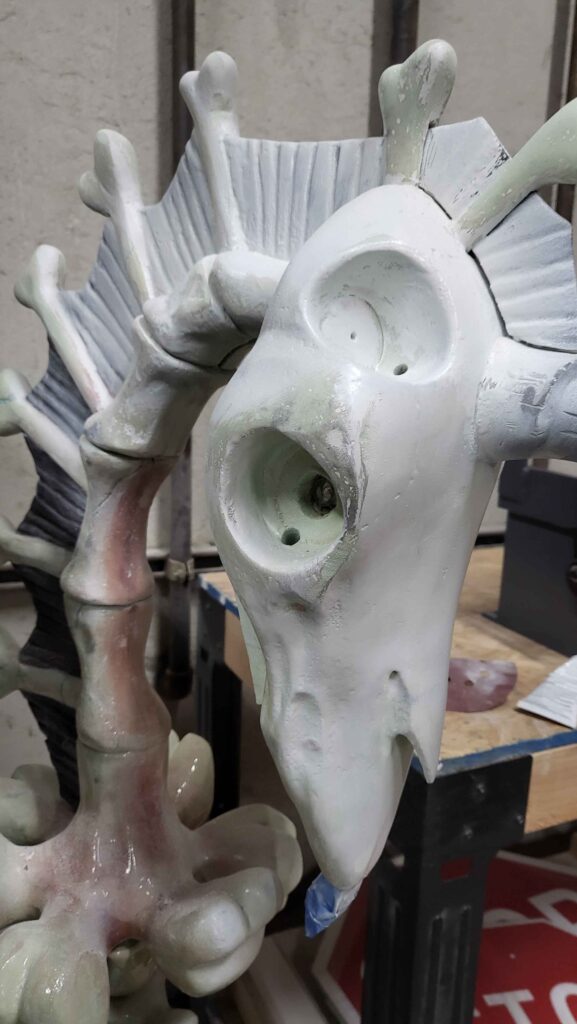
After the resin was sanded, I began carving in cracks that match the in-game reference. For this, I just used a rotary tool with a carving bit that comes to a very sharp point. The more you dig in, the wider the crack, so I had to be careful, but could also use that to my advantage to make the cracks not so uniform.
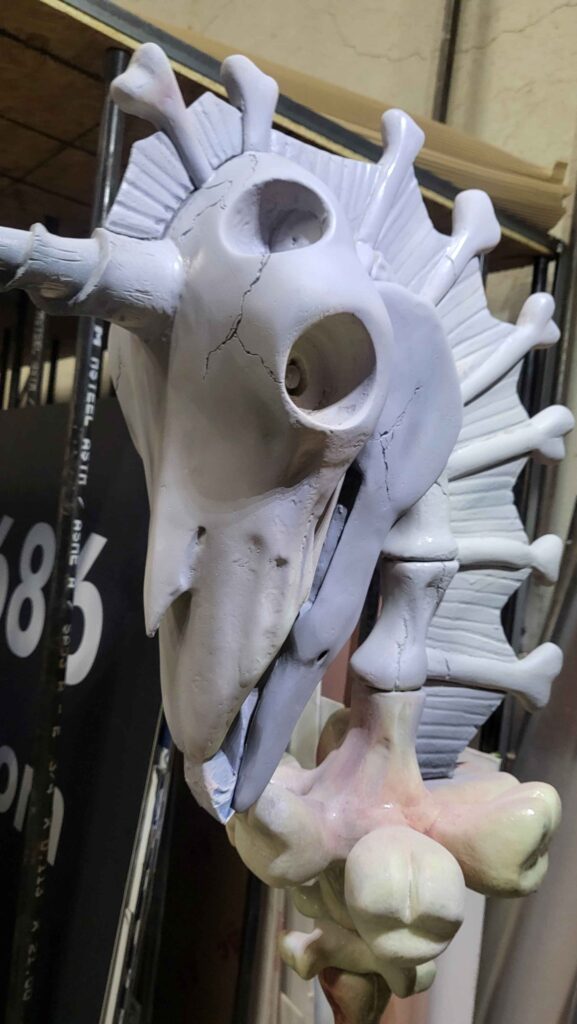
Here’s a good example of texture that we want to keep, though in this case it’s way too exaggerated for my liking.
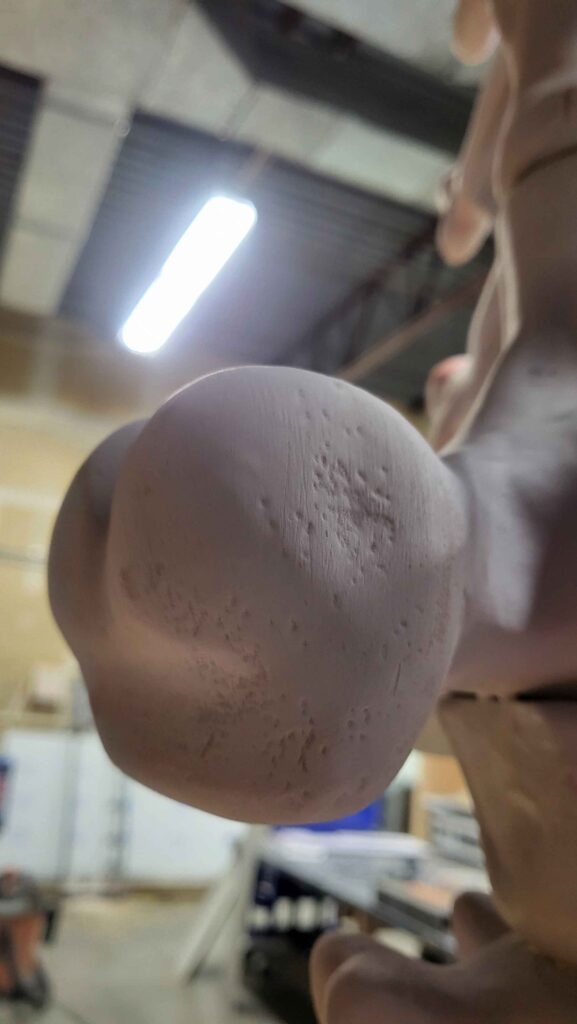
Instead, we can fill and sand maybe 70% of this area to really bring out some drama in the small bits that we kept the texture in.
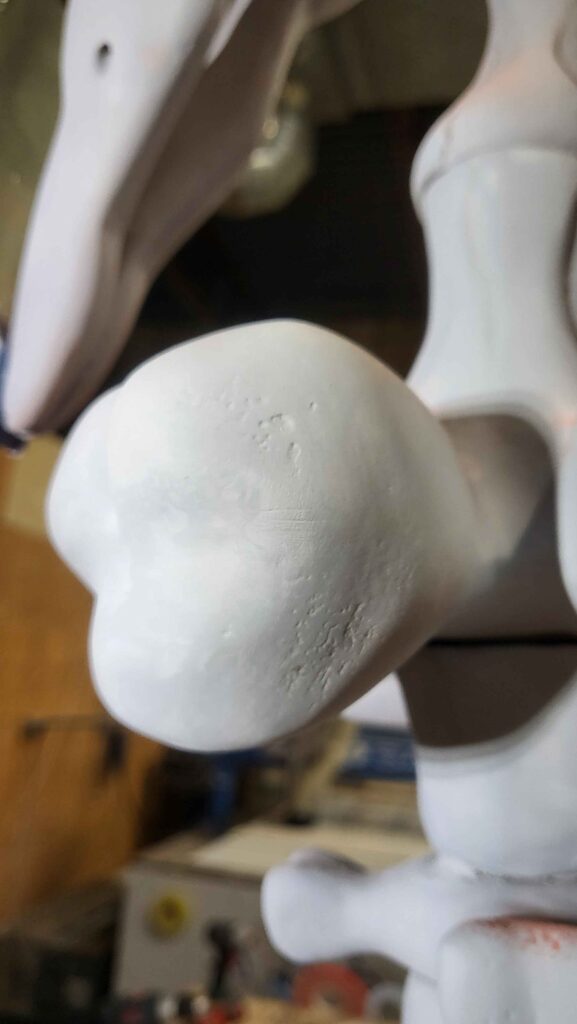
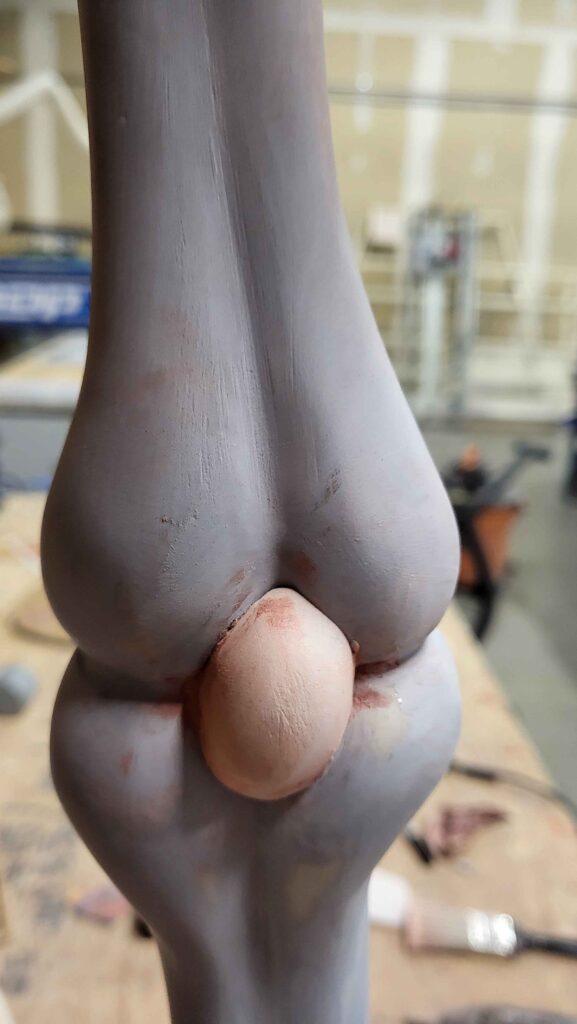
The final thing to fabricate were a series of kneecaps that run along the handle section of the hobby horse. To do this, I mushed some SmoothOn Free Form Air into the sections where I wanted them, waited for it to partially cure, removed it, and refined its shape. That way, when I press it back on, it fits perfectly against the crevasse that it sits in.
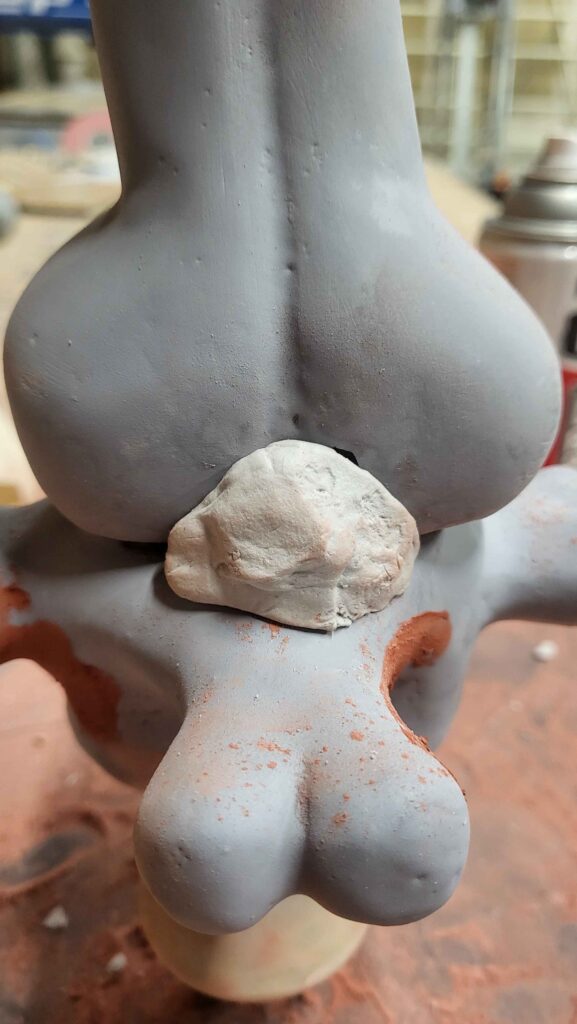
Here it is after shaping!
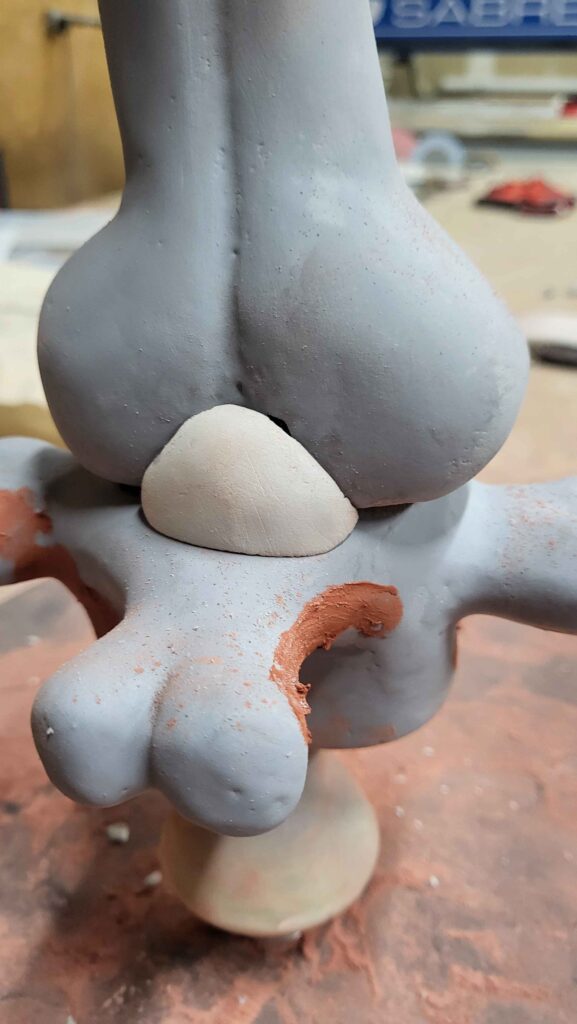
Here’s another example. I really liked making these little oval ones.
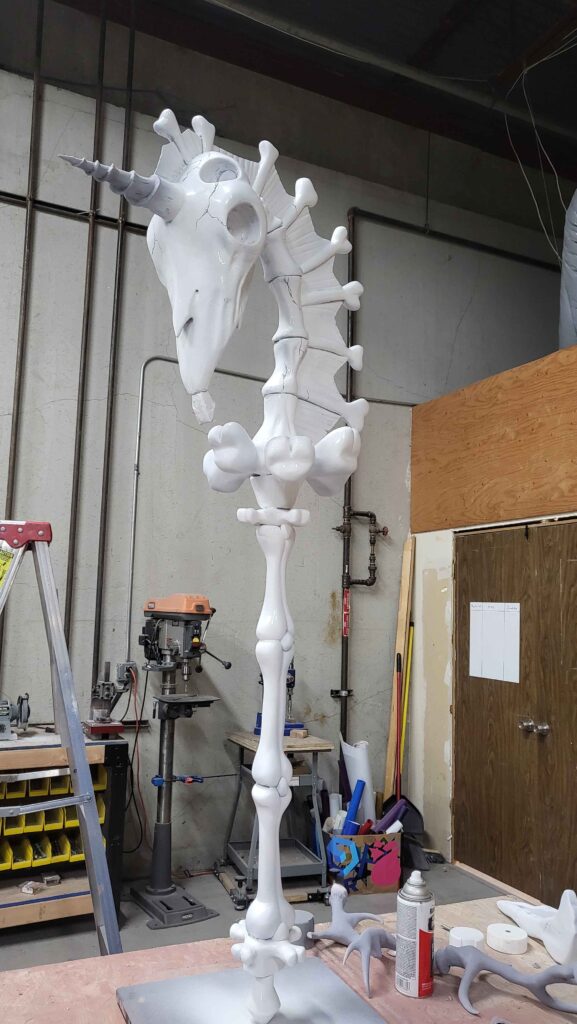
Finally it was time for paint. I did a heavy coat of white to start with. I wanted to creep up on the color, and I thought that starting from bleach white would give more naturalistic tones throughout.
I used nice quality craft paints for this process, working in washes of burt umber, raw sienna, a little yellow ochre, and the essential white and black. Building it up layer by layer, until…
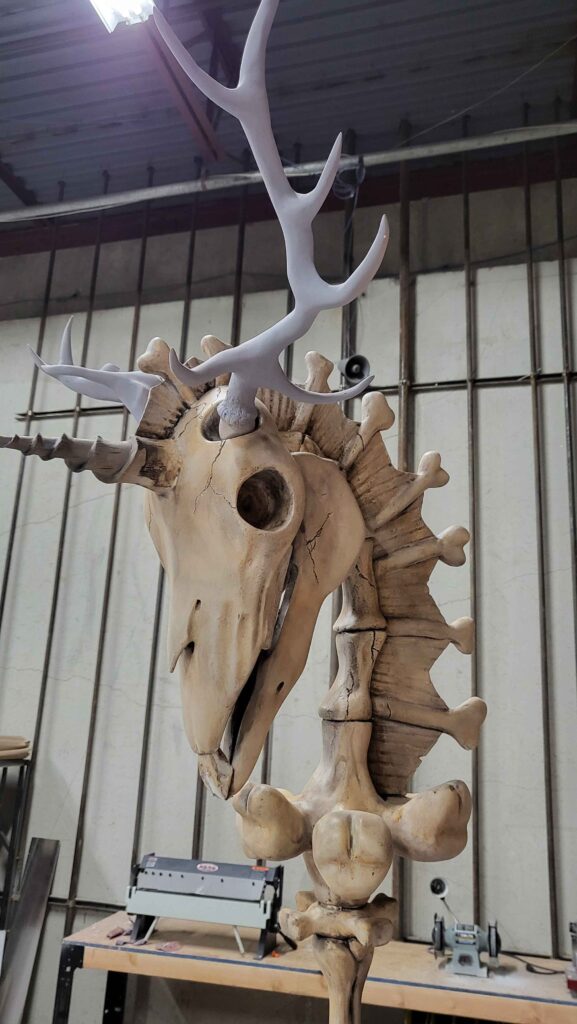
Once I was happy with the base bone color, I moved on to do some washes on the teeth. I started with some Tamiya yellow translucent spray paint, and then darkened it up from there. I wanted much of it to be semi-transparent though, to keep the realistic finish on the teeth.
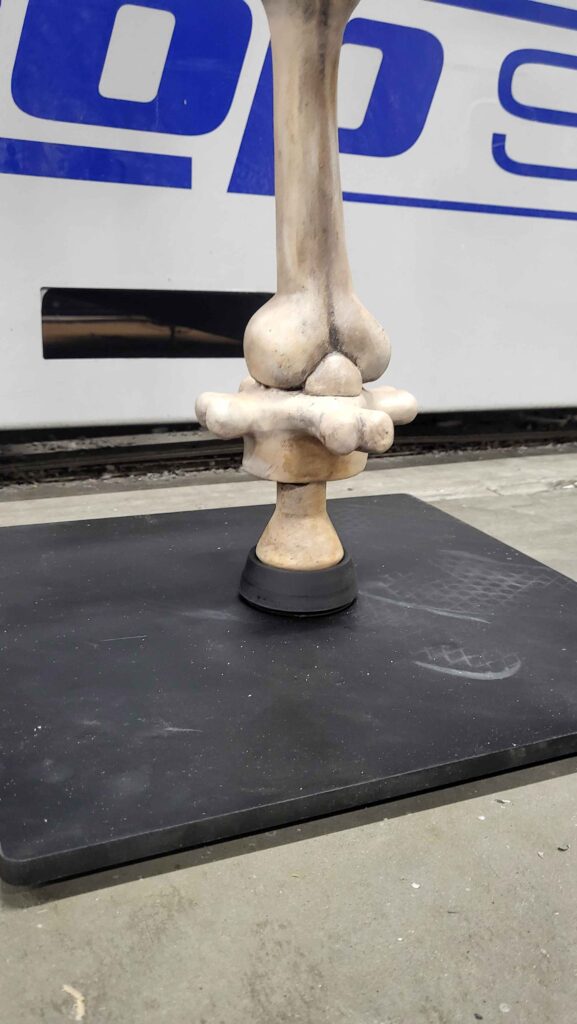
The last thing to do was reinforce the base. I had a nut welded onto the bottom of it, and then I turned a little cup to use as a spacer, distributing the weight of the hobby horse a little bit more evenly.
Here it is all wrapped up. Enjoy the glamor shots.
You’ll notice the antlers and horn look a bit different than the bone. I decided to paint the horn a bit darker, and the antlers utilized a technique for getting a mottled porous looking texture. I did some washes, and quickly spritzed rubbing alcohol on them before it dried. Now both look distinct from the bone surrounding them.
