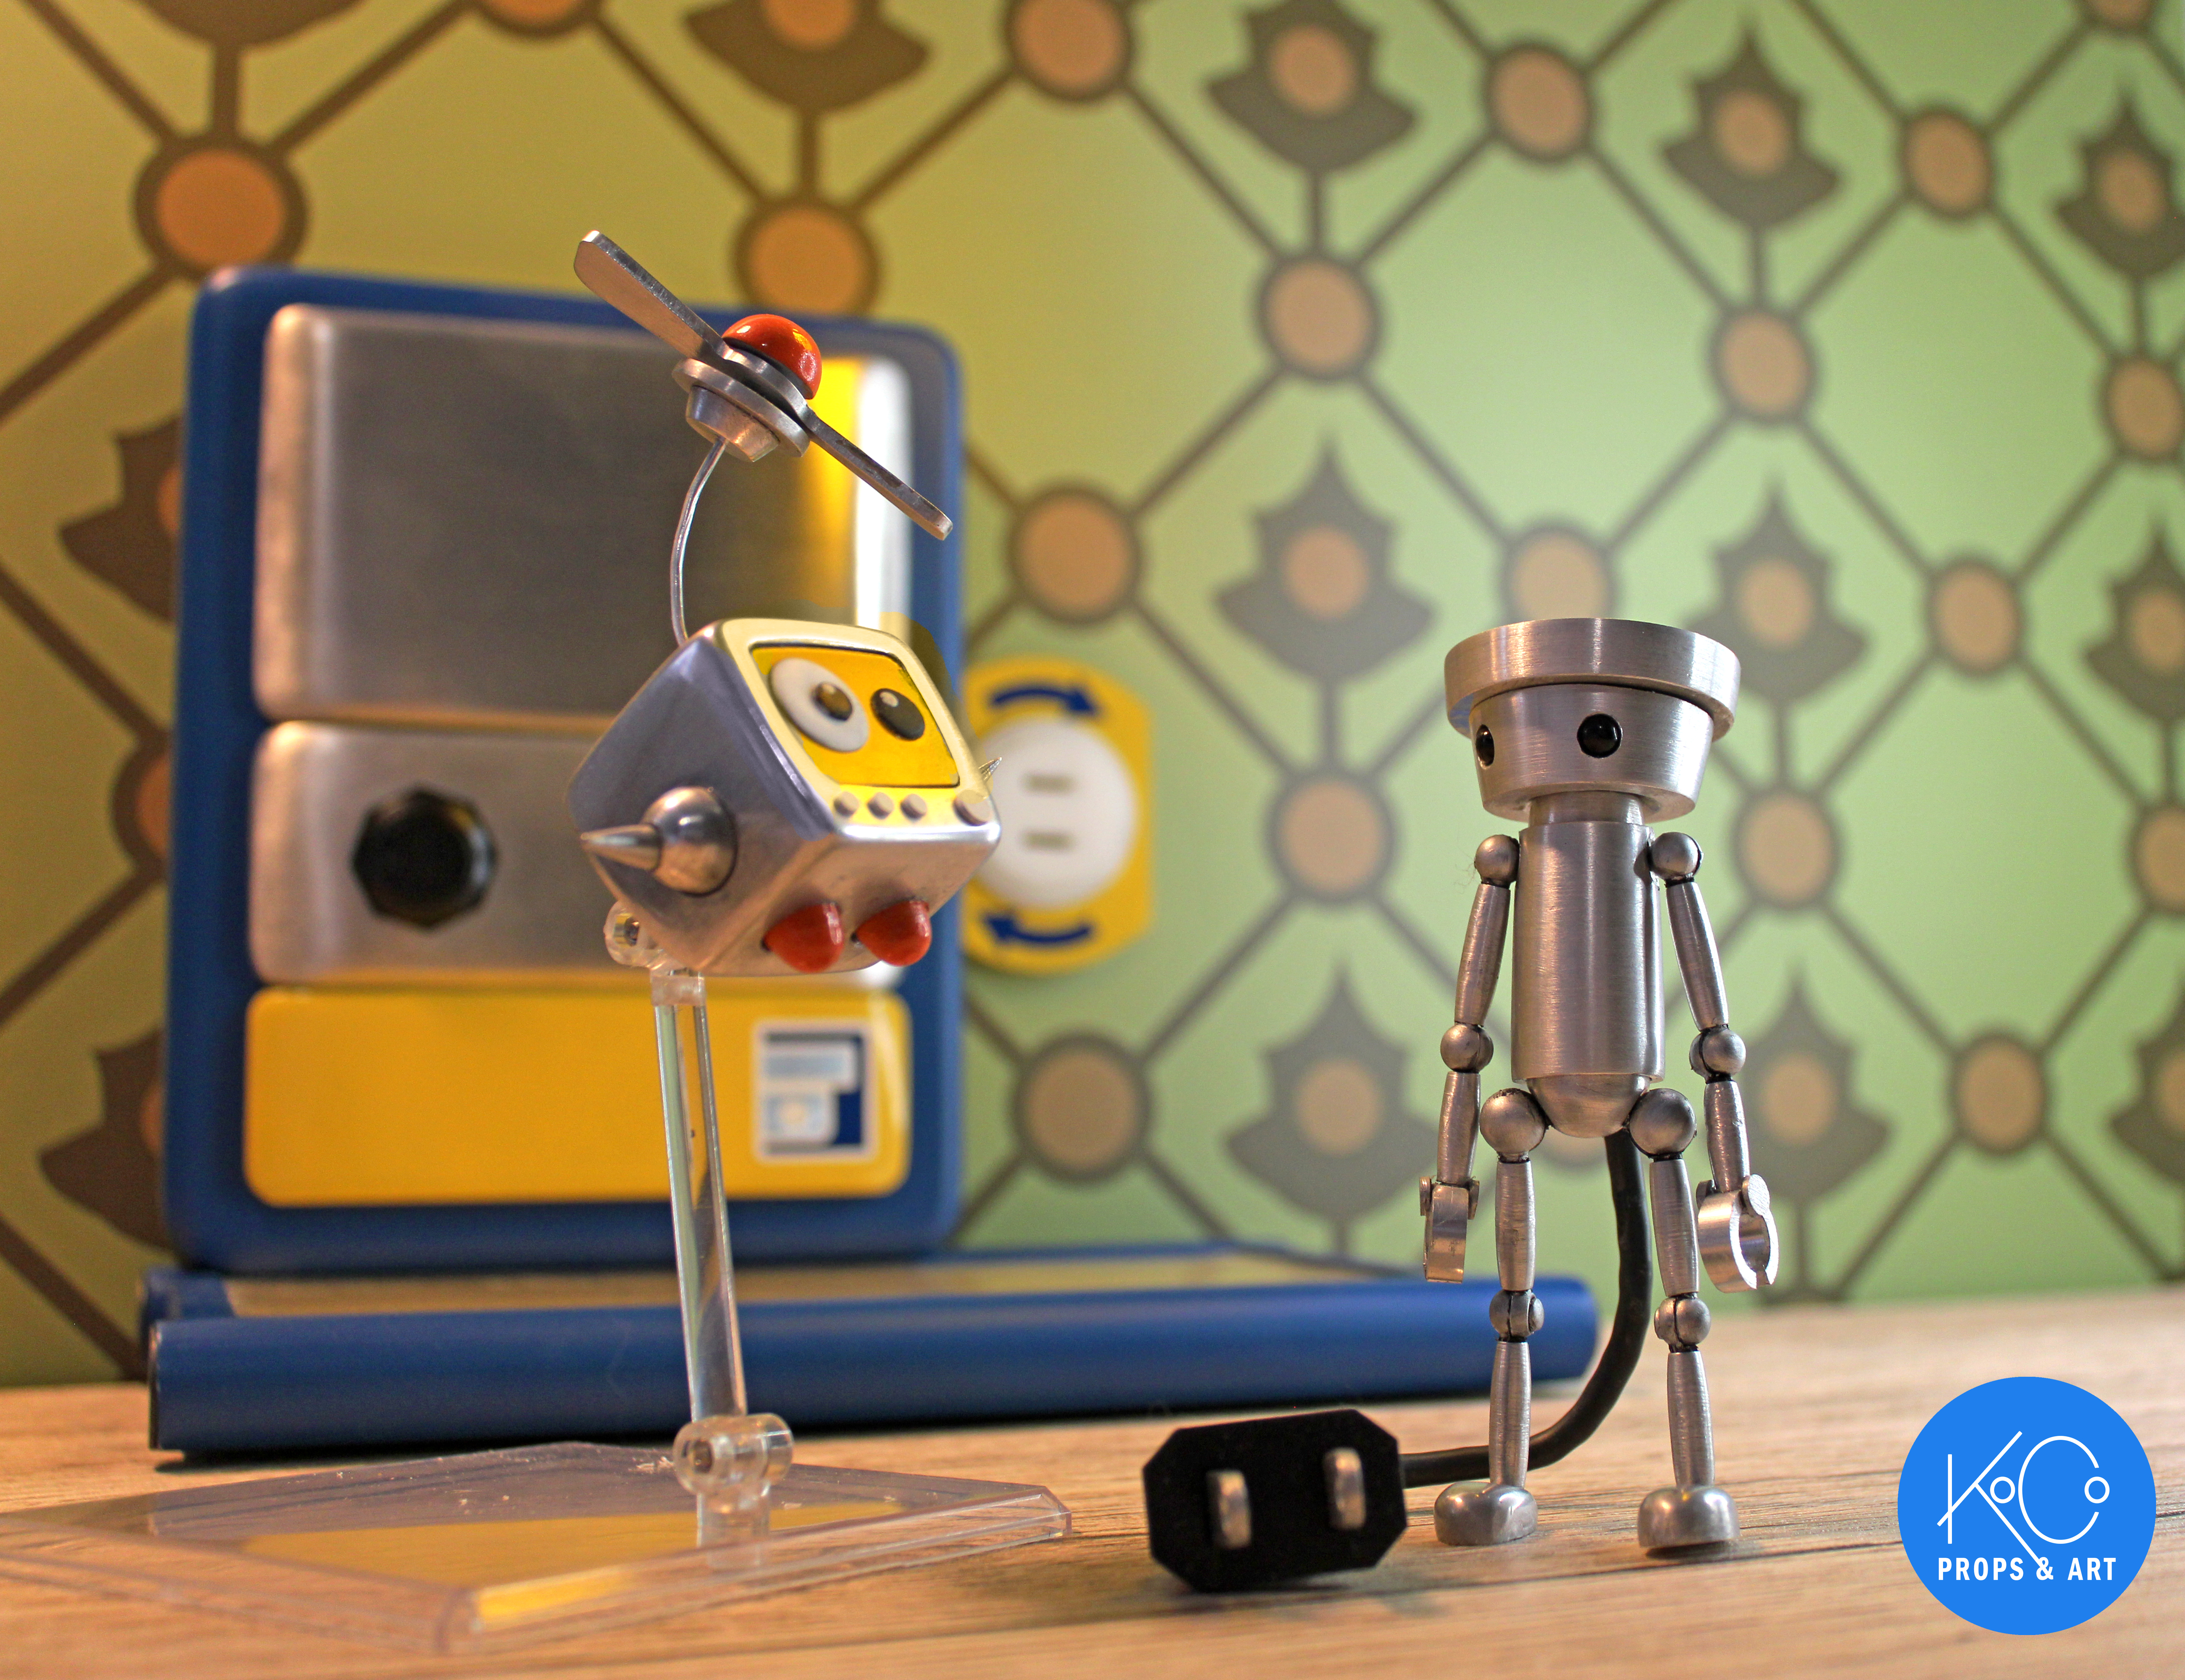
This project is part of a larger diorama. For the first part, please visit the Chibi-Door build.
Chibi-Robo is a character from the game series of the same name. In the game, you go around as a 4″ tall robot and pick up trash, and solve people’s problems. It’s fantastic, but didn’t sell a lot of copies, so there’s very little merch available. The most note-worthy is a little amiibo figure of him. Although not tall enough to be a 1:1 replica, the figure is a great starting point, so I decided to replicate him out of aluminum, with some tweaks to make him a little closer to the proportions seen in the first game.
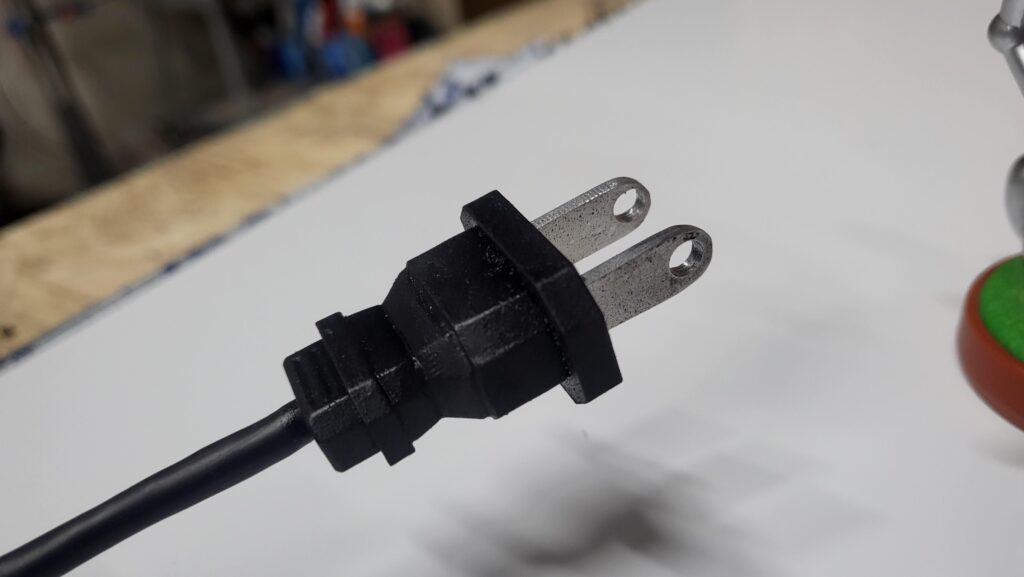
I started Chibi by replicating the plug. I stacked laser cut acrylic and embedded some metal prongs that I hand-filed into shape. The cord is some rubber hose with coiled armature wire, so it can be posed to imply some weight.
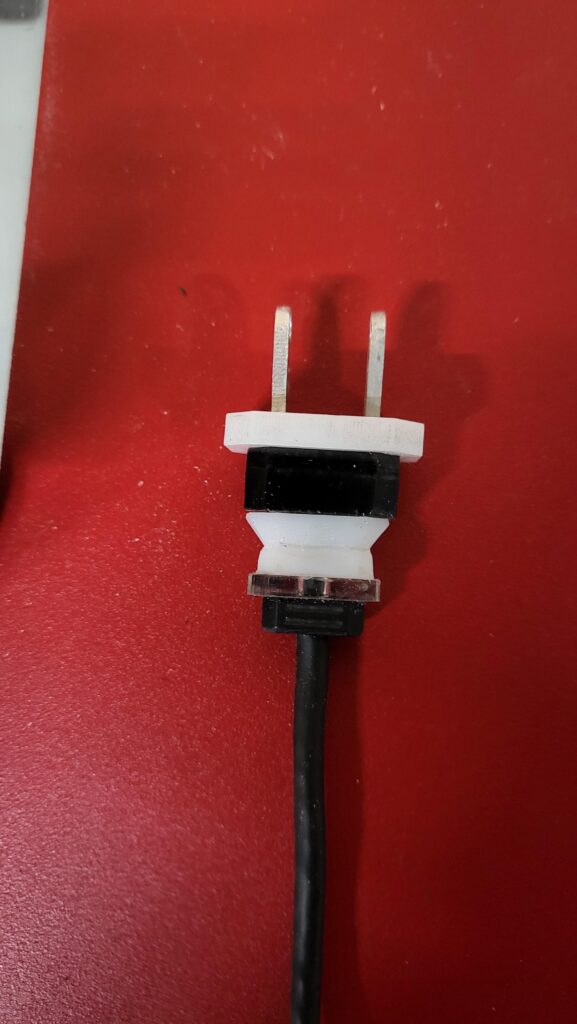
Filling some seams, so it all looks more-or-less injection molded.
The feet were made from 1/4″ aluminum plate, which I drew on with a template before drilling along the perimeter of each foot…
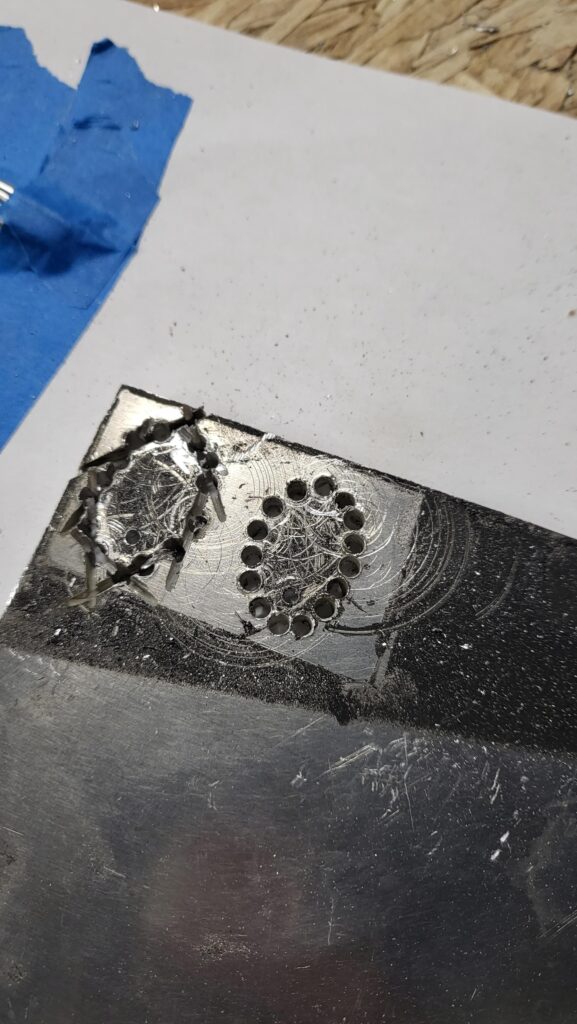
And cutting them out!
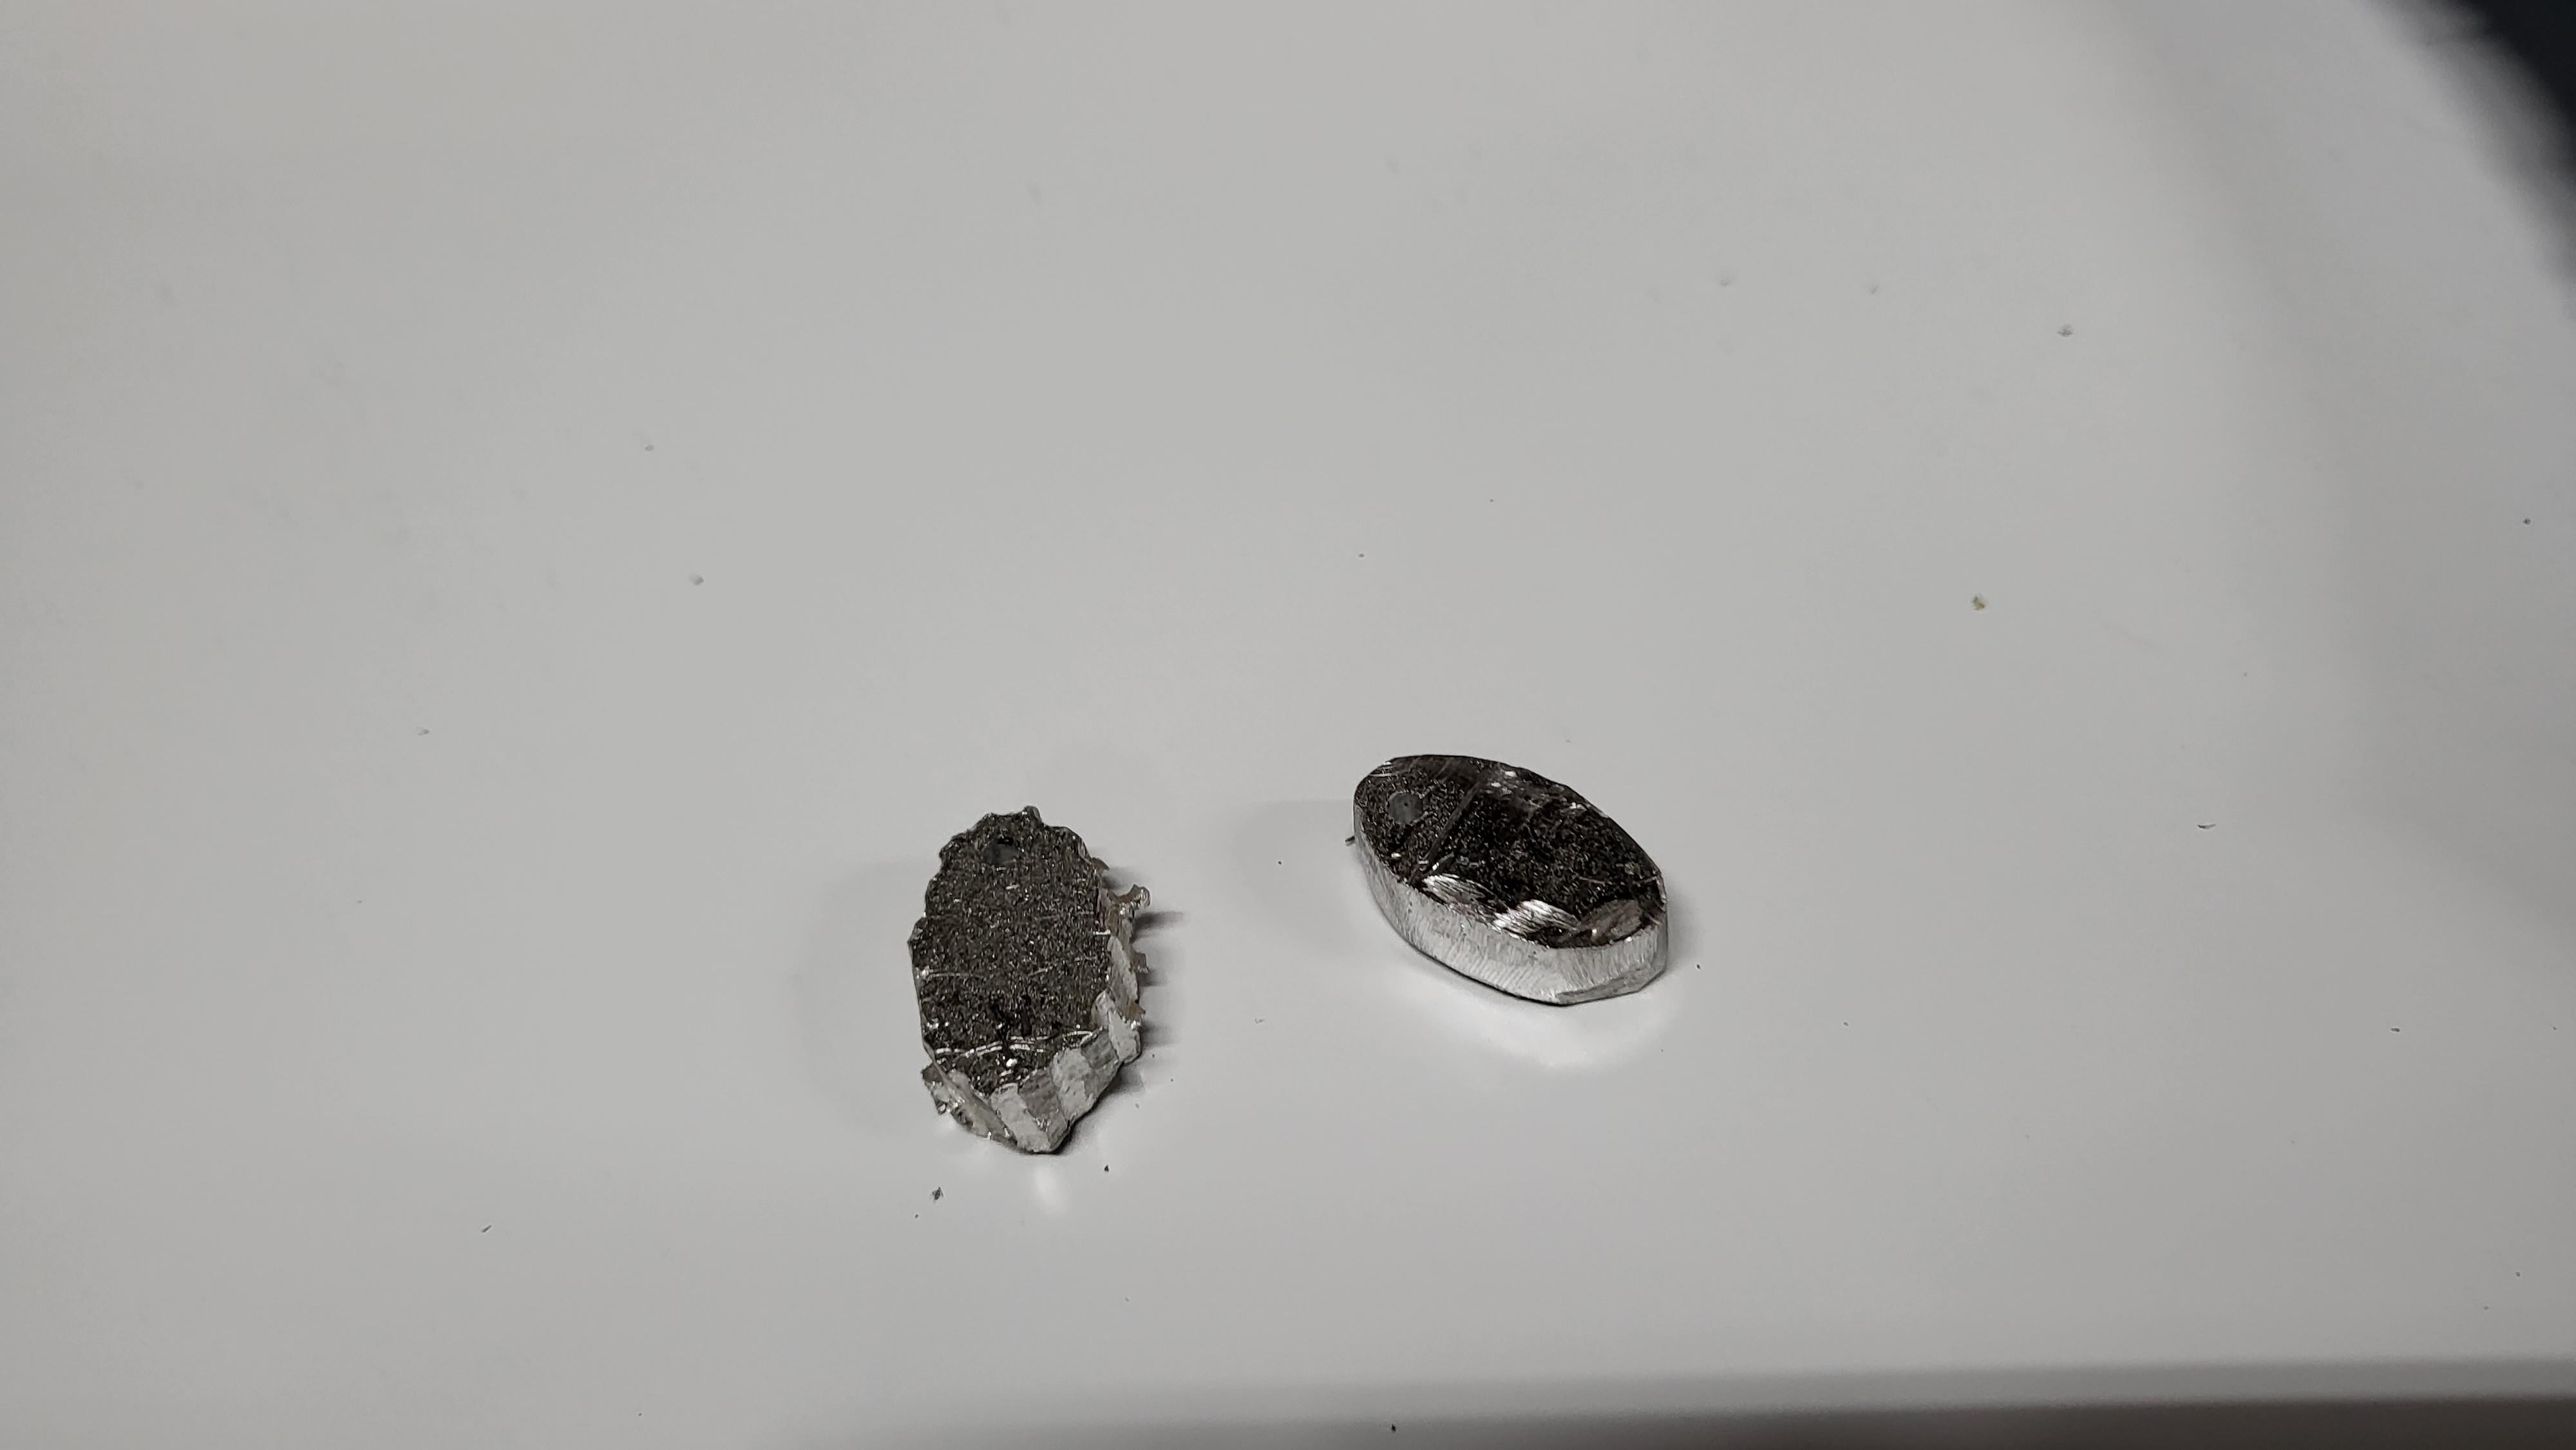
Shaping them with a hand file worked a treat to remove the sharp corners and rounding out the top.
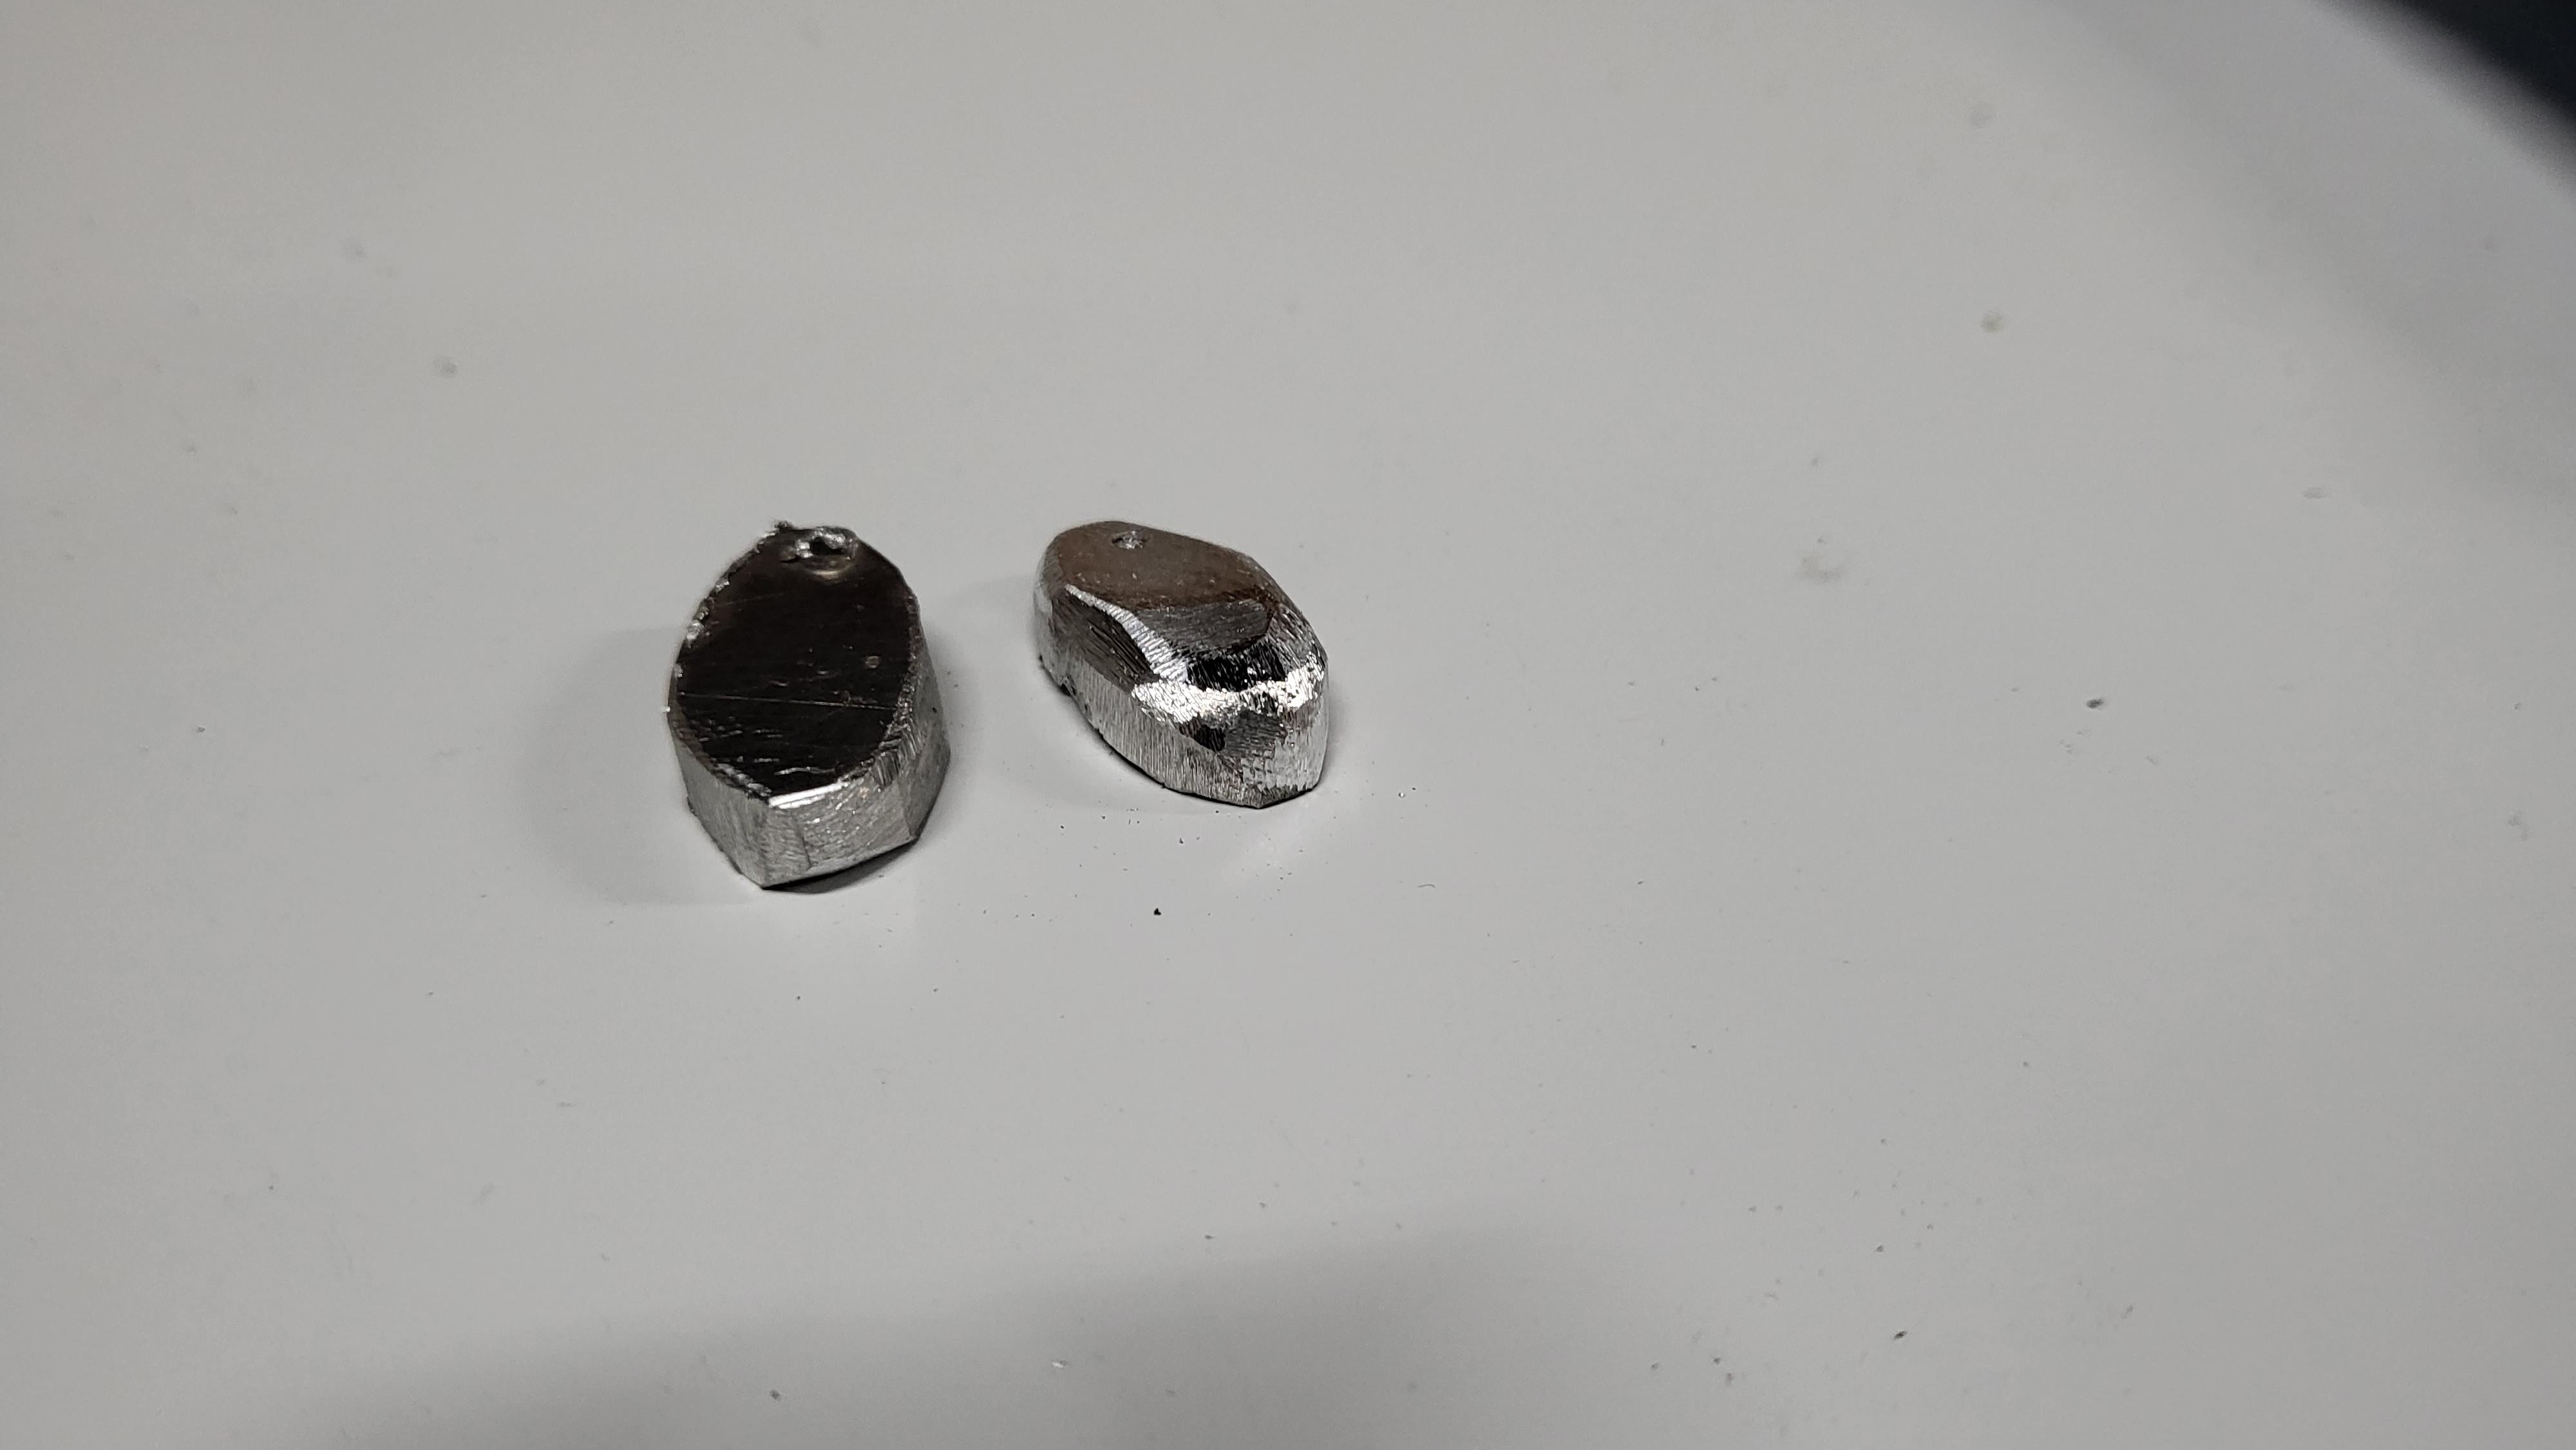
Then I just sanded them until they were fairly smooth.

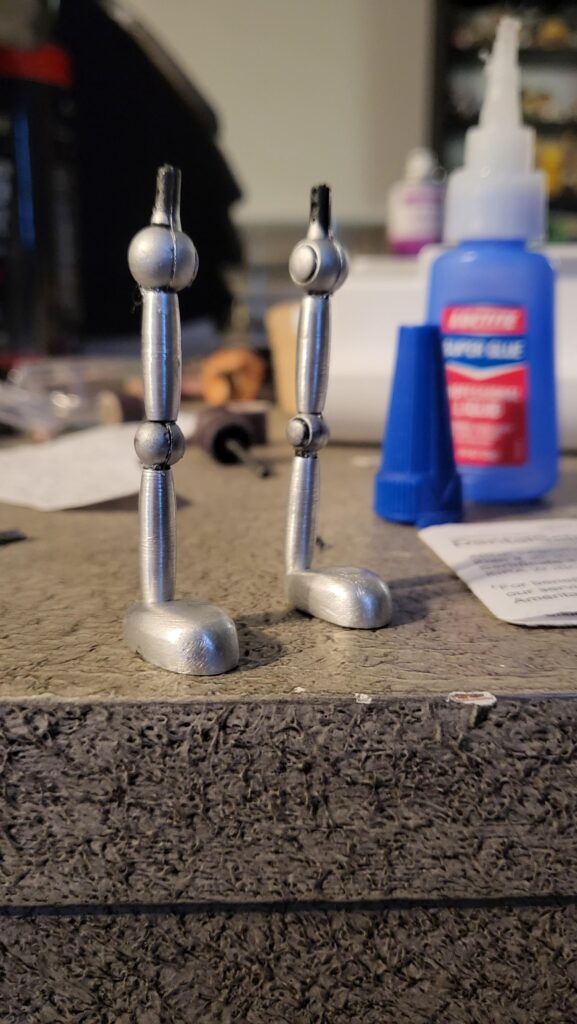
The arms/legs are aluminum tubing that I put in a drill, and filed to a tapered shape. Like a make-shift lathe. More on that process later.
I opted for some generic plastic action figure/gunpla style ball joints. These would have been actually insane to make out of aluminum. No thank you. Well… Maybe one day…

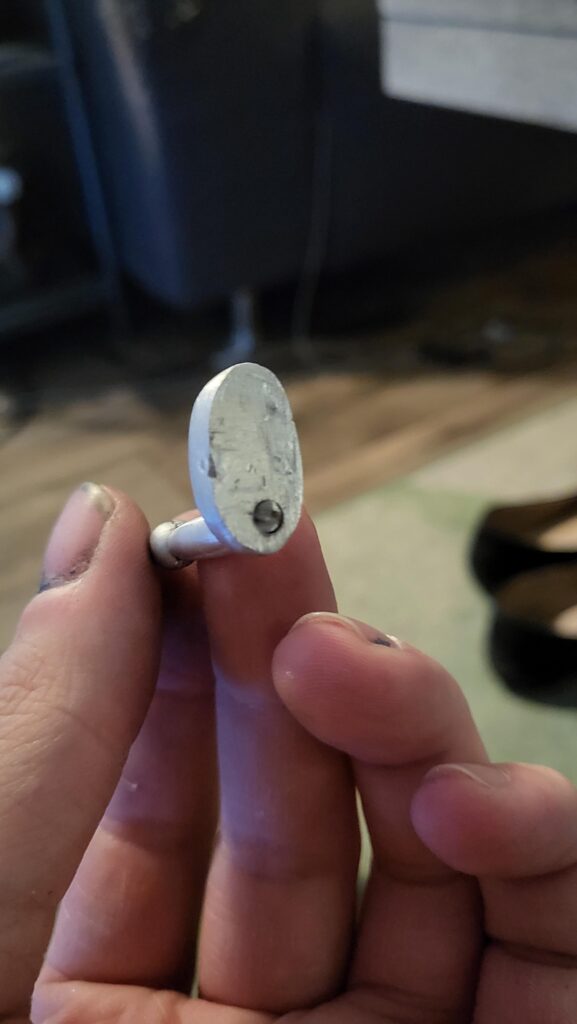
Ignore my dirty nails. Making stuff can be dirty work. The feet are held on with a small pin through the foot, which sits snugly inside the leg.
I painted the plastic joints silver with some Rub n’ Buff, and moved on to the head!
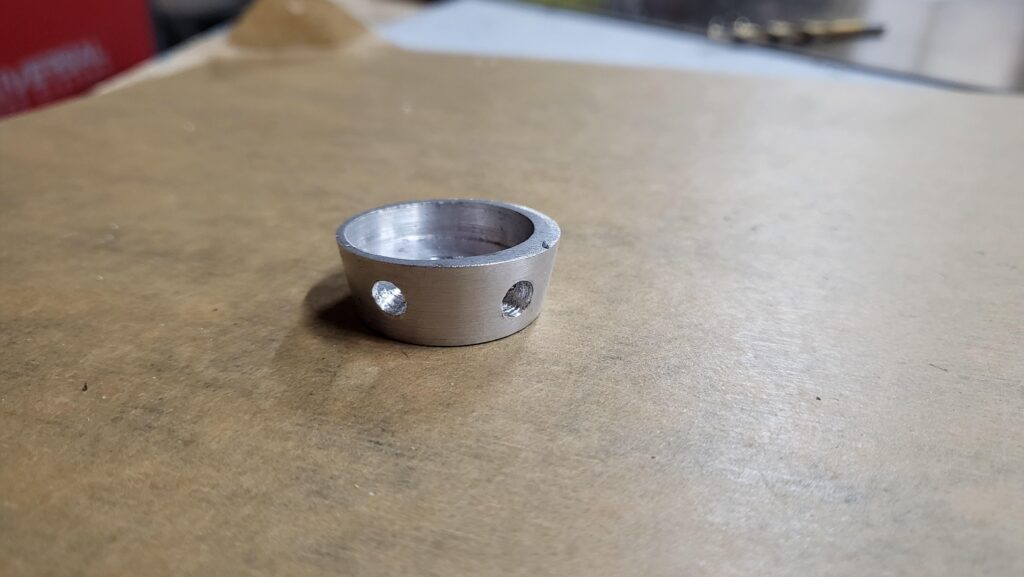
The face was cut out of a 1/2″ piece of aluminum, similar to the feet. Before cutting it out, I took a forstner bit to slowly hollow out the inside. Then, like the arms, I attached it to a drill, spun it up, and took an angle grinder to grind in the taper toward the bottom.
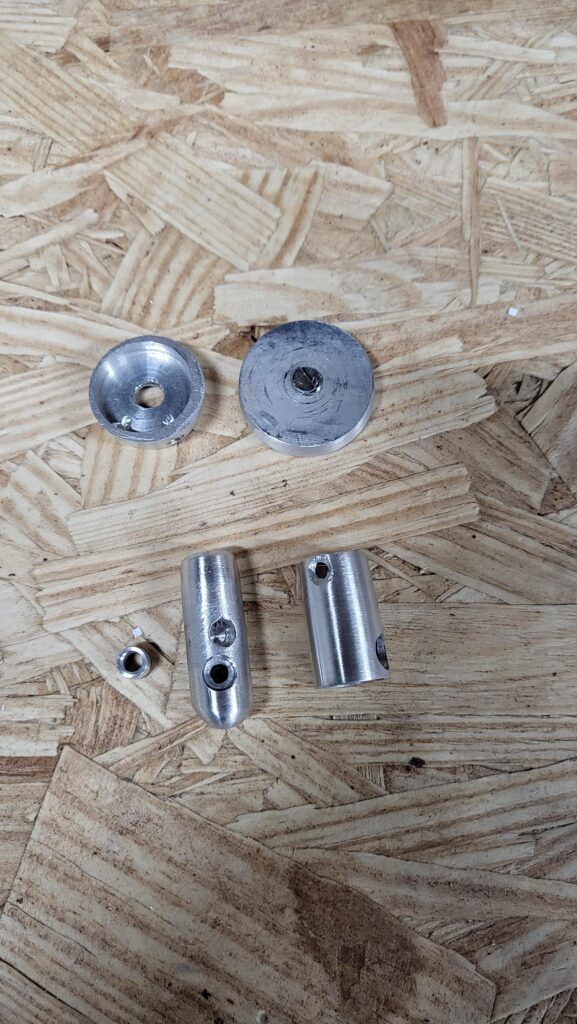
Skipping ahead a little, here’s all the parts I made for the head/body. They’re all done similarly, with a drill and an angle grinder. I’ll go over how they are assembled, but first, let me point out what they all are:
From top left to bottom right: Face, Top of Head, Cord Bezel, Inner Body, Outer Body.
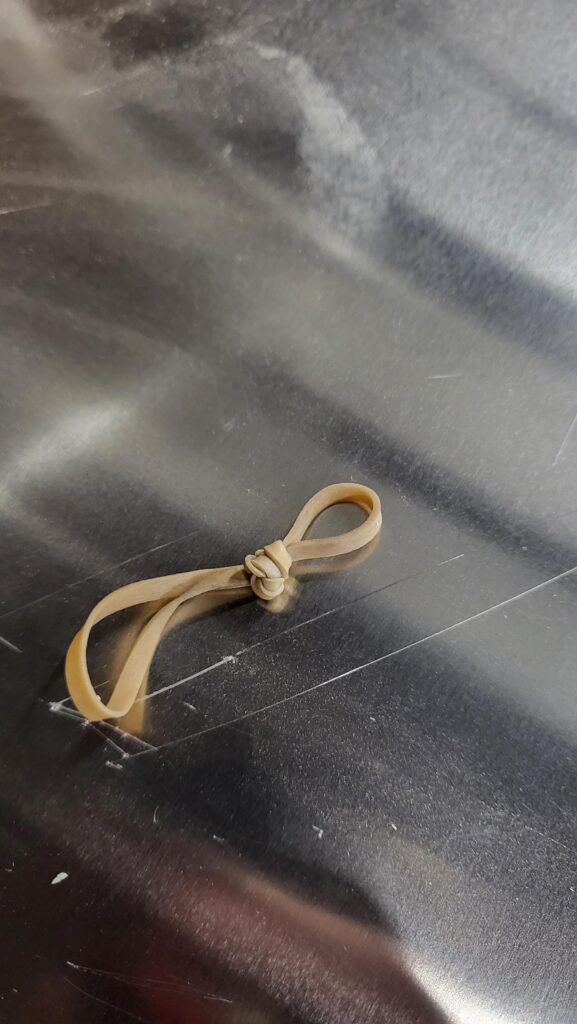
You start with a rubber band, tied into a knot.
Which gets shoved up into the center of the inner-torso. You can see the rubber band showing through an access hole so it can be pushed in the side and pushed up. THe knot on the rubber band keeps it from popping out the top.
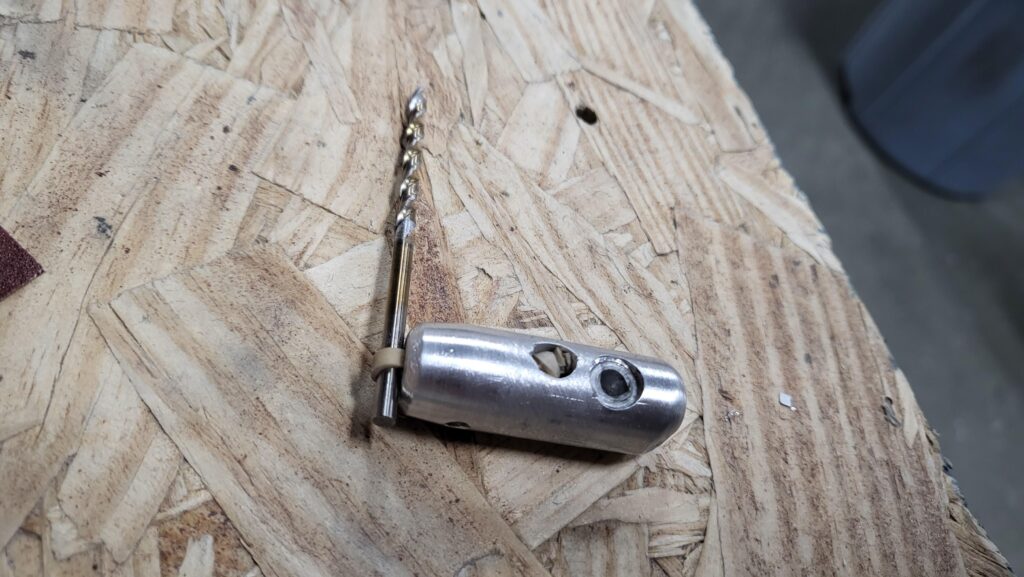
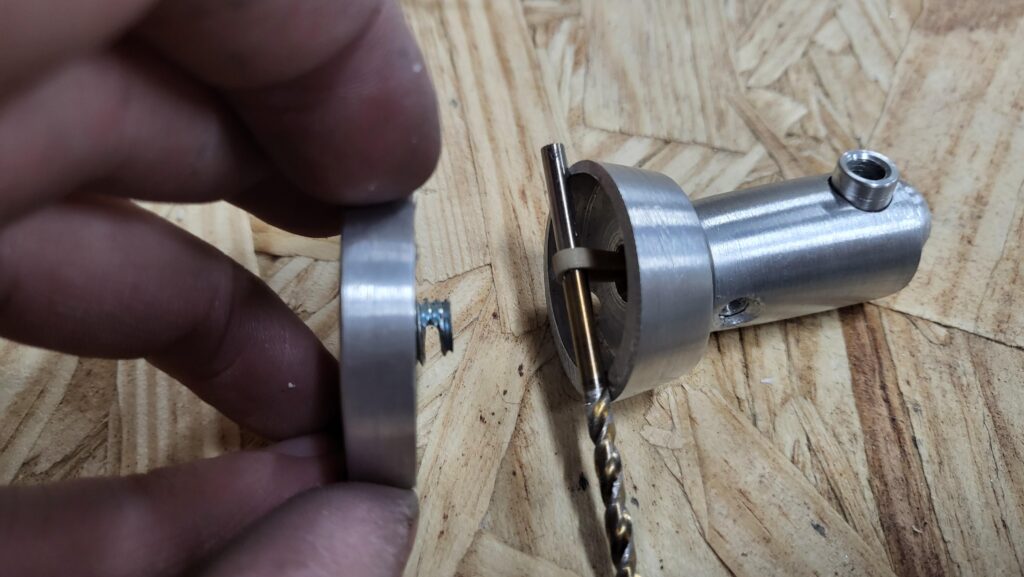
The outer torso slides over the inner, and the cord bezel locks them together in alignment.

The face slips over the rubber band and sits on the neck, then the top of the head attaches to the rubber band with a hook that I cut into a little bolt on its bottom. The rubber band keeps the head poseable, and the tension keeps the head on the body.
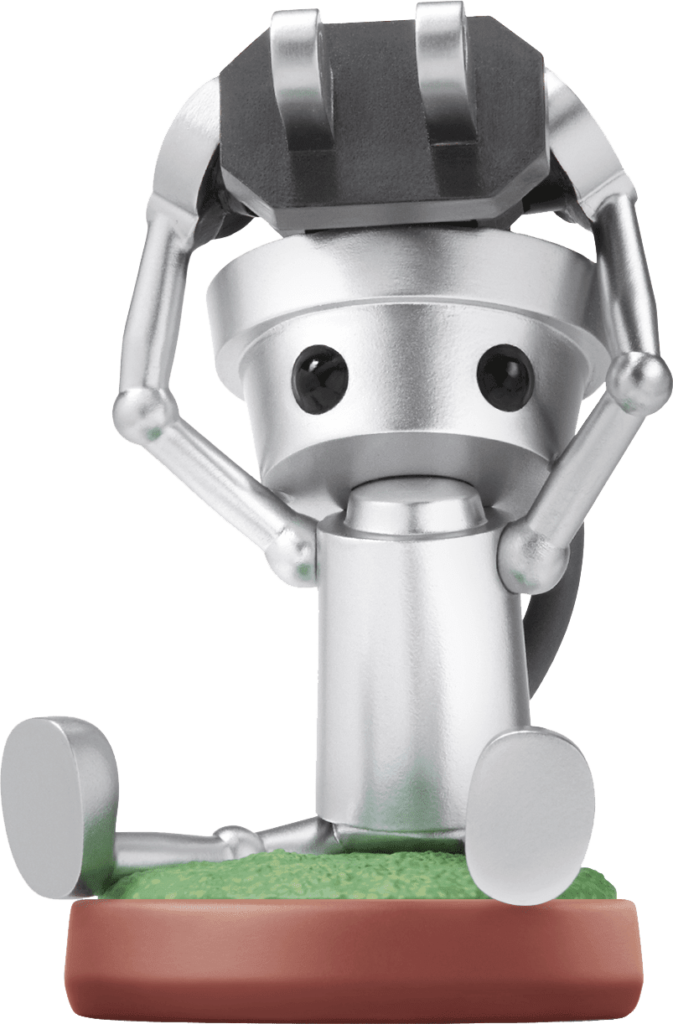
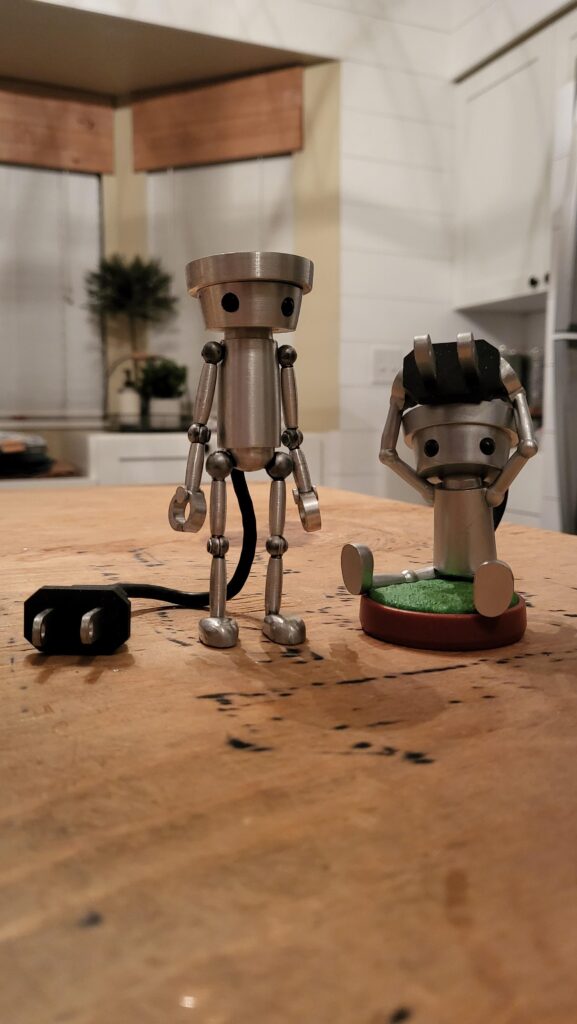
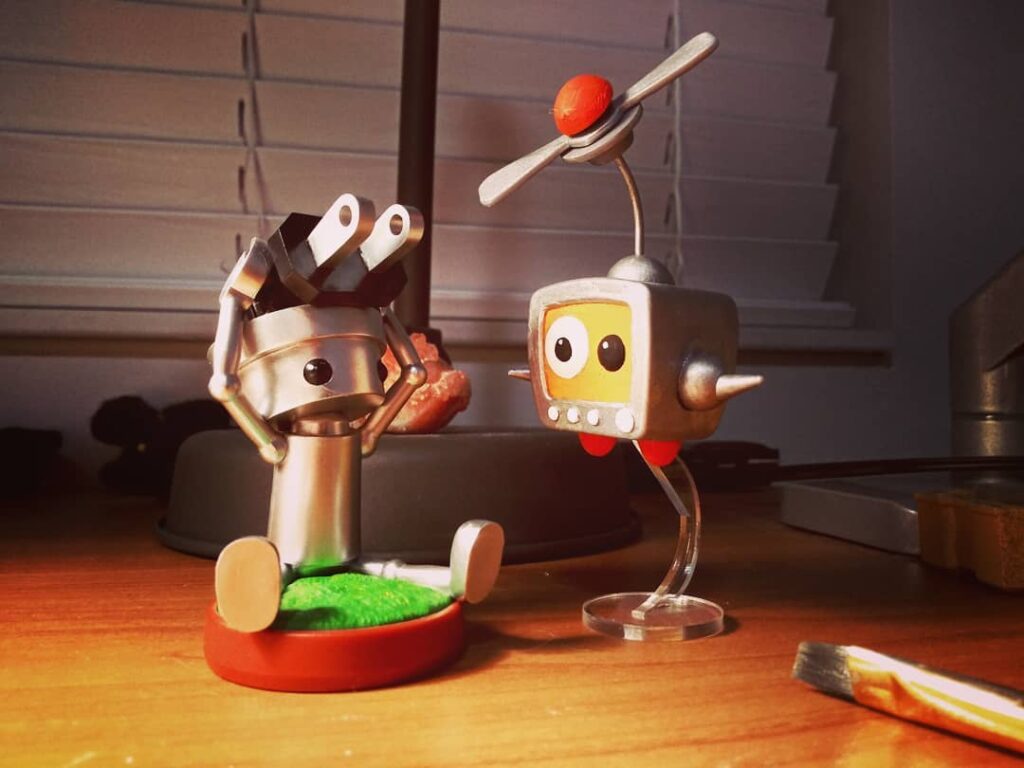
Here he is next to the Amiibo that he was based on. As stated above, he’s pretty accurate, though I had to elongate his torso and appendages to be closer to the first game’s proportions, as the amiibo is too short, even for Chibi-Robo.
Now that I had Cheebo, I needed to make his friend and manager Telly Vision! I had 3D printed a version off Thingiverse years ago to set beside my Amiibo. I decided to base this build on that print, as it was already 1:1 scale, and I could take measurements right off of it.
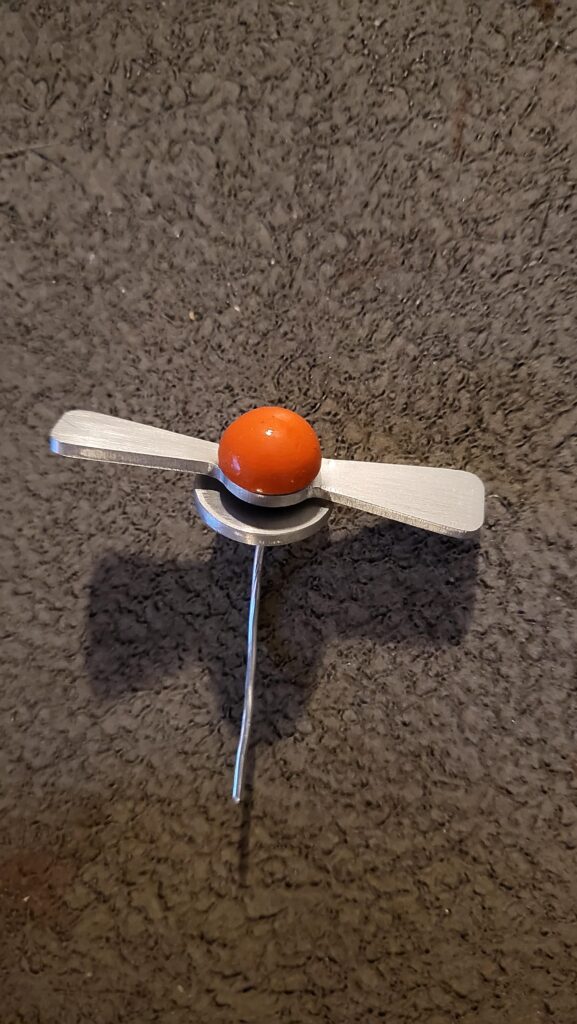
Here’s the first bits, compared to their 3D printed counterparts: a propeller and the little platform it sits on.

Here’s the propeller assembled, with a posable piece of armature wire.
The arms started with some semi-hemispheres, which I made from a rod of aluminum.
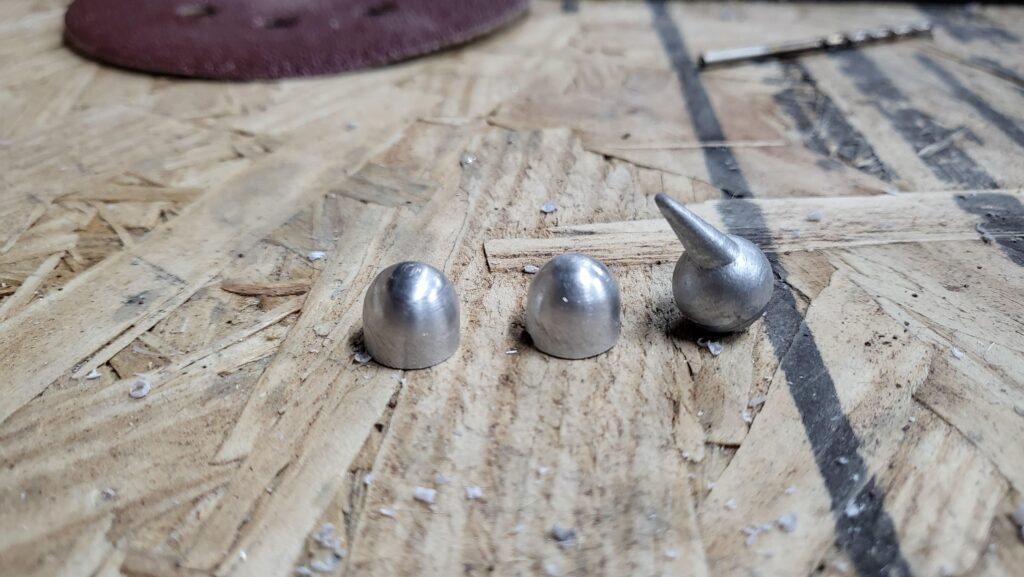
And here’s a video showing roughly the process by which I made the hemispheres, along with much of the round parts for this build. I put the aluminum tube/rod in a drill or drill press, then shaped it with a grinder and sand paper. The poor man’s machine lathe, but it’ll work for now. Again, sorry for my dirty nails. By this point, I was covered in aluminum dust.
I bought some 1 1/4″ aluminum square stock, and CNC routed the outline of the screen into it. This will of course be Telly’s body.
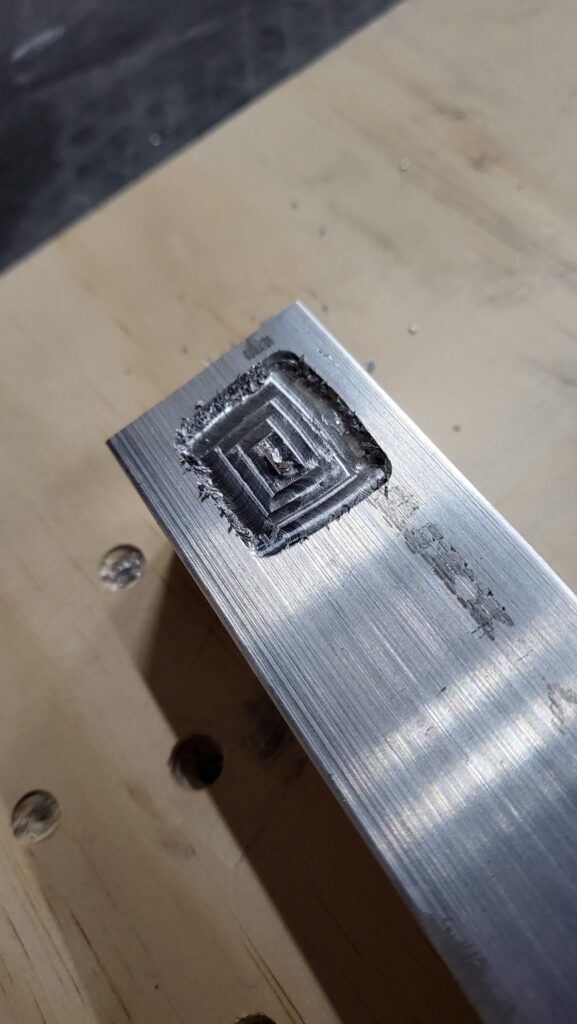
I then cut the bar roughly to a little cube. Here’s a size comparison.
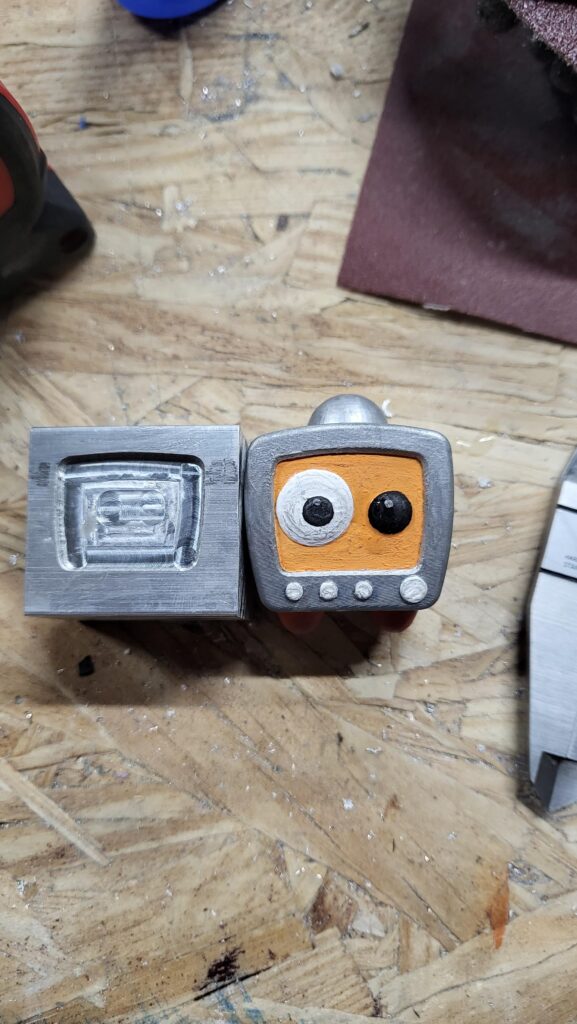
I rounded the sides with a grinder…
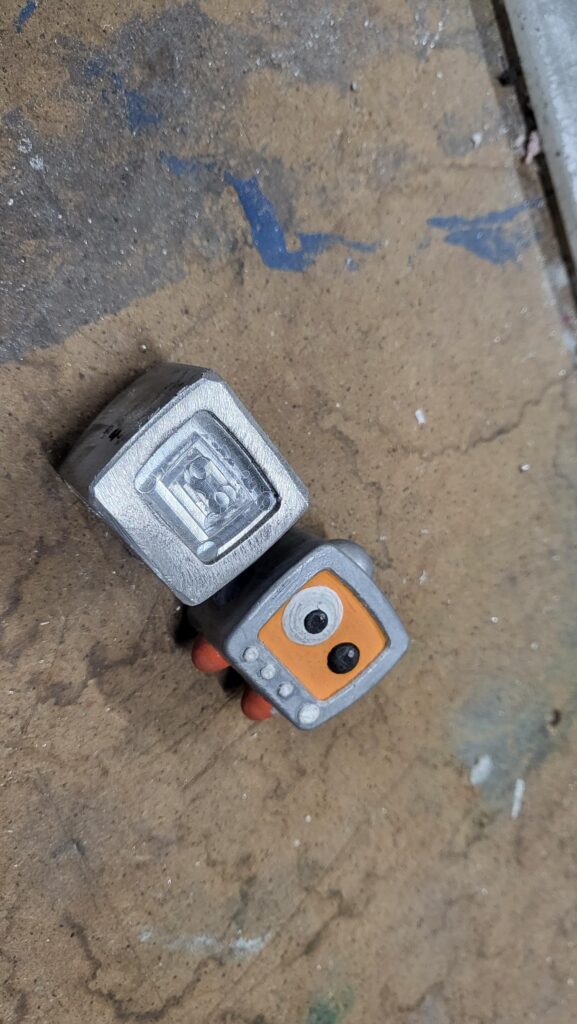
As well as the top and back, then started polishing it to a shine.
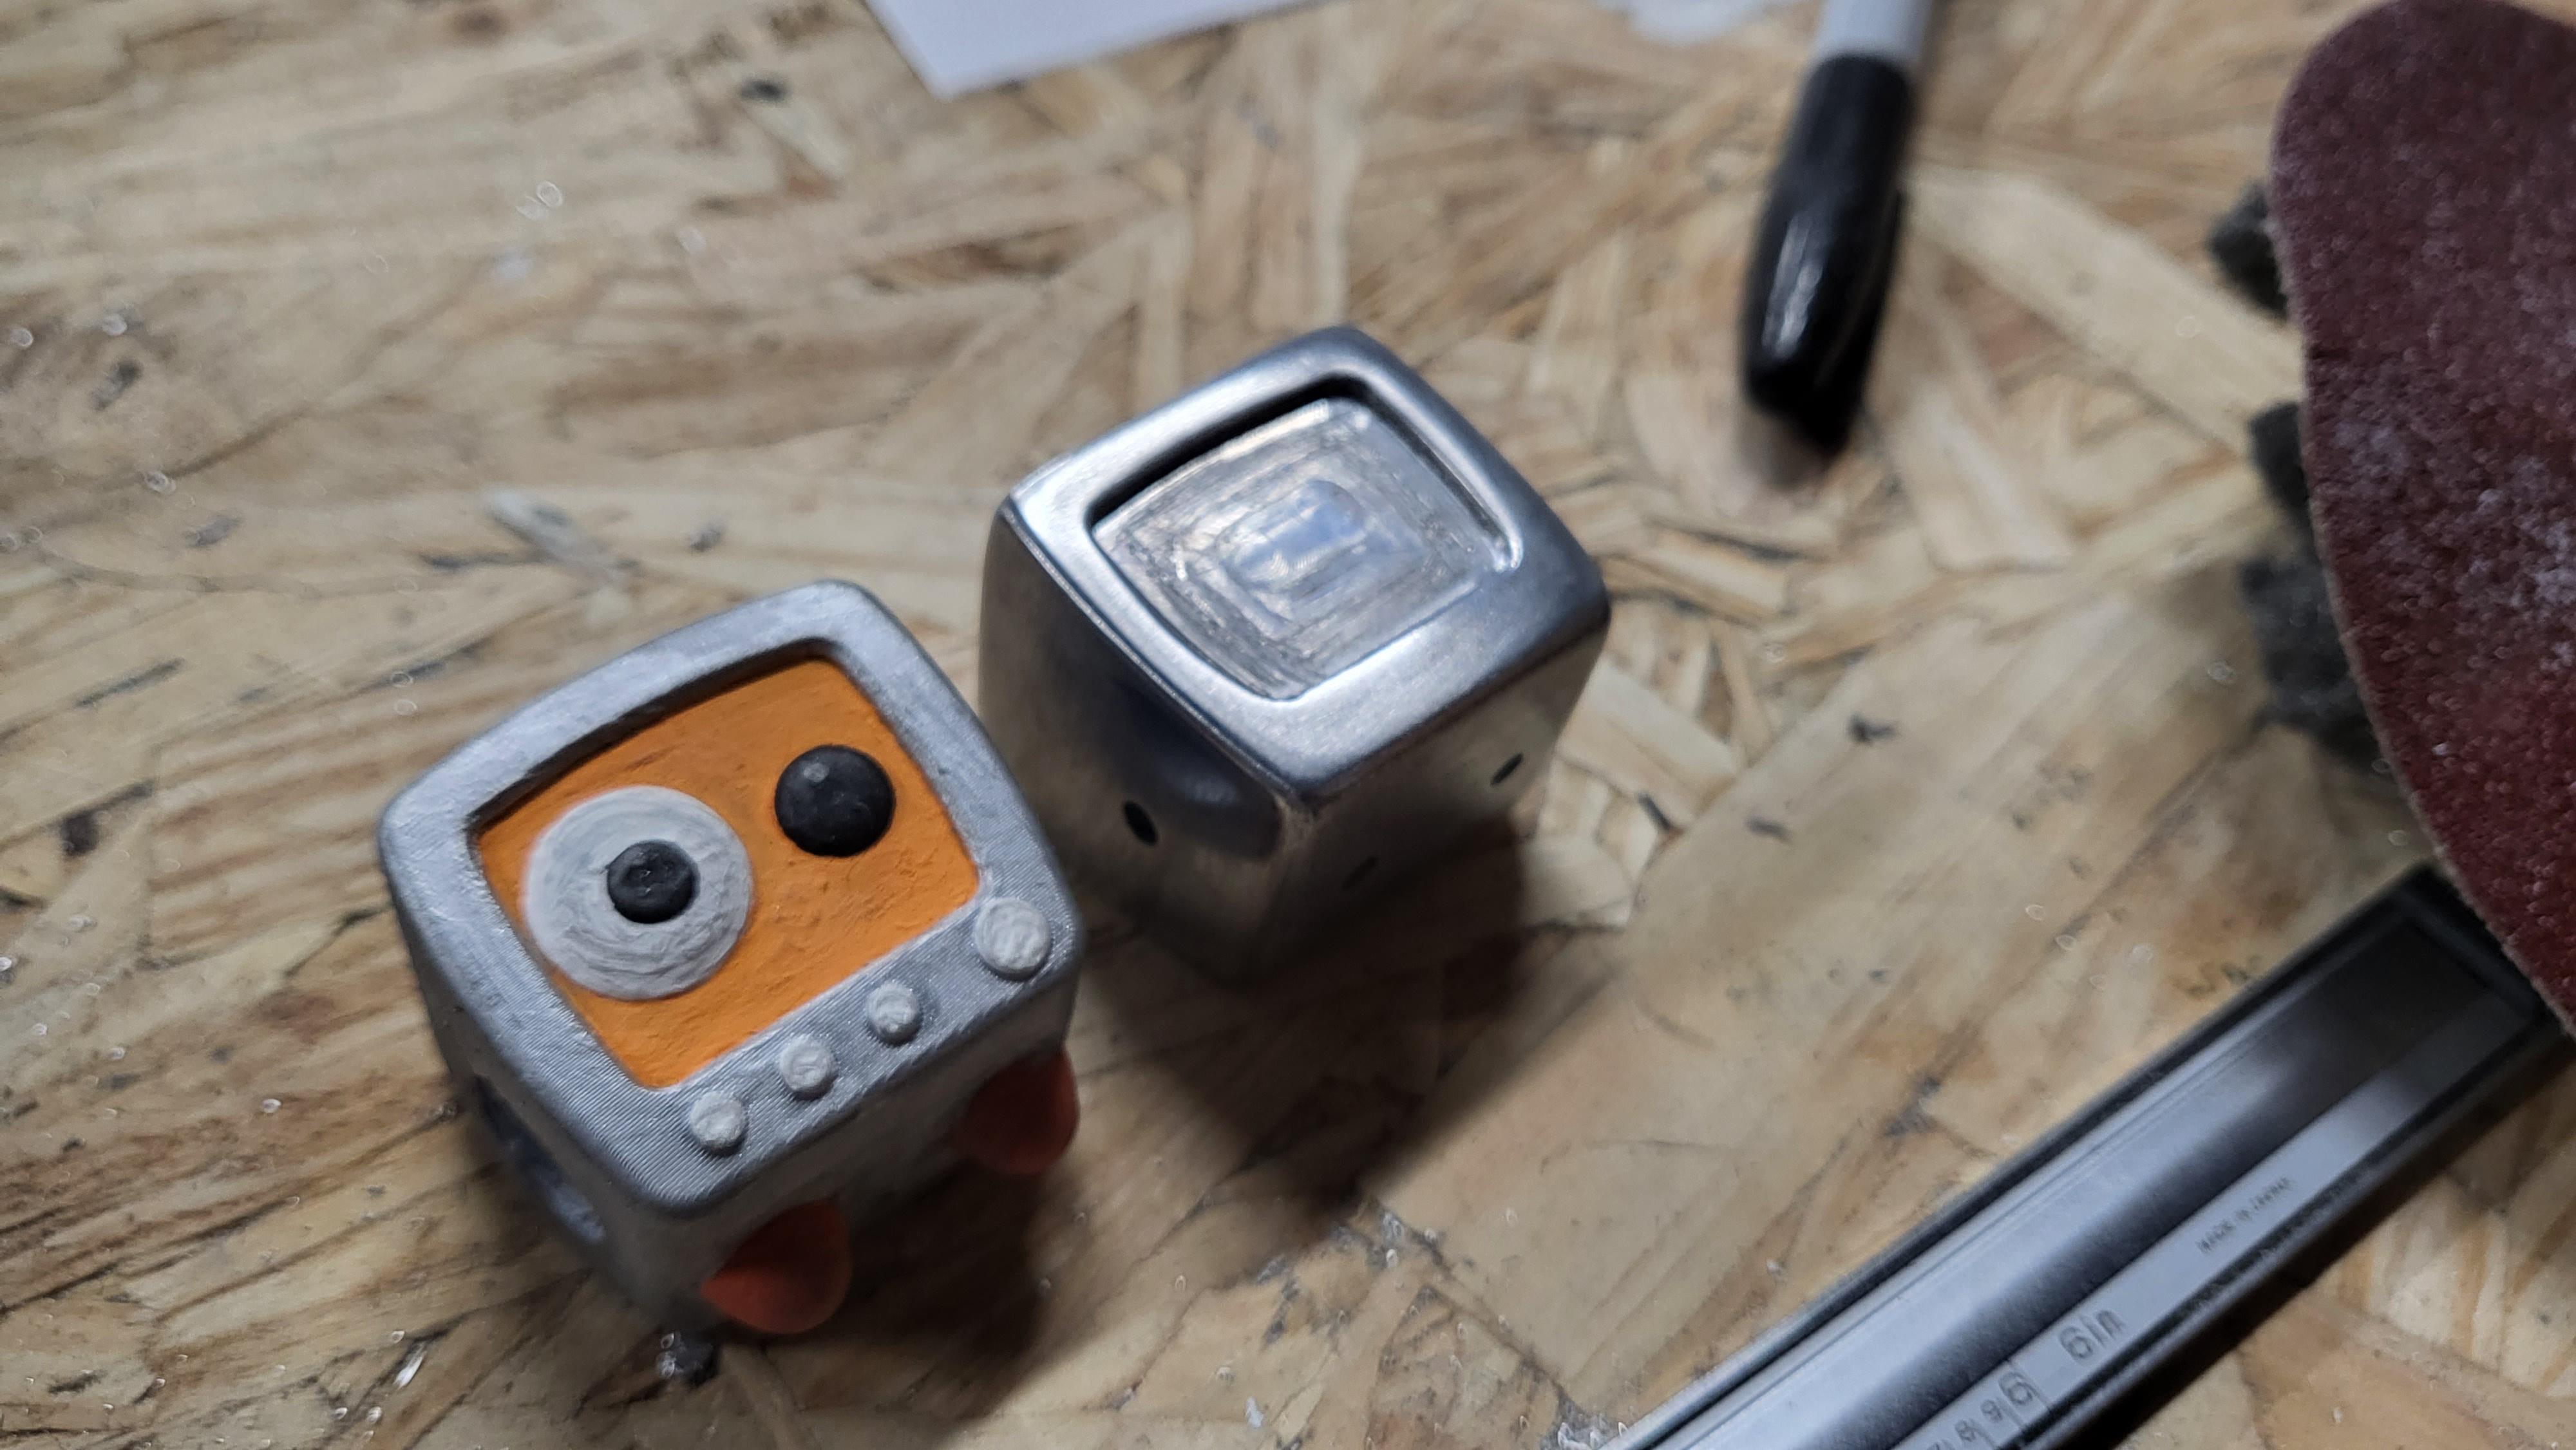
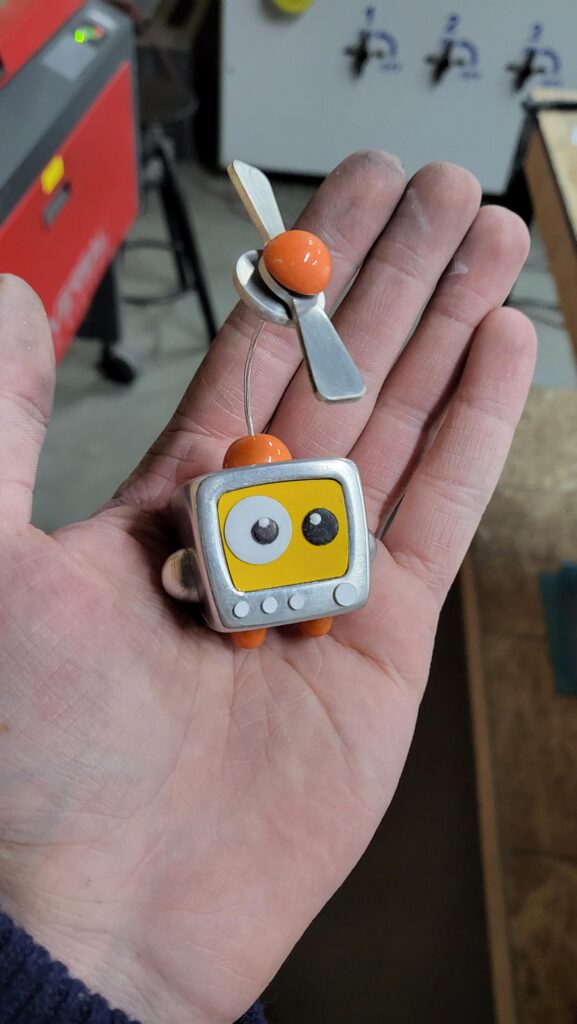
The face and button details are plastic, laser cut and sanded to have rounded edges. This part went quick, so sorry for a time skip. Those arm holes were daunting to drill out.
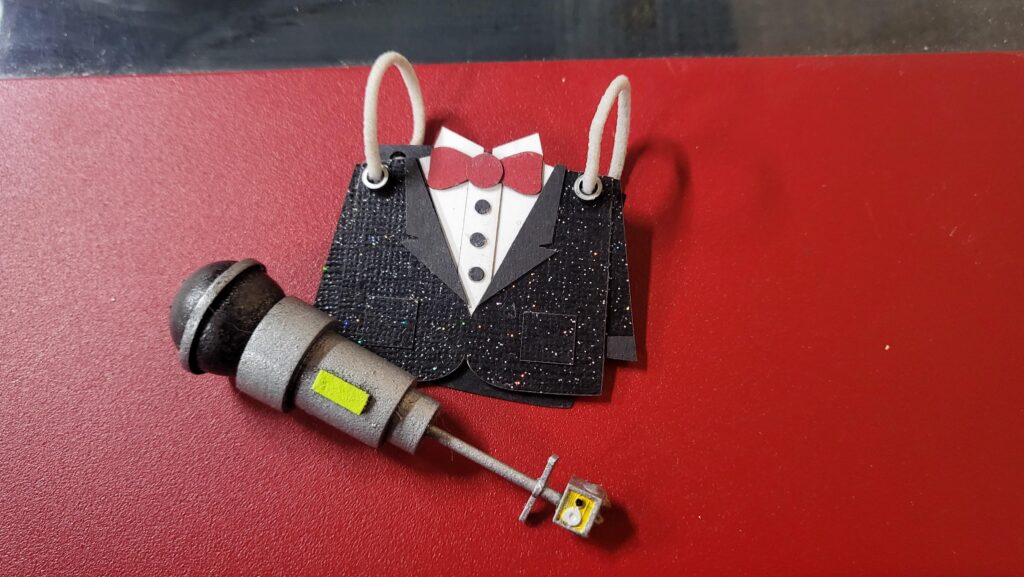
In the game, Telly wears a cardboard tux in one very memorable scene and sings a song called Teriyaki Blues. I wanted to have a crack at replicating that scene in a photo, so I set off making a tux out of cut craft paper.
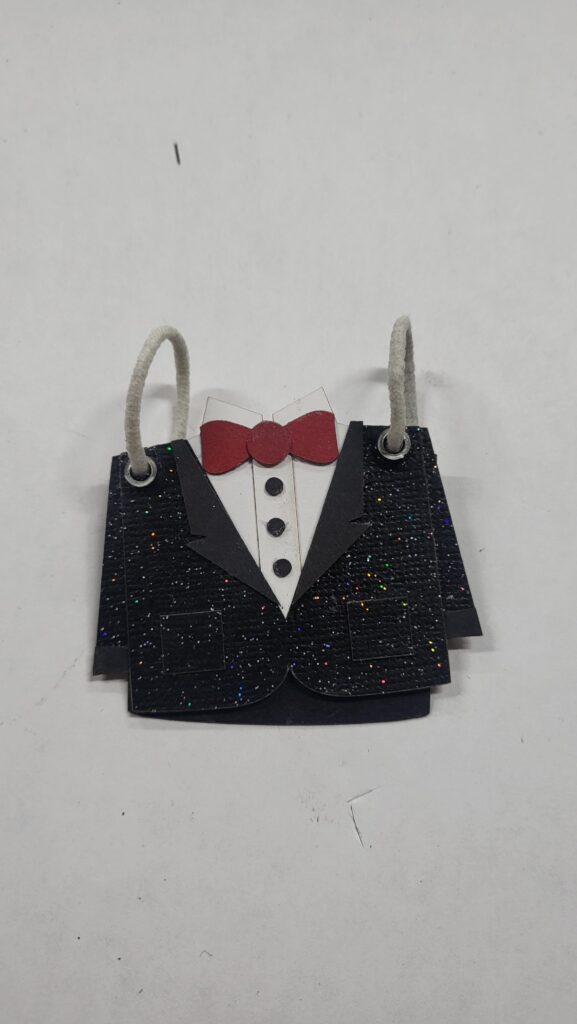
I then made the microphone, which was laser cut acrylic, stacked and shaped using the same methods as everything else round in this build: spinning it and using a grinder. The little tiny Telly on the bottom of the mic is a little cube of acrylic that I laser etched his face onto. The arms and legs are just dots of hot glue.
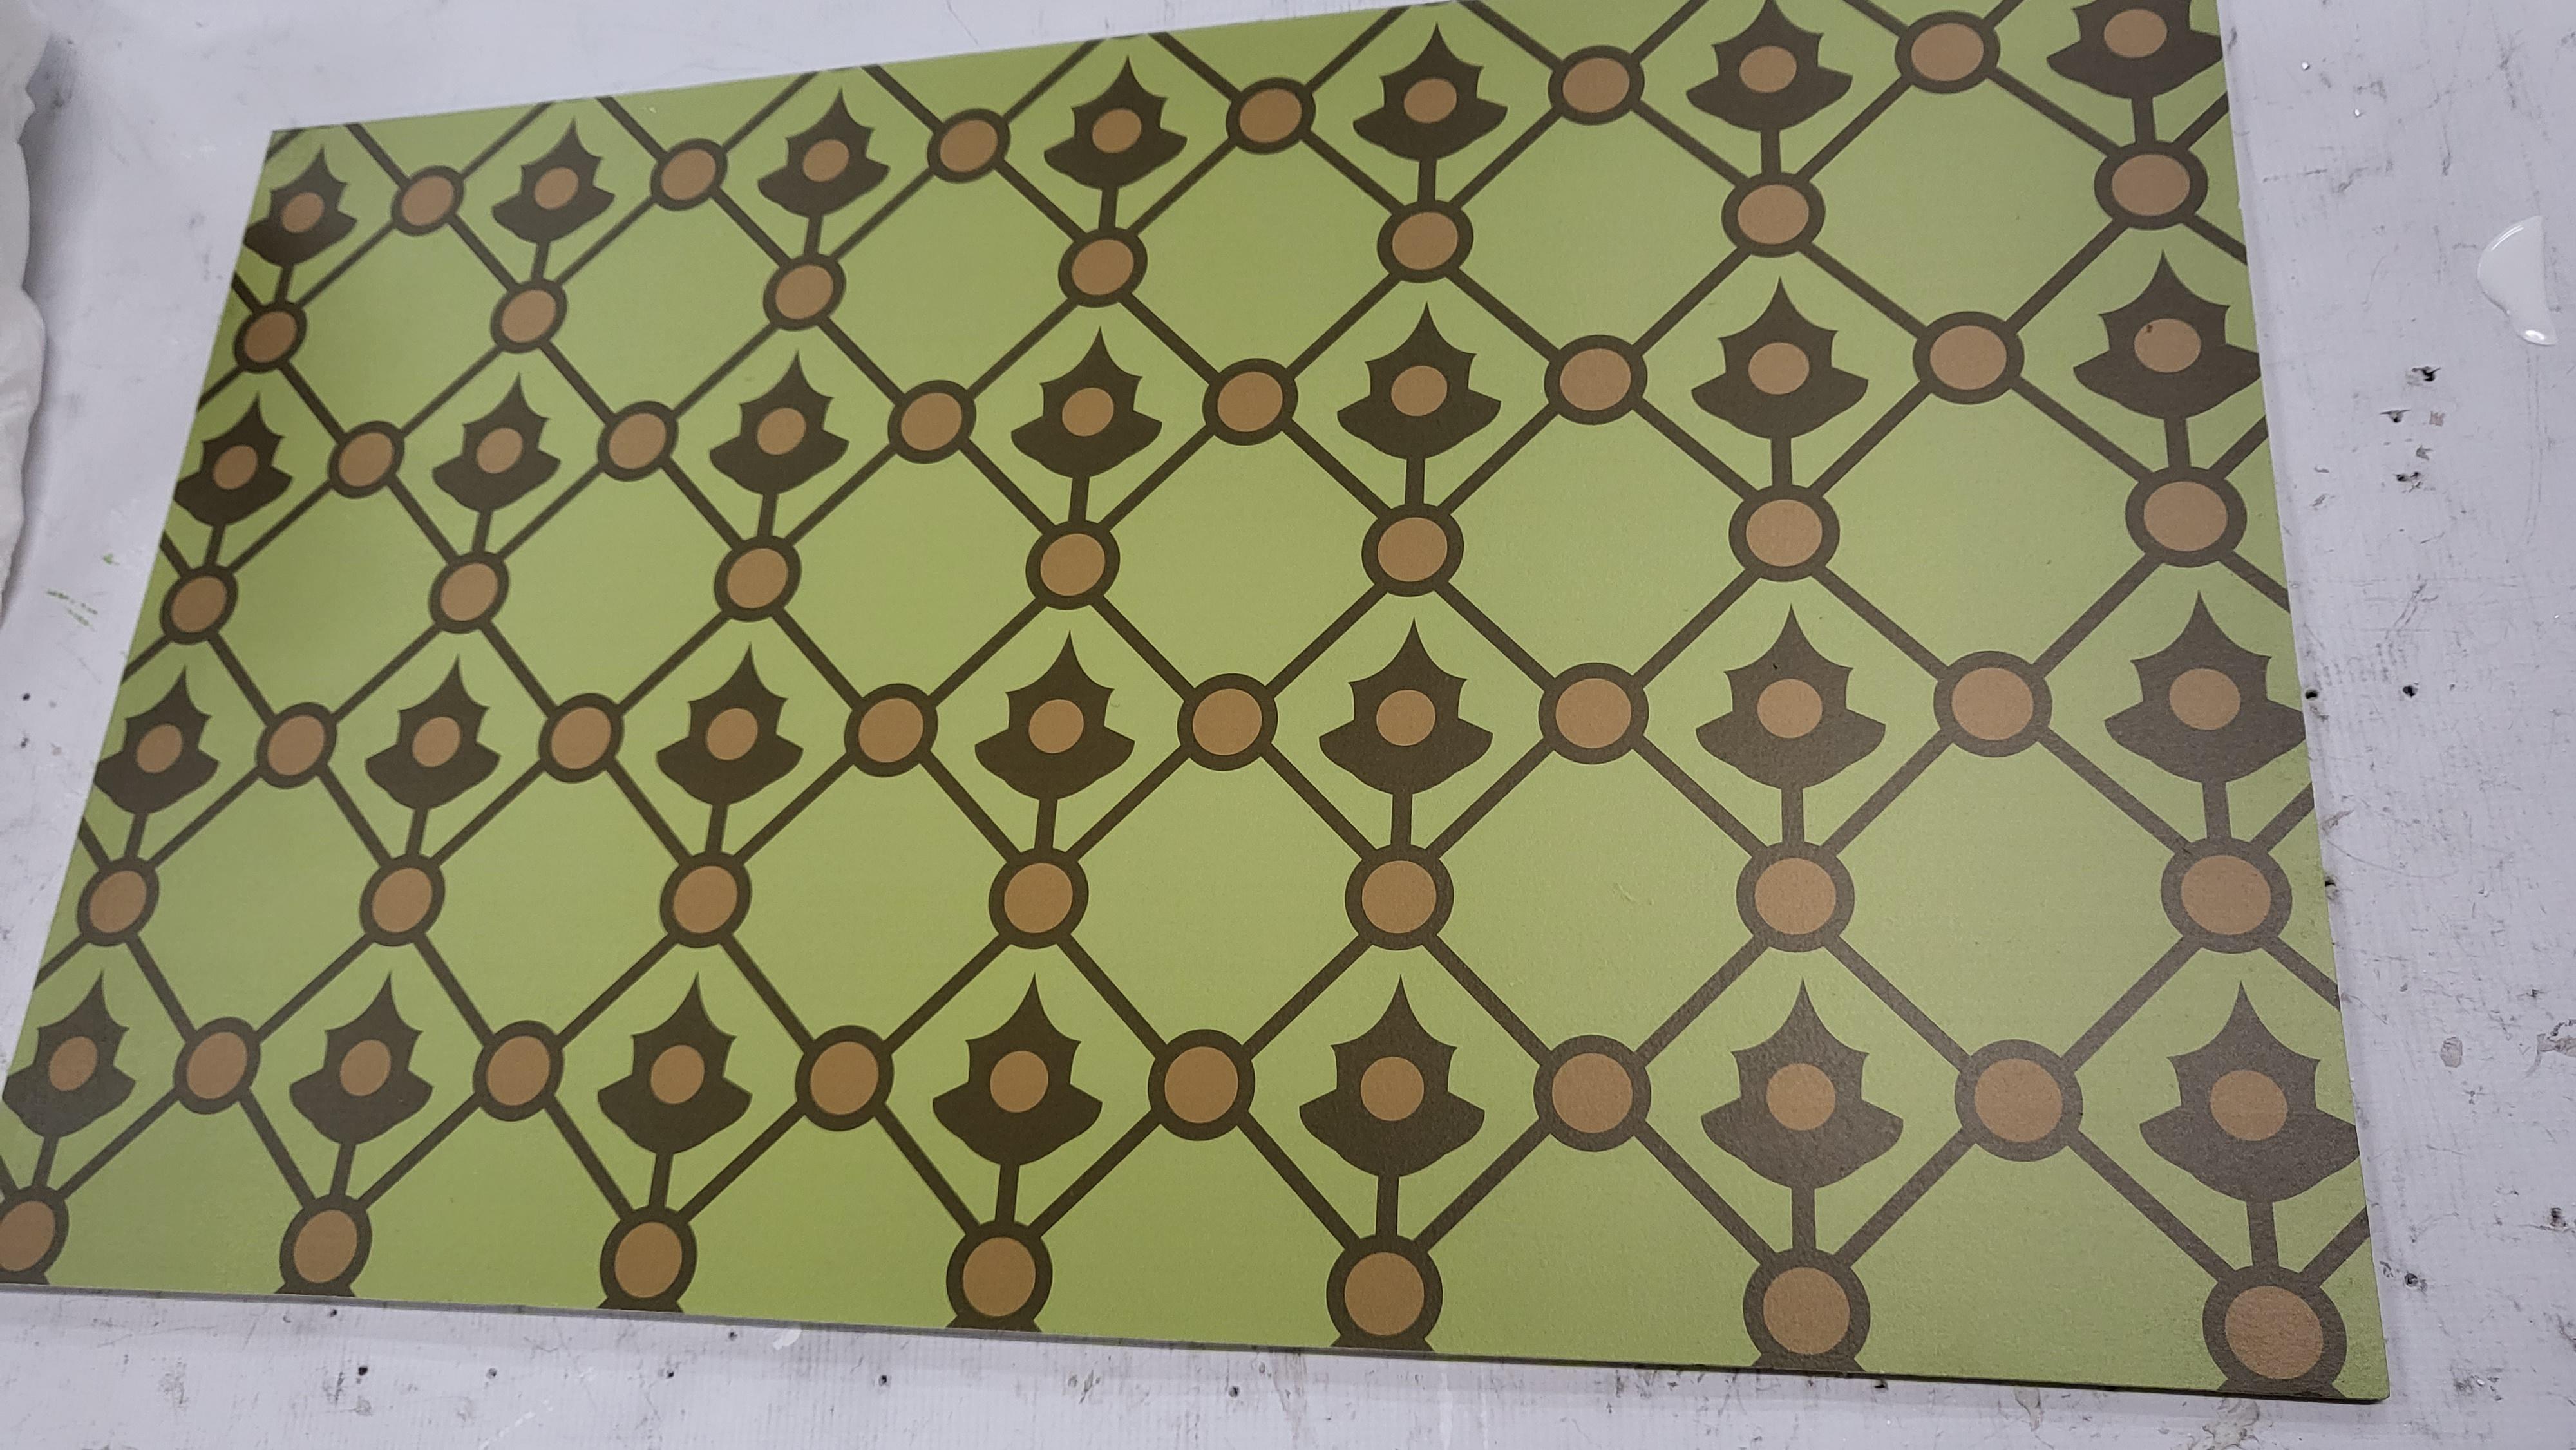
I then painted a board with some roll-on paint and had a design I made for the Sandersons’ wallpaper printed on it to use as the background for my photoshoot.
