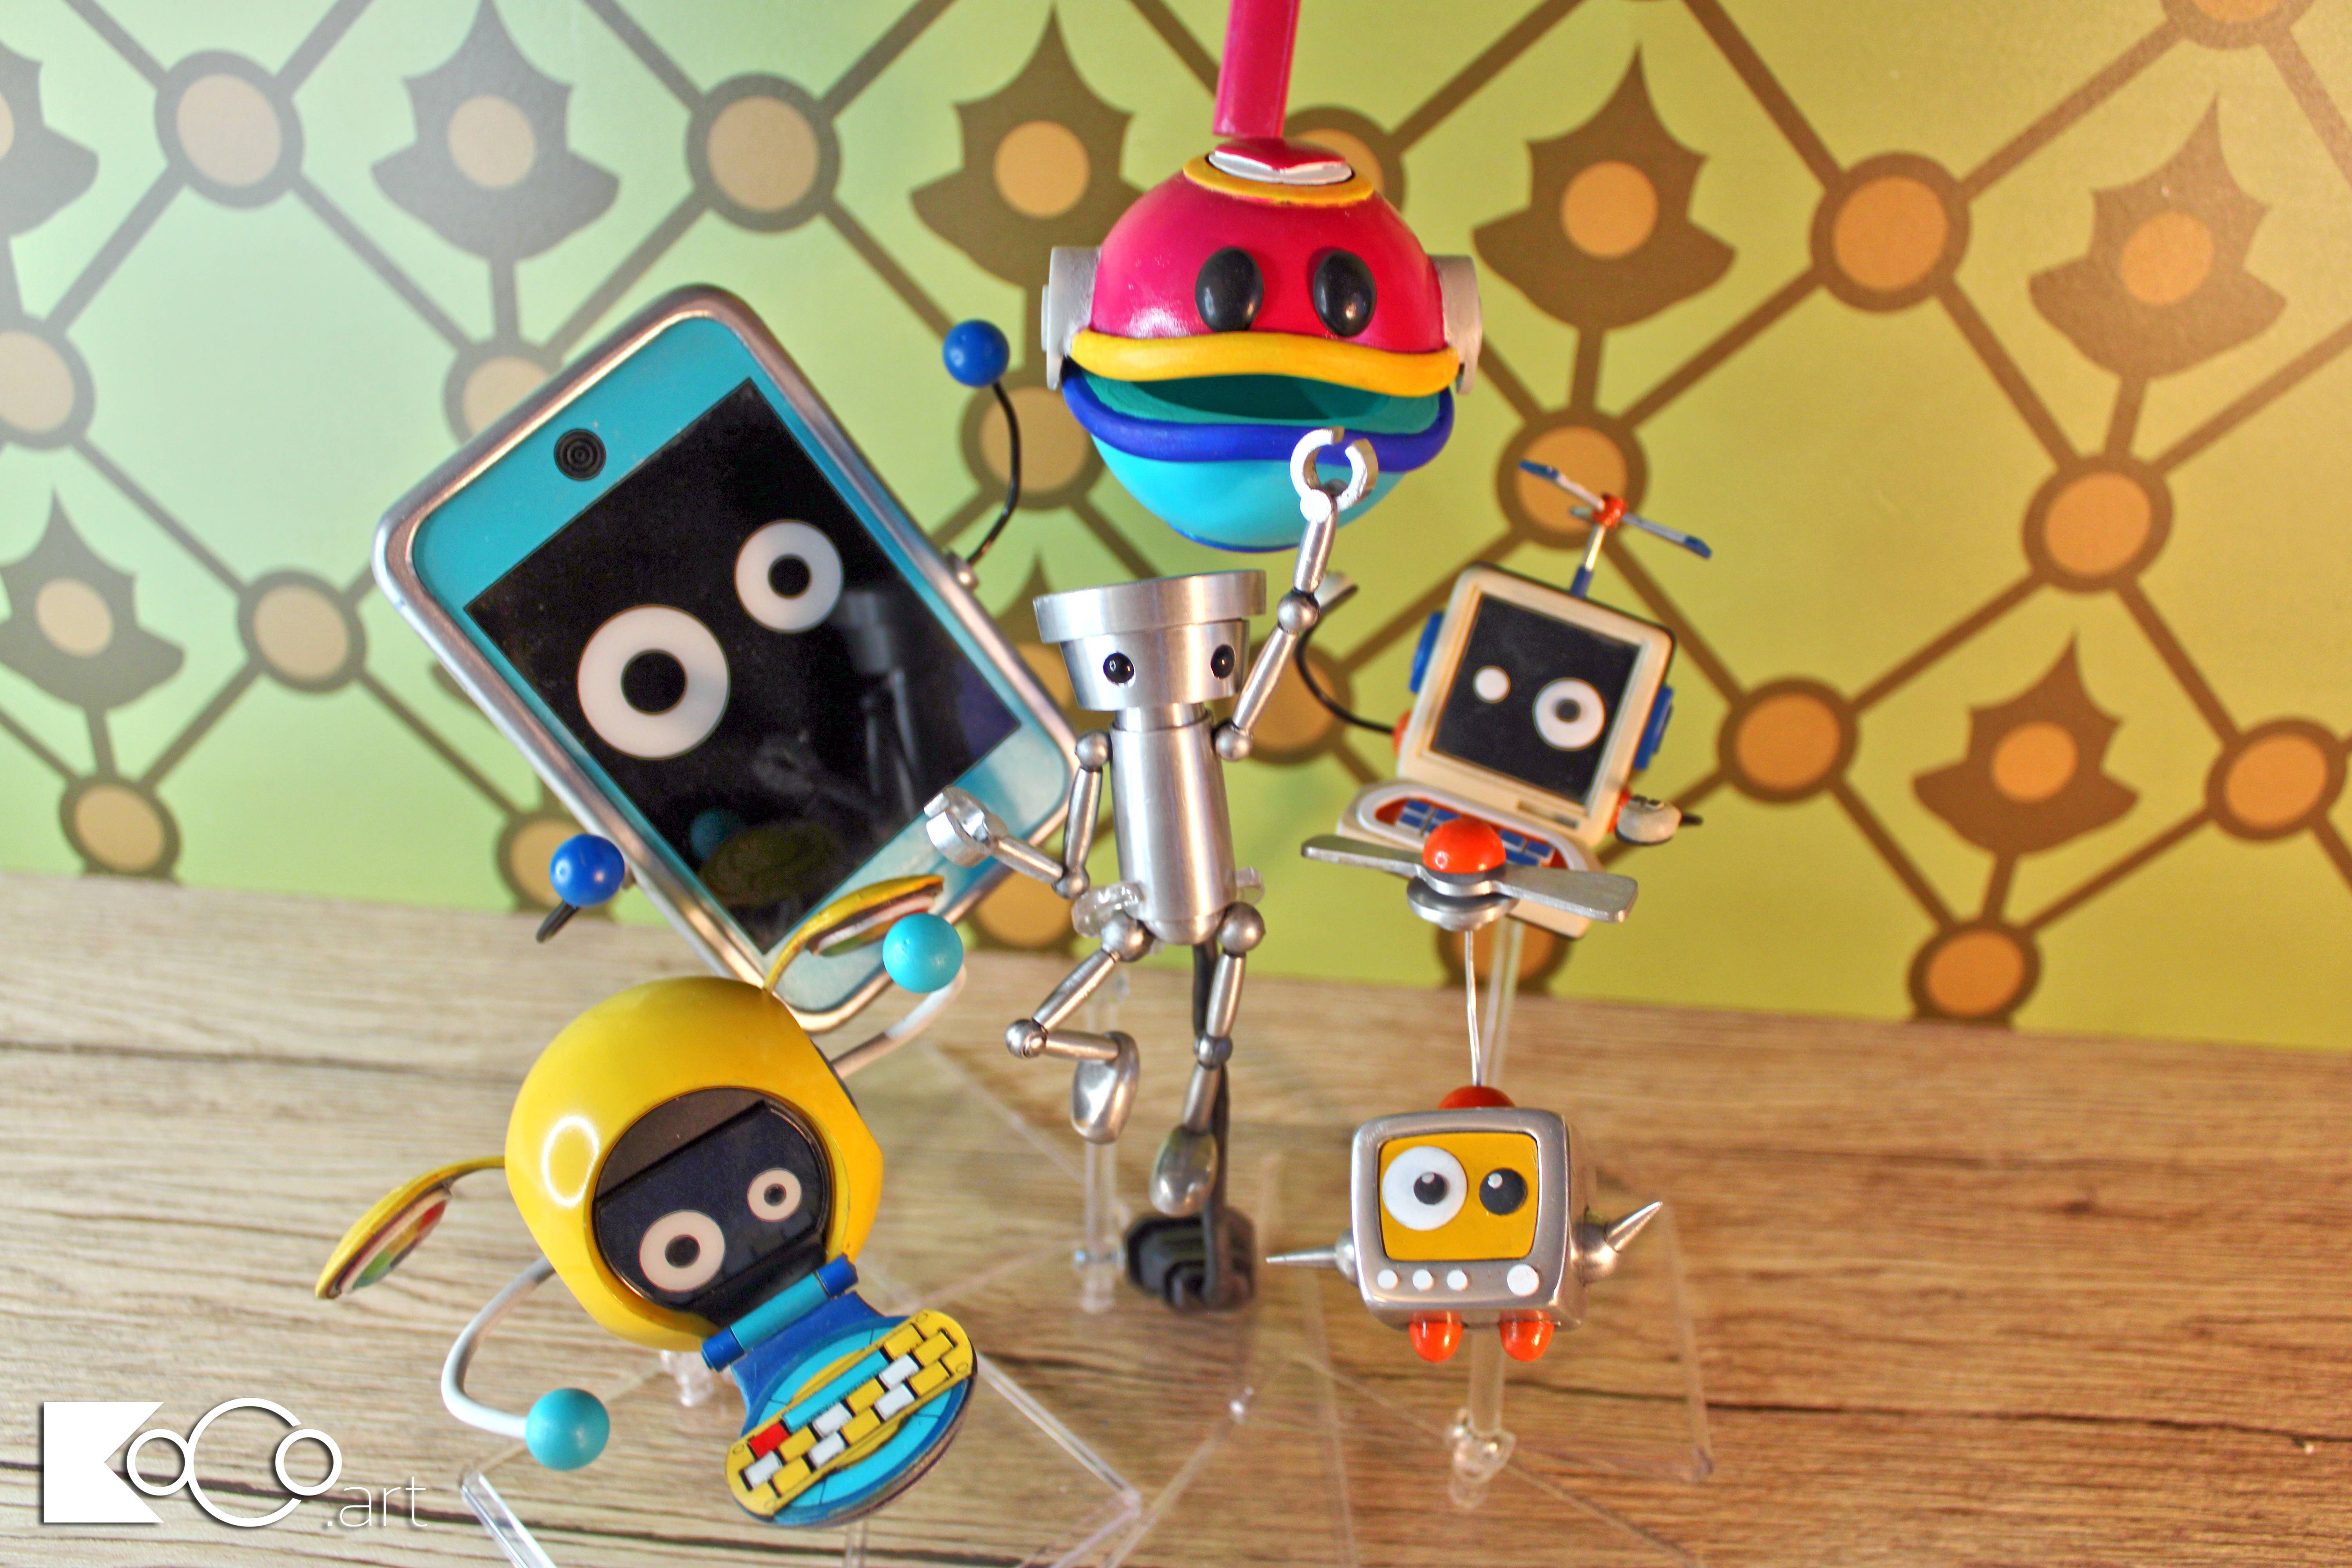
This is a continuation of a project to build a couple characters from the first Chibi-Robo game. You can find that post here: https://koco.art/chibi-robo/
In 2024, some months after my initial Chibi-Robo builds, a new game made by a few of the creatives from the series was announced as a spiritual successor. I decided it was time to go back and replicate the rest of Chibi-Robo’s companions from the various games.
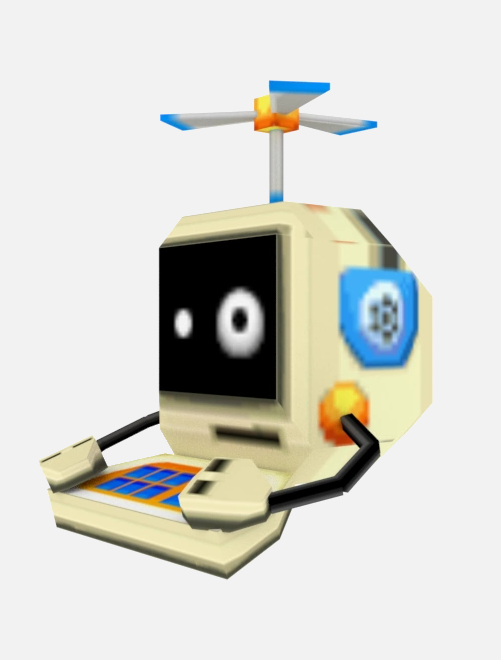
I decided to start with one of my favorite companion designs from the Chibi-Robo series, the Telly from “Clean Sweep”!, shown above.
This one would end up being a lot of fun, as the in-game model is very low-poly, and no key-art/concept art exists of him, so I got to design him more or less from scratch. Much more interpretive than a lot of my projects on this site.
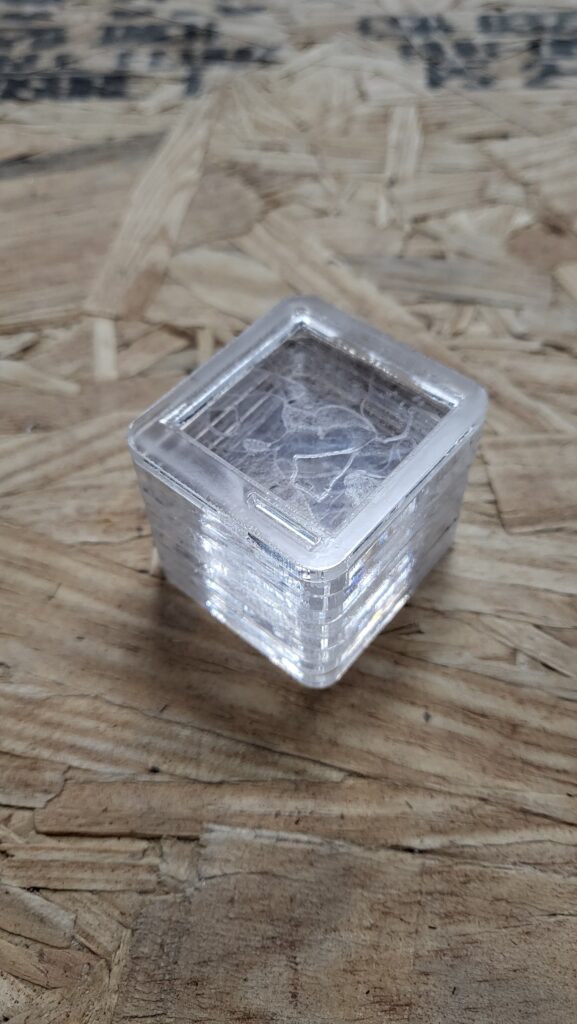
The main body, I decided, should be based on an i-Mac Gen 3. It’s a model I’m partial to, and some details, especially on the back, really reminded me of one.
I started by stacking up some laser cut acrylic to get the depth right, as well as a recess for the screen and CD-ROM drive in front.
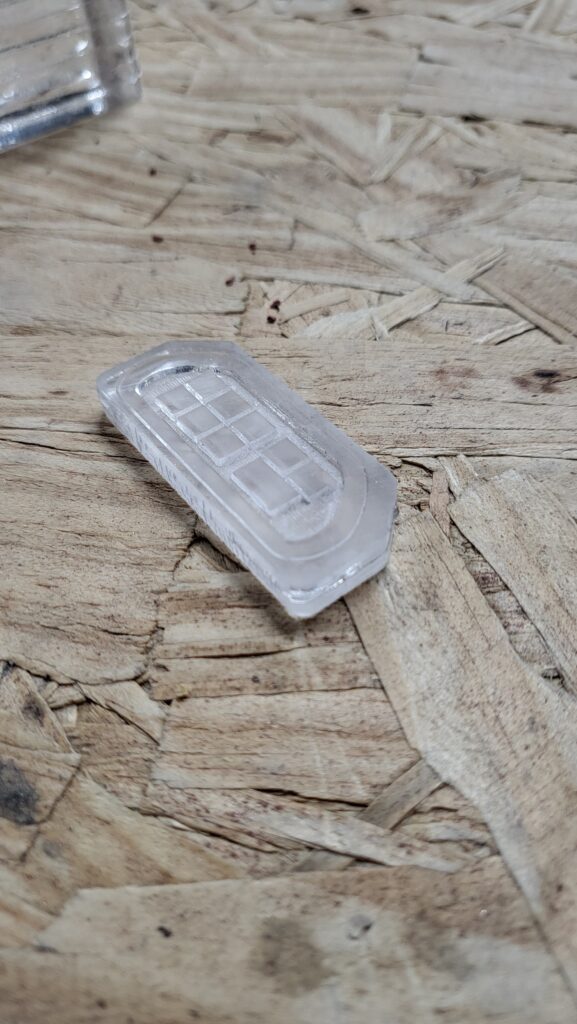
Next up was the keyboard. Same process. Laser cut acrylic, this time with the space between the keys etched. I decided to keep this one pretty boxy.
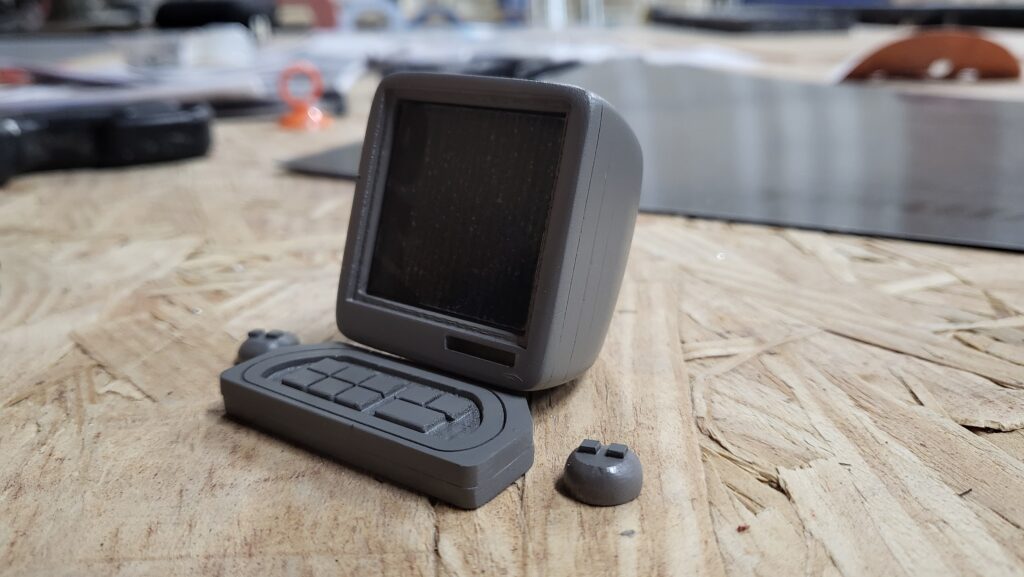
After grinding the profile of an i-Mac G3 into the back of the body, as well as grinding two little computer mouses (my computer tells me it’s mice, but I know I’m not wrong) round, I was left with these pieces.
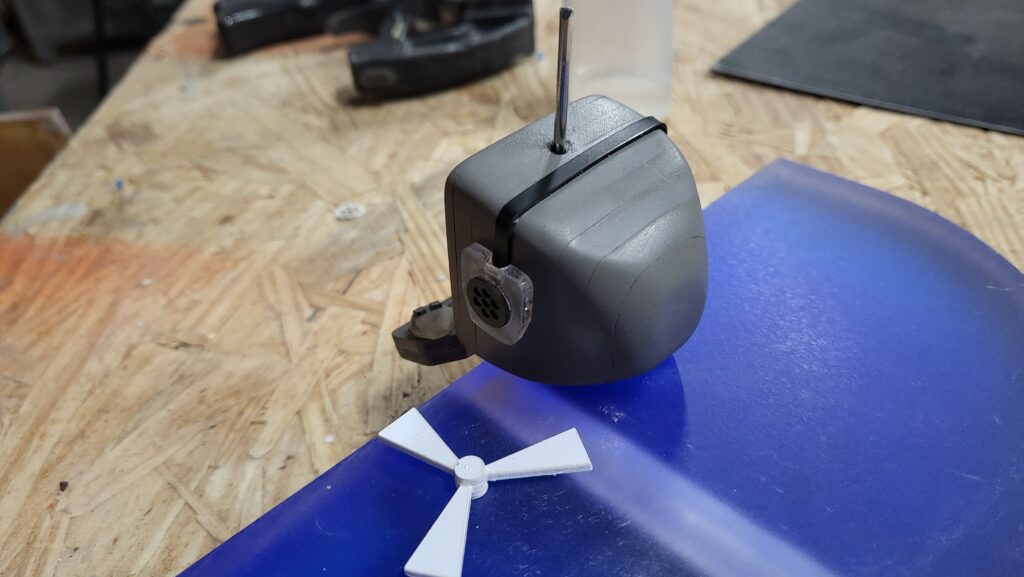
Here, you can see more detail on the back side, as well as the start of a styrene propeller, the top axle for the propeller, and some really cute little headphones. This was one of the details I was excited to see as more than low-res 2D texture.
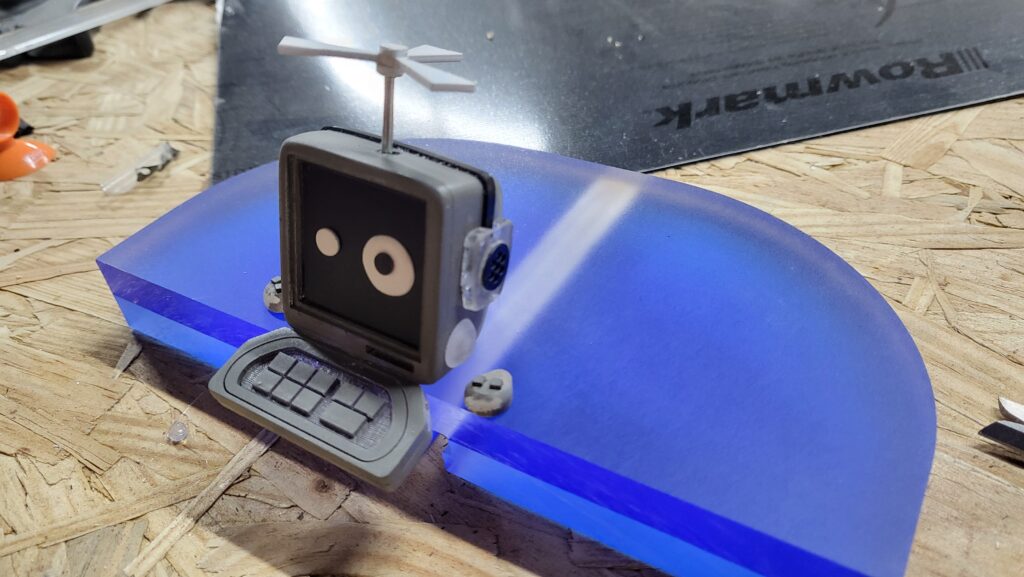
And here’s the other angle, showing his face.

After that, it was just filling and sanding, leading to painting. I also made some hemispheres for his shoulders, another detail I was delighted to see in 3D finally.
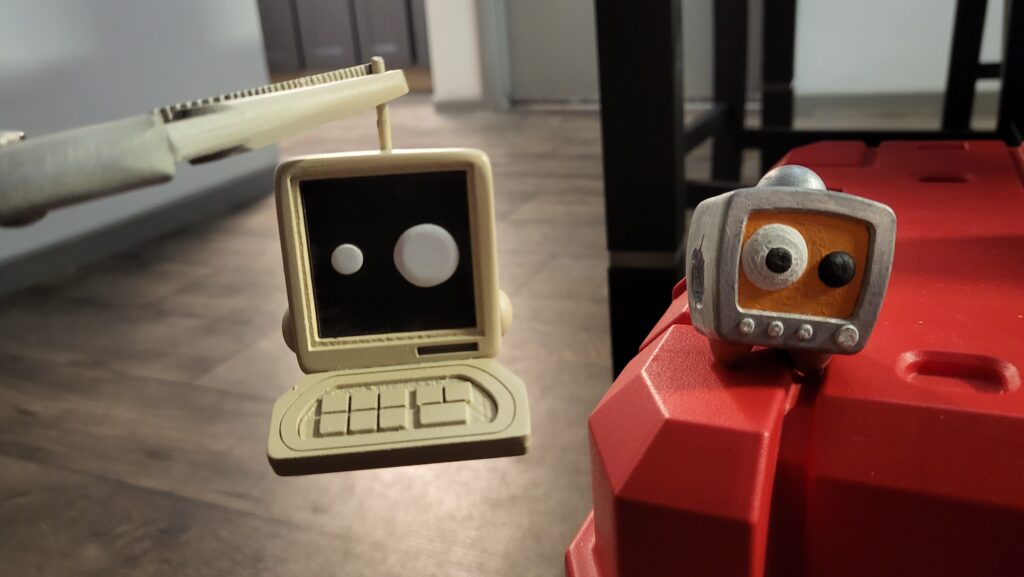
I was nervous the whole time how he would scale next to my existing models. Every companion was scaled individually to their respective Chibi-Robo character model for each game. Here you can see just how much bigger this companion is compared to the one from the first game. It was definitely interesting to start seeing them all side-by-side.
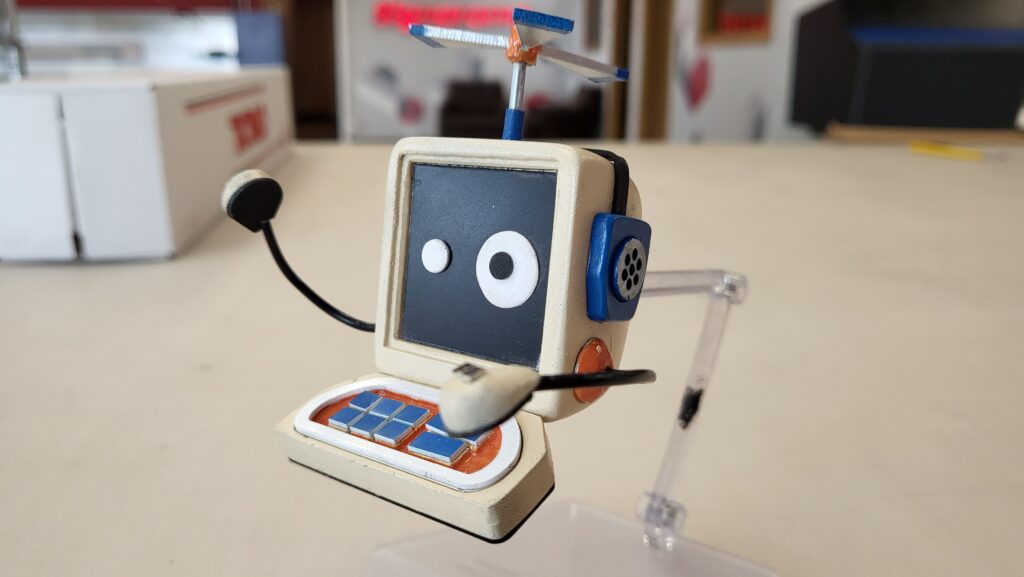
A few more minor details, and we were looking pretty good. I could have taken my time more in the painting process, but as a small part to a larger display, I’m pretty happy with him.
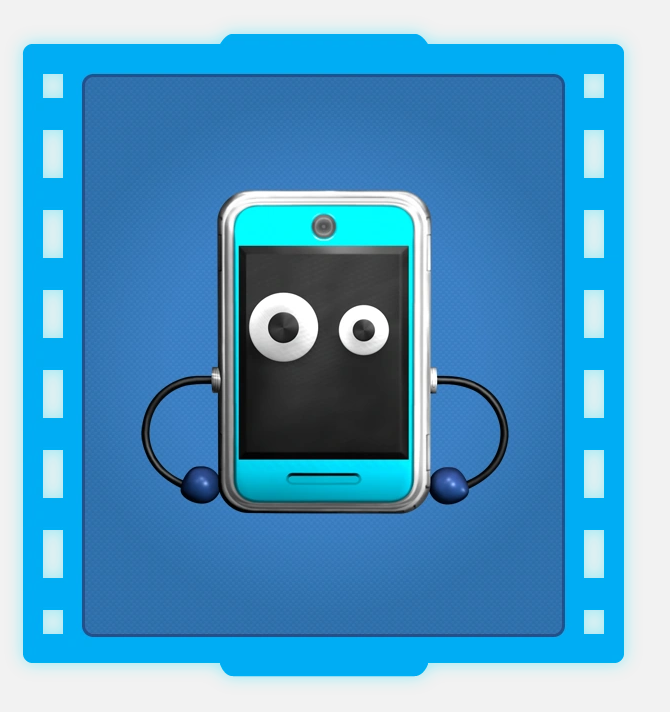
Next up was Telly from “Photo Finder”. I like to call this one Telly Phone.
Unfortunately, I didn’t document this one very well, as it went pretty quickly, and admittedly he’s not my favorite of the bunch.
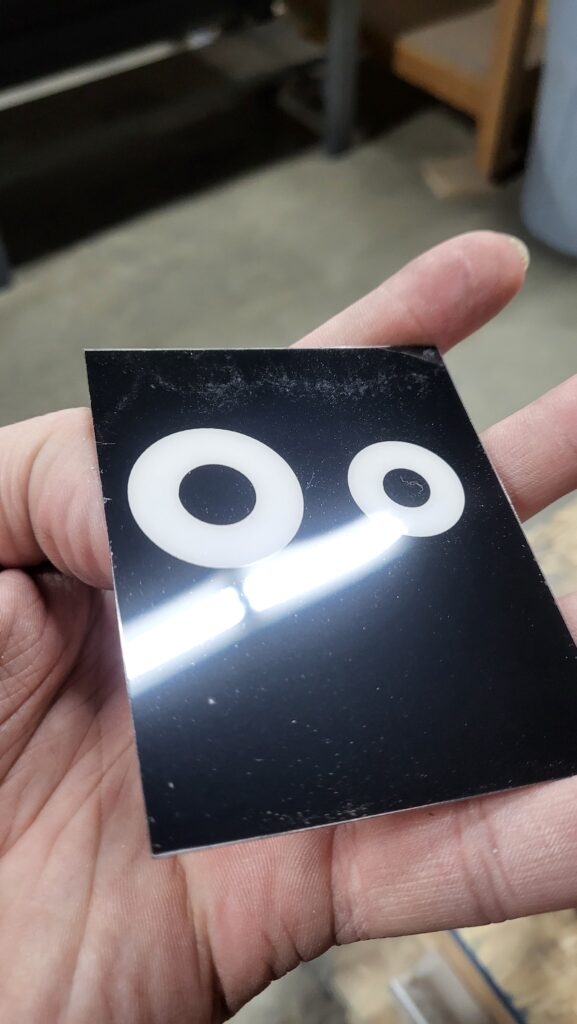
One thing I knew from the start was that I wanted his face to look like a real phone screen: all flat and shiny. To do this, I got some very thin acrylic and painted the back side, sort of like an old animation cell.
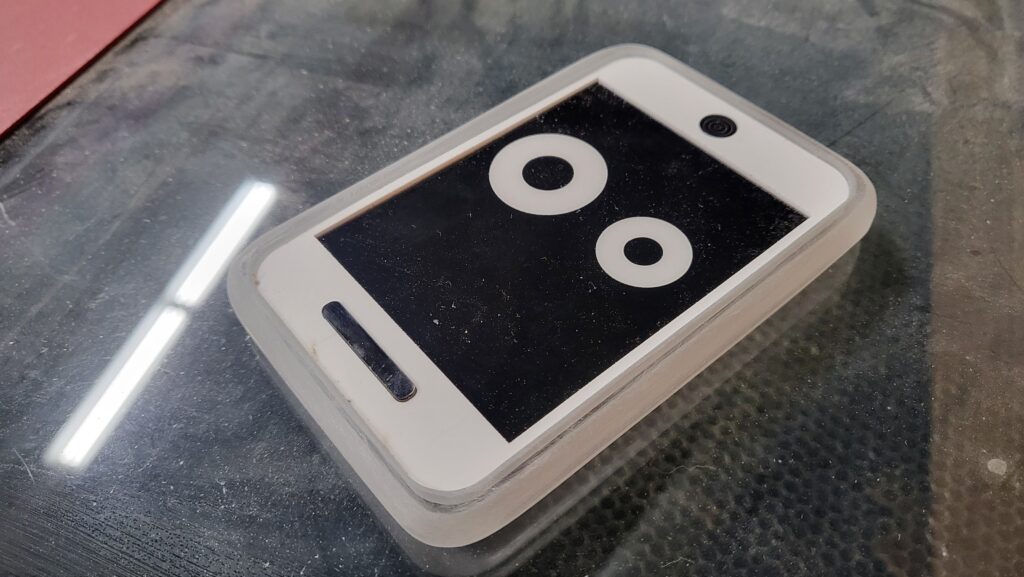
The body is 3/8″ acrylic, I believe, with a cavity routed in the center to house the face parts. I just sanded over the edges until they looked appropriately round enough. One day I may go back and make this part aluminum, as the rest of the Chibi-Robo display is aluminum where it’s supposed to be.
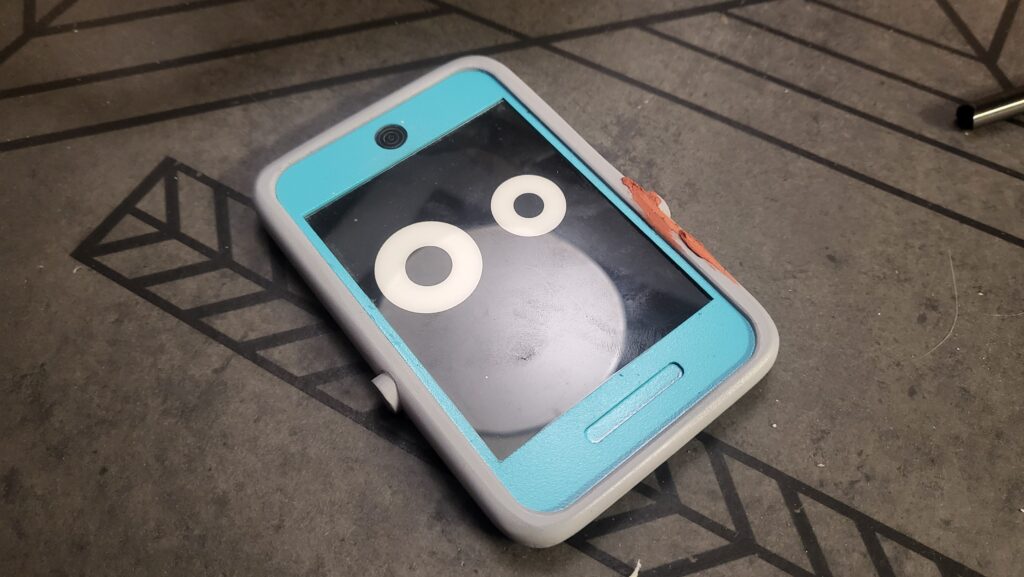
There’s still a bit of body work being done here, but he’s mostly finished. You can see his fake camera, as well as the cylindrical shoulder pieces.
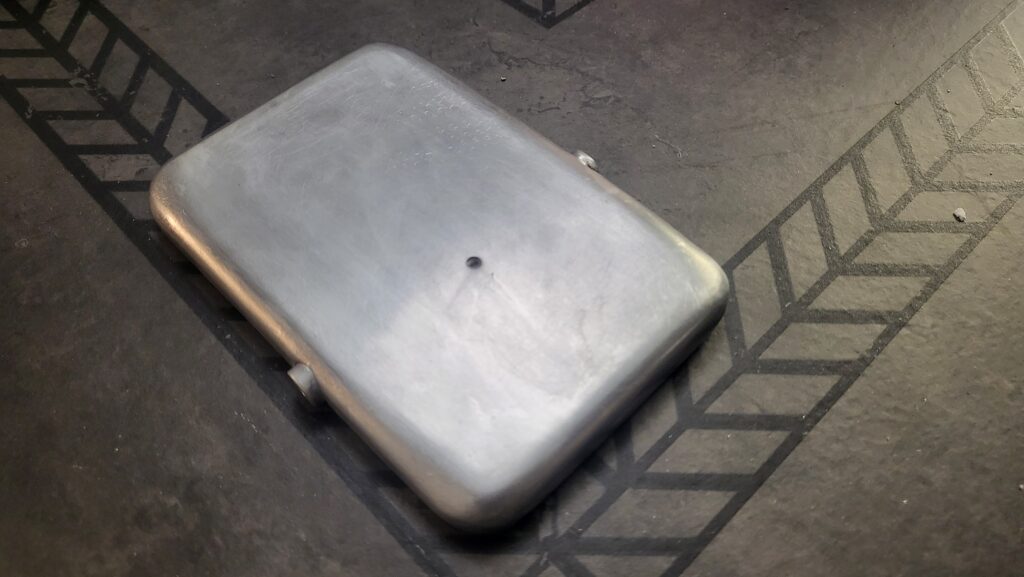
And this shows the final look of the Rub-n-Buff finish at the end.
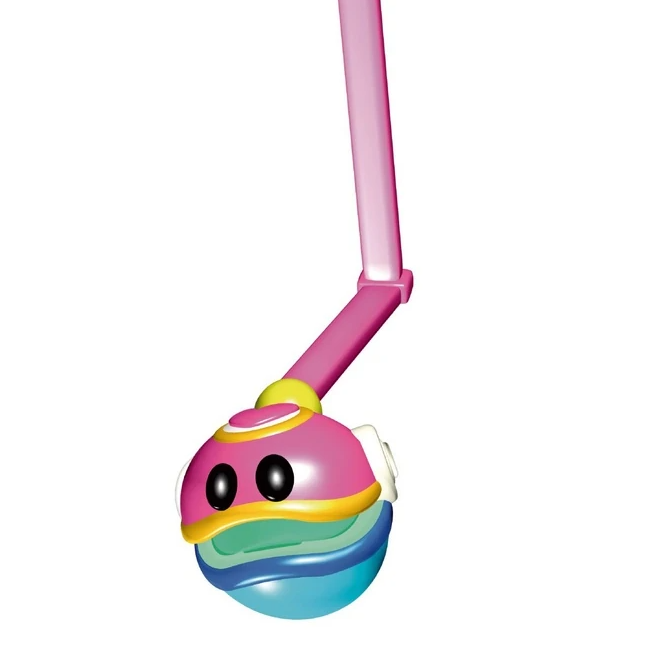
Next up is Chet from “Park Patrol”! He’s not my favorite, and the model I made of him is my least favorite of the bunch by far. There was a lot of detail I ended up noticing only later, mostly having to do with proportions. I might make a new version eventually. I think it would be a good project while I’m learning Blender. We’ll see.
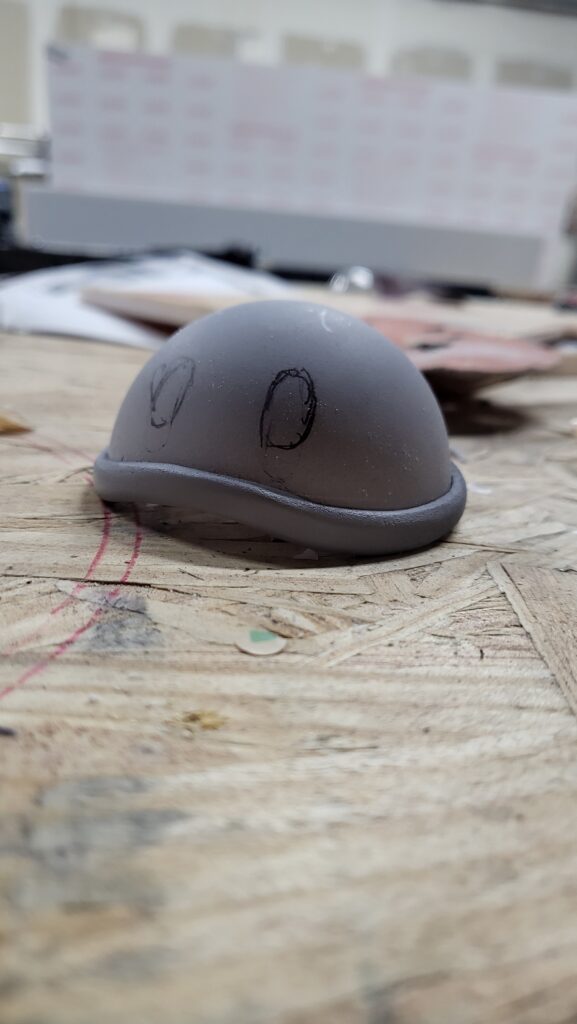
I started with two hemispheres and two thick rings of acrylic, maybe 1/2″ or so, which I gradually ground down into the shape of his lips.
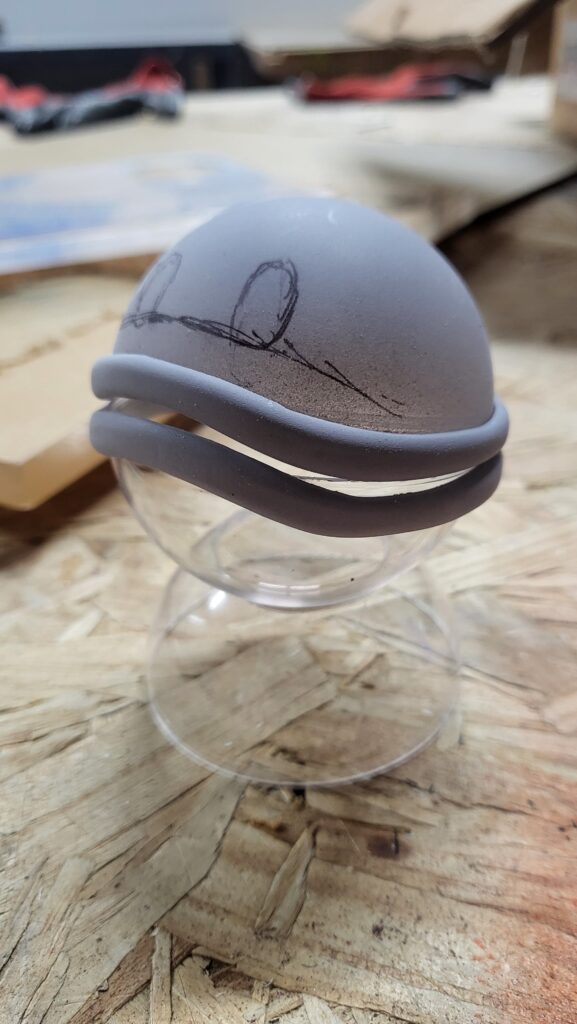
I had to make sure that the lips nested into one-another well. They are not the same shape, the curve along the top lip is much wider to accommodate the curve of the bottom lip.
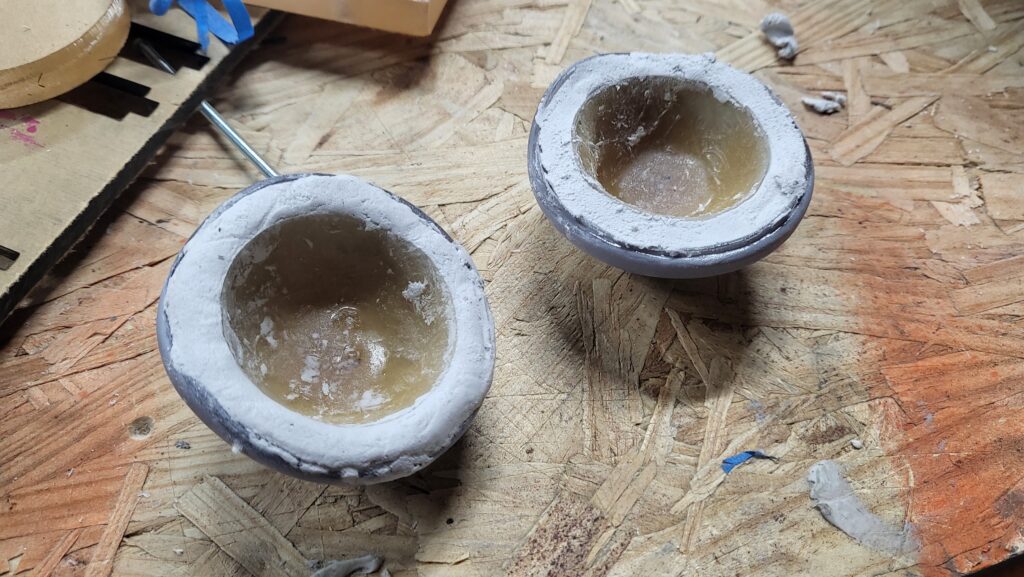
I then inset smaller hemispheres into the head. Unfortunately, I only had two that had been fiberglassed on the inside for a previous project (See https://koco.art/kenner-slime-blower/ ). I decided to just use those and smooth the inside as best I could. The filler material around the hemispheres is Smooth On Freeform Air. Good stuff.
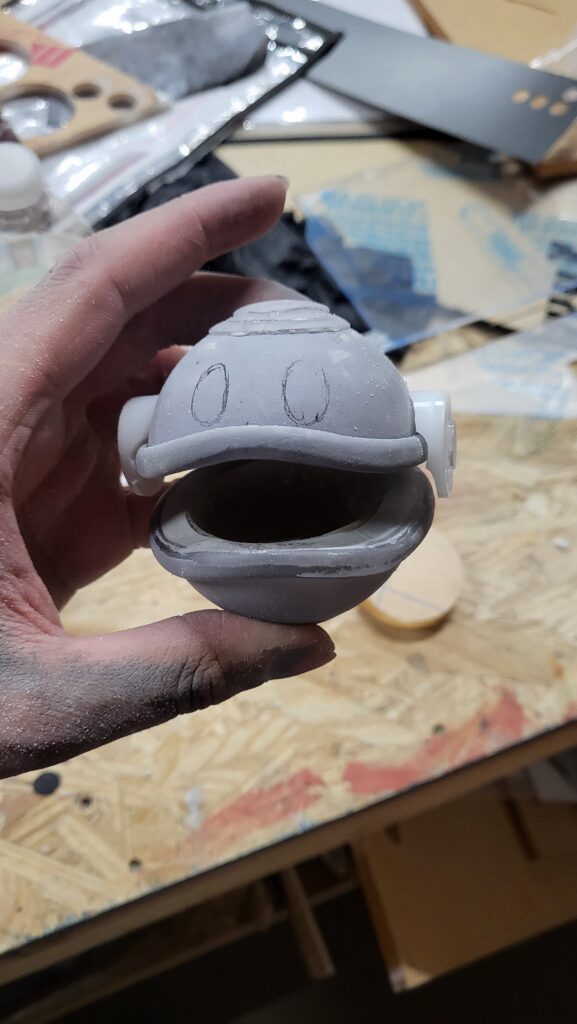
Here you can see the inside of the mouth after a little refining, as well as the first set of eyes, the heart detail on the top of the head, and the fake hinges on each side of the head. The hinges had to be fake, as the back of the hemispheres would intersect if used.
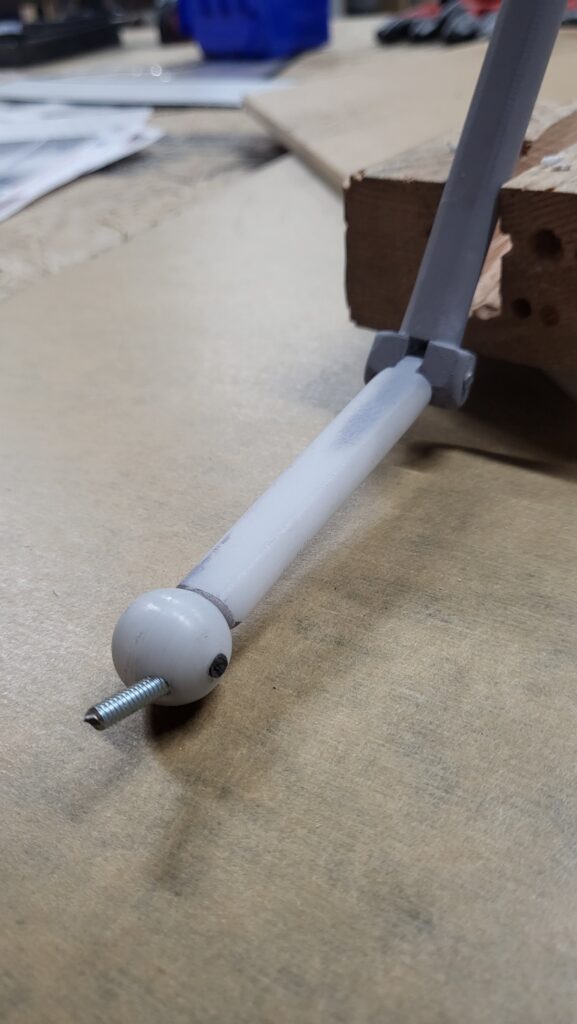
Next up was Chet’s arm, which he hangs down from the Chibi-PC from in his game. My Chet will just be dangling from a shelf by his arm though. To do this, I just Cut the shapes from acrylic and rounded the sides. I made a basic little ball joint by grinding acrylic down to two hemispheres, and running a bolt through them. It worked out okay. I mostly just wanted to see if I could do it.
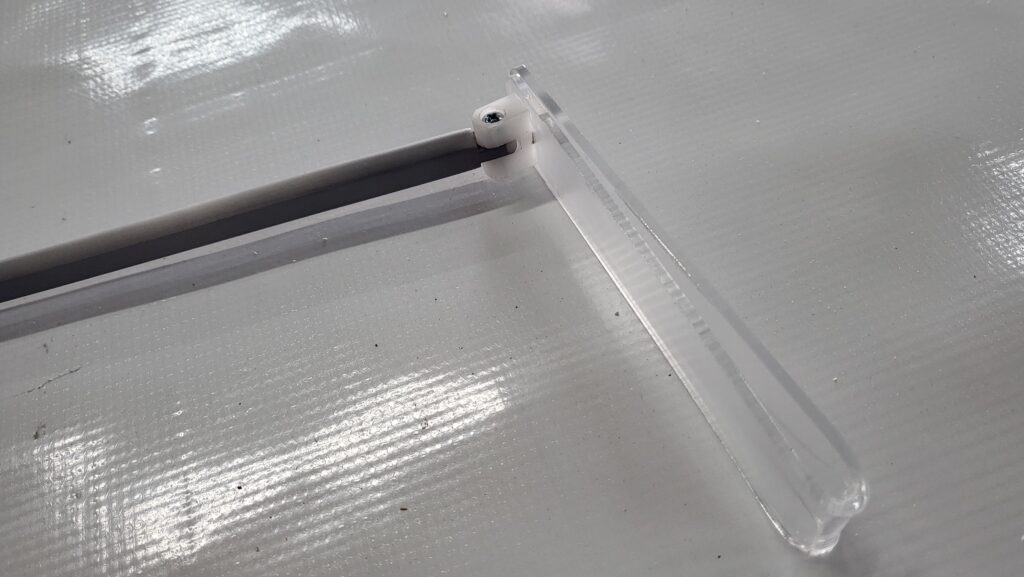
The top end of the arm has a big hook made from clear acrylic that was heated and bent over itself, which I can hang from shelves, tables, etc.
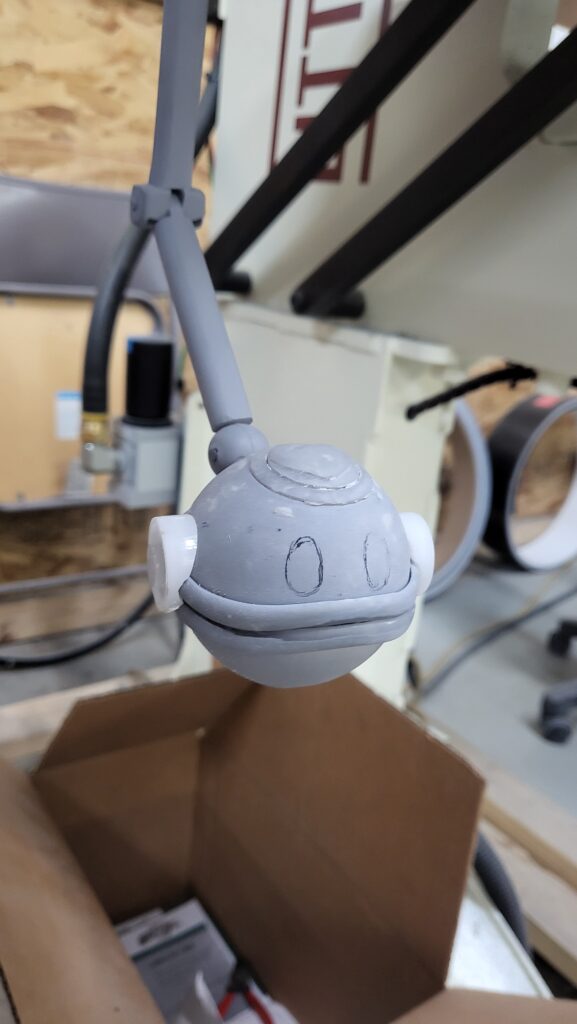
Here’s the major parts together, hanging off of an expensive machine at my work.
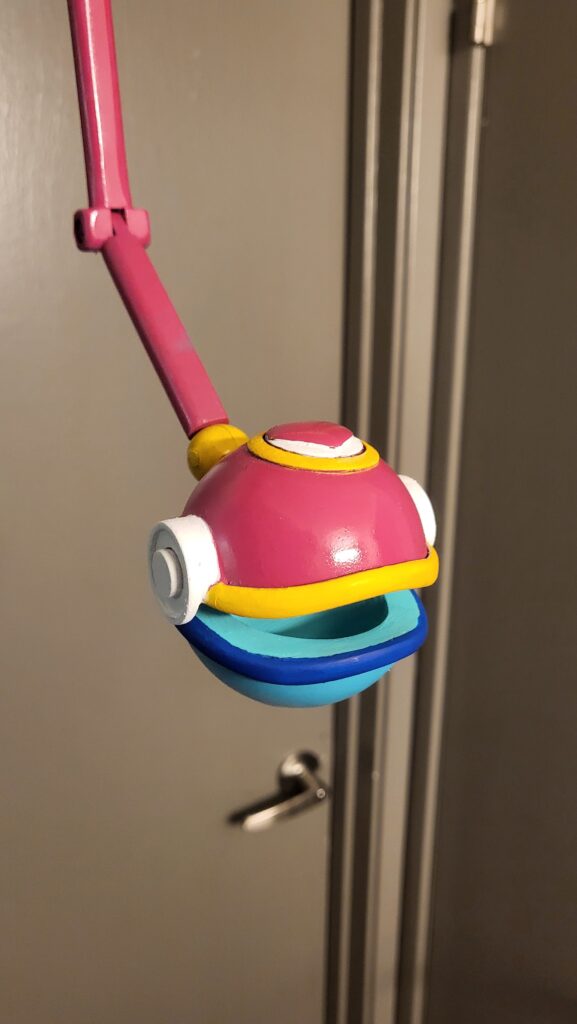
And to spare you some detail, here he is after his paint job. I’m actually cheating a bit, as this was one of the last things I did on this whole project, so I didn’t actually get pics of him with his eyes on, as I just took big group shots at that point instead. You’ll have to wait and see him finished (as well as Telly Phone, I guess) at the end of this post.
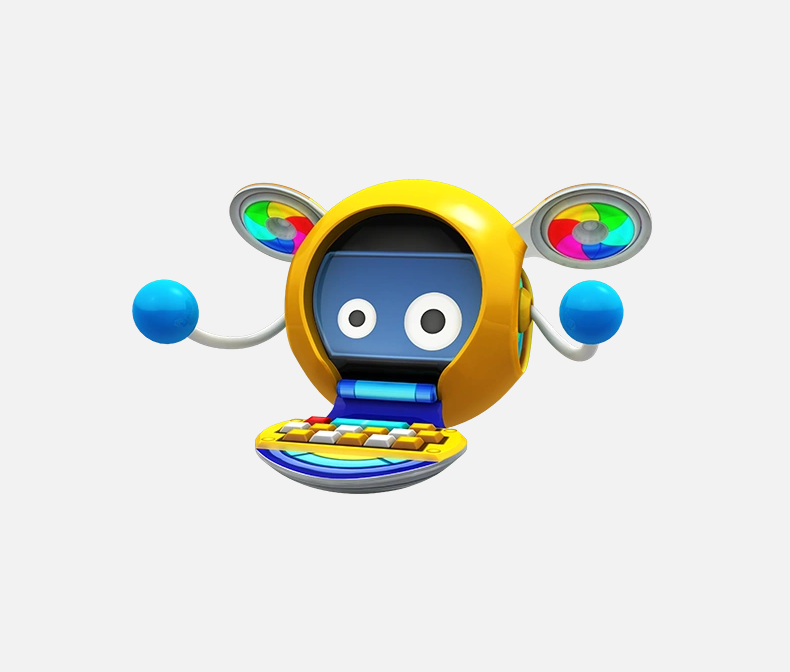
Here we go. I saved the best for last, both in build order, as well as post order. This is one of my favorite robot designs ever, and certainly one of my favorite Telly Visions. He just looks gorgeous, so I finally pulled out all the stops and tried to make something that looked as good as I could make it. The rest of these companions were simply that. Companion pieces to this guy. Here we go.
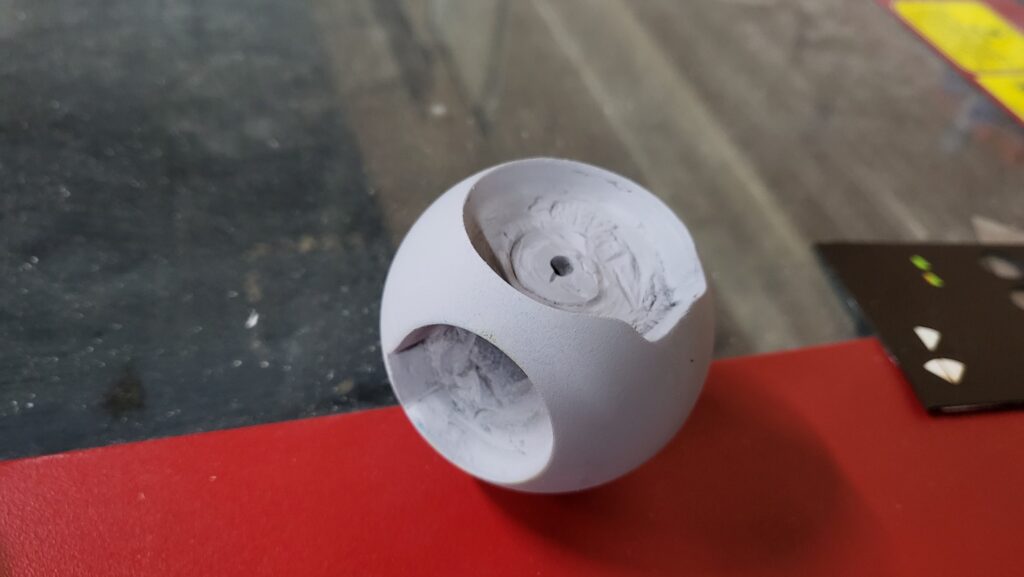
I started with two acrylic hemispheres, which I carefully cut out hole in for the face and arms. This was laser cut, but I had to go through like 6 or 7 pairs until I got two that were perfect.
After that, I glued them together and filled them with Smooth On Freeform Air. Good stuff. There’s quite a bit of depth from the outer shell to the base of the shoulders/face, so I did my best to smooth out the edges after applying.
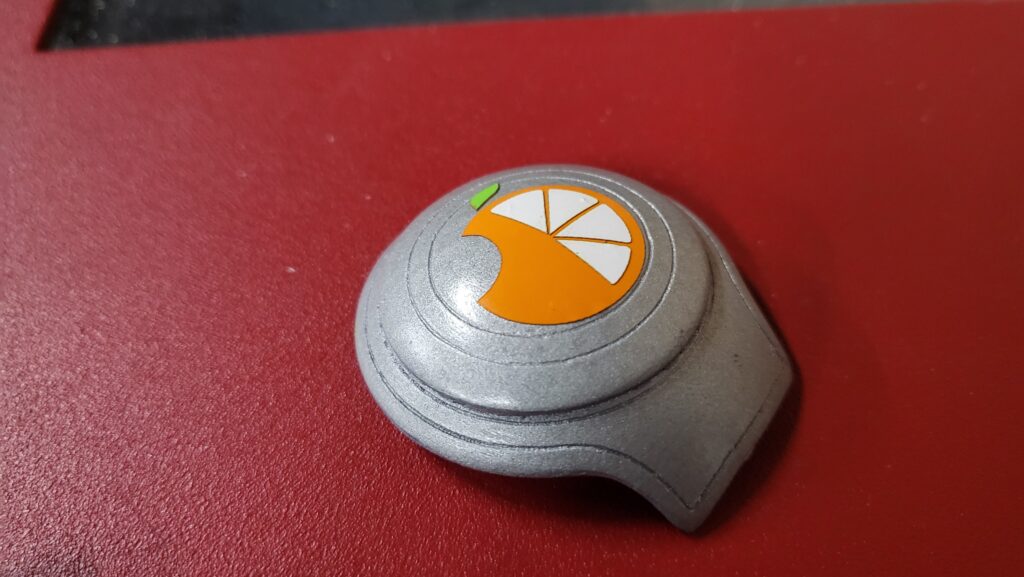
Next up was his front tray. These stacked parts are cut off some acrylic hemispheres as well. After some research, I realized he had a little Citrusoft Robotics logo under his tray. You hardly see it in-game. That was cut from vinyl and applied after paint.

The top side of the tray was filled in with plumbers epoxy (I should have used Smooth On Freeform Air. It’s good stuff). I then made some back-sprayed acrylic pieces for above and below his keyboard. Again, think old animation cells.

The same process was applied to the keys for the keyboard, and then everything was glued in place. Those keys are tiny, which explains a small amount of crookedness, here and there.
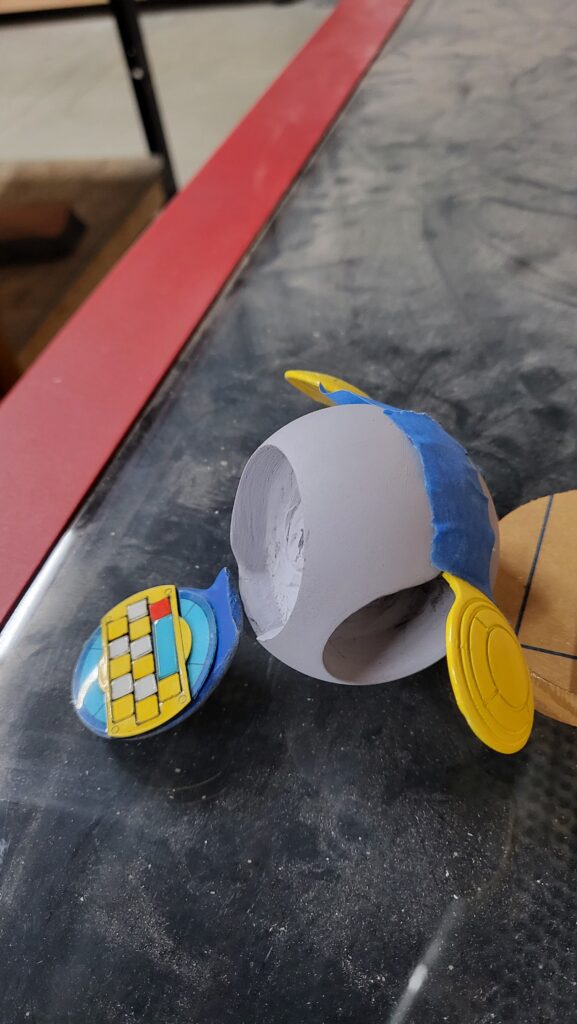
And here’s a mockup of the body, the tray, and some ear flaps I made him. Same process, just cutting them out of some acrylic hemispheres. I can’t explain enough how inconsistent that process is though. Man, oh man.
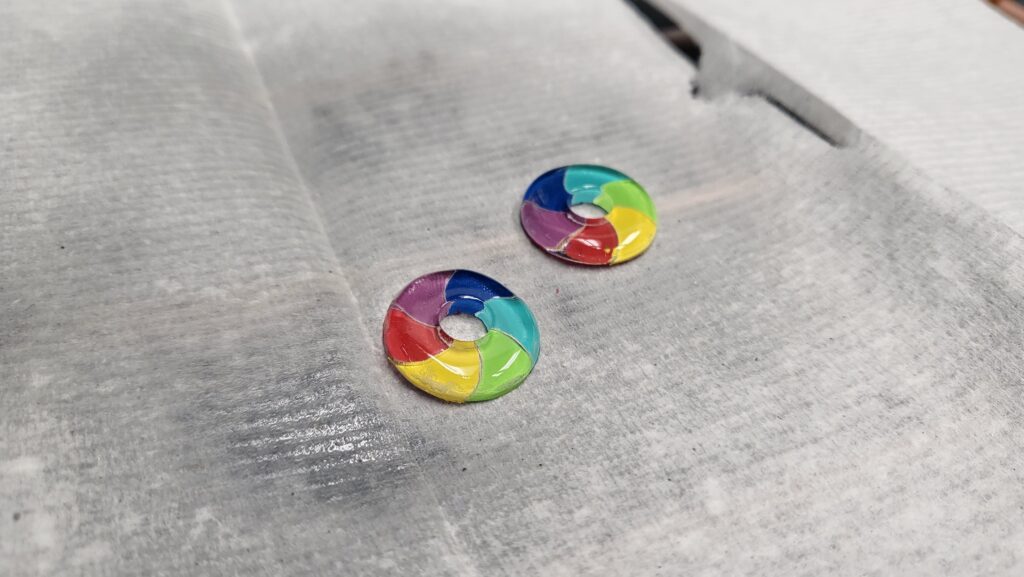
I then layered some very small pieces of vinyl behind some small donuts of acrylic that I made. These will sit inside the ear flaps as futuristic little anti-grav propellers.
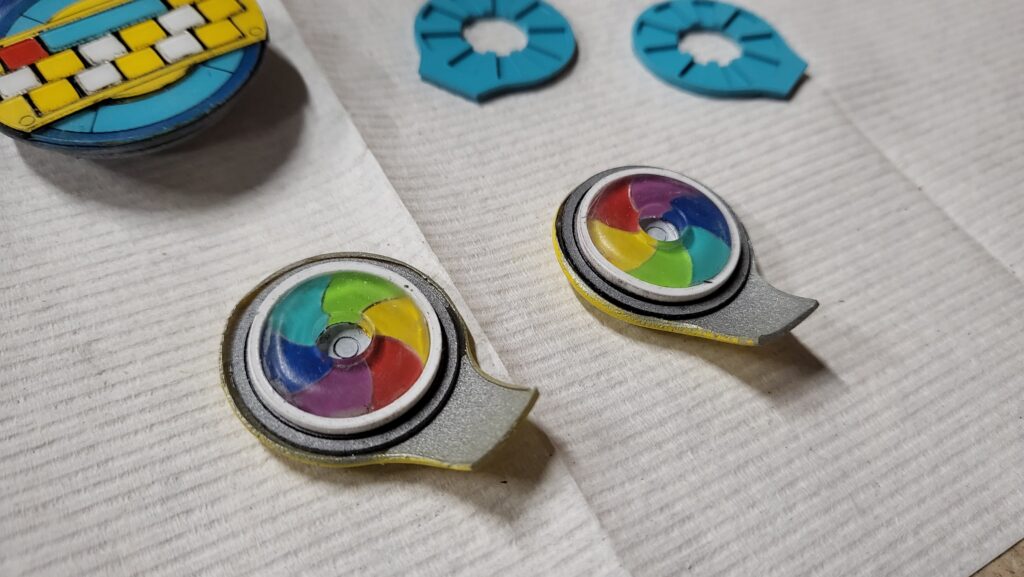
Sorry it feels like we’re skipping a lot. I was excited for this one, so I was just blitzing through it. Here’s the donuts mounted on the inside of the ear flaps. I made a little plastic bezel to go on the outside, and a small circular platform for them to sit on. You can also see some blue discs in the top right. These are some of what goes in the recesses in the body for the shoulders.

The body’s paint turned out flawlessly, and the seam between hemispheres, nonexistent.

These sit just outside the blue discs I pointed out earlier. They were cut from some acrylic hemispheres, then sprayed with some Tamiya translucent blue spray paint. I can still smell it as I type this, months later.

Here’s a good shot of the shoulder. It goes blue disc > small bead > translucent blue piece > ear flaps (not pictured)
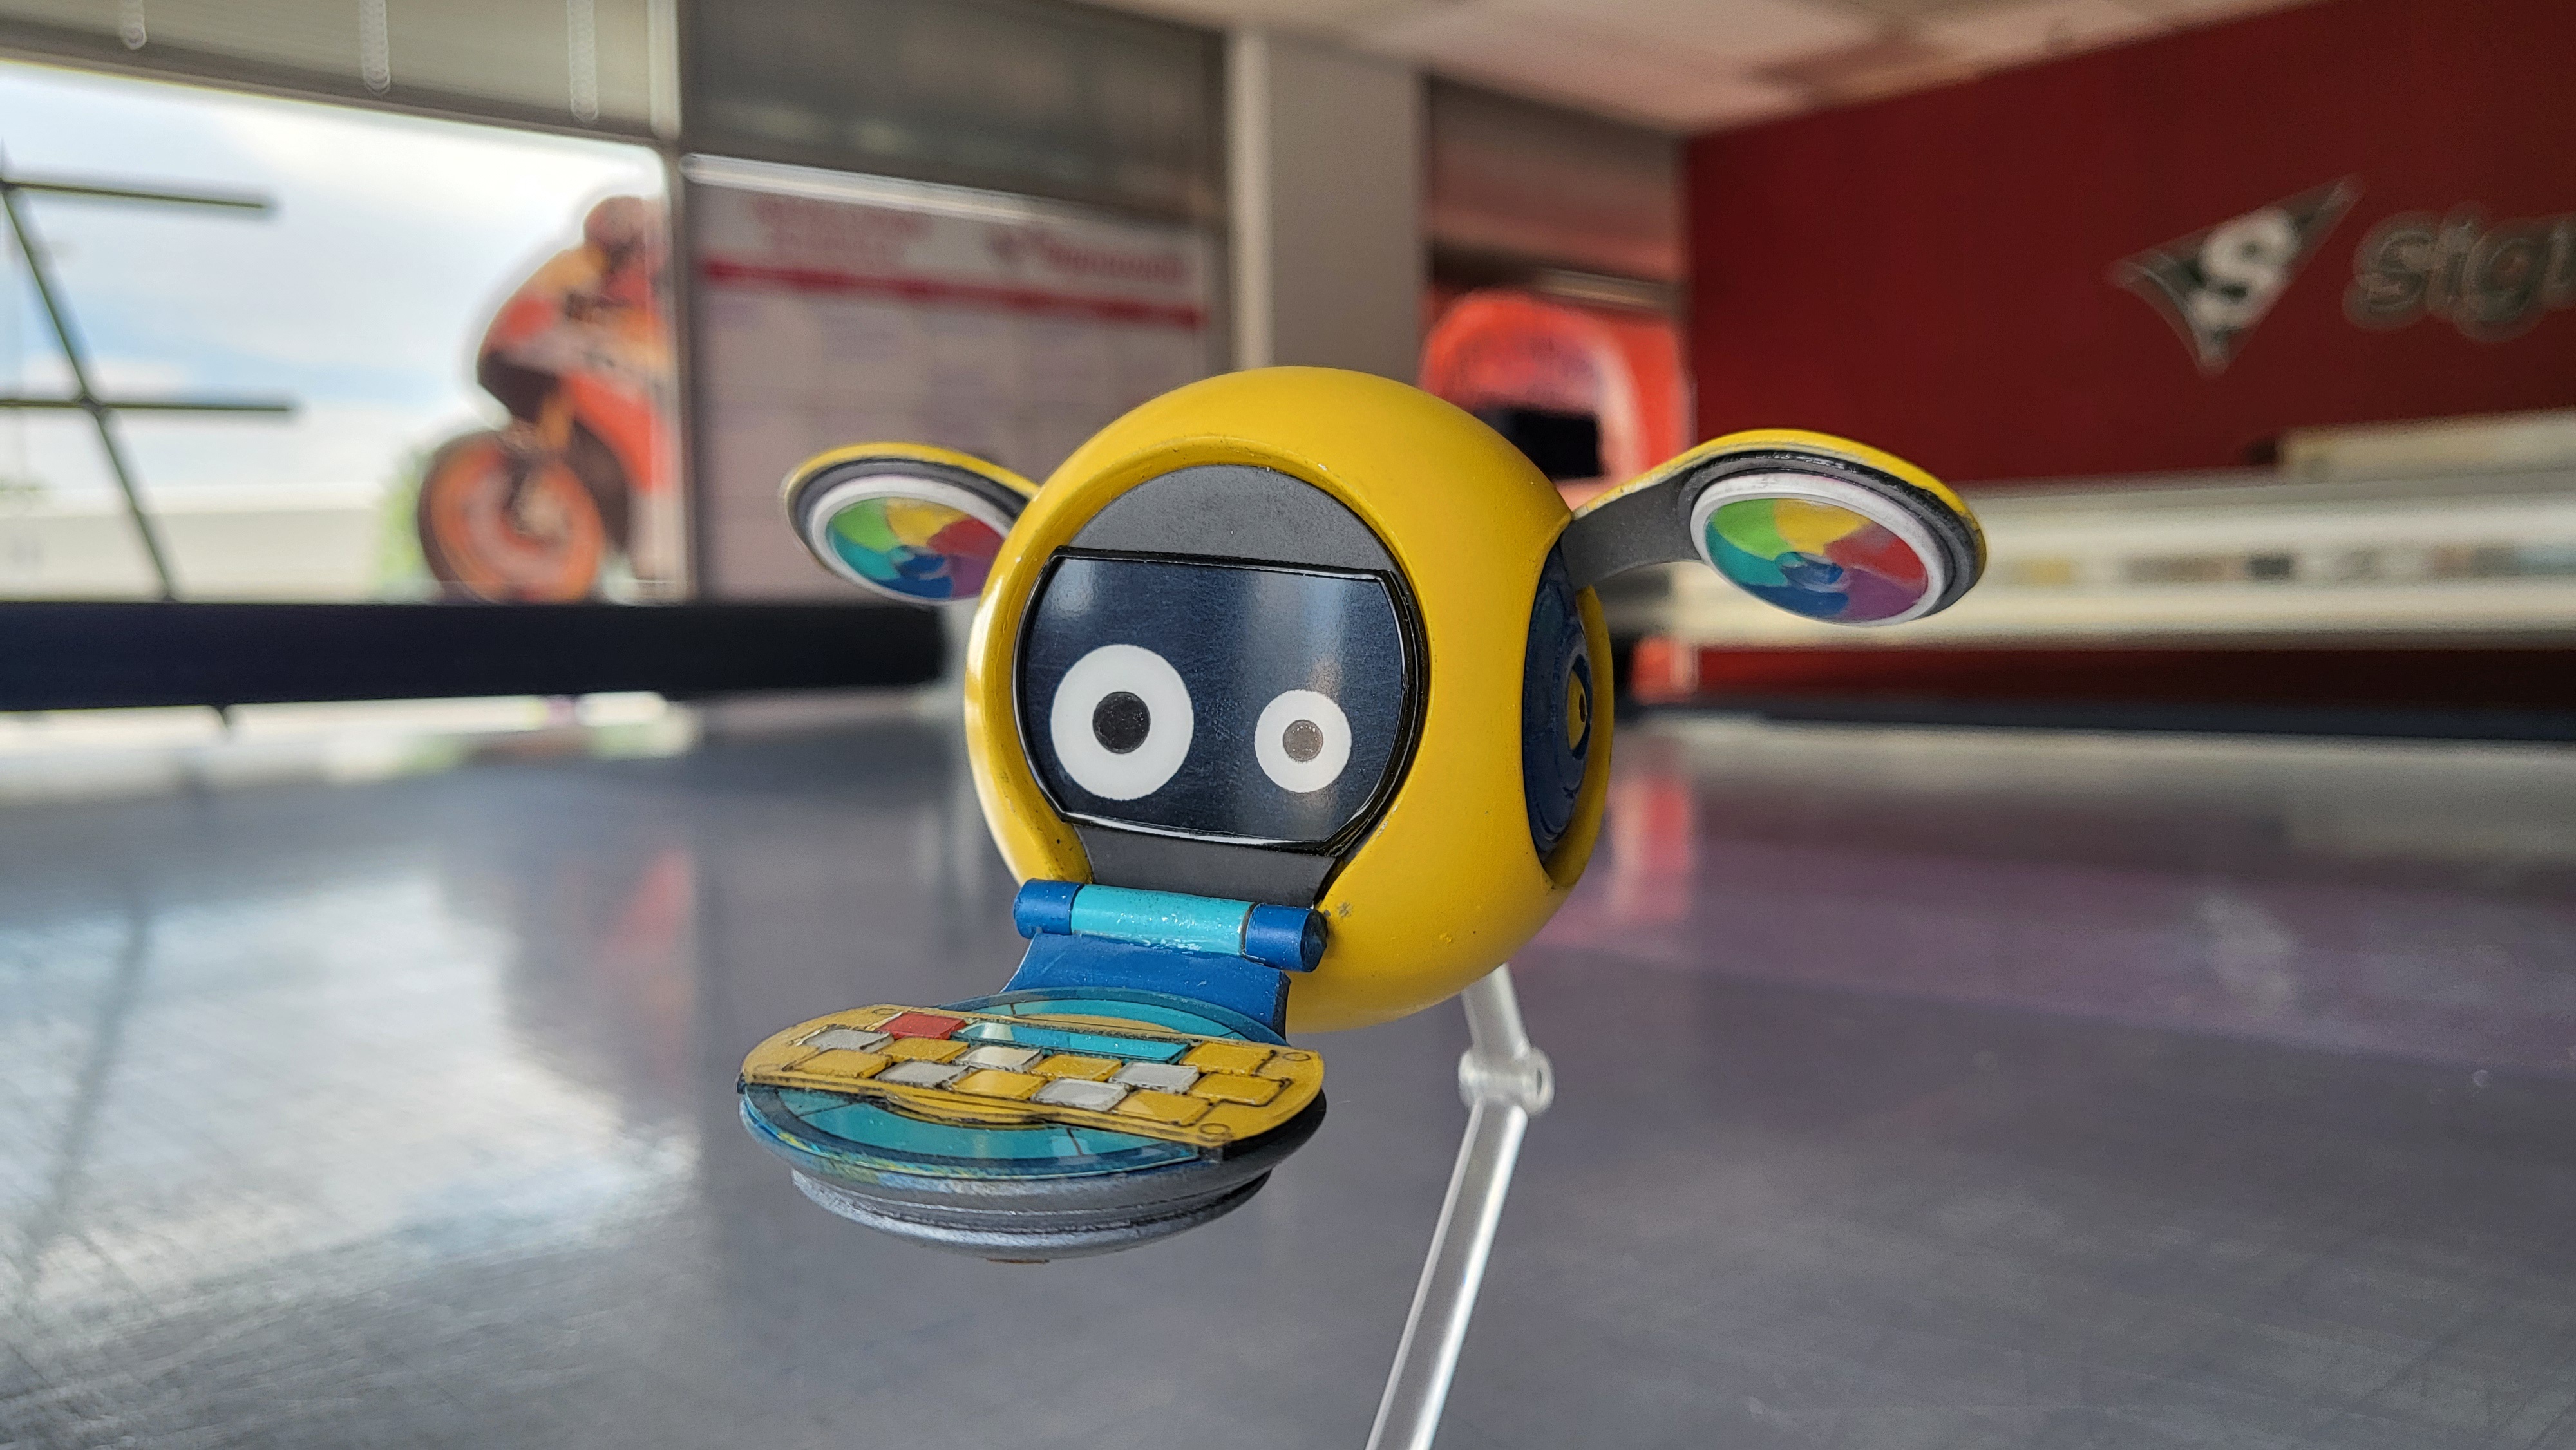
I forgot to document the face, but it was the same thing as Telly Phone’s. Man, I am so happy with this little guy. Also you’re going to have to wait for the final reveal for his arms.
And now the final reveal of everyone:
