This project was a sort of clean-up I did for a friend. Years ago I bought an MDF ghost trap replica from Multimedia Mayhem. Those kits were known for being a little wonky. Add to that years of abuse, and eventually it was a box of parts in a box. Eventually I gave those parts to a friend, and after quite a while, I saw them at his house, still untouched. I offered to assemble it back to how it used to be for him. What he didn’t realize is that I was actually rebuilding it, making it much more accurate to the films. I wanted it to be a prop I would be happy to own.
Here’s a really bad image from probably 2012 when I owned it.
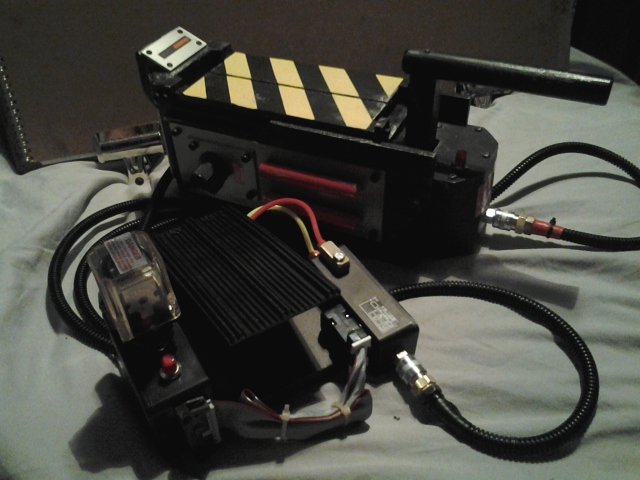
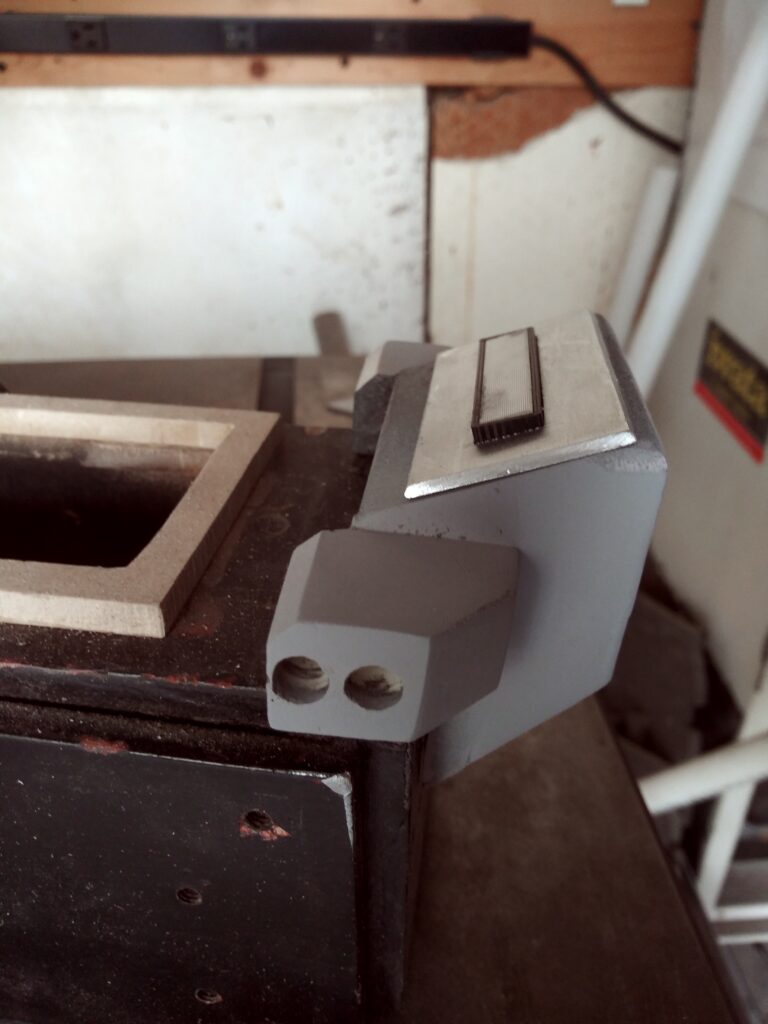
By the time I gave it away, the MDF door hinges had broken, I had poorly cut a hole under the doors for electronics installation, as well as on that forward indicator box shown in silver above (That light on there is just a sticker. This was before I messed with it).
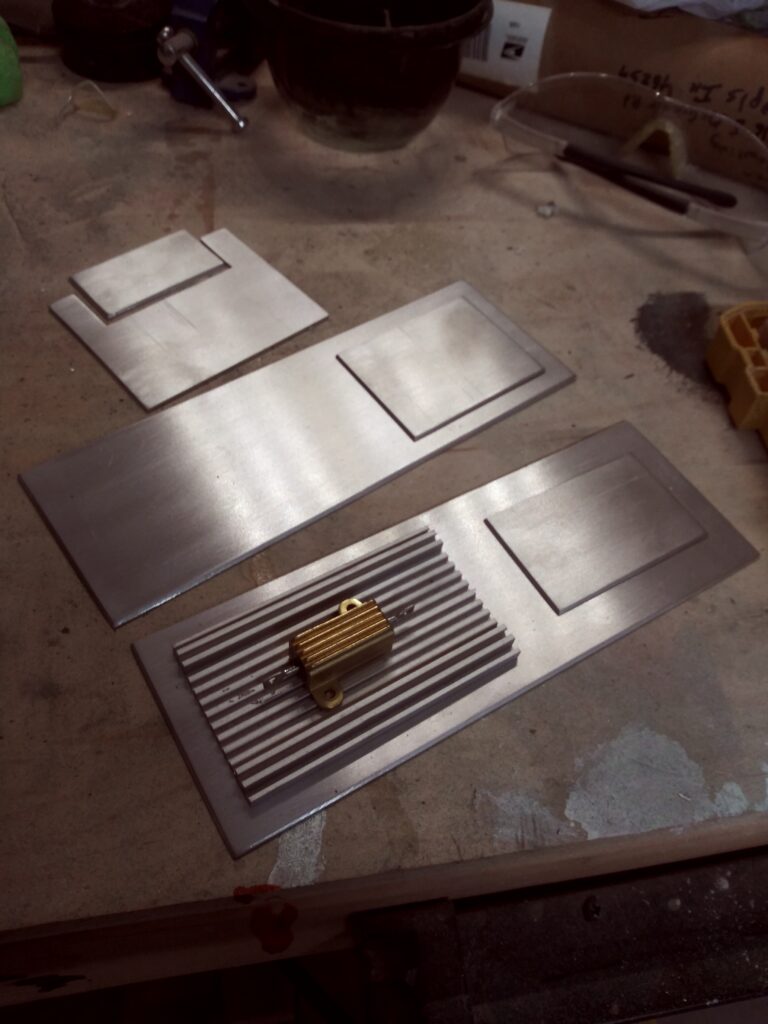
I started by cutting aluminum plates for the sides.
I really wanted to fix the large hole I cut under the doors. I cut a new bezel to go around it, which hides it pretty well. I could have probably spent more time here, but it’s alright. Lots to do still.
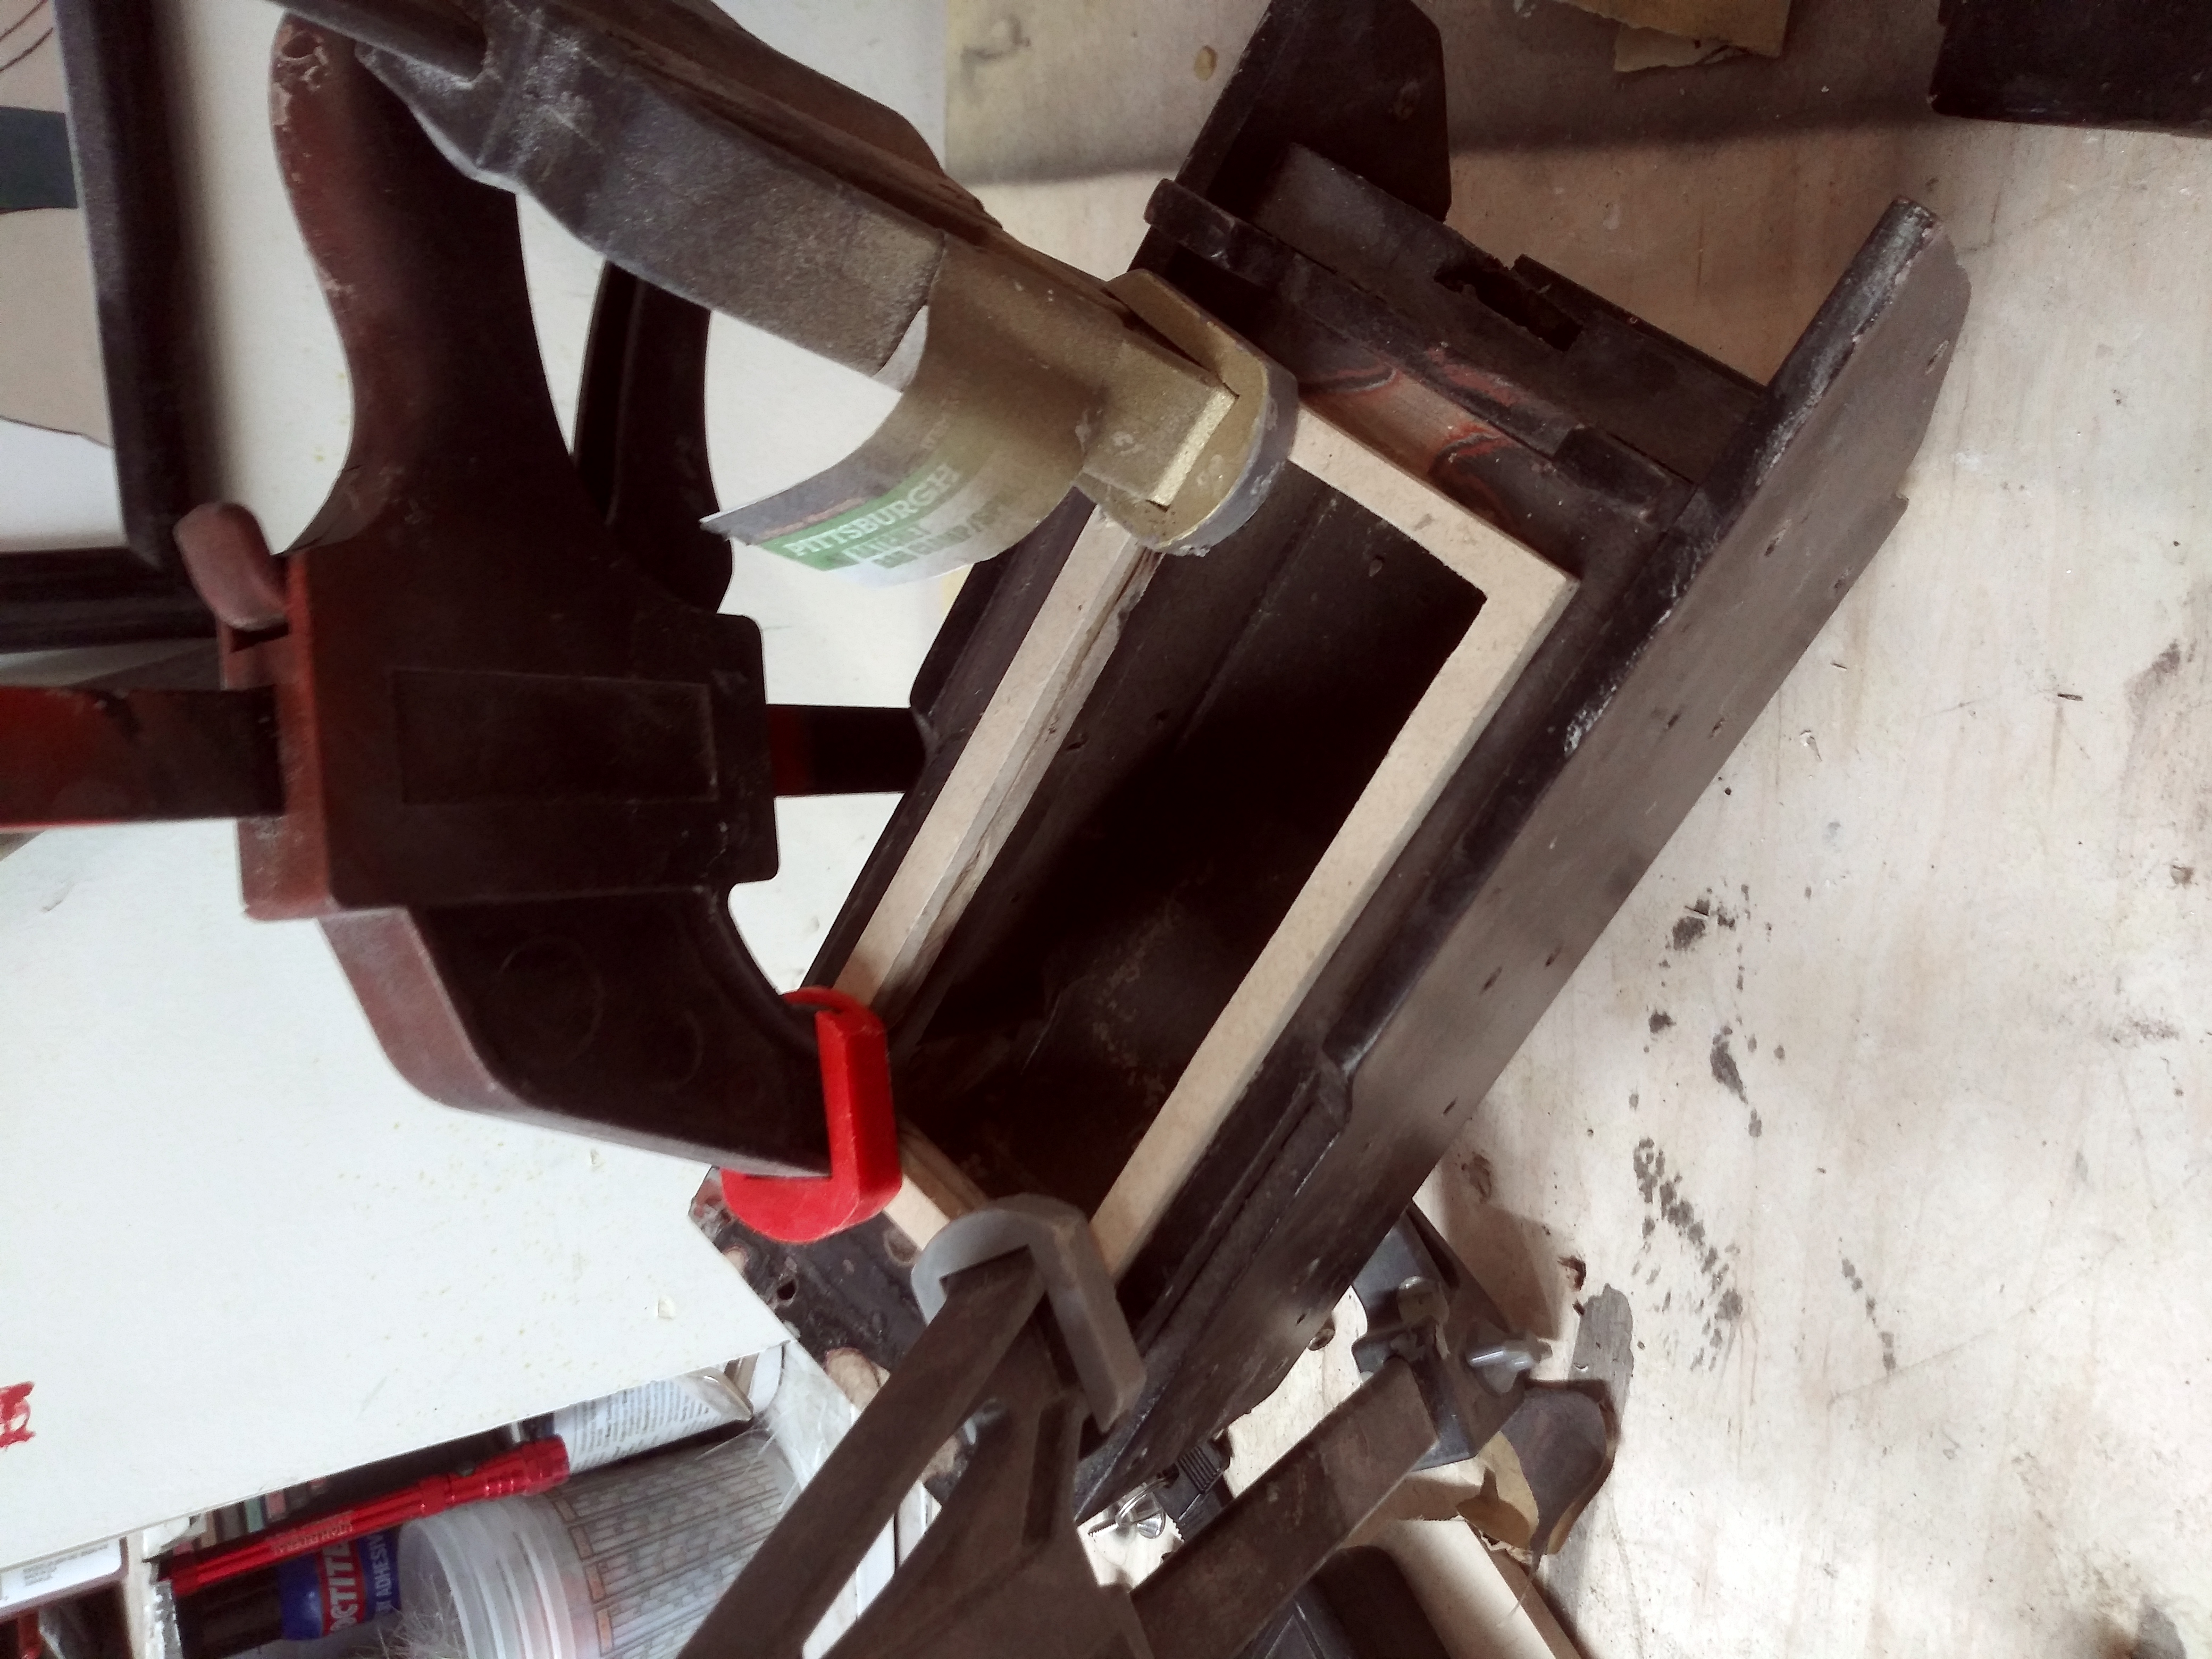
Note the gaping hole I had cut years prior, the cast-in fake welds on the side which look just awful. Let’s clean it up.
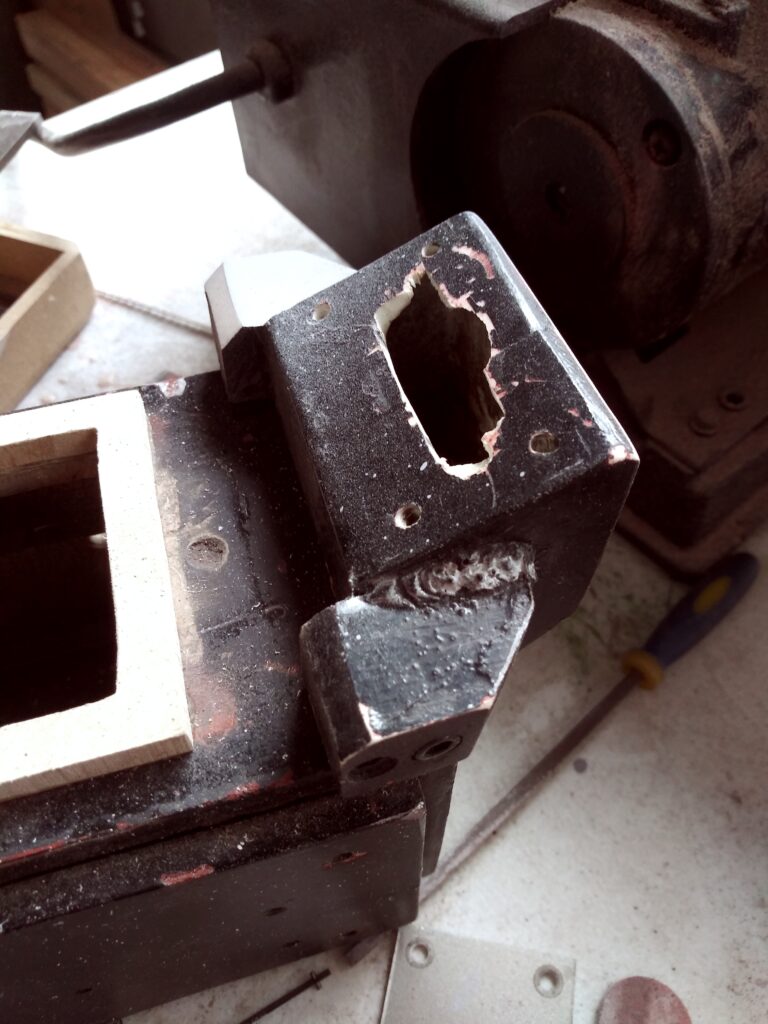
That’s better! I cut an aluminum bezel for the lights.
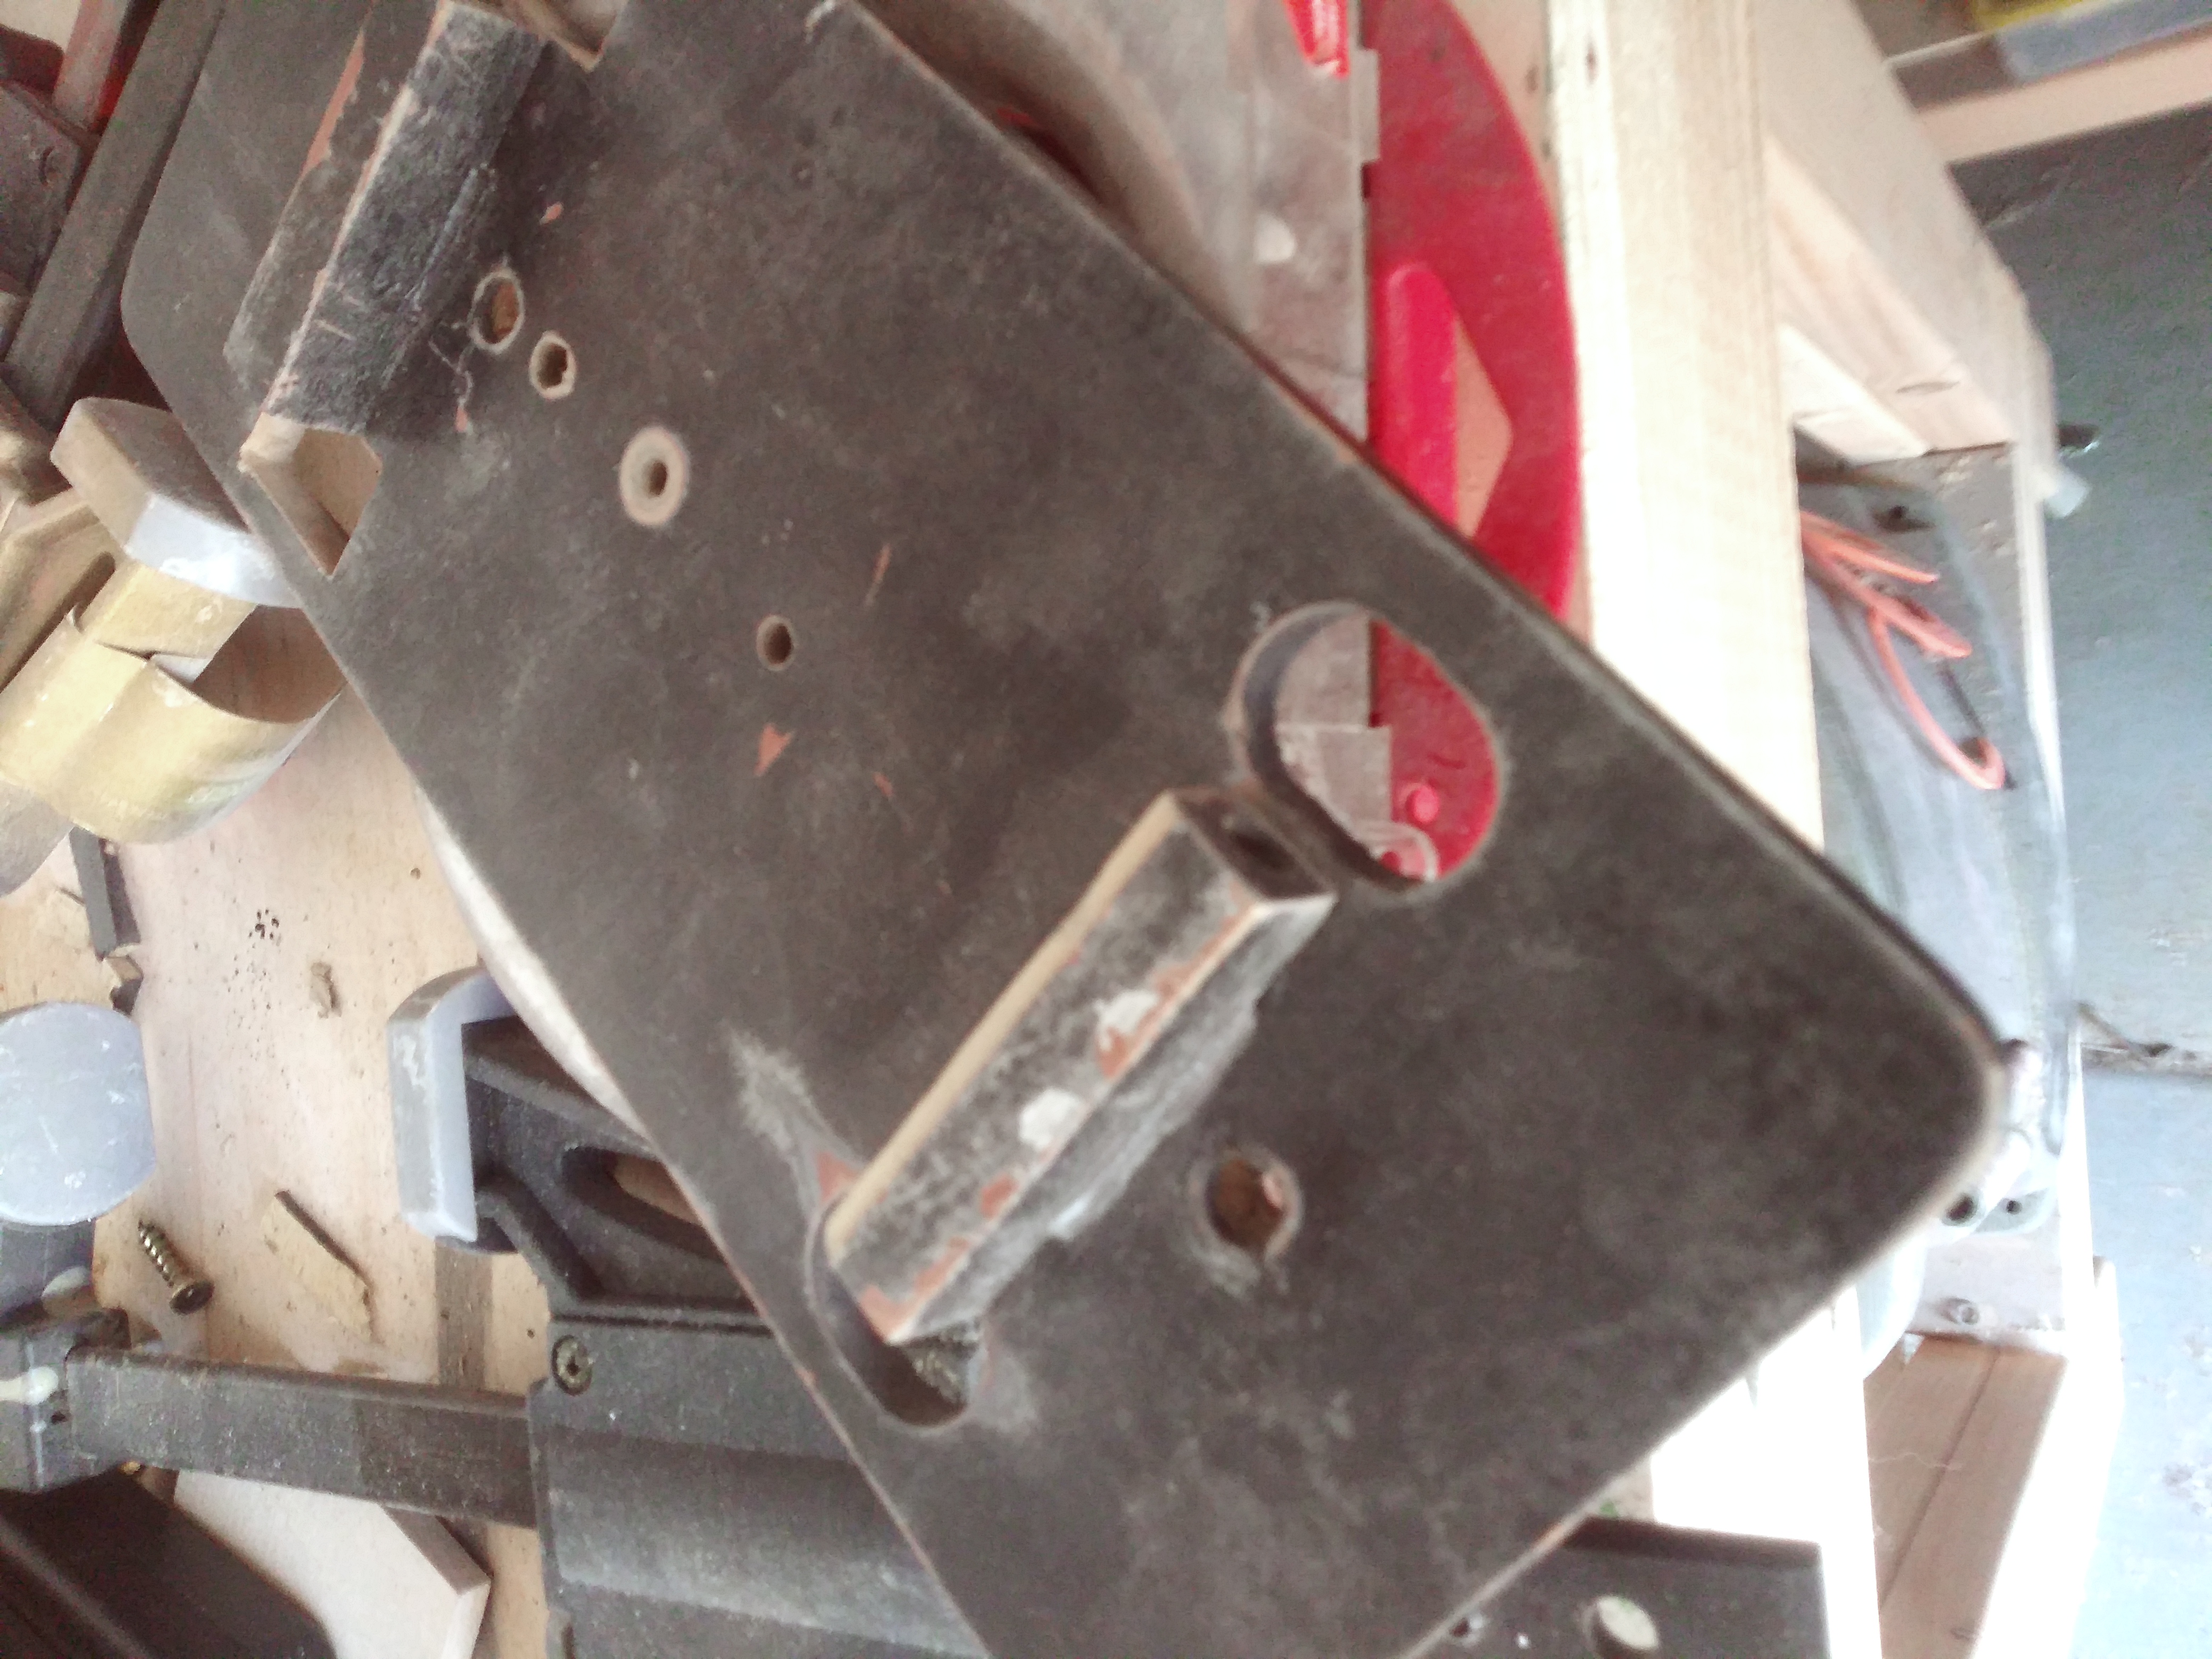
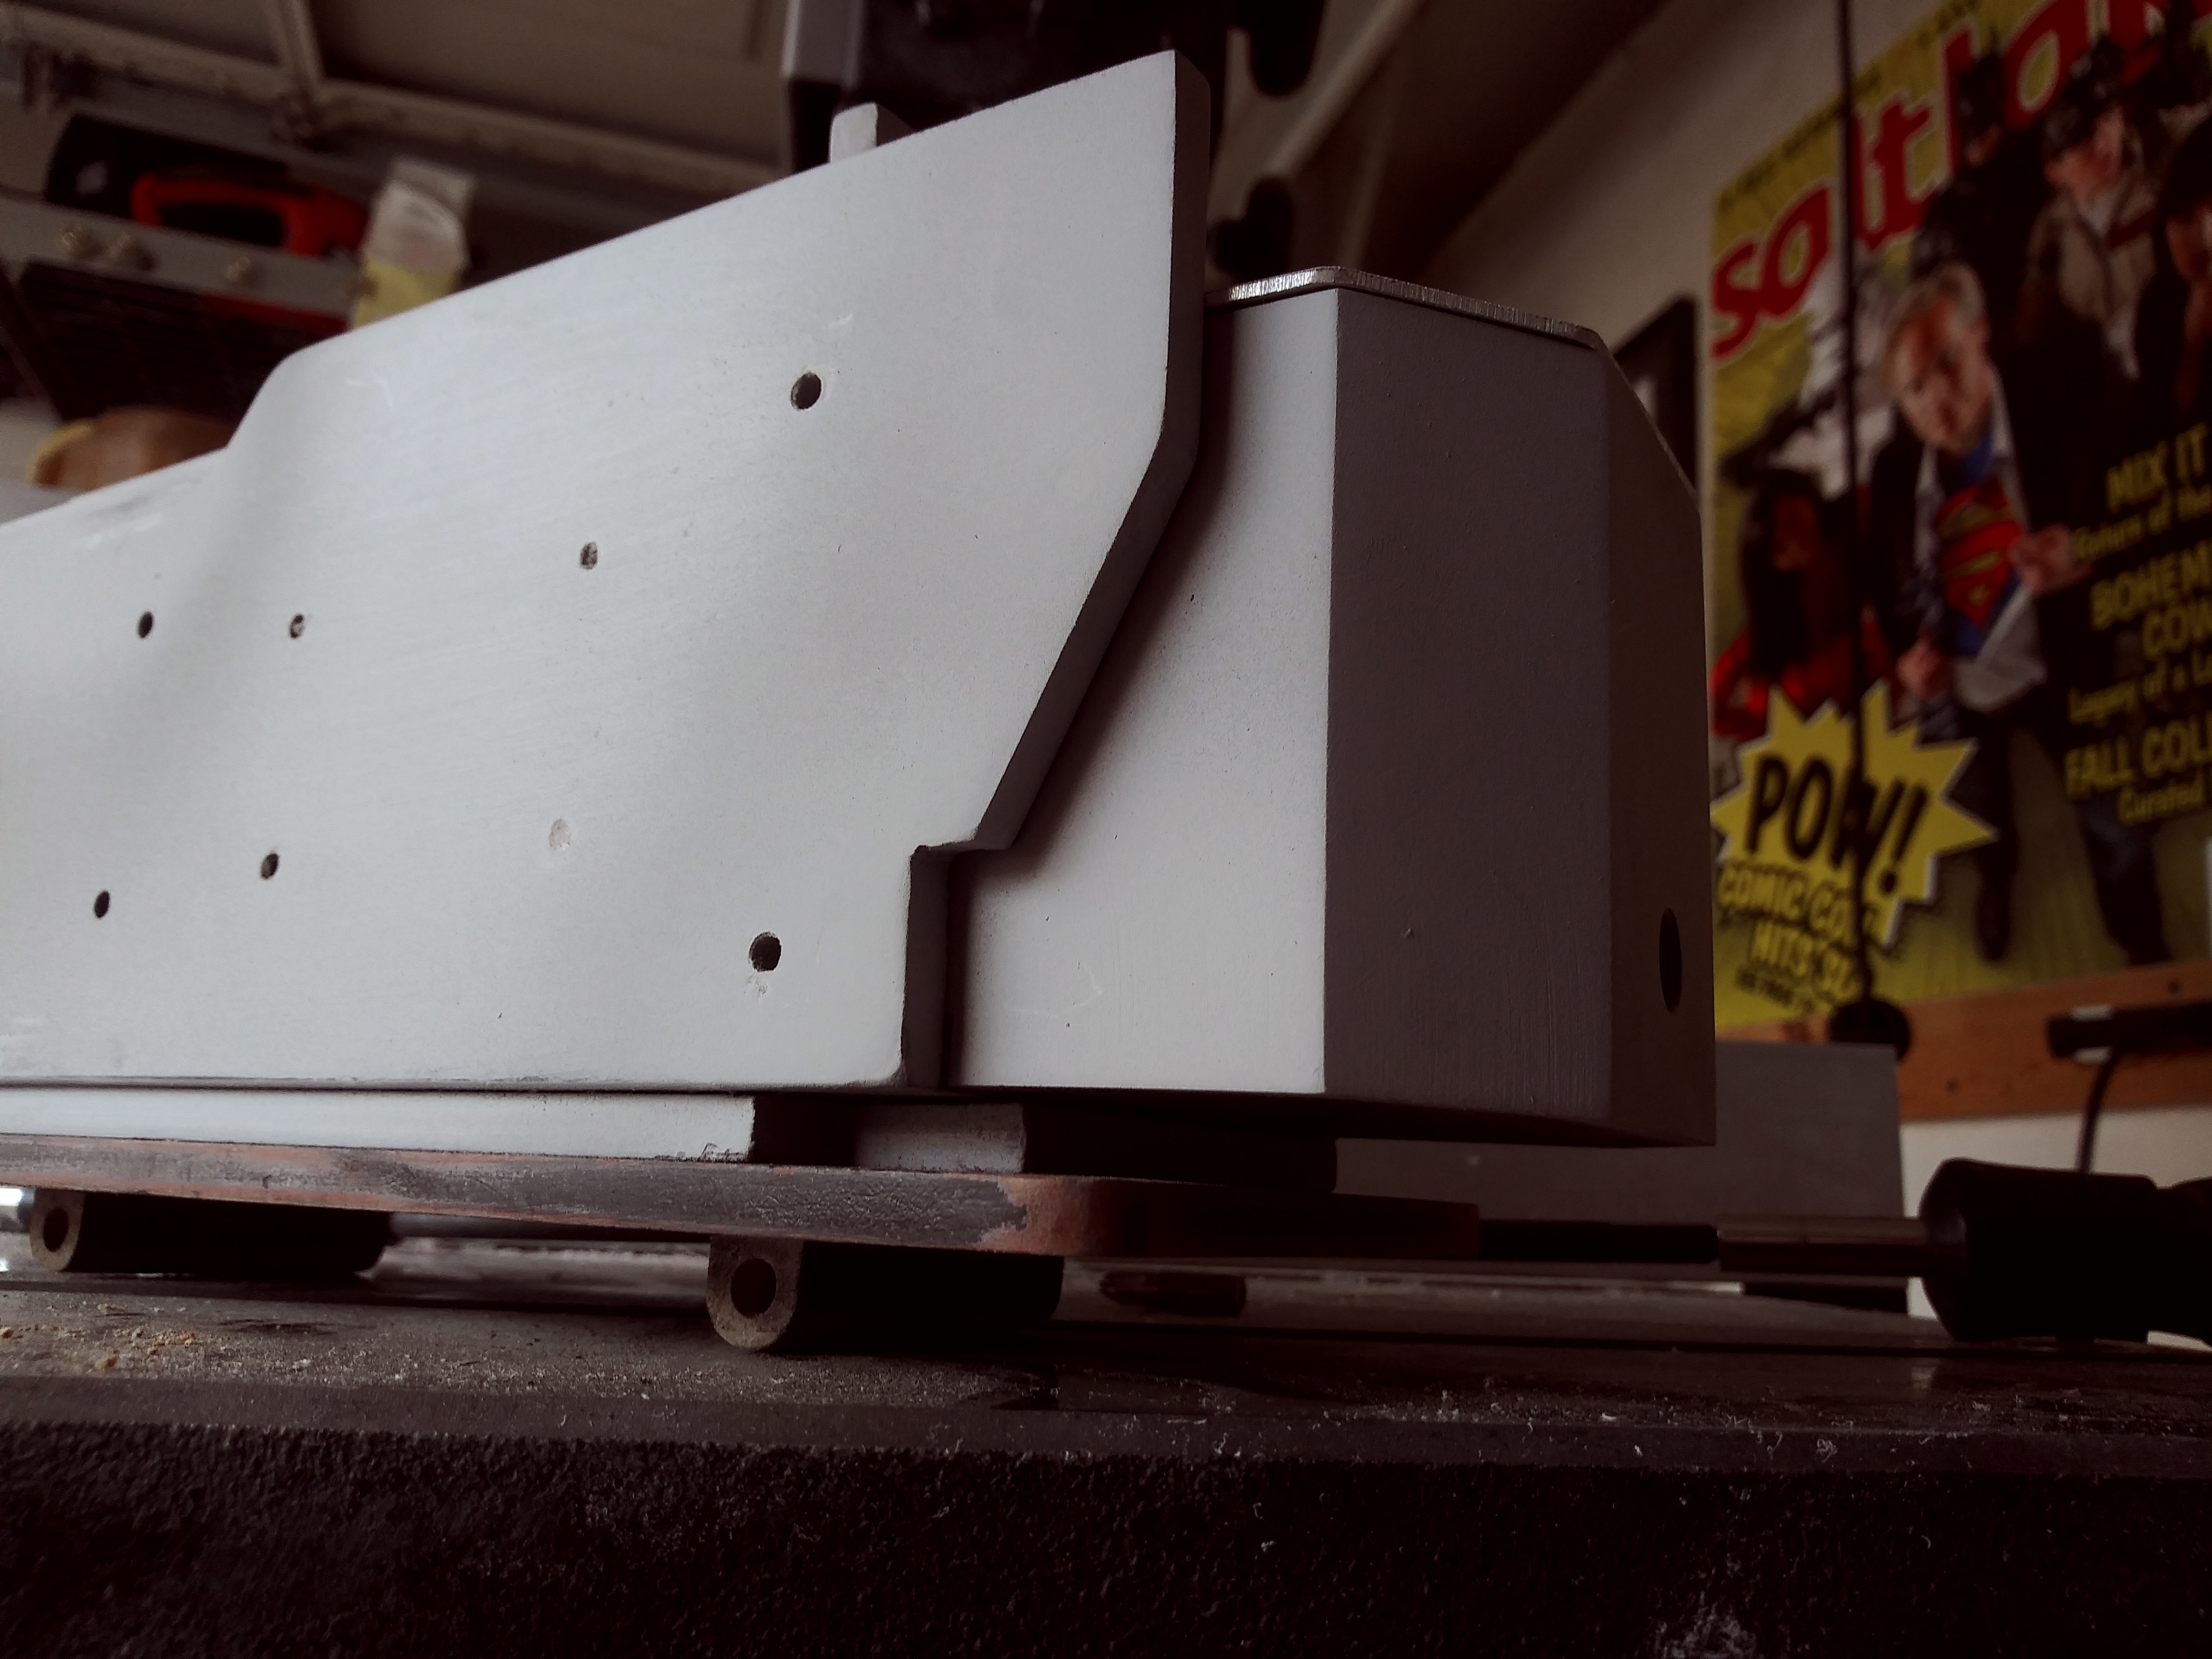
Next up, I redid the holes in the baseplate. These holes allow the wheels to pass through, though because they had rounded corners, the wheels would constantly rub on the edge.
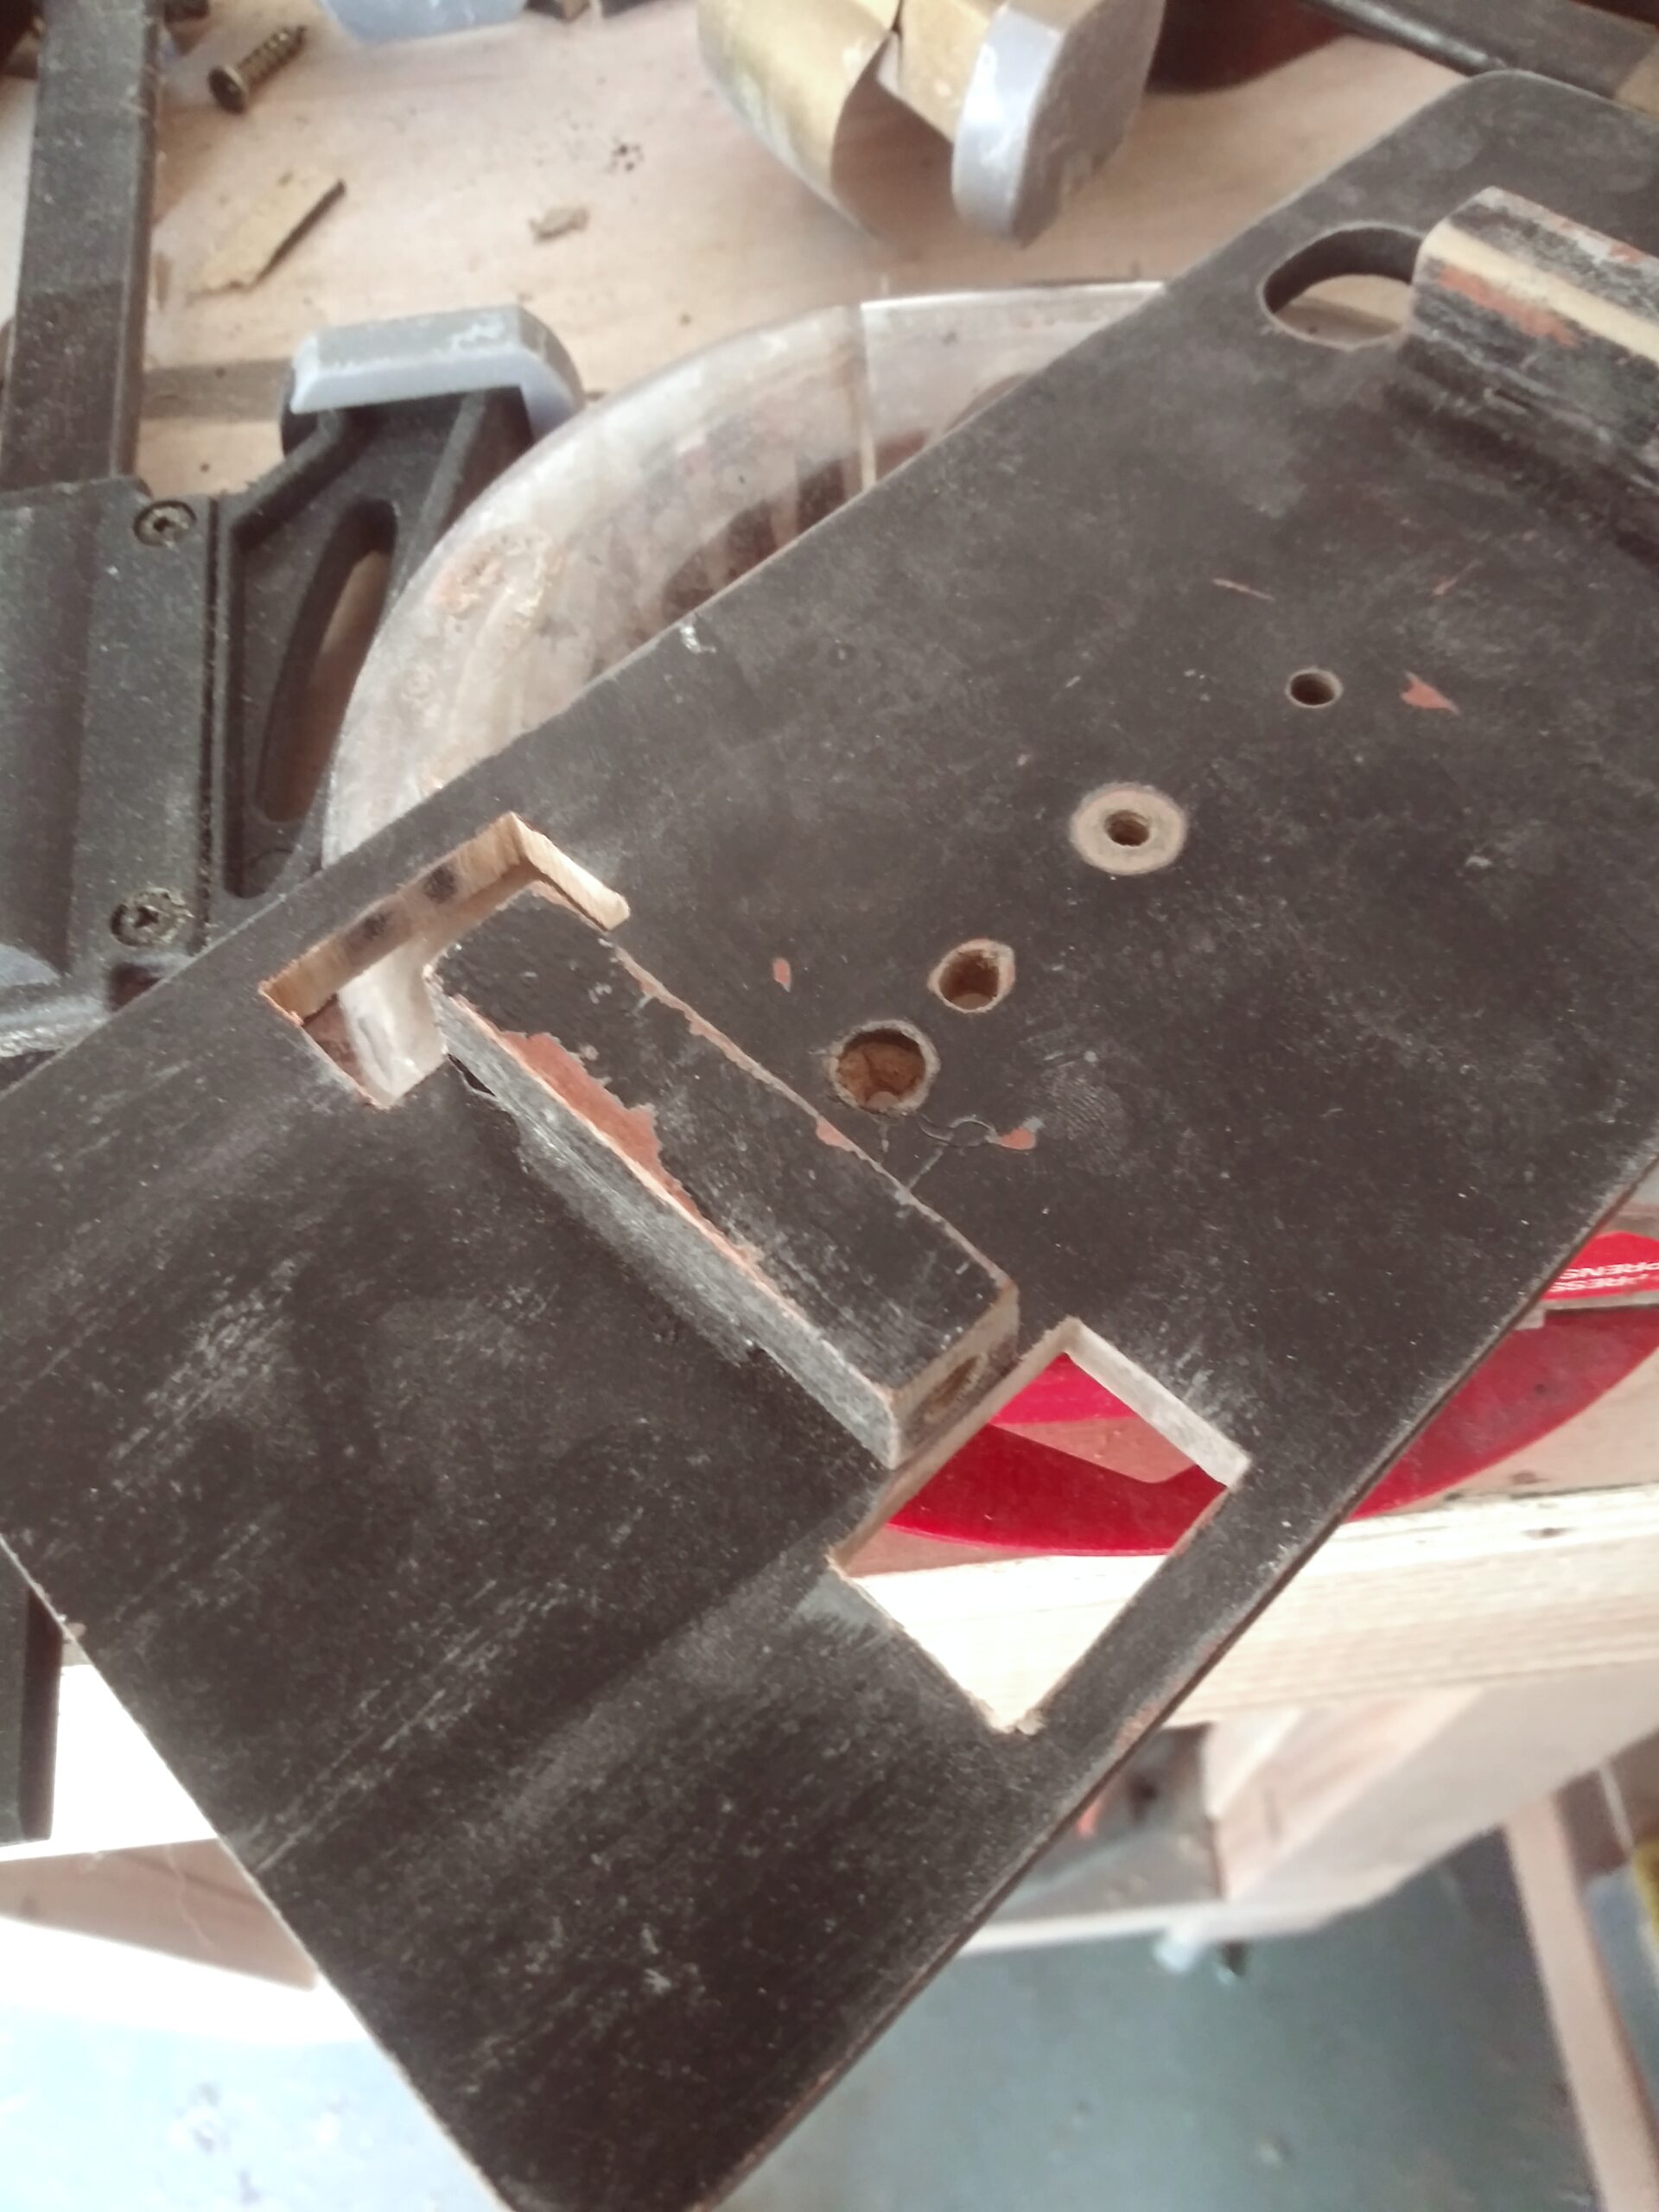
Man, that helps a lot.
Here’s some nice aluminum work on the rear battery box. This thing is starting to shape up.
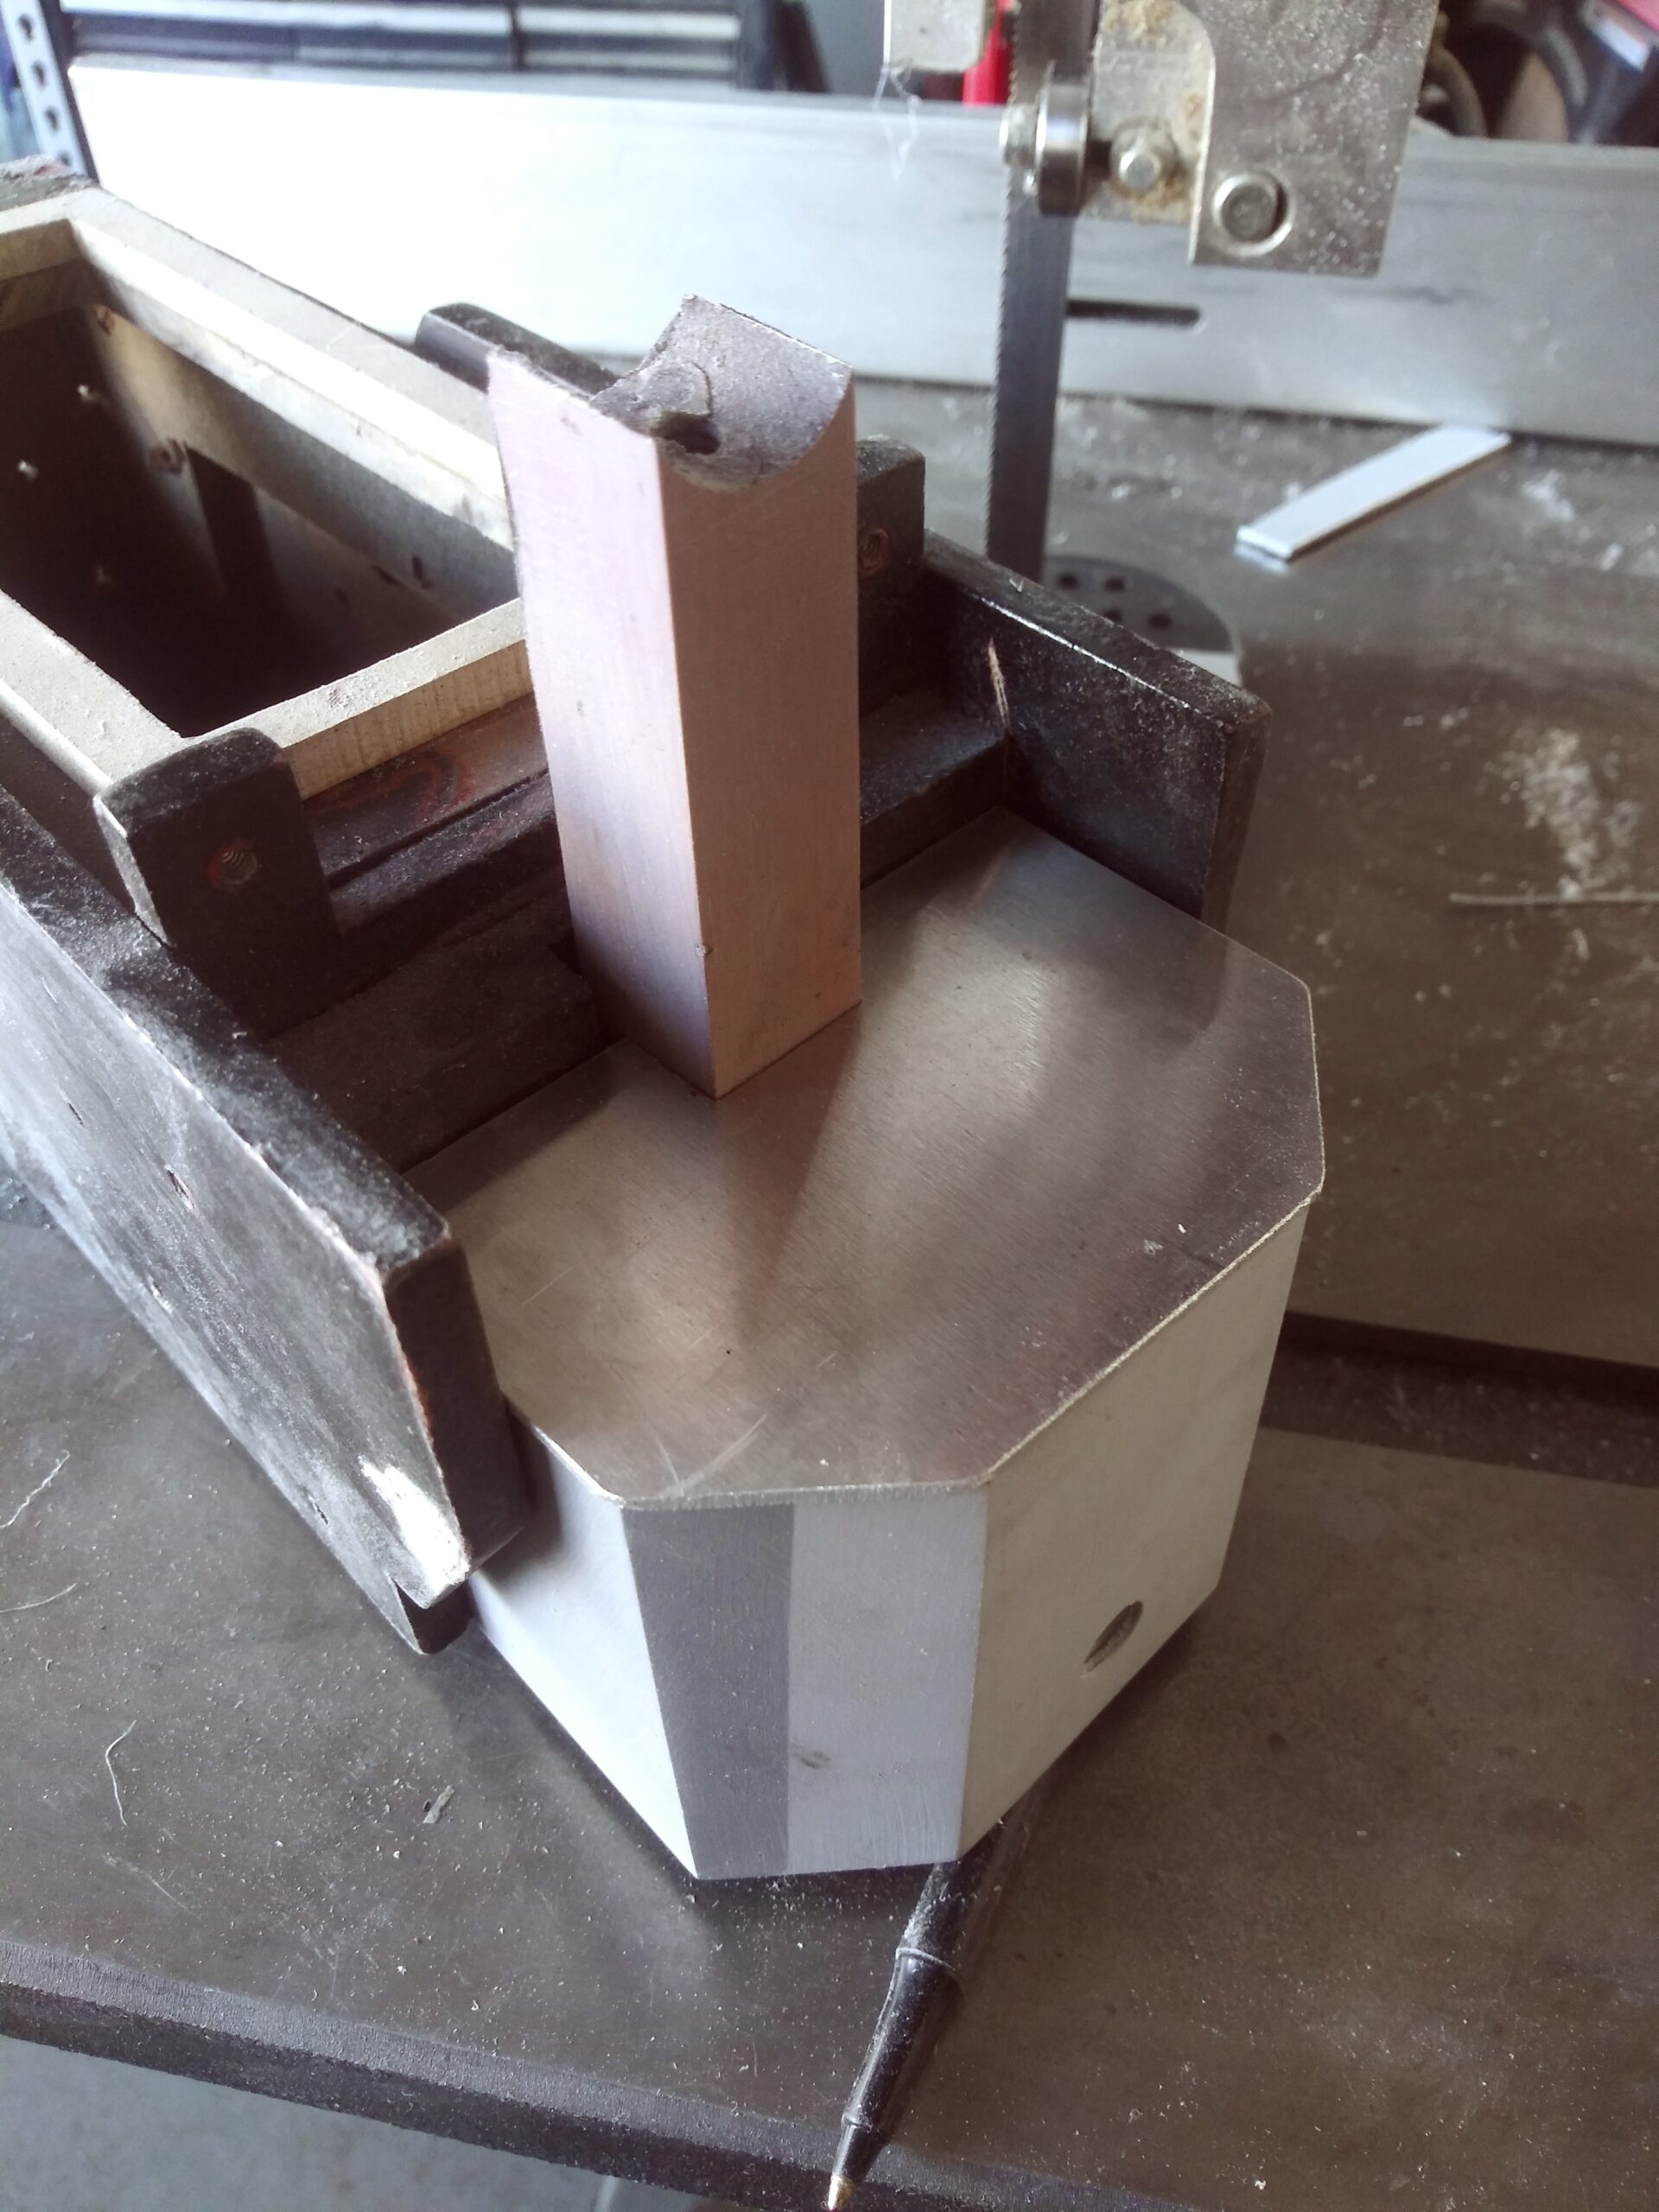
In the past, the prop had a big ugly bolt running through the rear battery box to hold it in place. I redid the mounting point, so now it’s not visible from the outside.
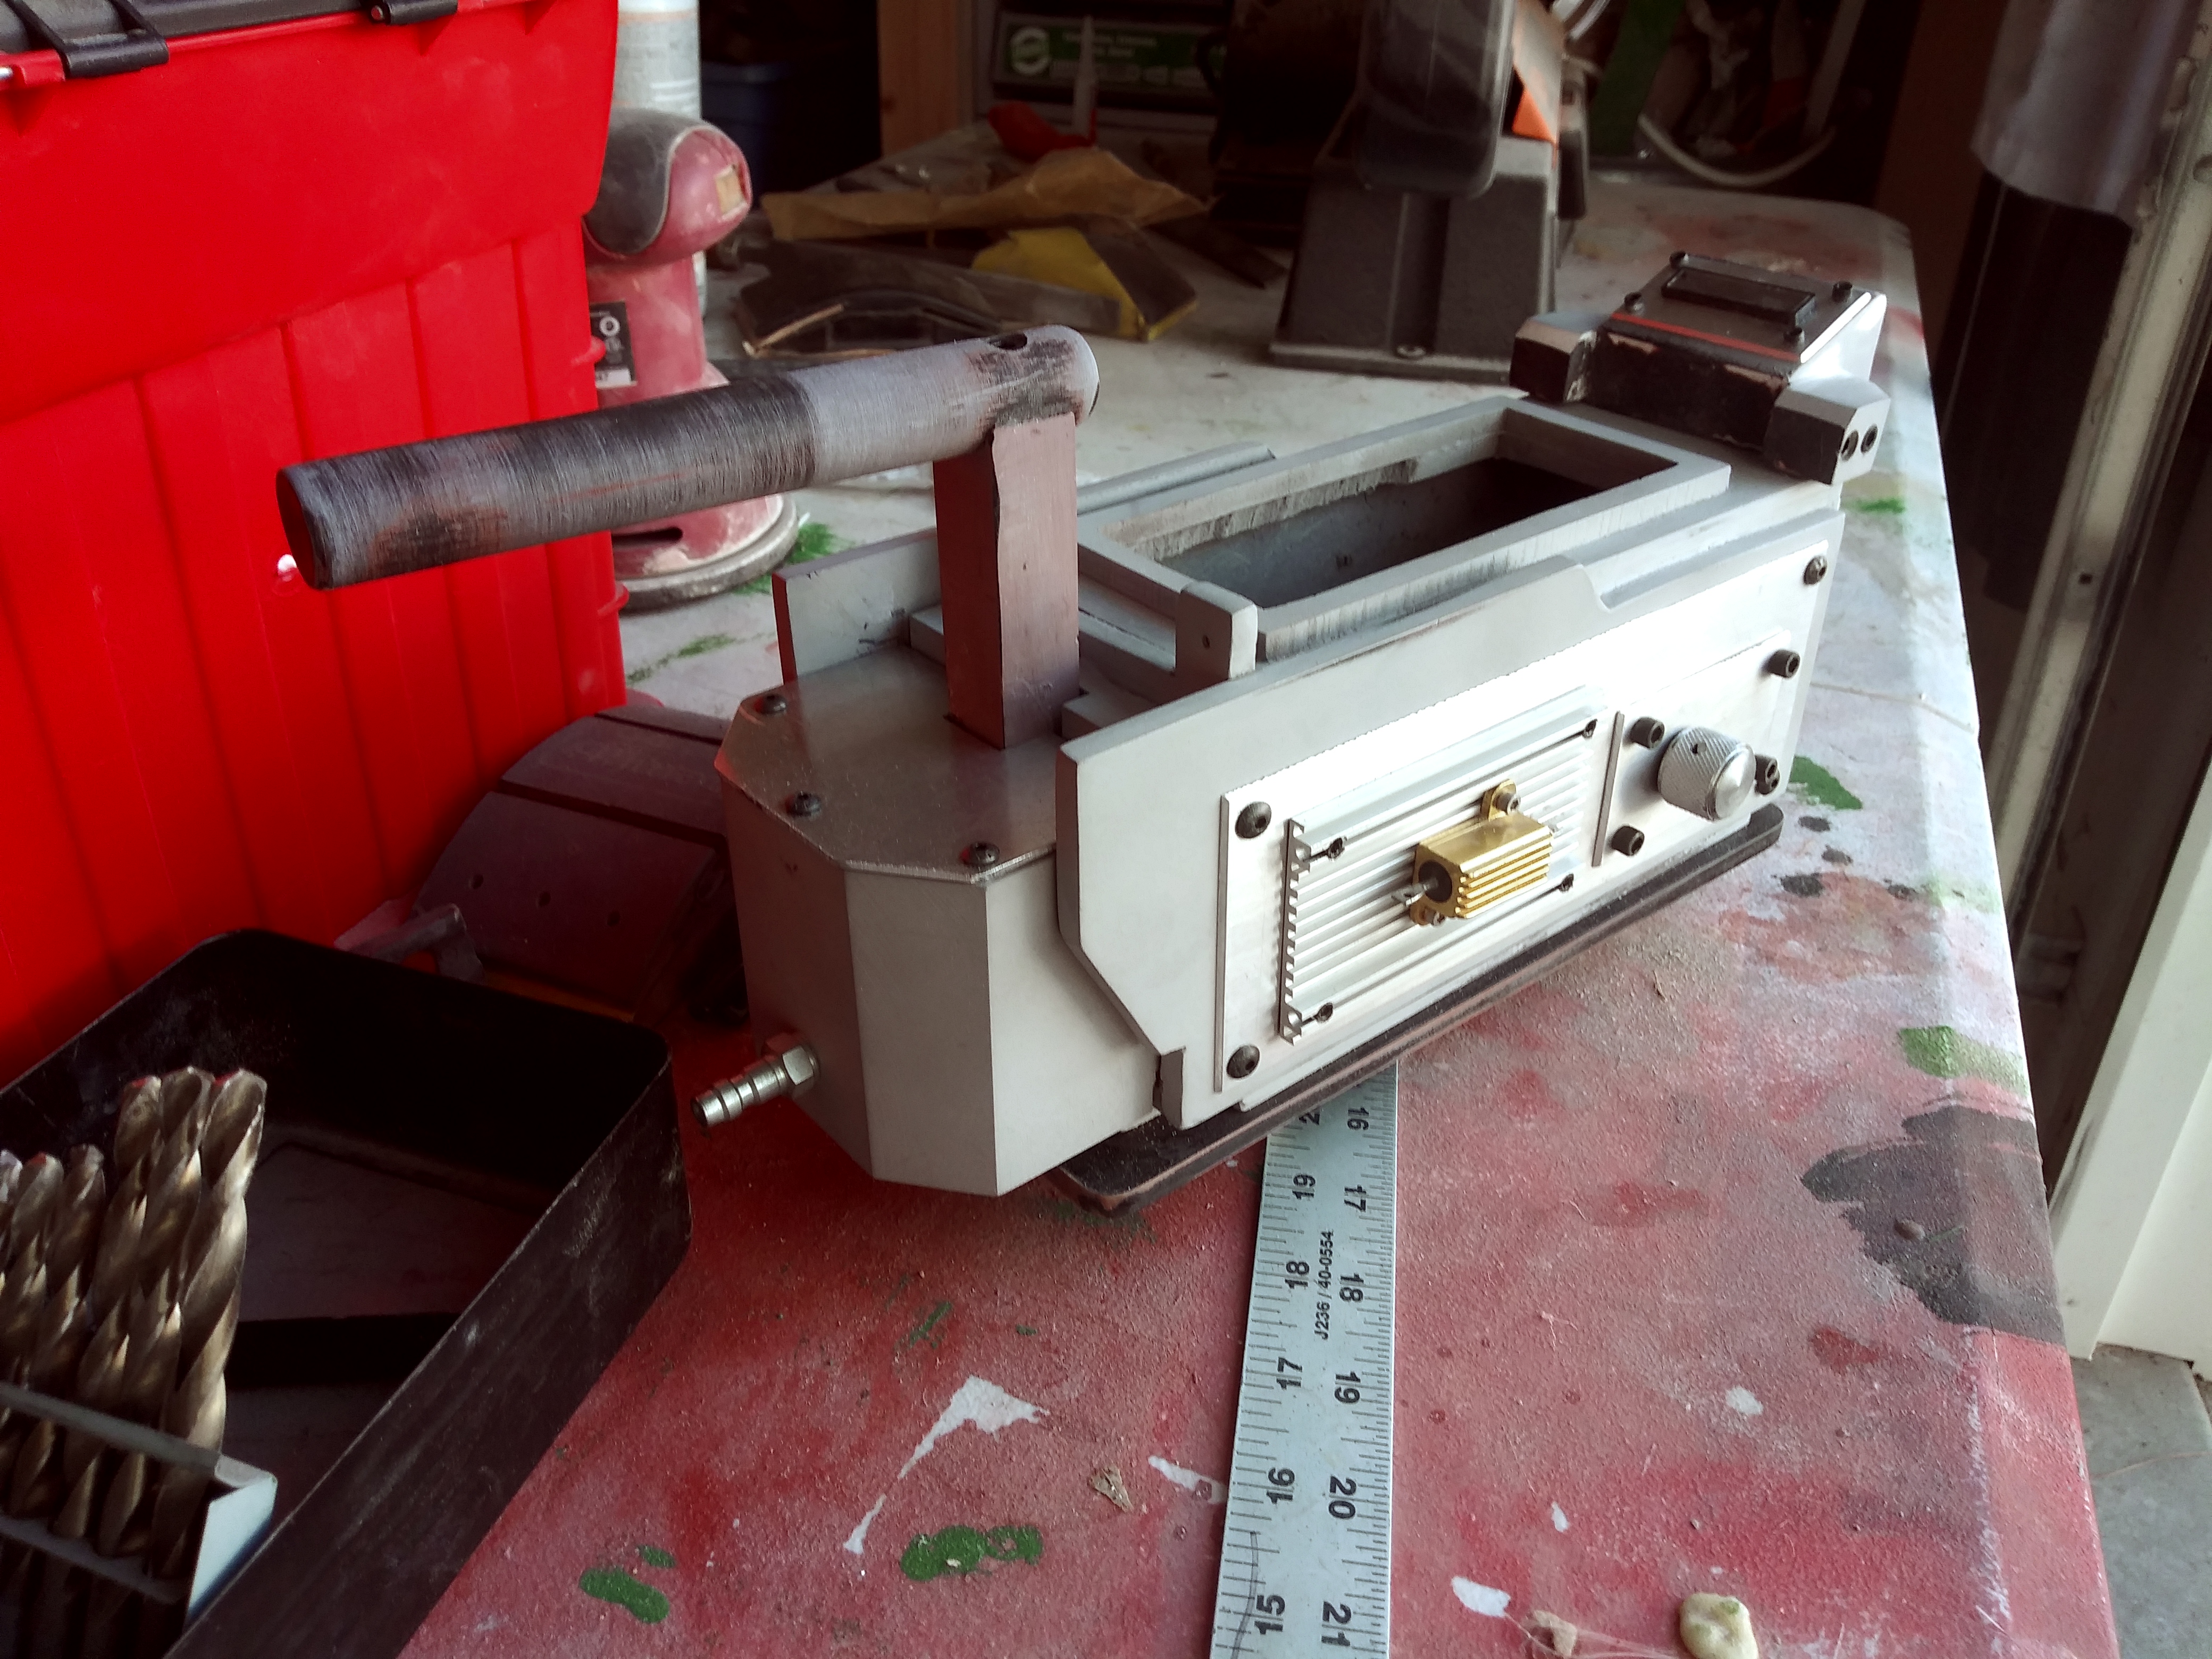
It just needs doors and a paint job now…
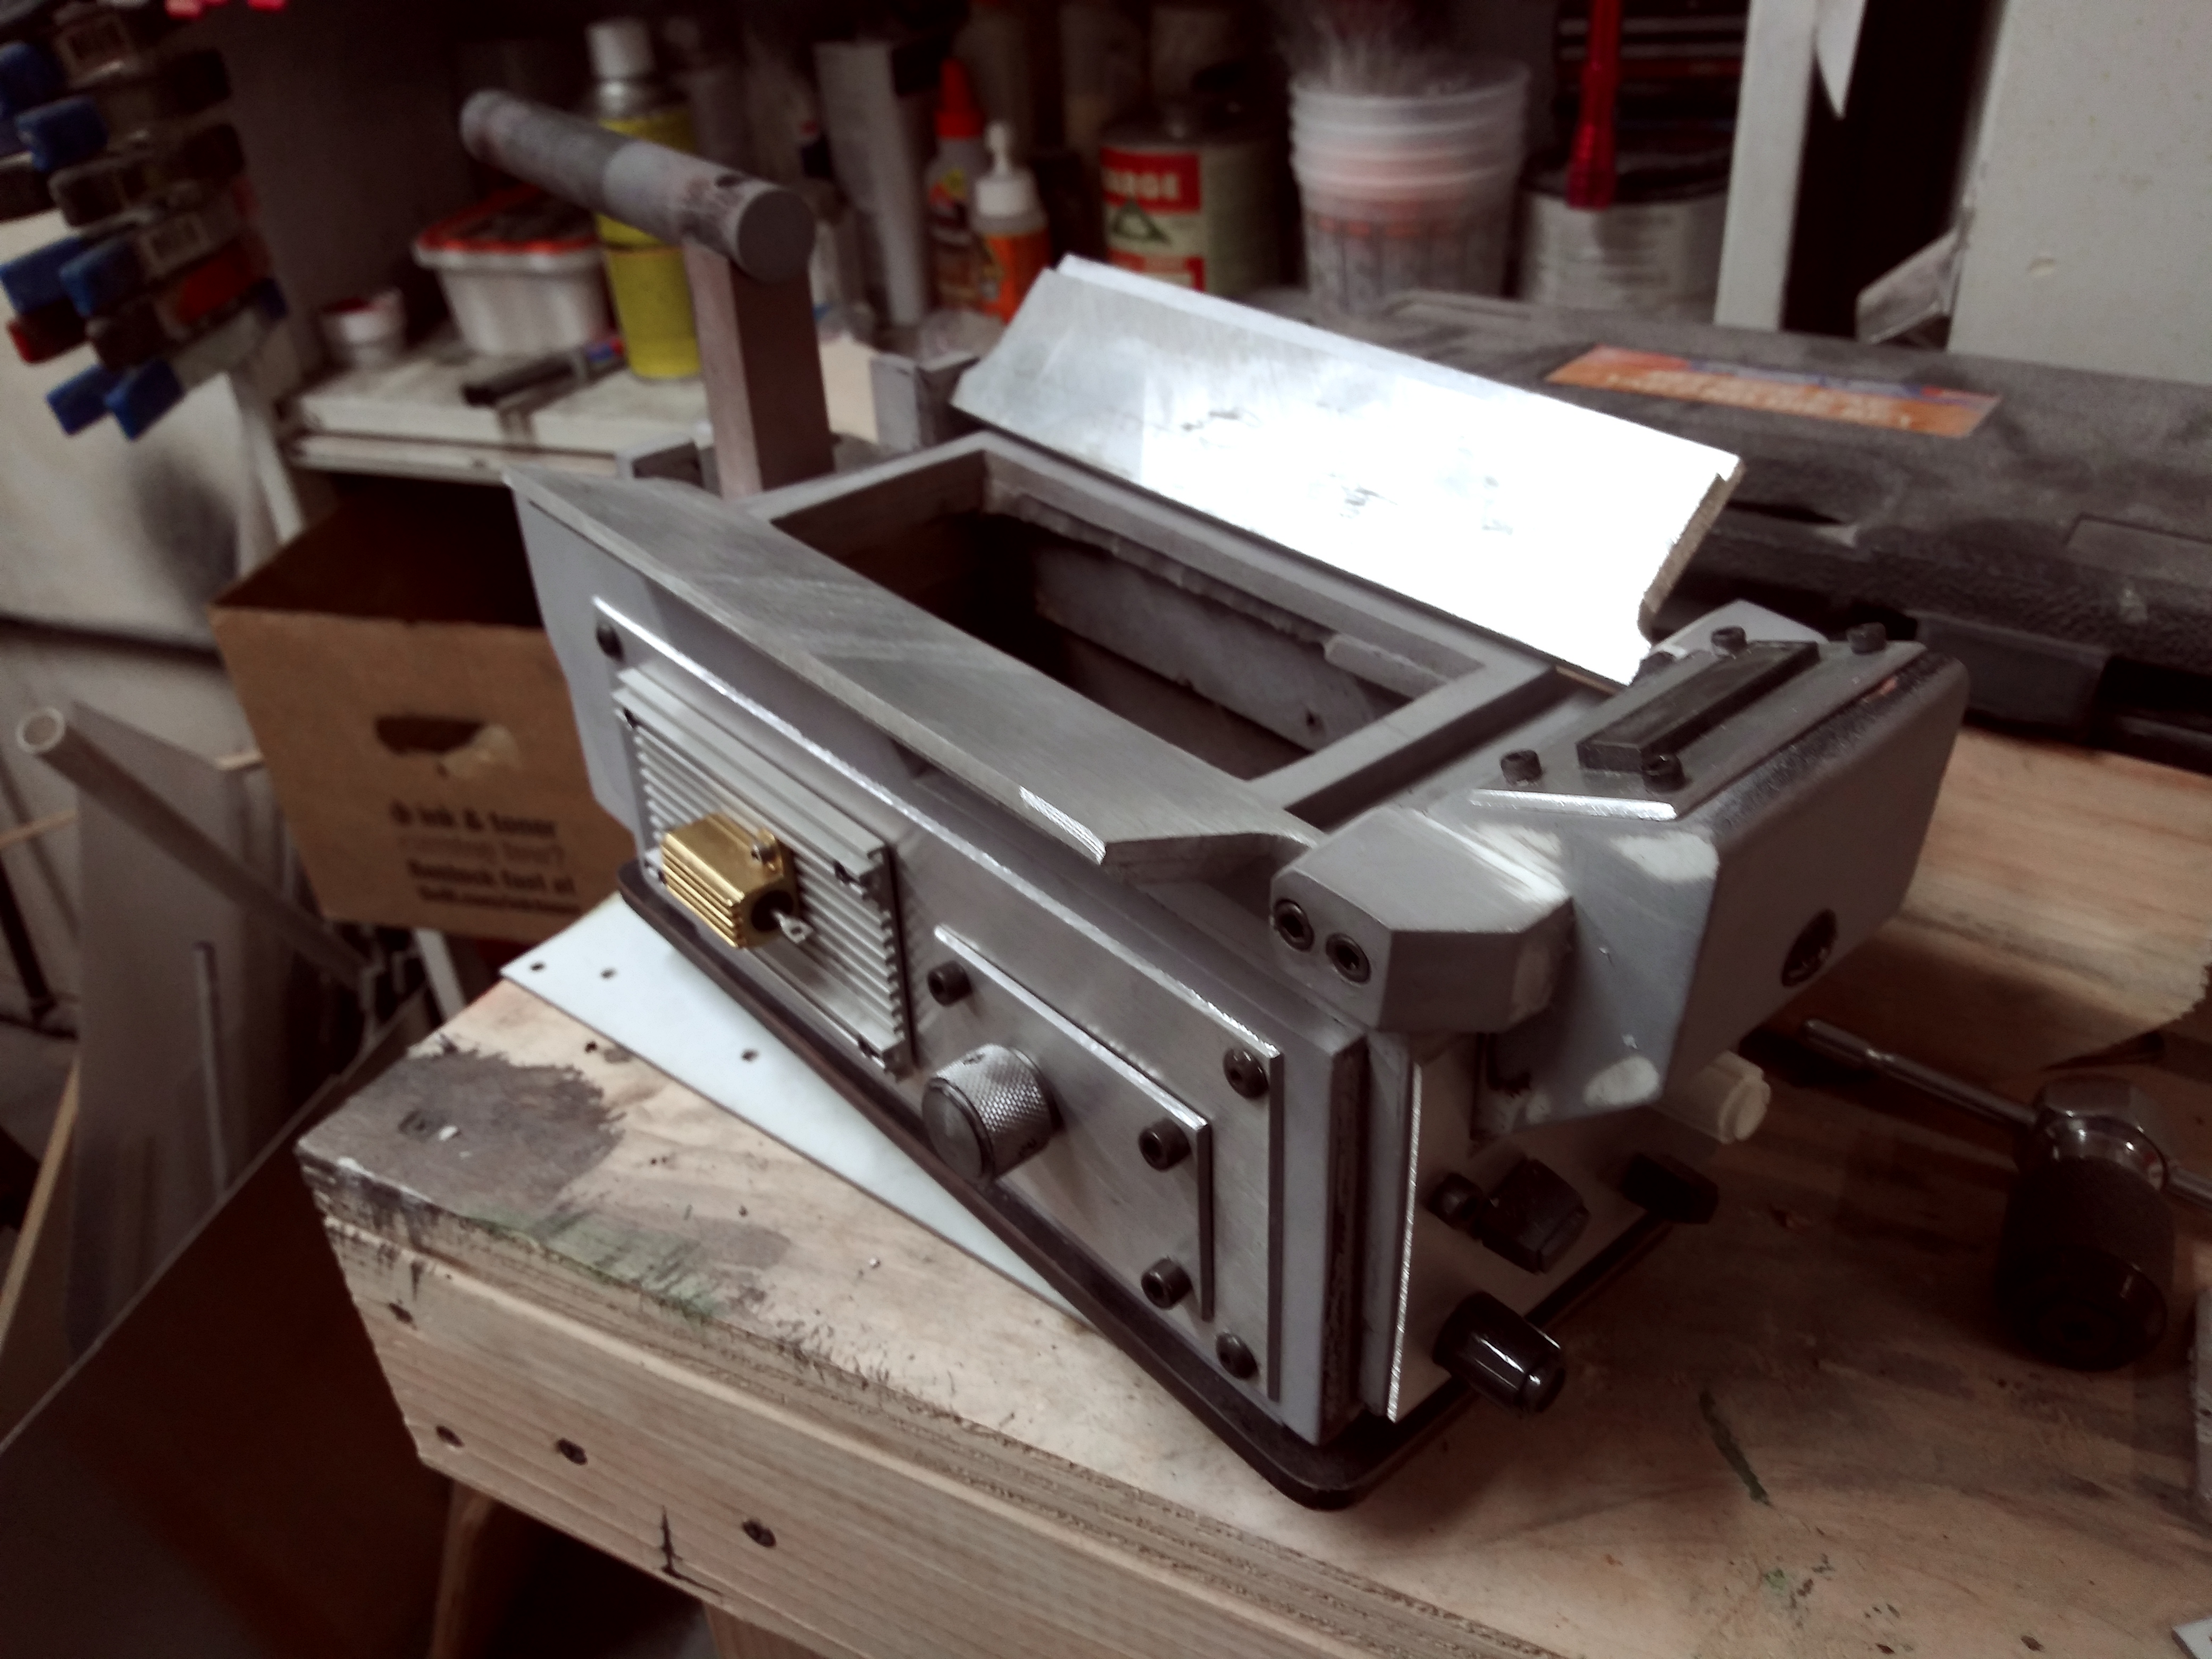
The doors on a trap are supposed to have overhanging tabs that interlock (loosely) when closed. To achieve this effect, each door is made from two pieces of 1/8″ aluminum mounted on one-another via a couple subtle bolts. When closed, the doors will overlap properly and it’ll look pretty perfect accuracy-wise.
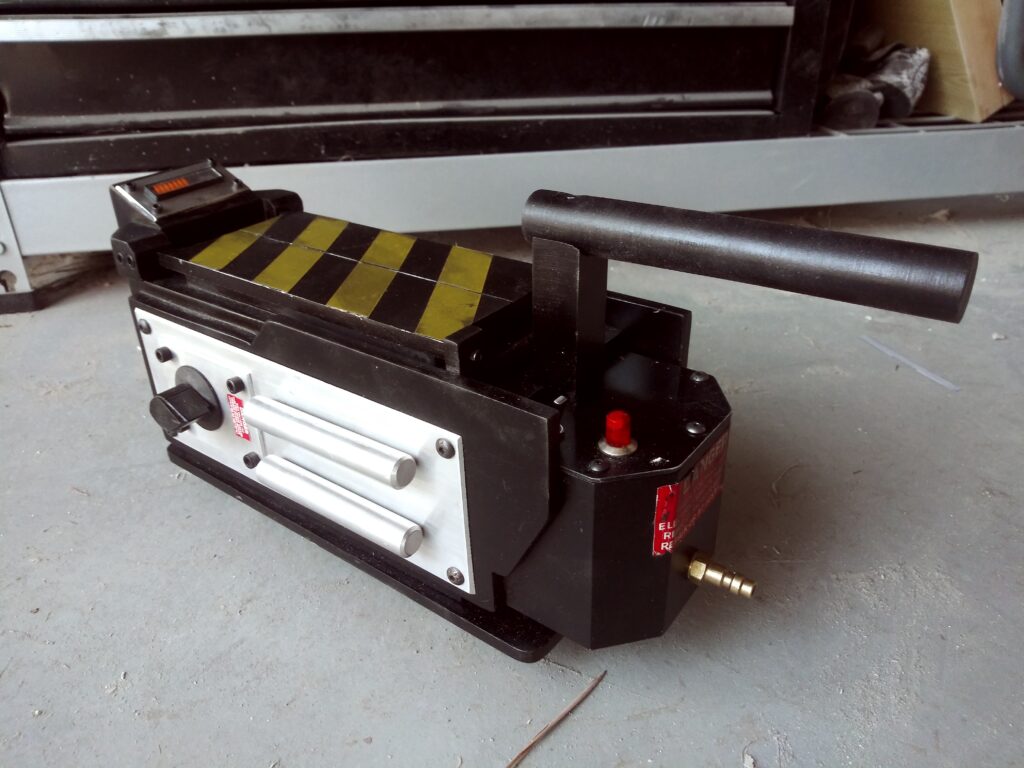
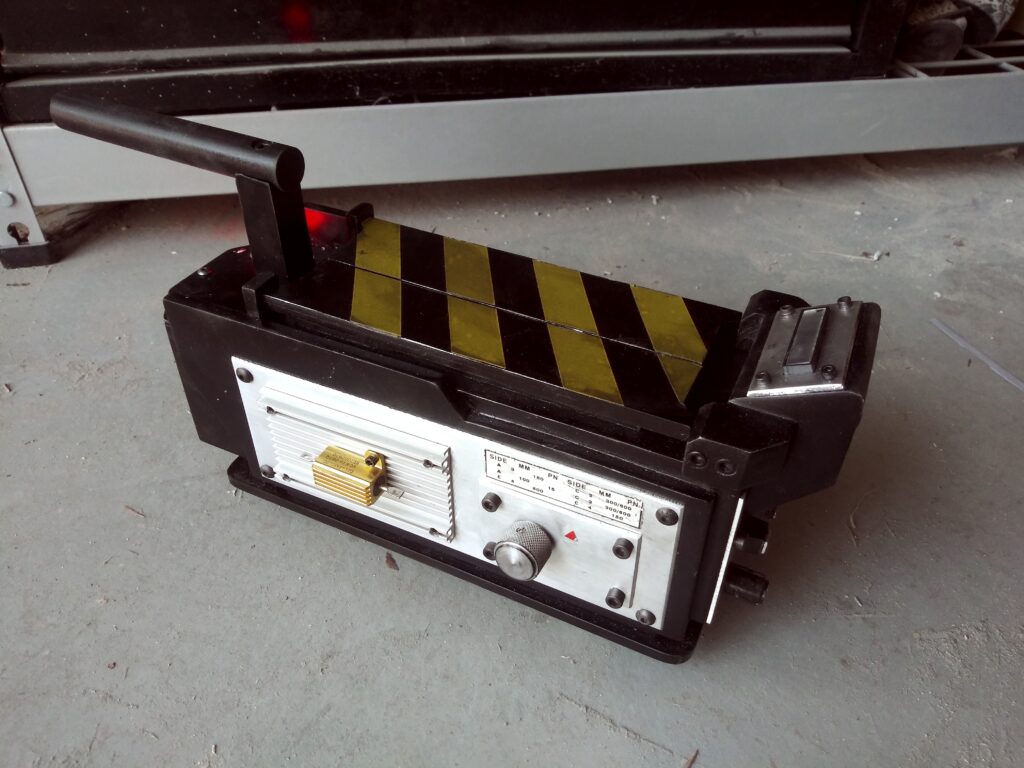
Finished! These old MMM traps get a lot of flack, but if you take some time and spruce them up, they can look pretty decent. My friend was very pleased with the results.
