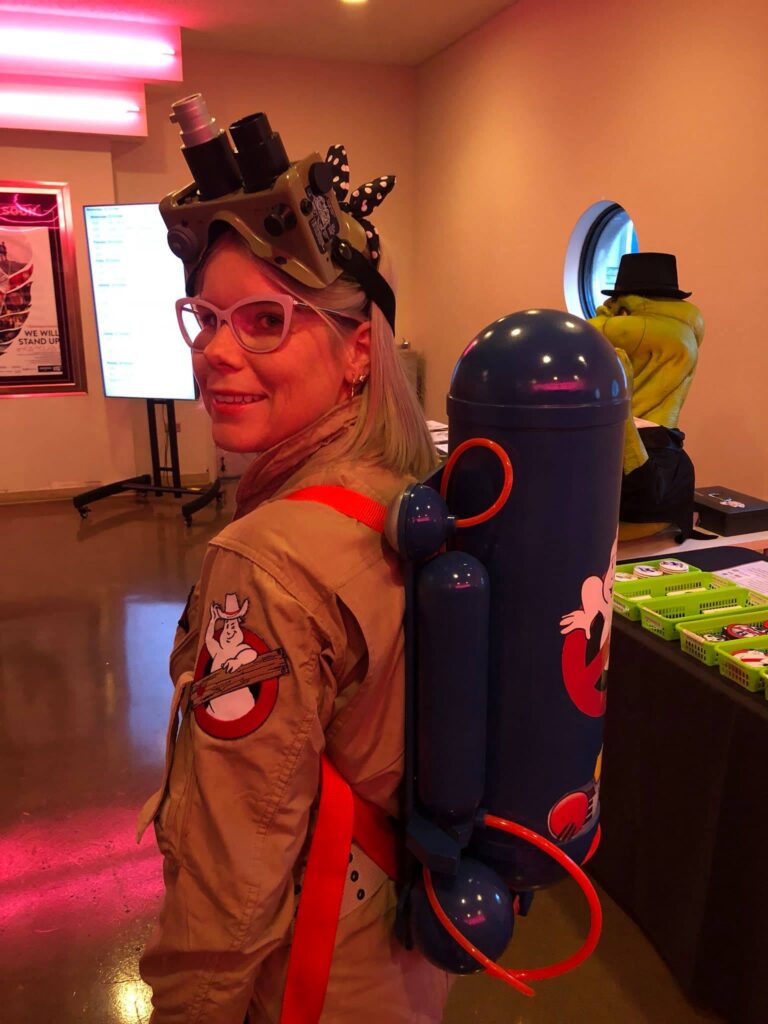
This was made in 2019. I was going to really try to hit it hard with commissions, but then the pandemic hit. I made two of these for a couple customers, but then went back to just making things for my own amusement. This is also the last major project before I bought a laser cutter, so all of the details are scratch built.
Back in 1988 or so, Kenner was prototyping their new slime blower wearable toy to tie into the upcoming Ghostbusters II movie. The prototype they made differed greatly from the toy they produced, and was closer to what’s seen in the film. Here’s a picture of that prototype:
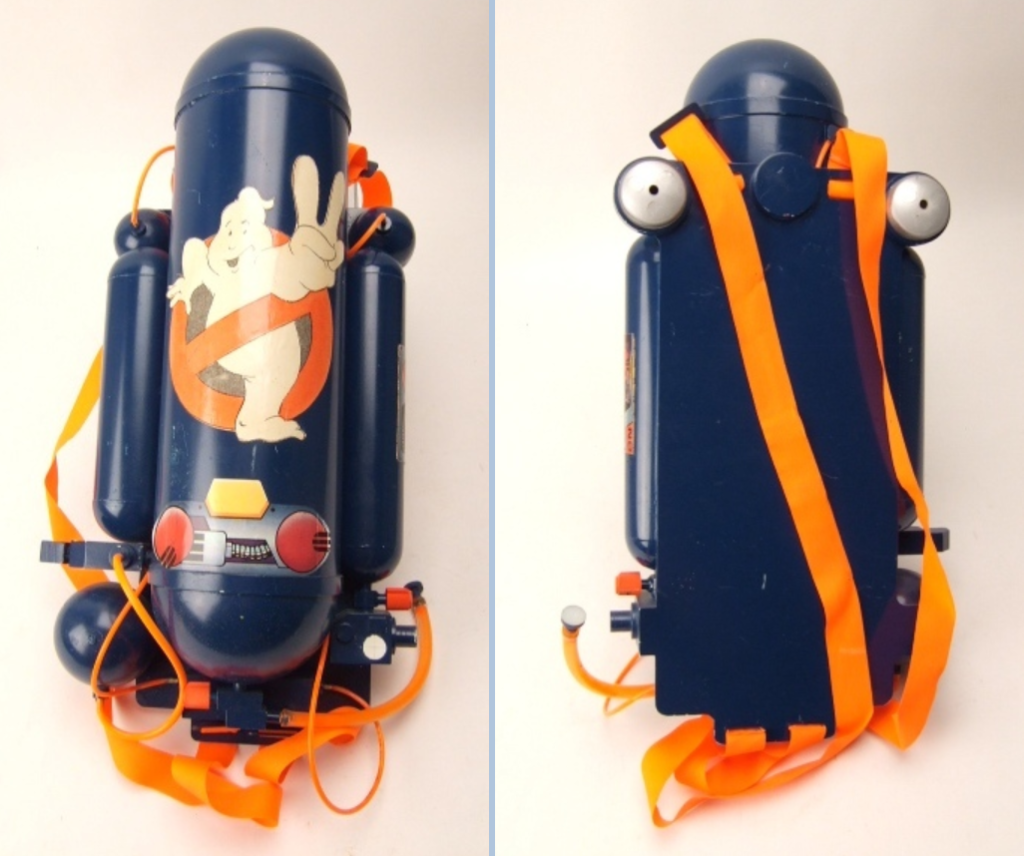
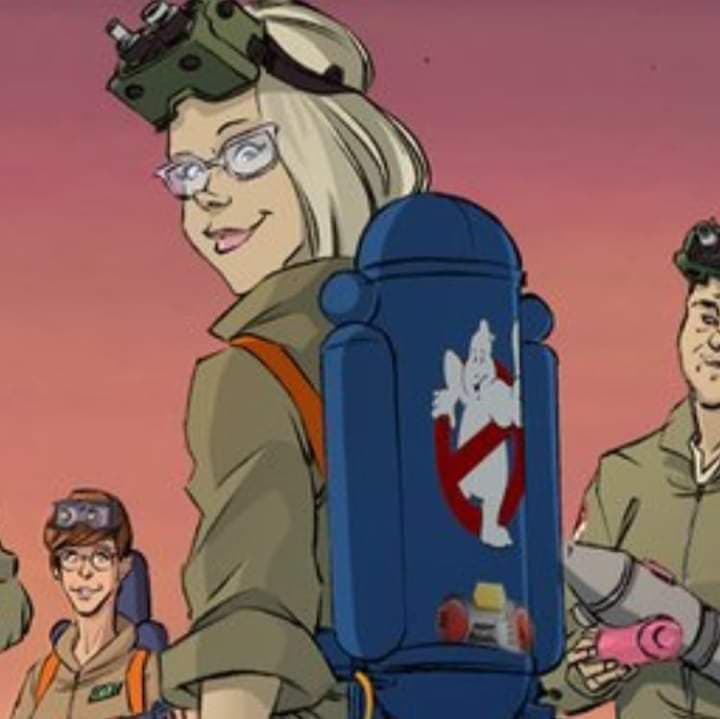
Years later, a member of the Ghostbusters fan community was drawn in an official comic by IDW wearing that same blower prototype, so they reached out to have one made to that same scale.
I started by working on the main tank, a large piece of PVC pipe with acrylic hemispheres attached on top and bottom. Where the hemispheres join, a band is glued to hide the seam, and because it’s accurate. Here you can see my brilliant strategy for affixing the hemispheres while the glue dries:
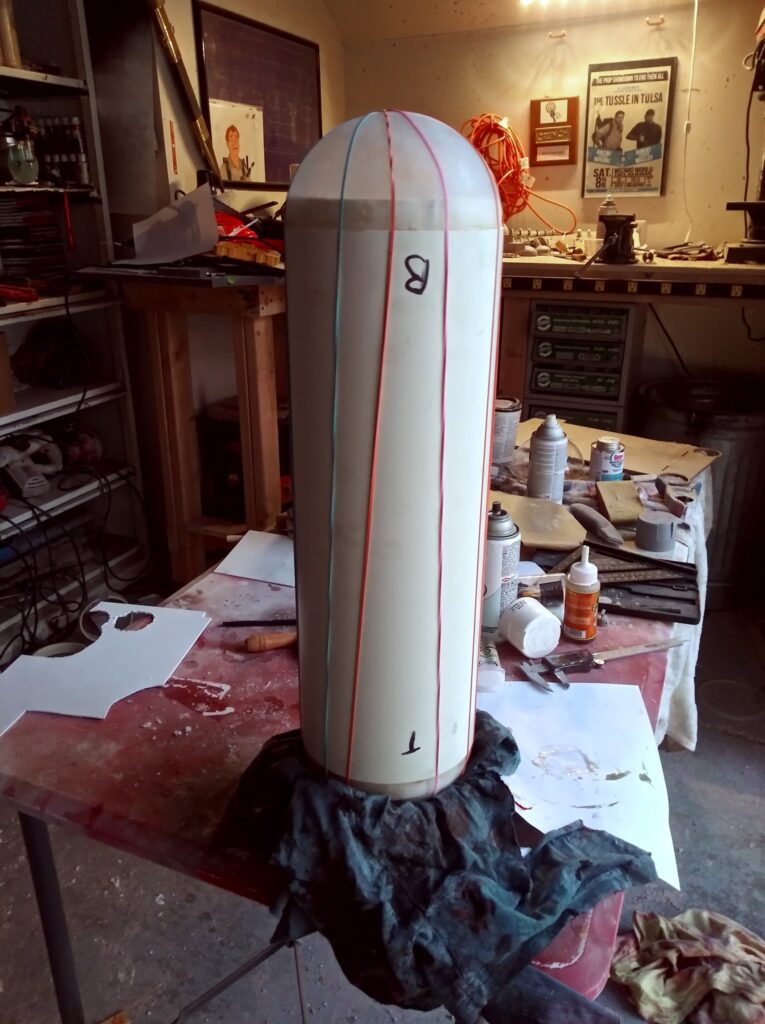
And here you can see my equally brilliant solution for keeping the bands on the tank while their glue dries, by clamping them on with a cut piece of PVC pipe:
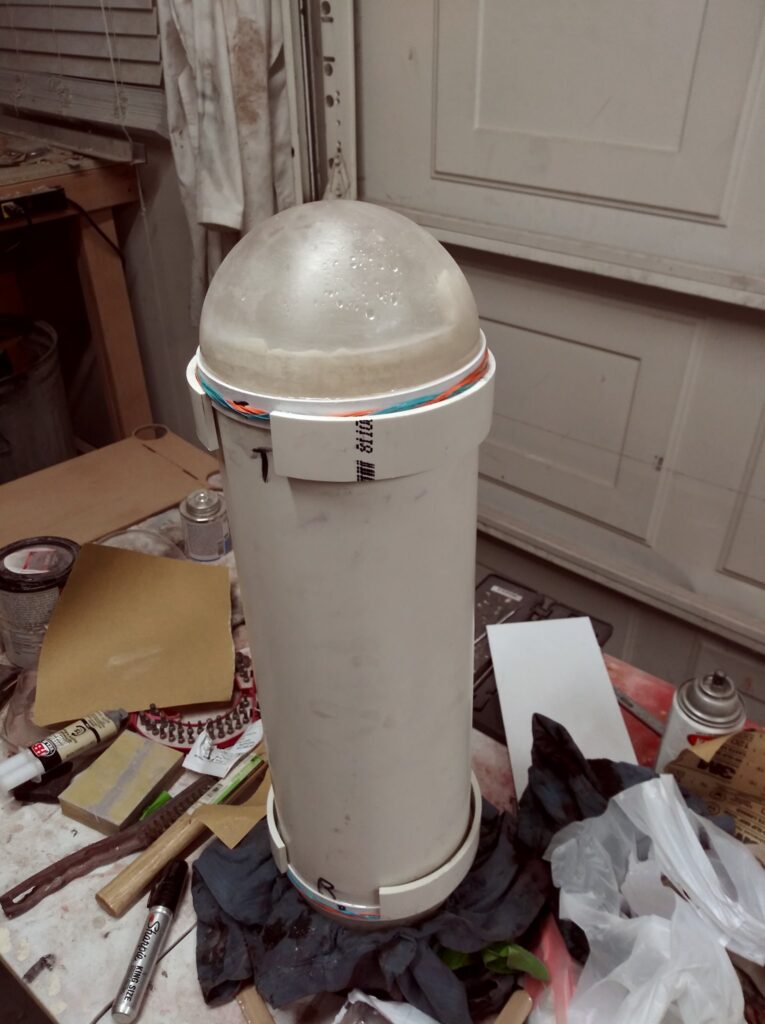
(I drained the moisture in the above pic. I was using Gorilla Glue, and had anticipated needing to drill a large hole to prevent mold growth)
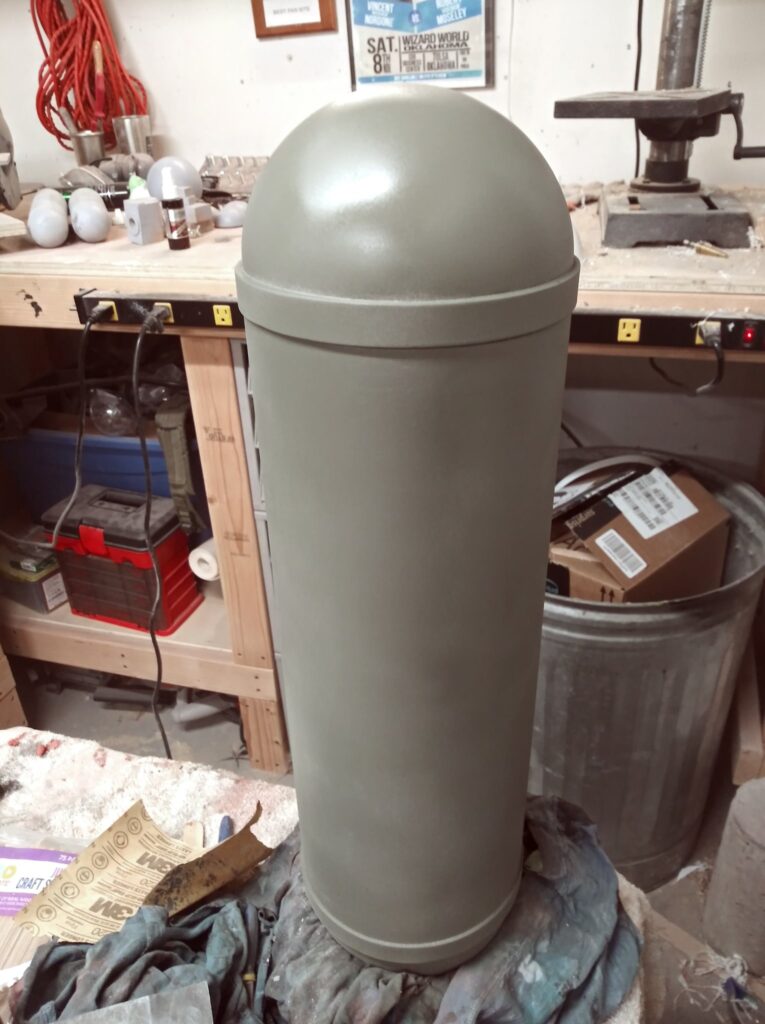
Looking good so far!
Next up, I made a back board, which is referred to as a motherboard by Ghostbusters fans.
This was all measured and plotted by hand before being cut out on a bandsaw.
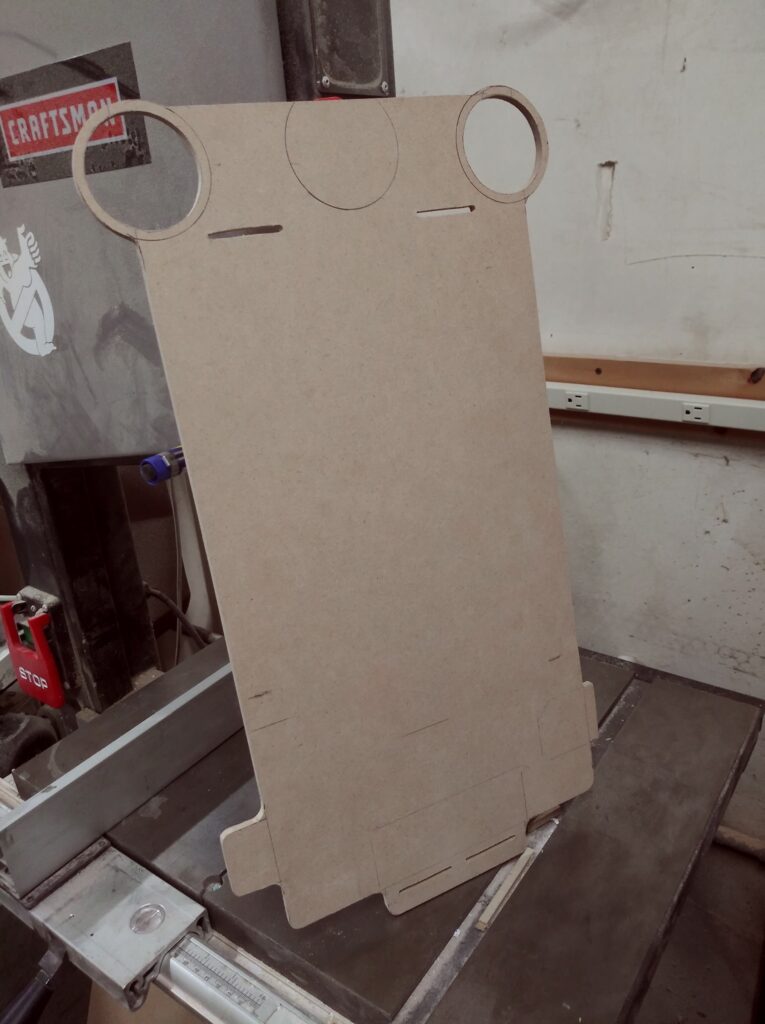
Those two holes in the motherboard are to fit the “lights”. These would have actually squirted water in the prototype, or were implied to. To tackle these, I cast up some hemispheres with a lip on the inside to fit onto some PVC end caps. The idea being that you could fit the hemisphere on one side of the back panel, and the PVC on the other side, and they would sandwich the panel between them.
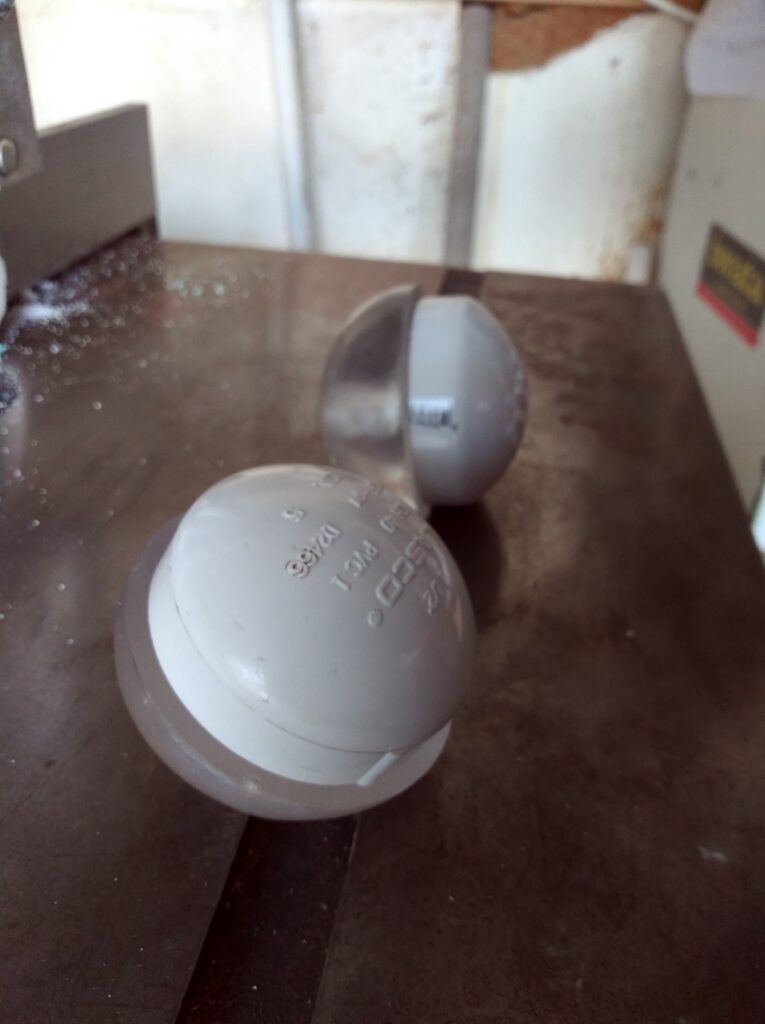
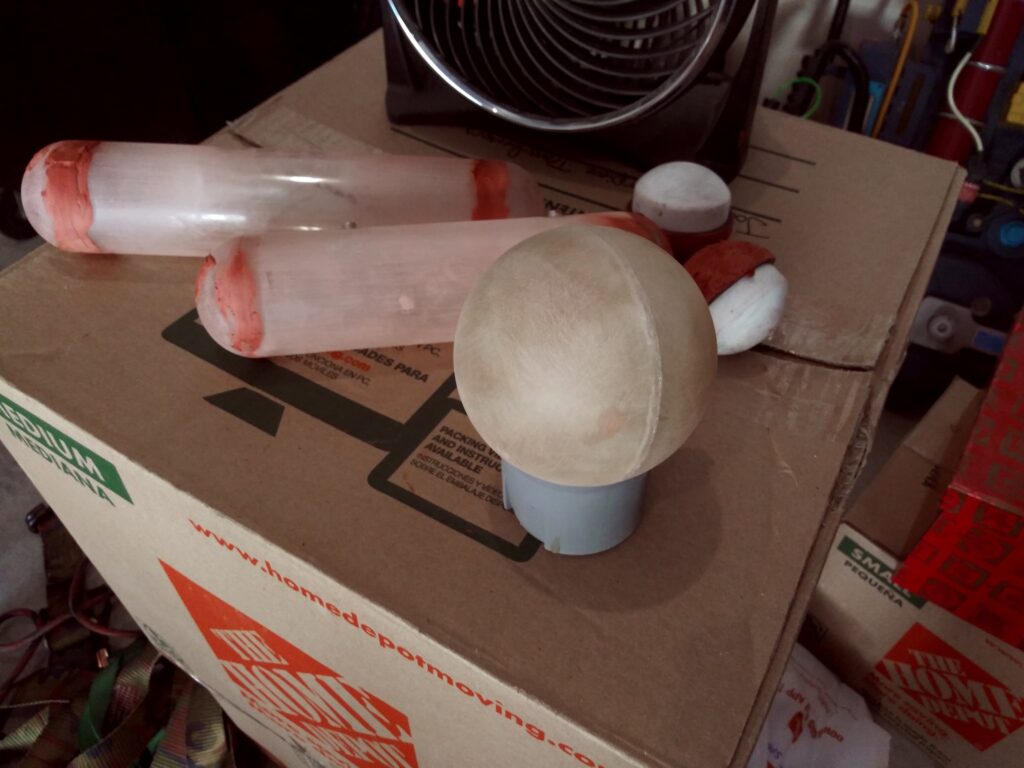
Then I moved on to the side tanks, and the small spherical tank on the bottom left of the prop. I promise that the below picture was not meant to be dirty. I don’t have any other pics of them in progress.
The side tanks are acrylic tube with cast resin hemispheres on top and bottom. The spherical tank is two acrylic hemispheres, fiberglassed, and joined in the middle.
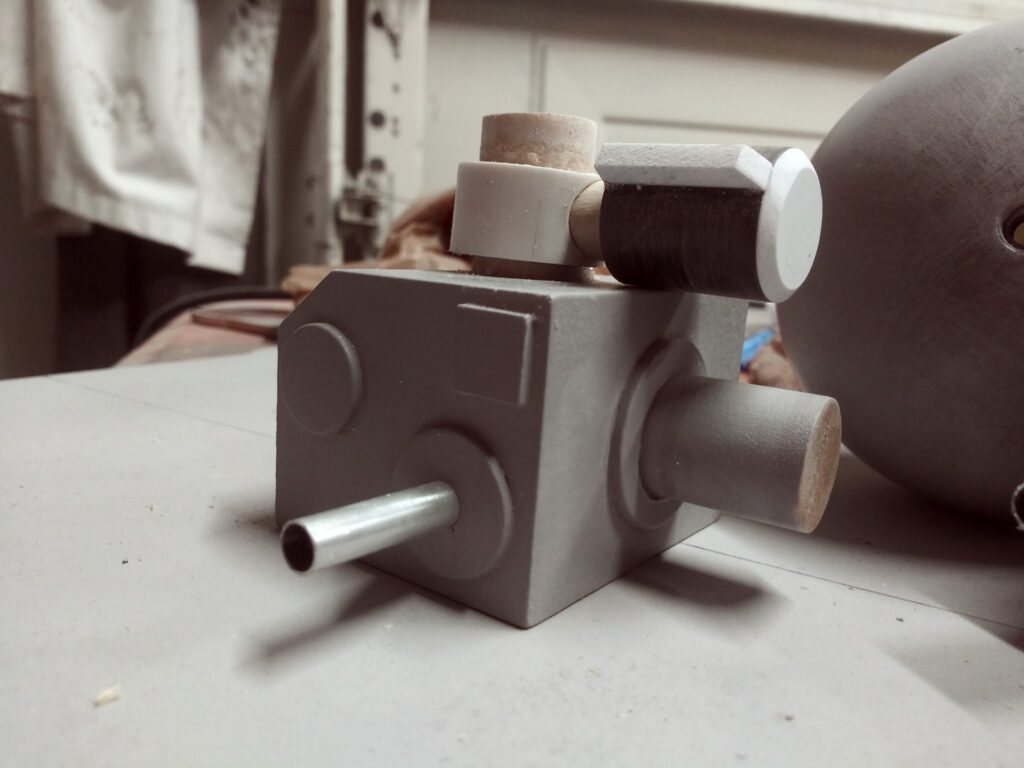
I made the little control box out of stacked MDF with styrene and wooden dowel details.
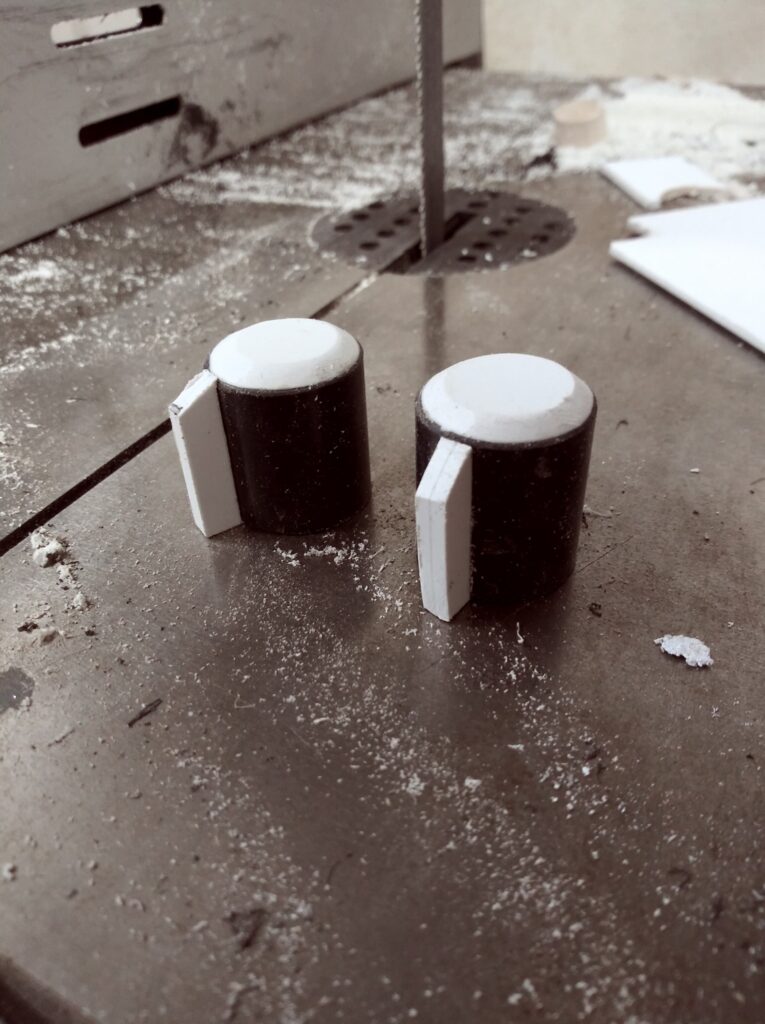
The little knobs on it are ABS tube with styrene added. I chucked these into the lathe and ground a small bevel on the outer edge.
Here’s some of the smaller stuff, about wrapped up.
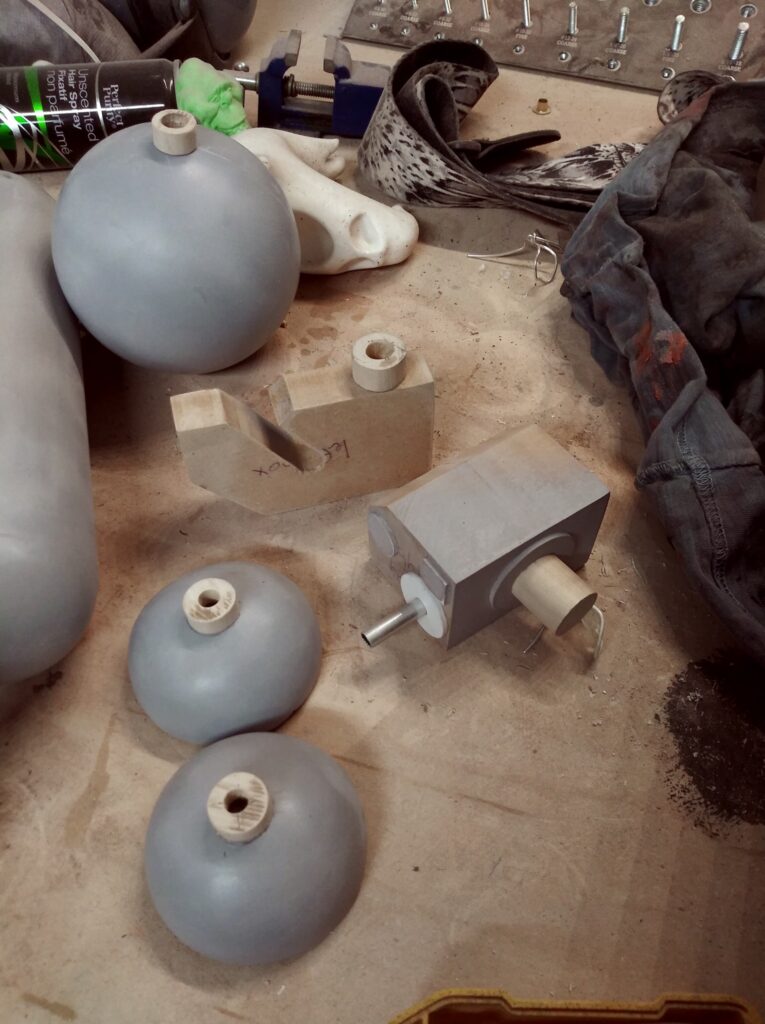
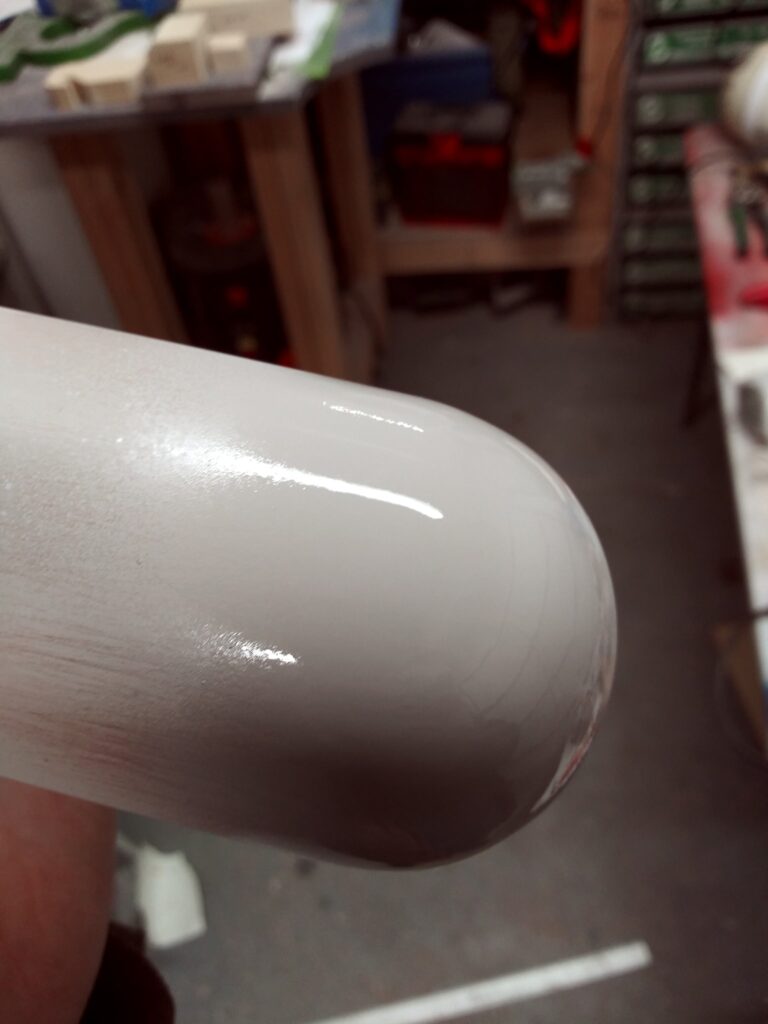
Plenty of filling and sanding, but it’s worth it when the seam disappears.
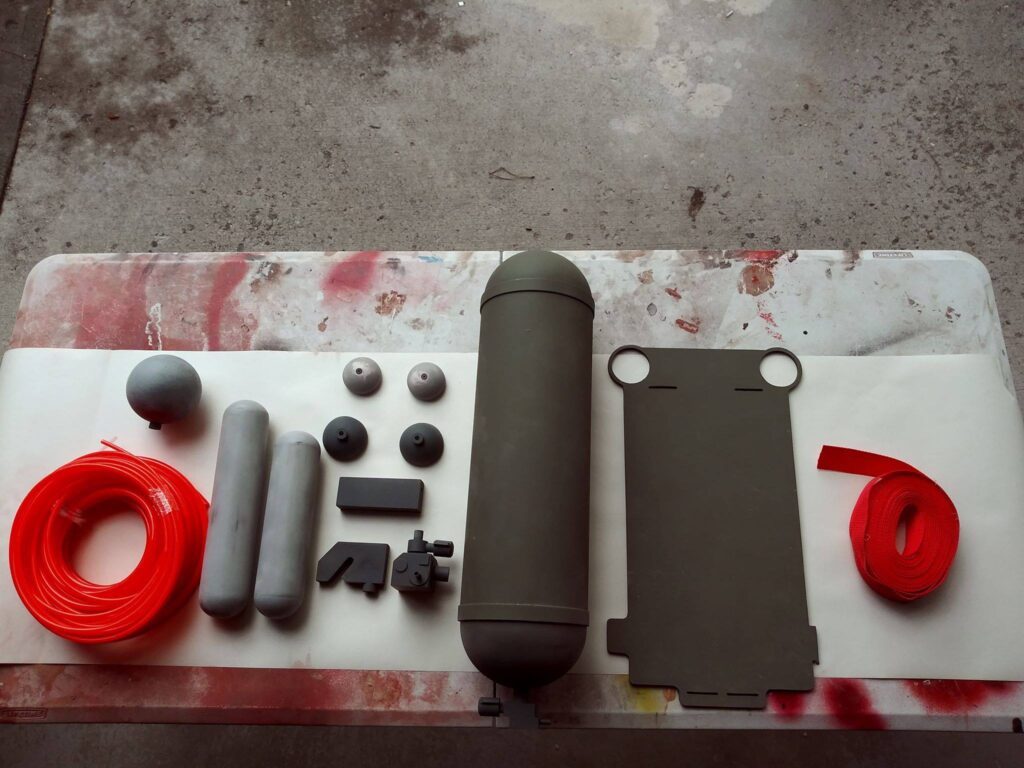
Here’s just about everything knolled out before paint and assembly.
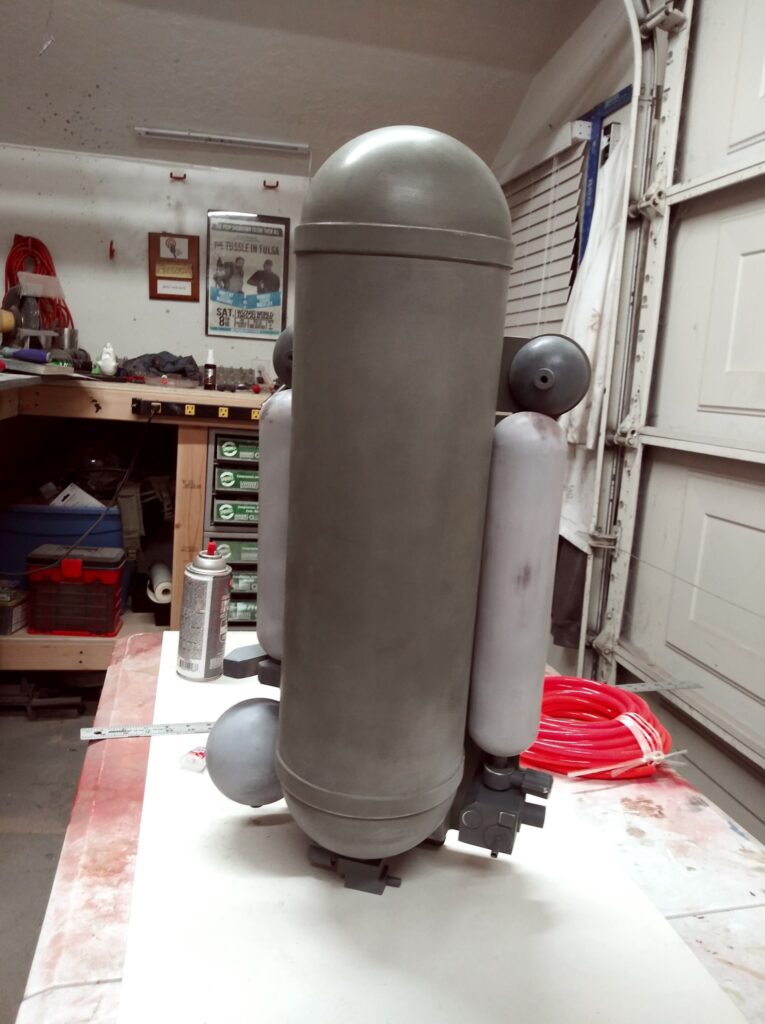
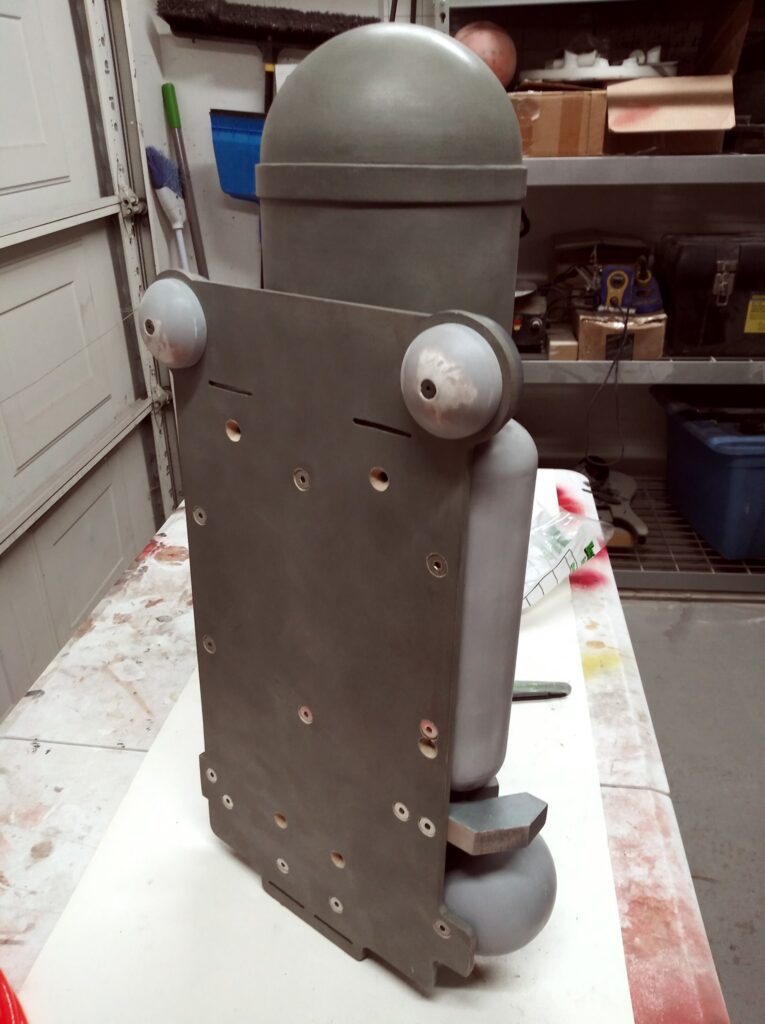
Here’s the test fitting:
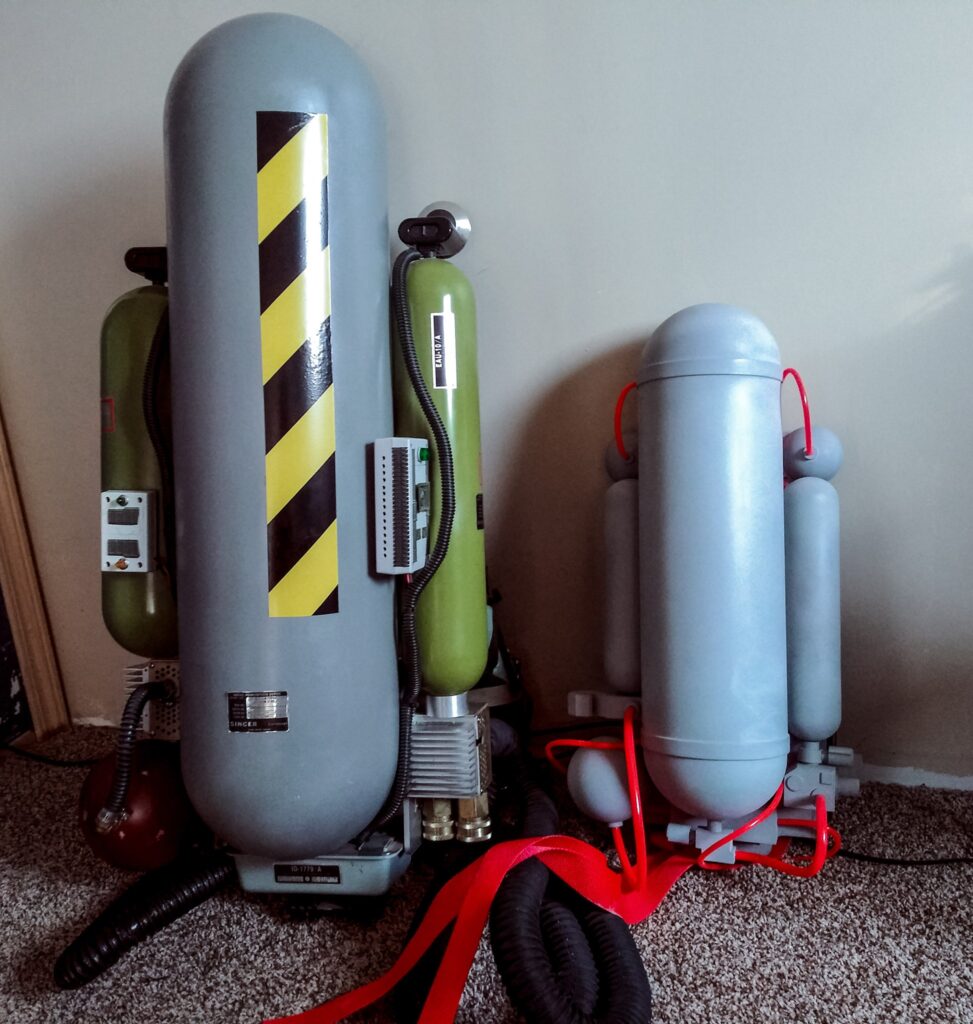
Here it is next to a full-size blower replica from the film:
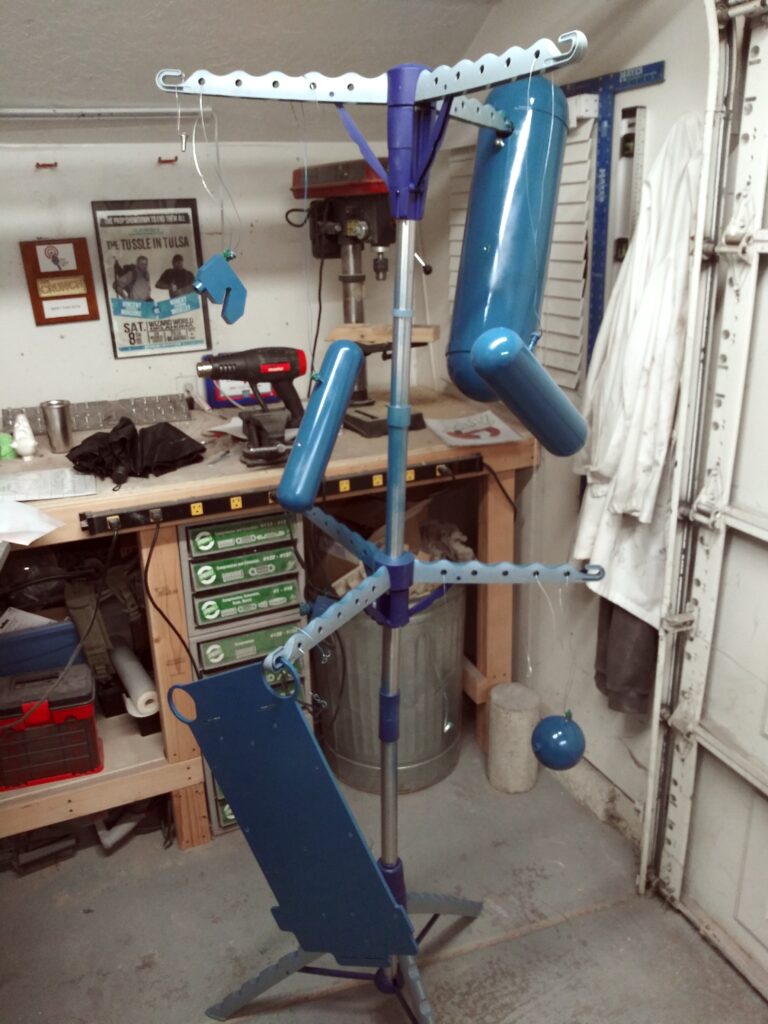
I had a hell of a time painting these. This was my setup, hanging things on a clothes rack, and praying.
And here it is, custom decals and all.


And on its happy new owner.
