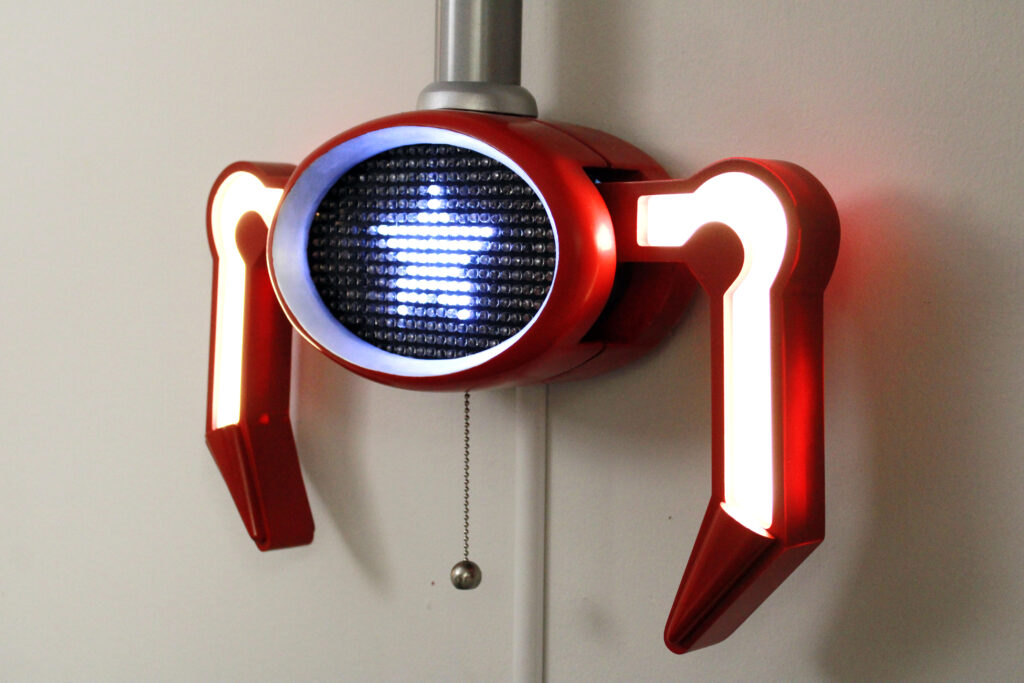
Nintendo Badge Arcade is, well, was a game for the 3DS where you could have daily attempts at getting digital pins from a digital claw machine. I fell in love with this game, despite its simple premise and shallow gameplay. Its aesthetic called to me, and so after years of playing religiously, I decided to make a tribute to it when they announced the E-Shop would be closing, and the game would lose all functionality. Currently the game can’t even open, but it lives on as a sconce in my dining room.
Here’s an image from the game, though my crane is based on the version seen in Super Smash Bros Ultimate. There are slight differences between the two.

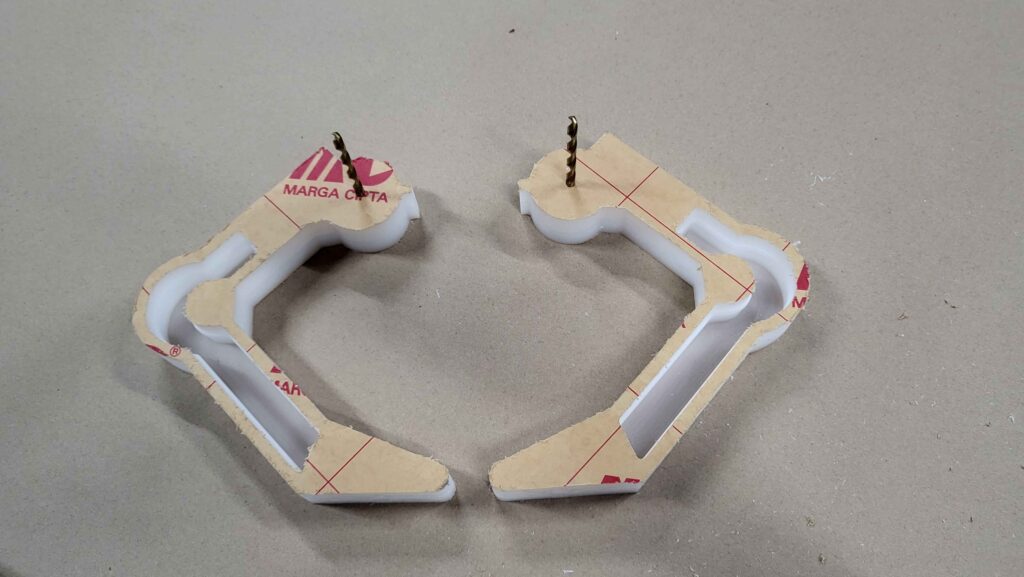
I started by cutting out some arms from stacked 1/2″ acrylic. I included some tabs near the pivot points to attach gears later, and made sure to include channels for lights.
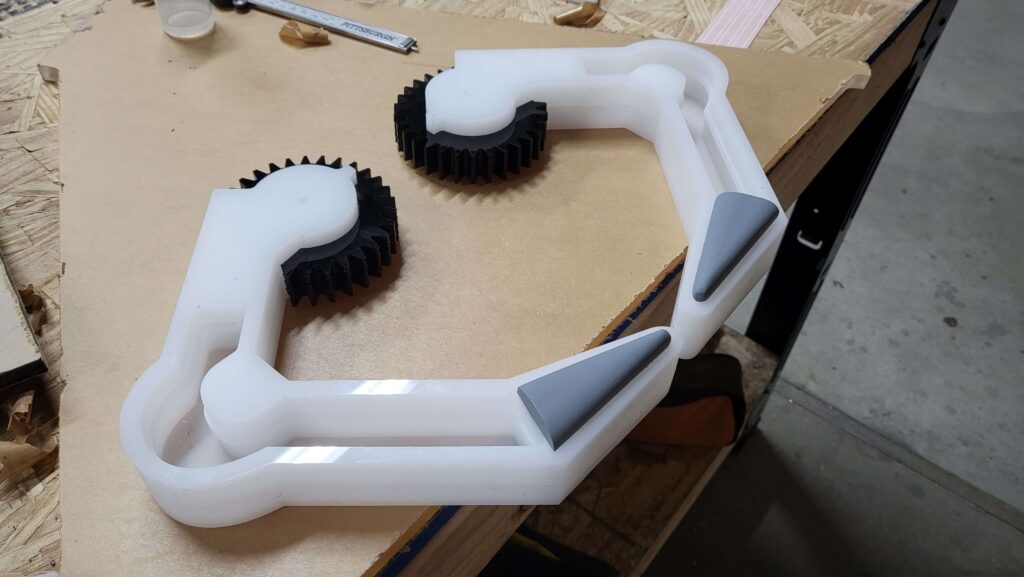
Next, I made some rounded details for the tips of the claws by carving some acrylic to shape. I also laser cut some stacked acrylic for the gears, making sure to leave a bit of room between them for a sliding mechanism.
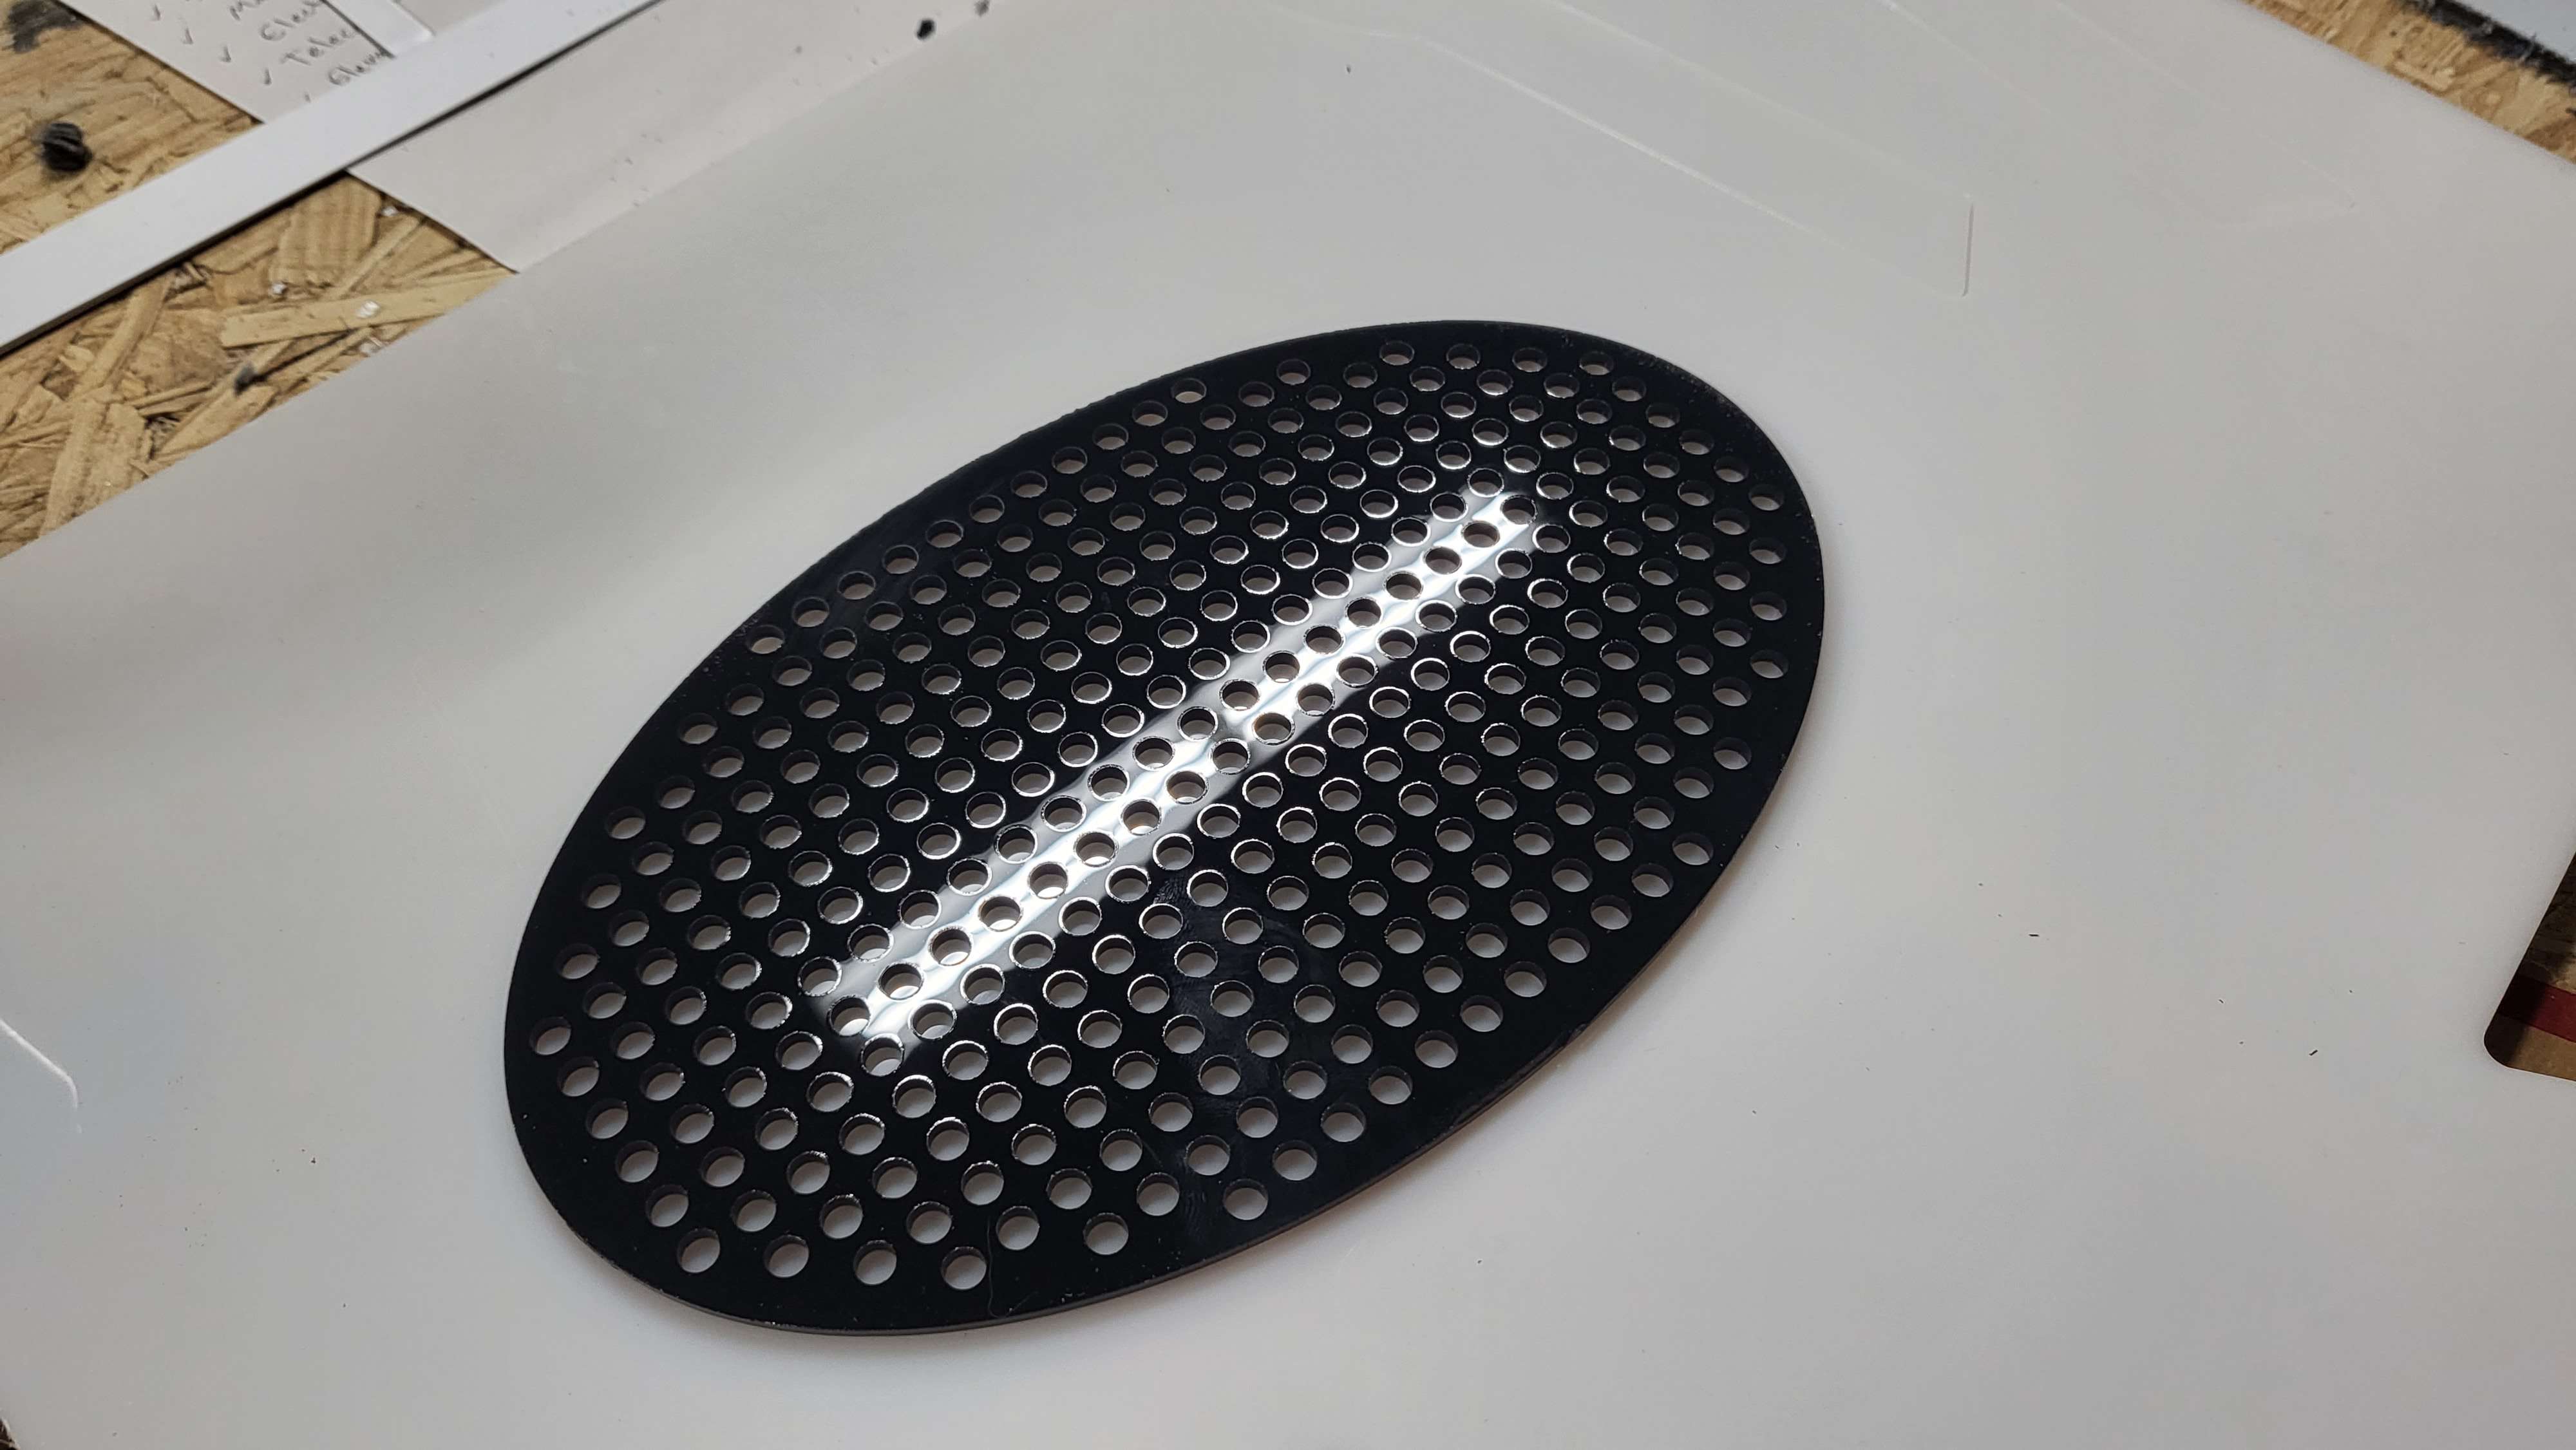
While I was laser cutting, I designed and cut out a grid that would hold LEDs for the “screen”.
Next up, I used some high-density sign making foam to start carving out the body. I started with a domed oval shape which would eventually be the basis for the clear bubble that goes over the screen.
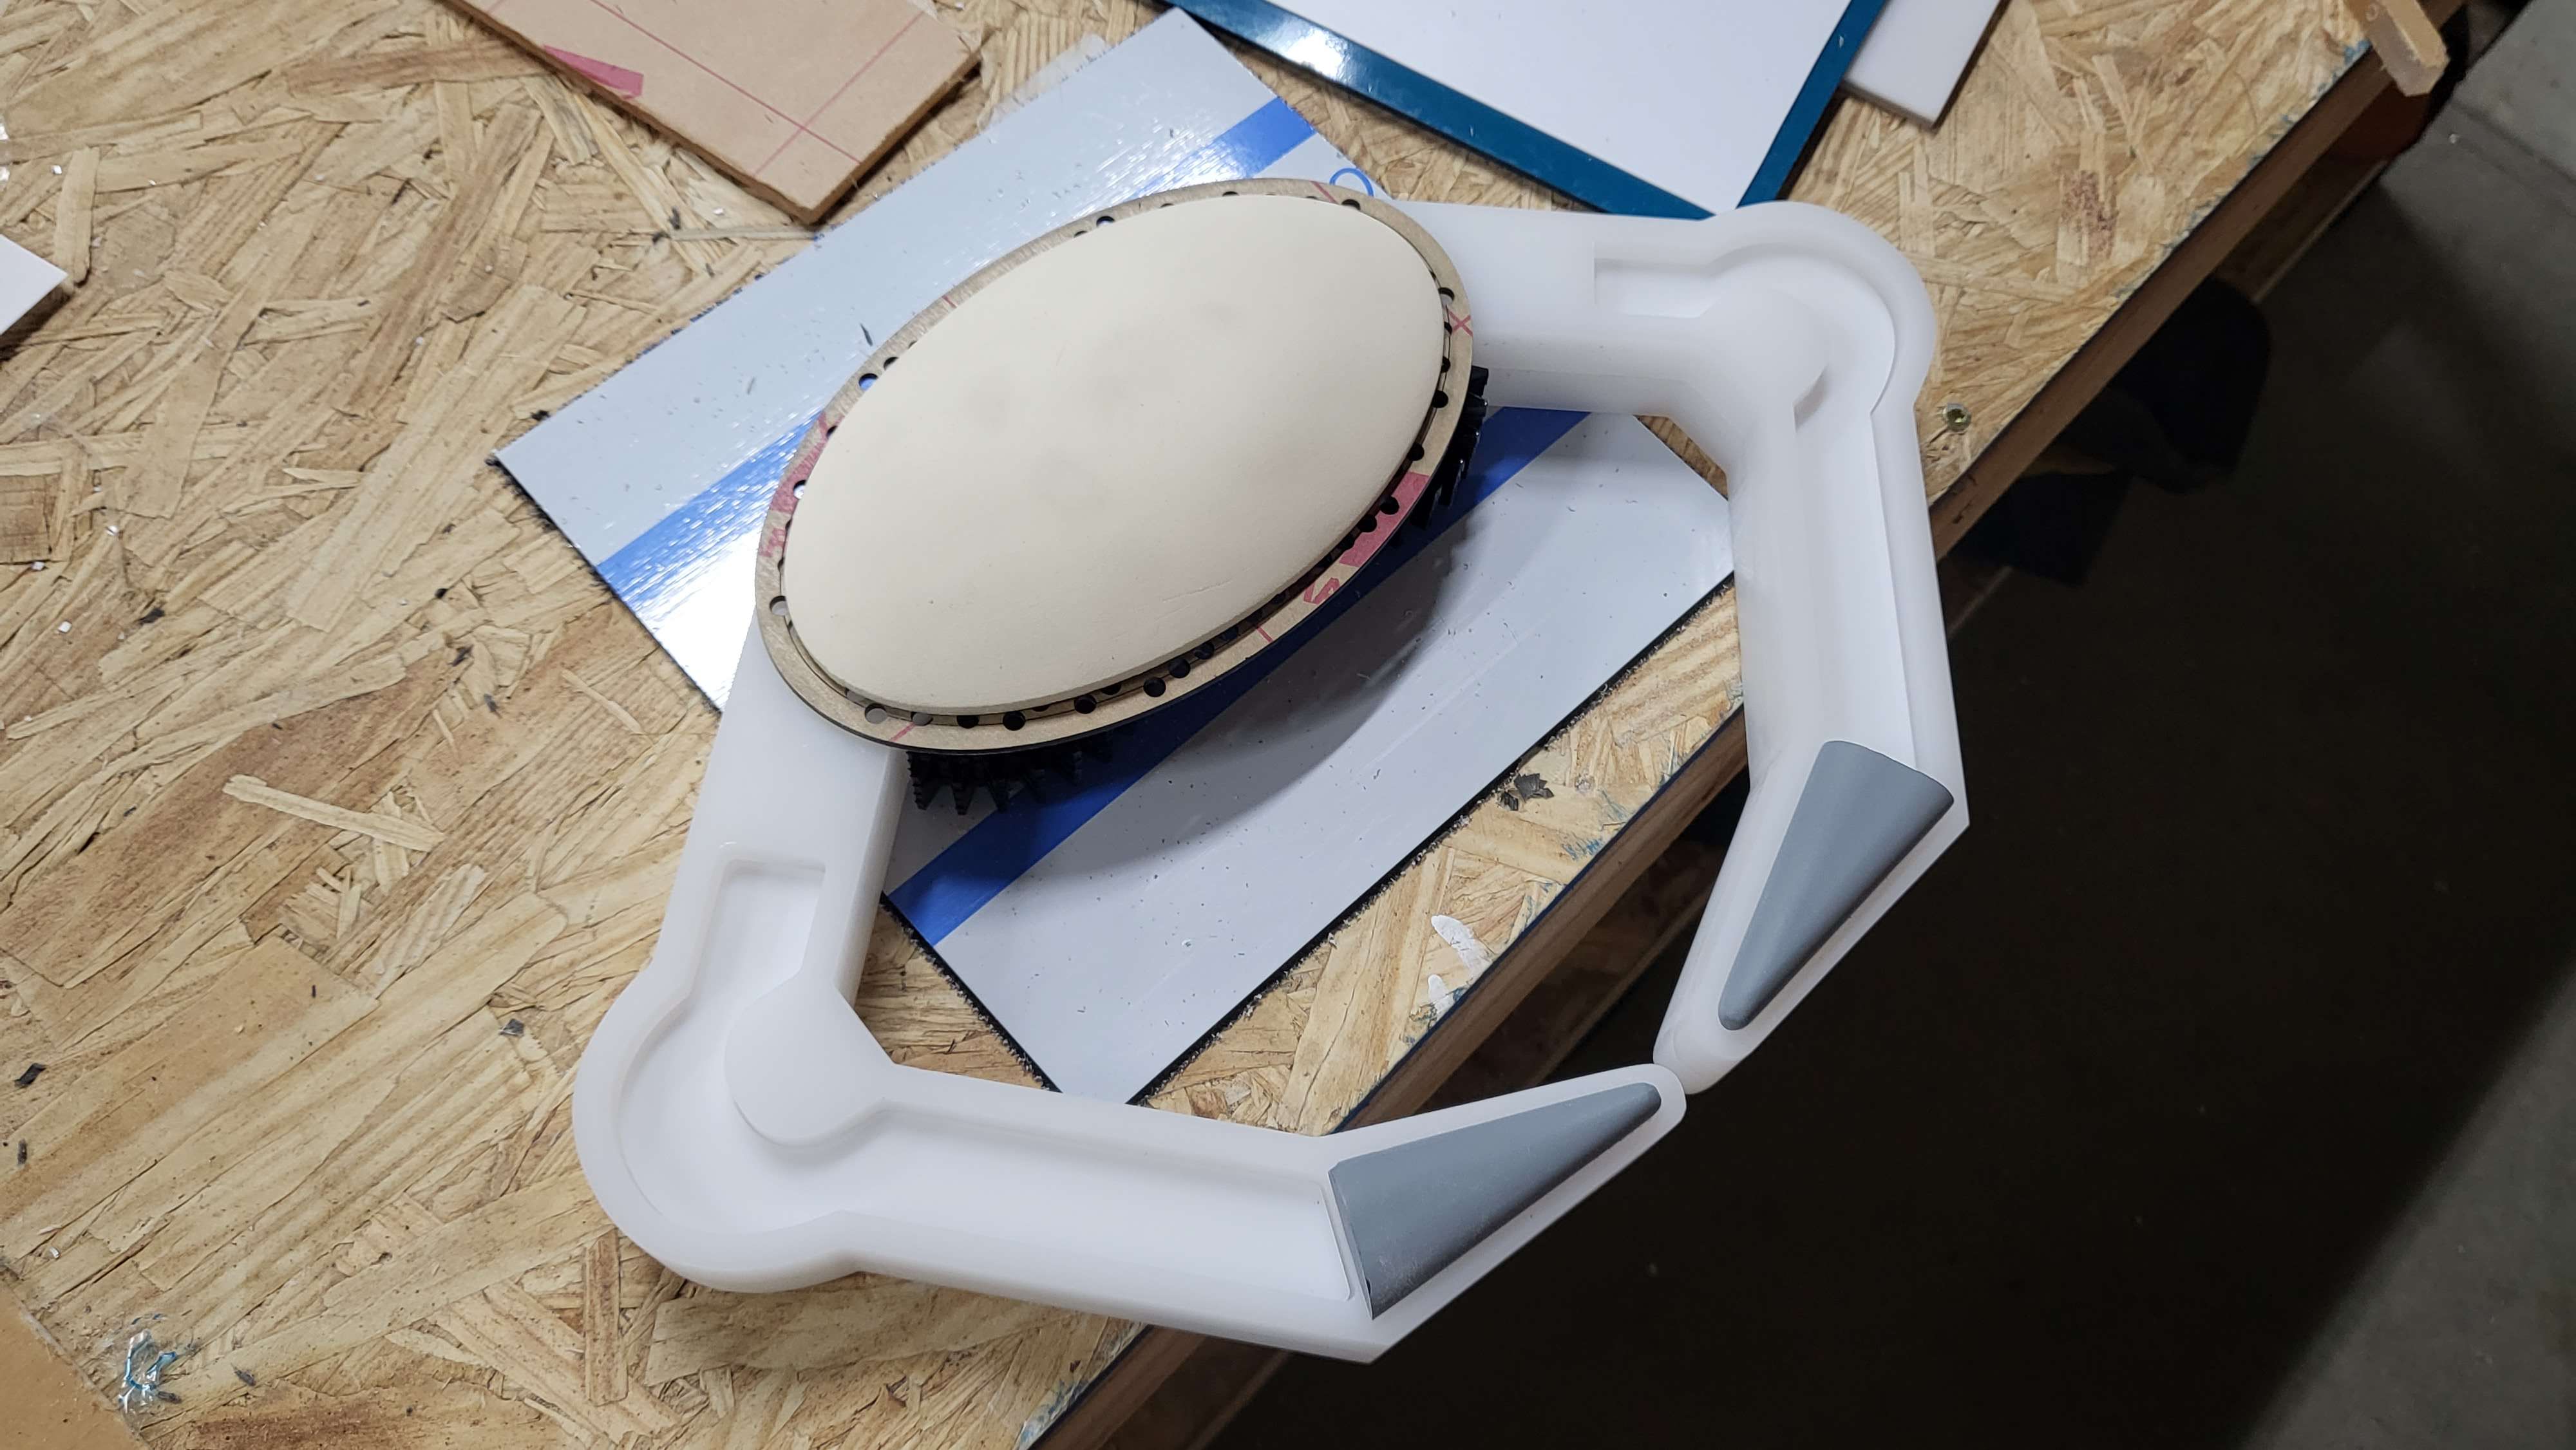
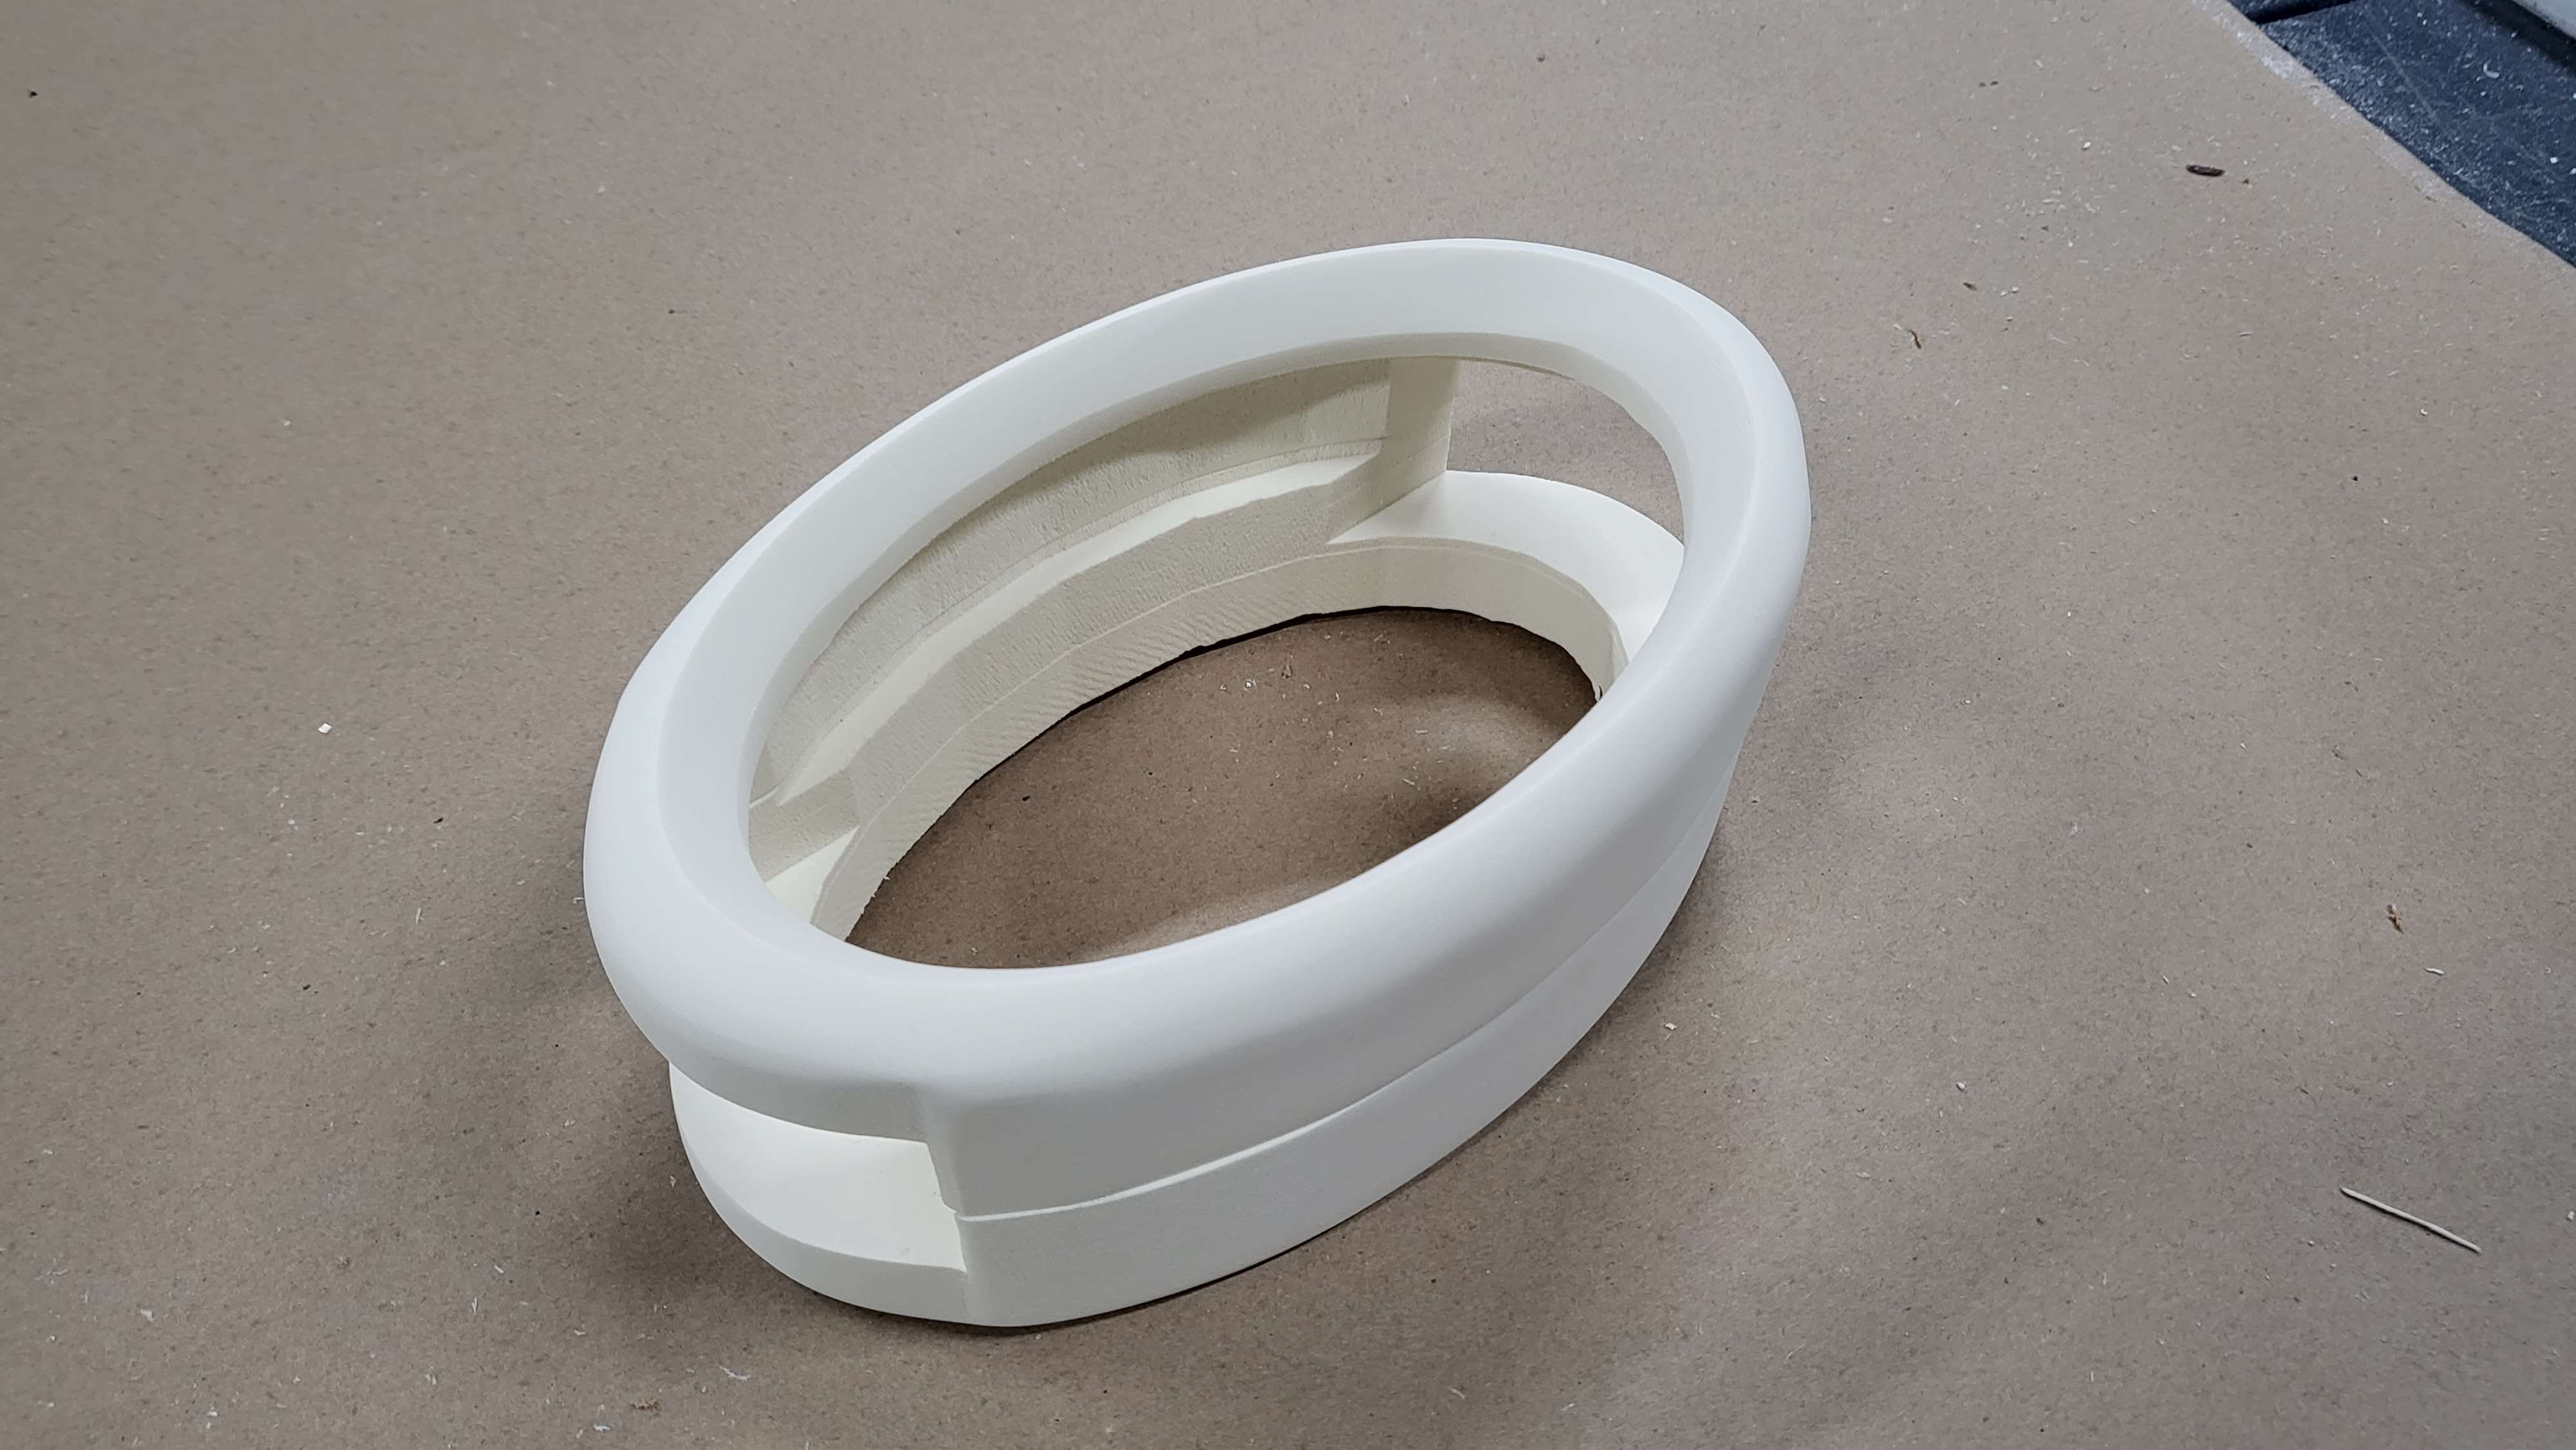
Then it was time to start on the body proper. Each half is a 2″ section of foam that was routed front and back to rough out the shape before sanding it smooth.
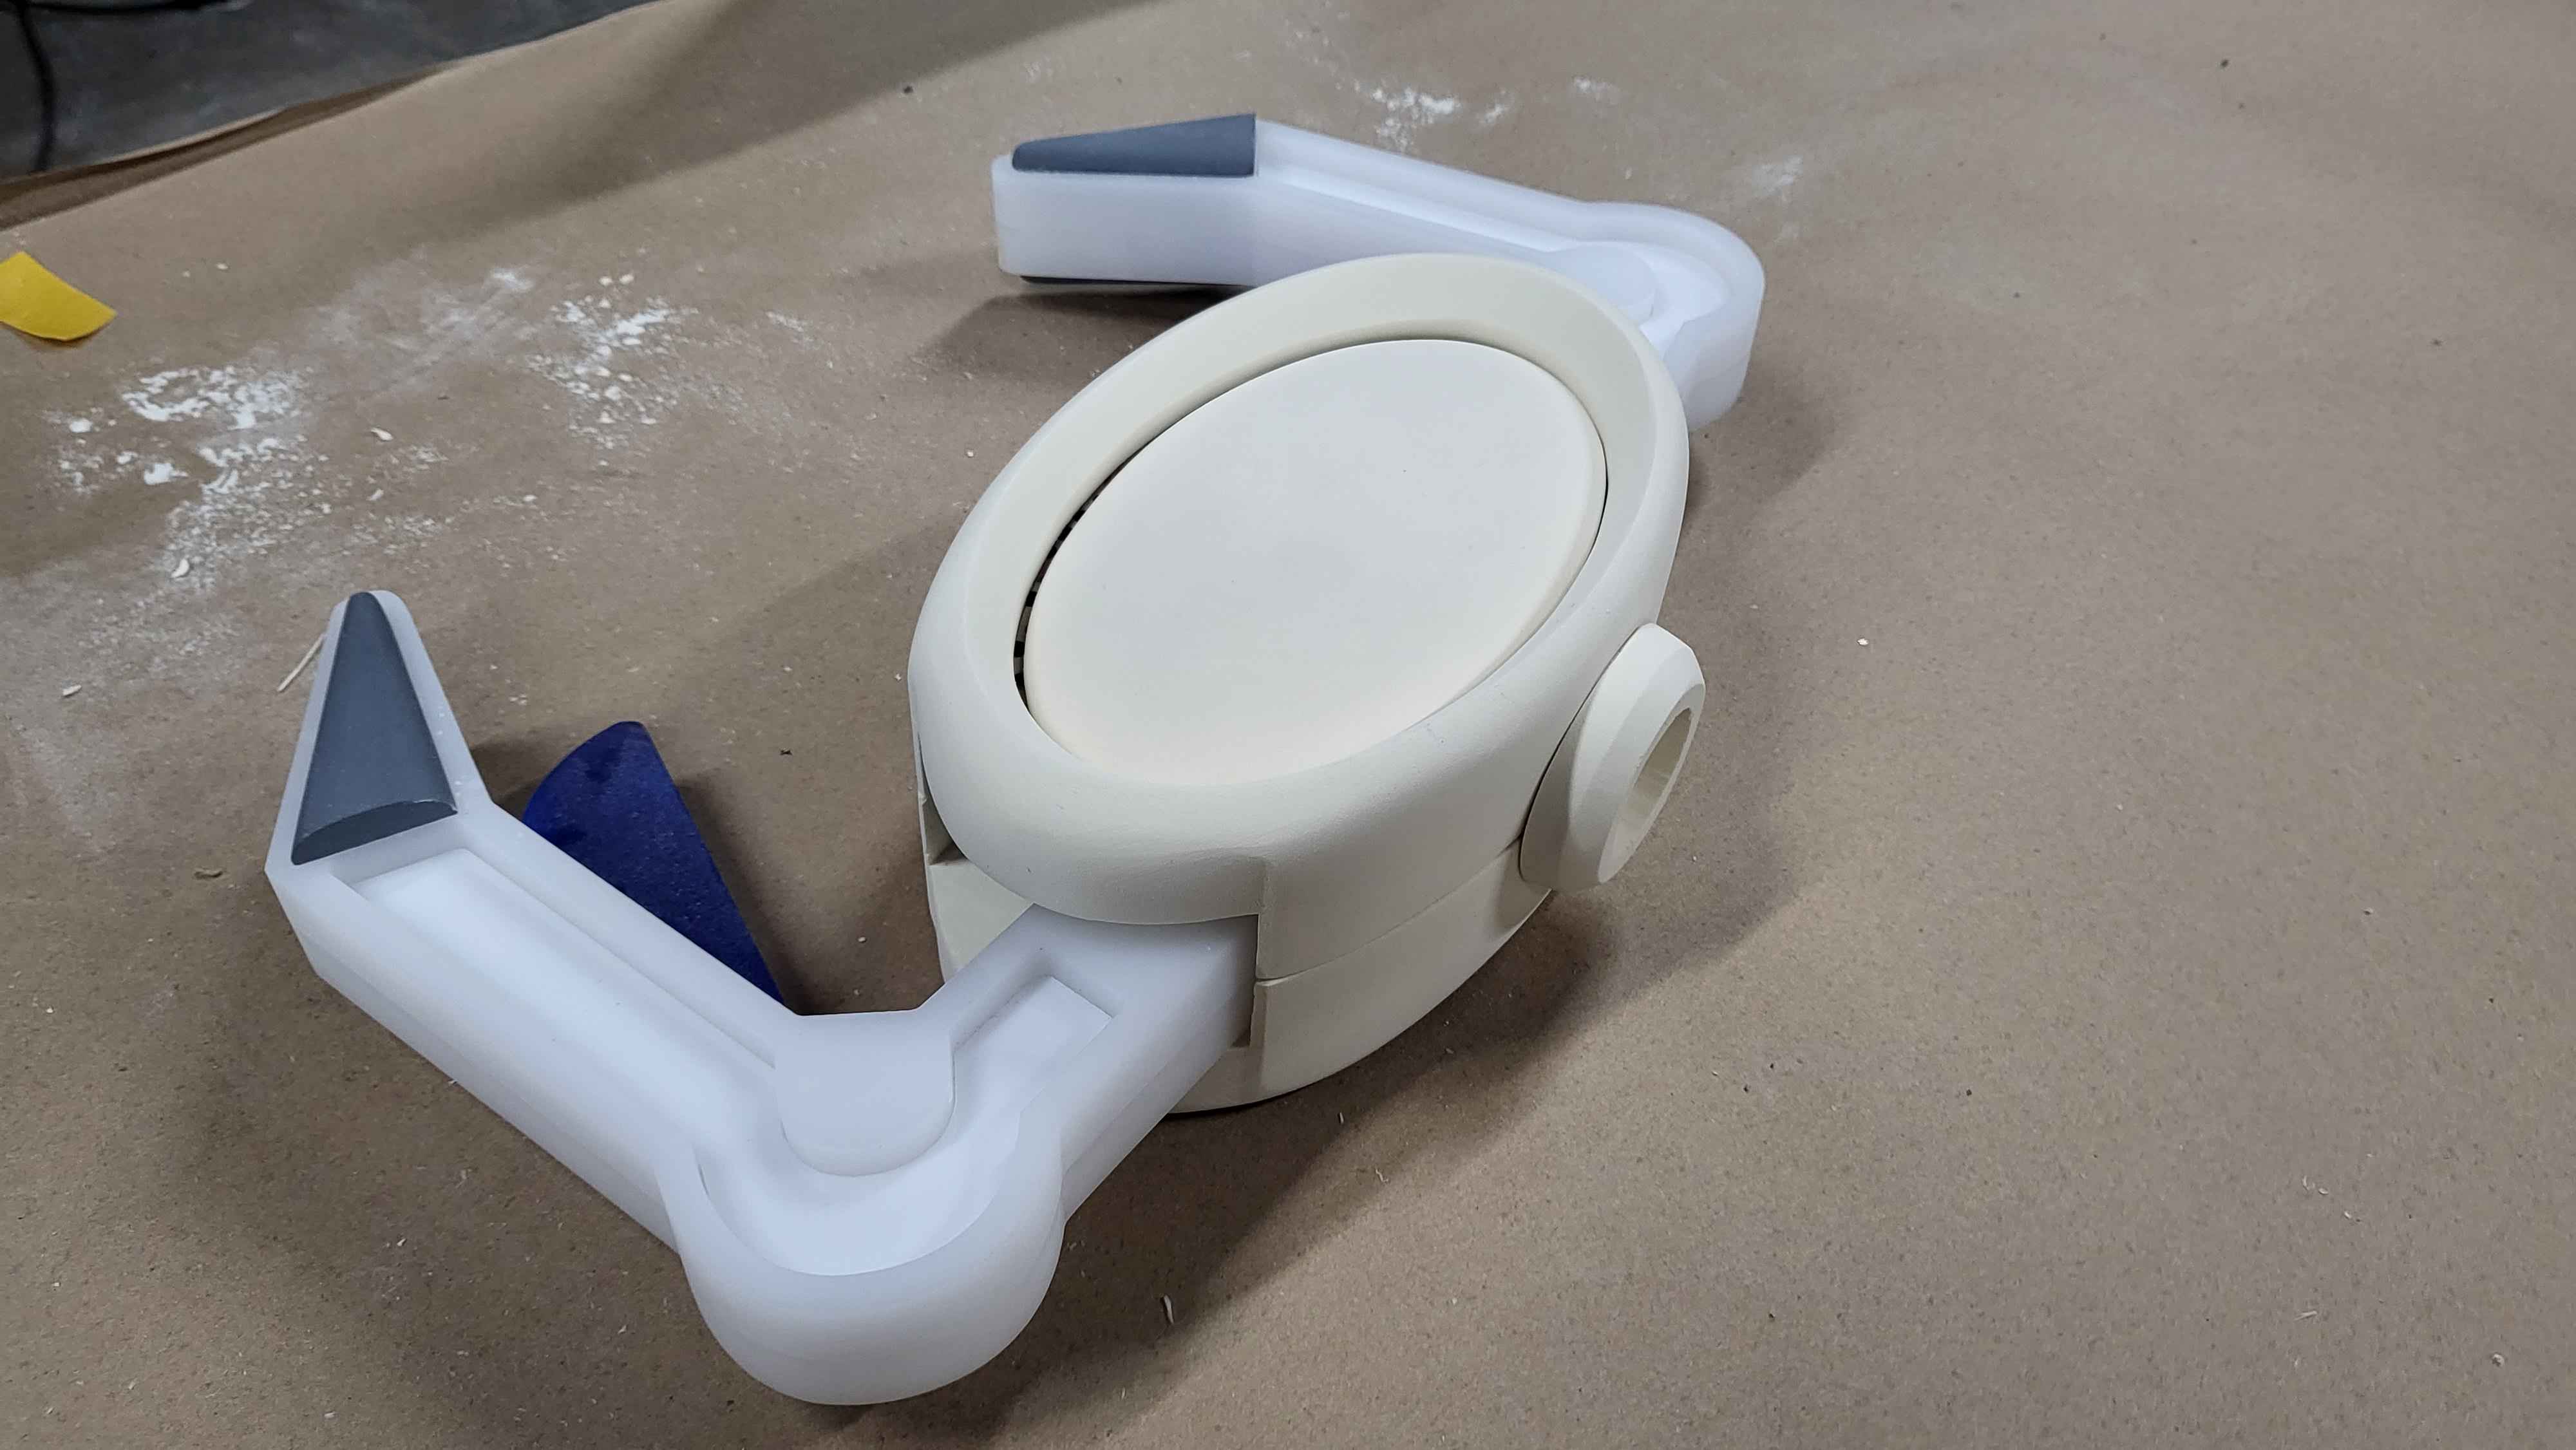
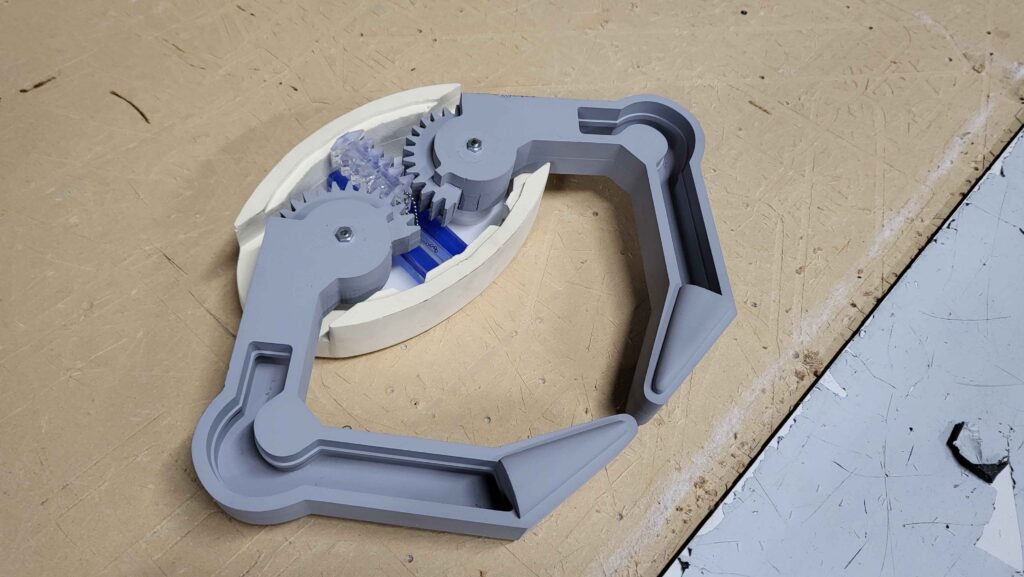
Next I worked on a mechanism to move the arms. I accomplished this by having a straight piece of toothed gear slide along a track on a sled. I didn’t document this mechanism as well as I should have, but I do have some basic pictures and video.
The only other part of the mechanism to figure out was how to make it stay open. For this, I used a plate of aluminum with a notch cut into it, so the bead chain I was pulling could insert into the slot and get stuck in place.
The next step was to populate the grid plate with LEDs to make the screen. I glued up LEDs in each hole, but only kept the leads on ones toward the center, which were soldered together to make a star pattern, which is seen often in the game.
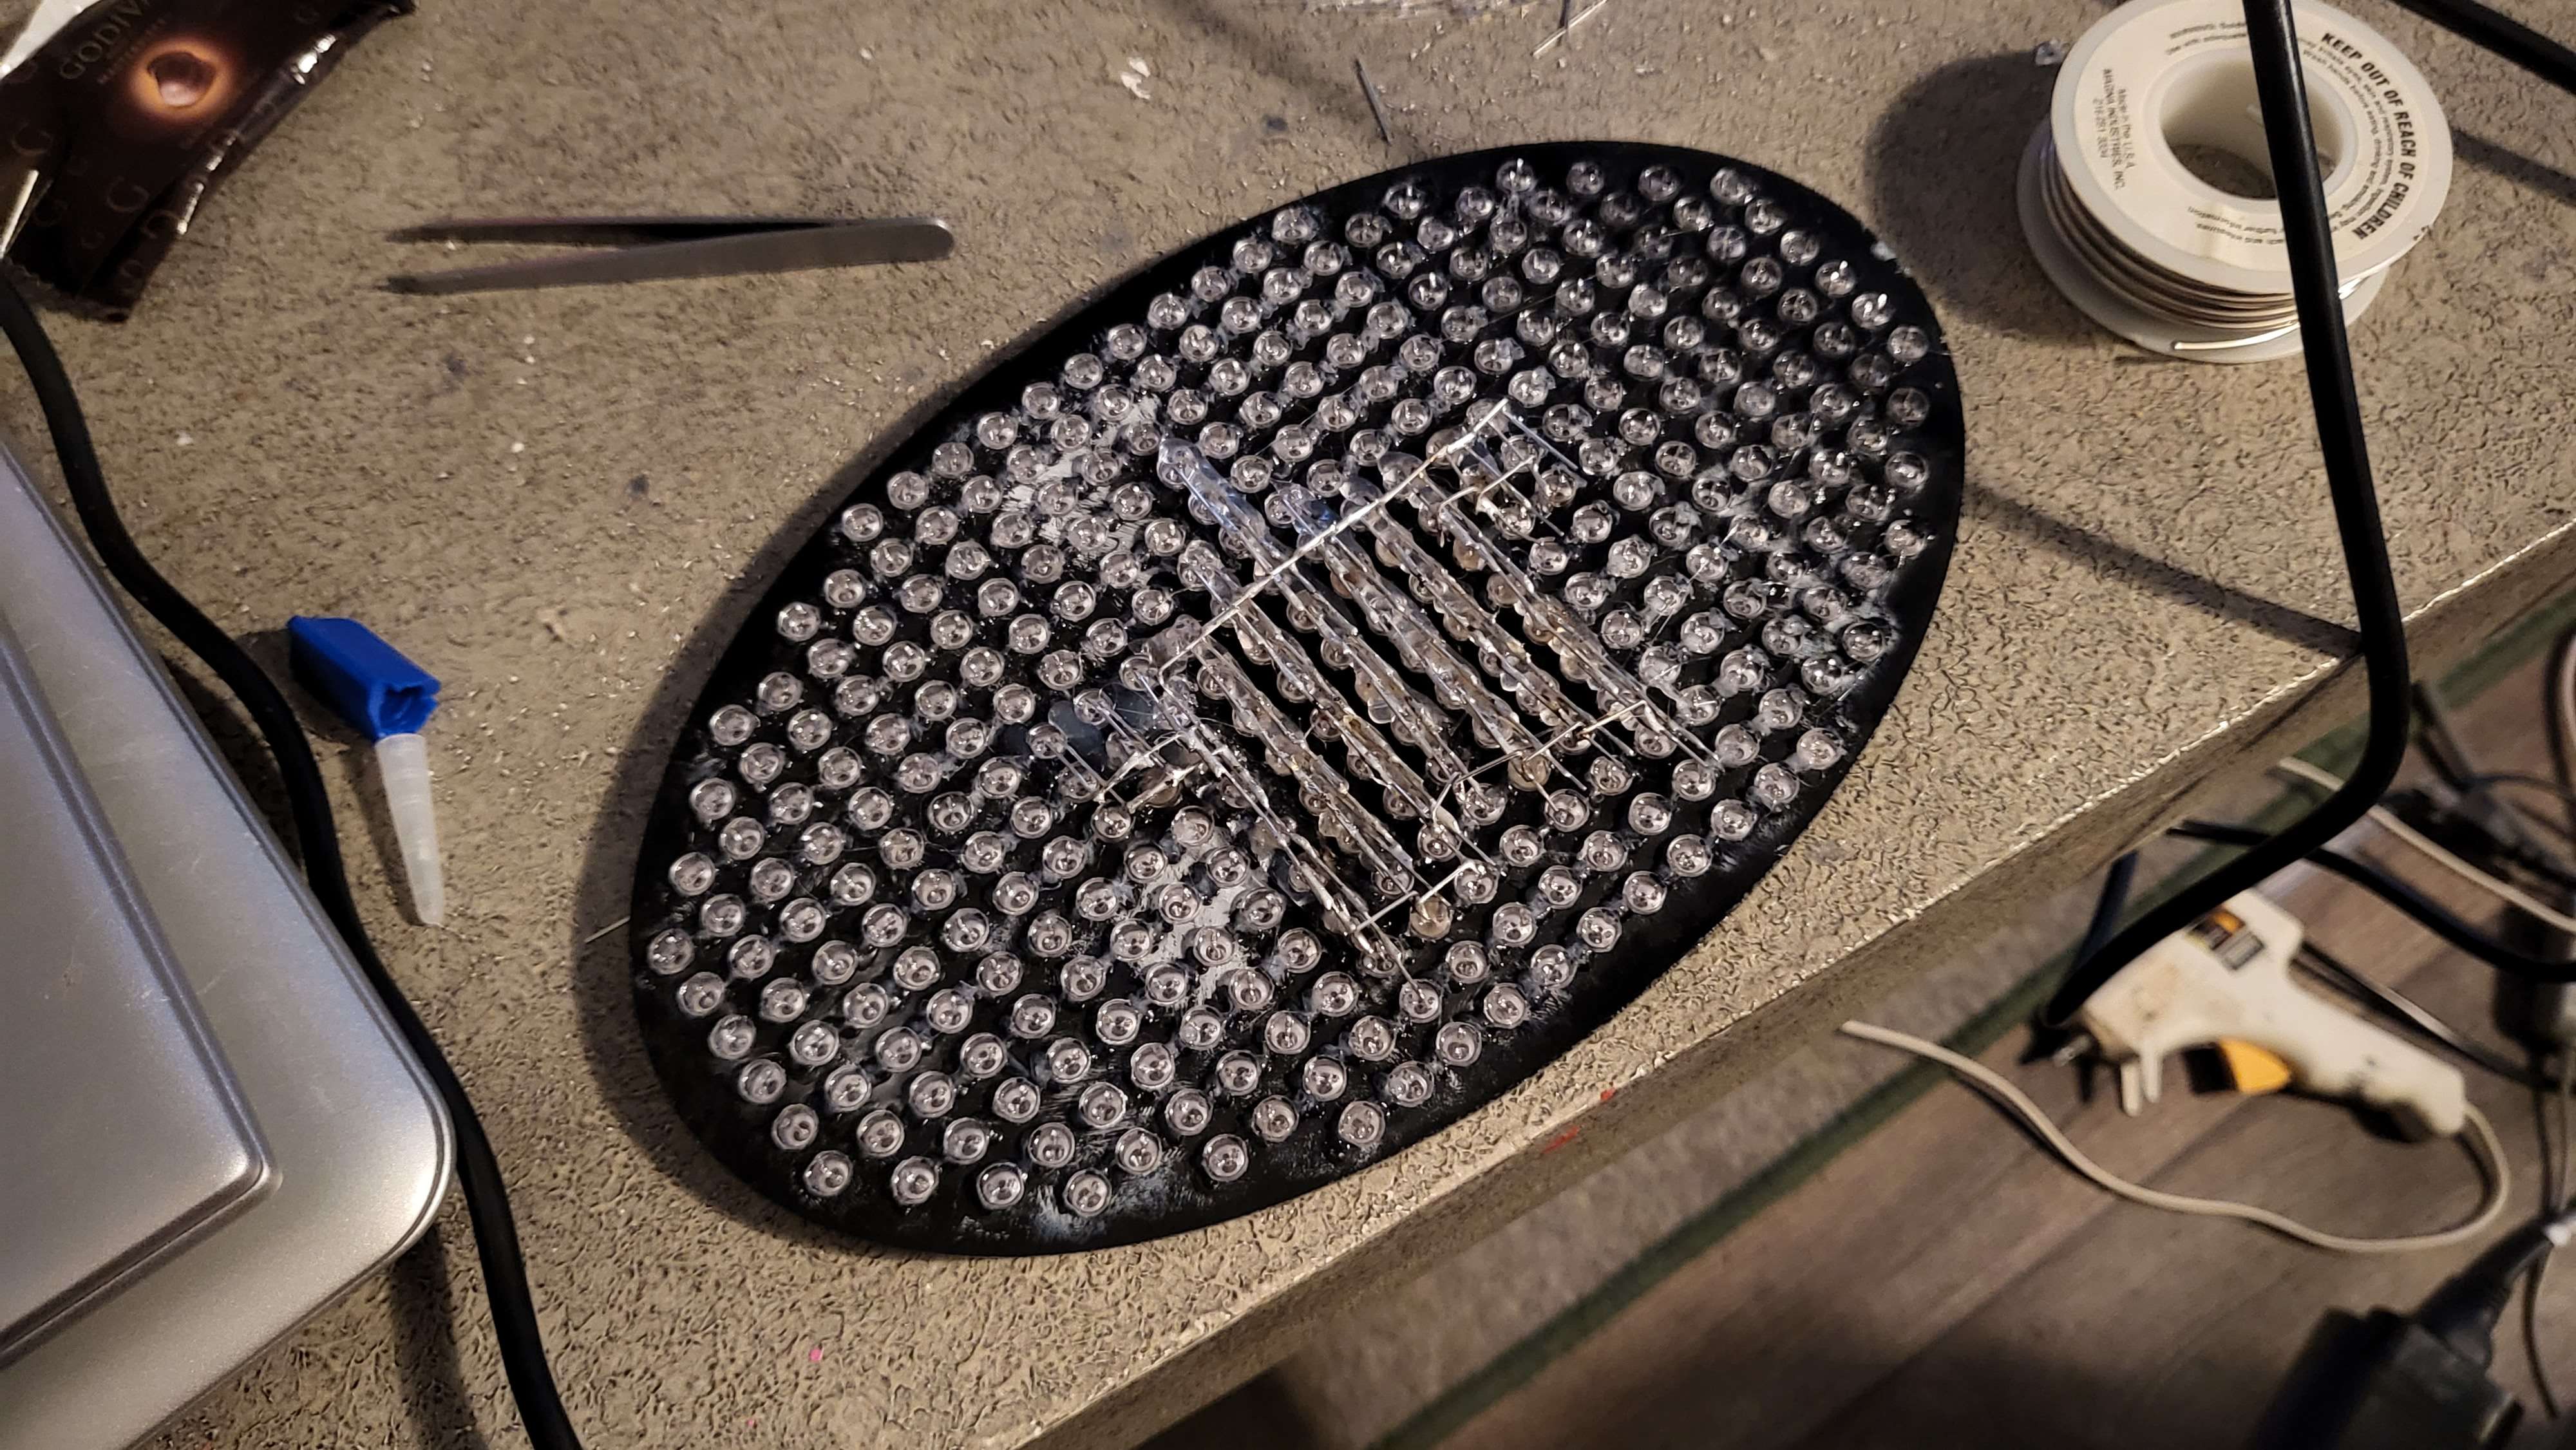
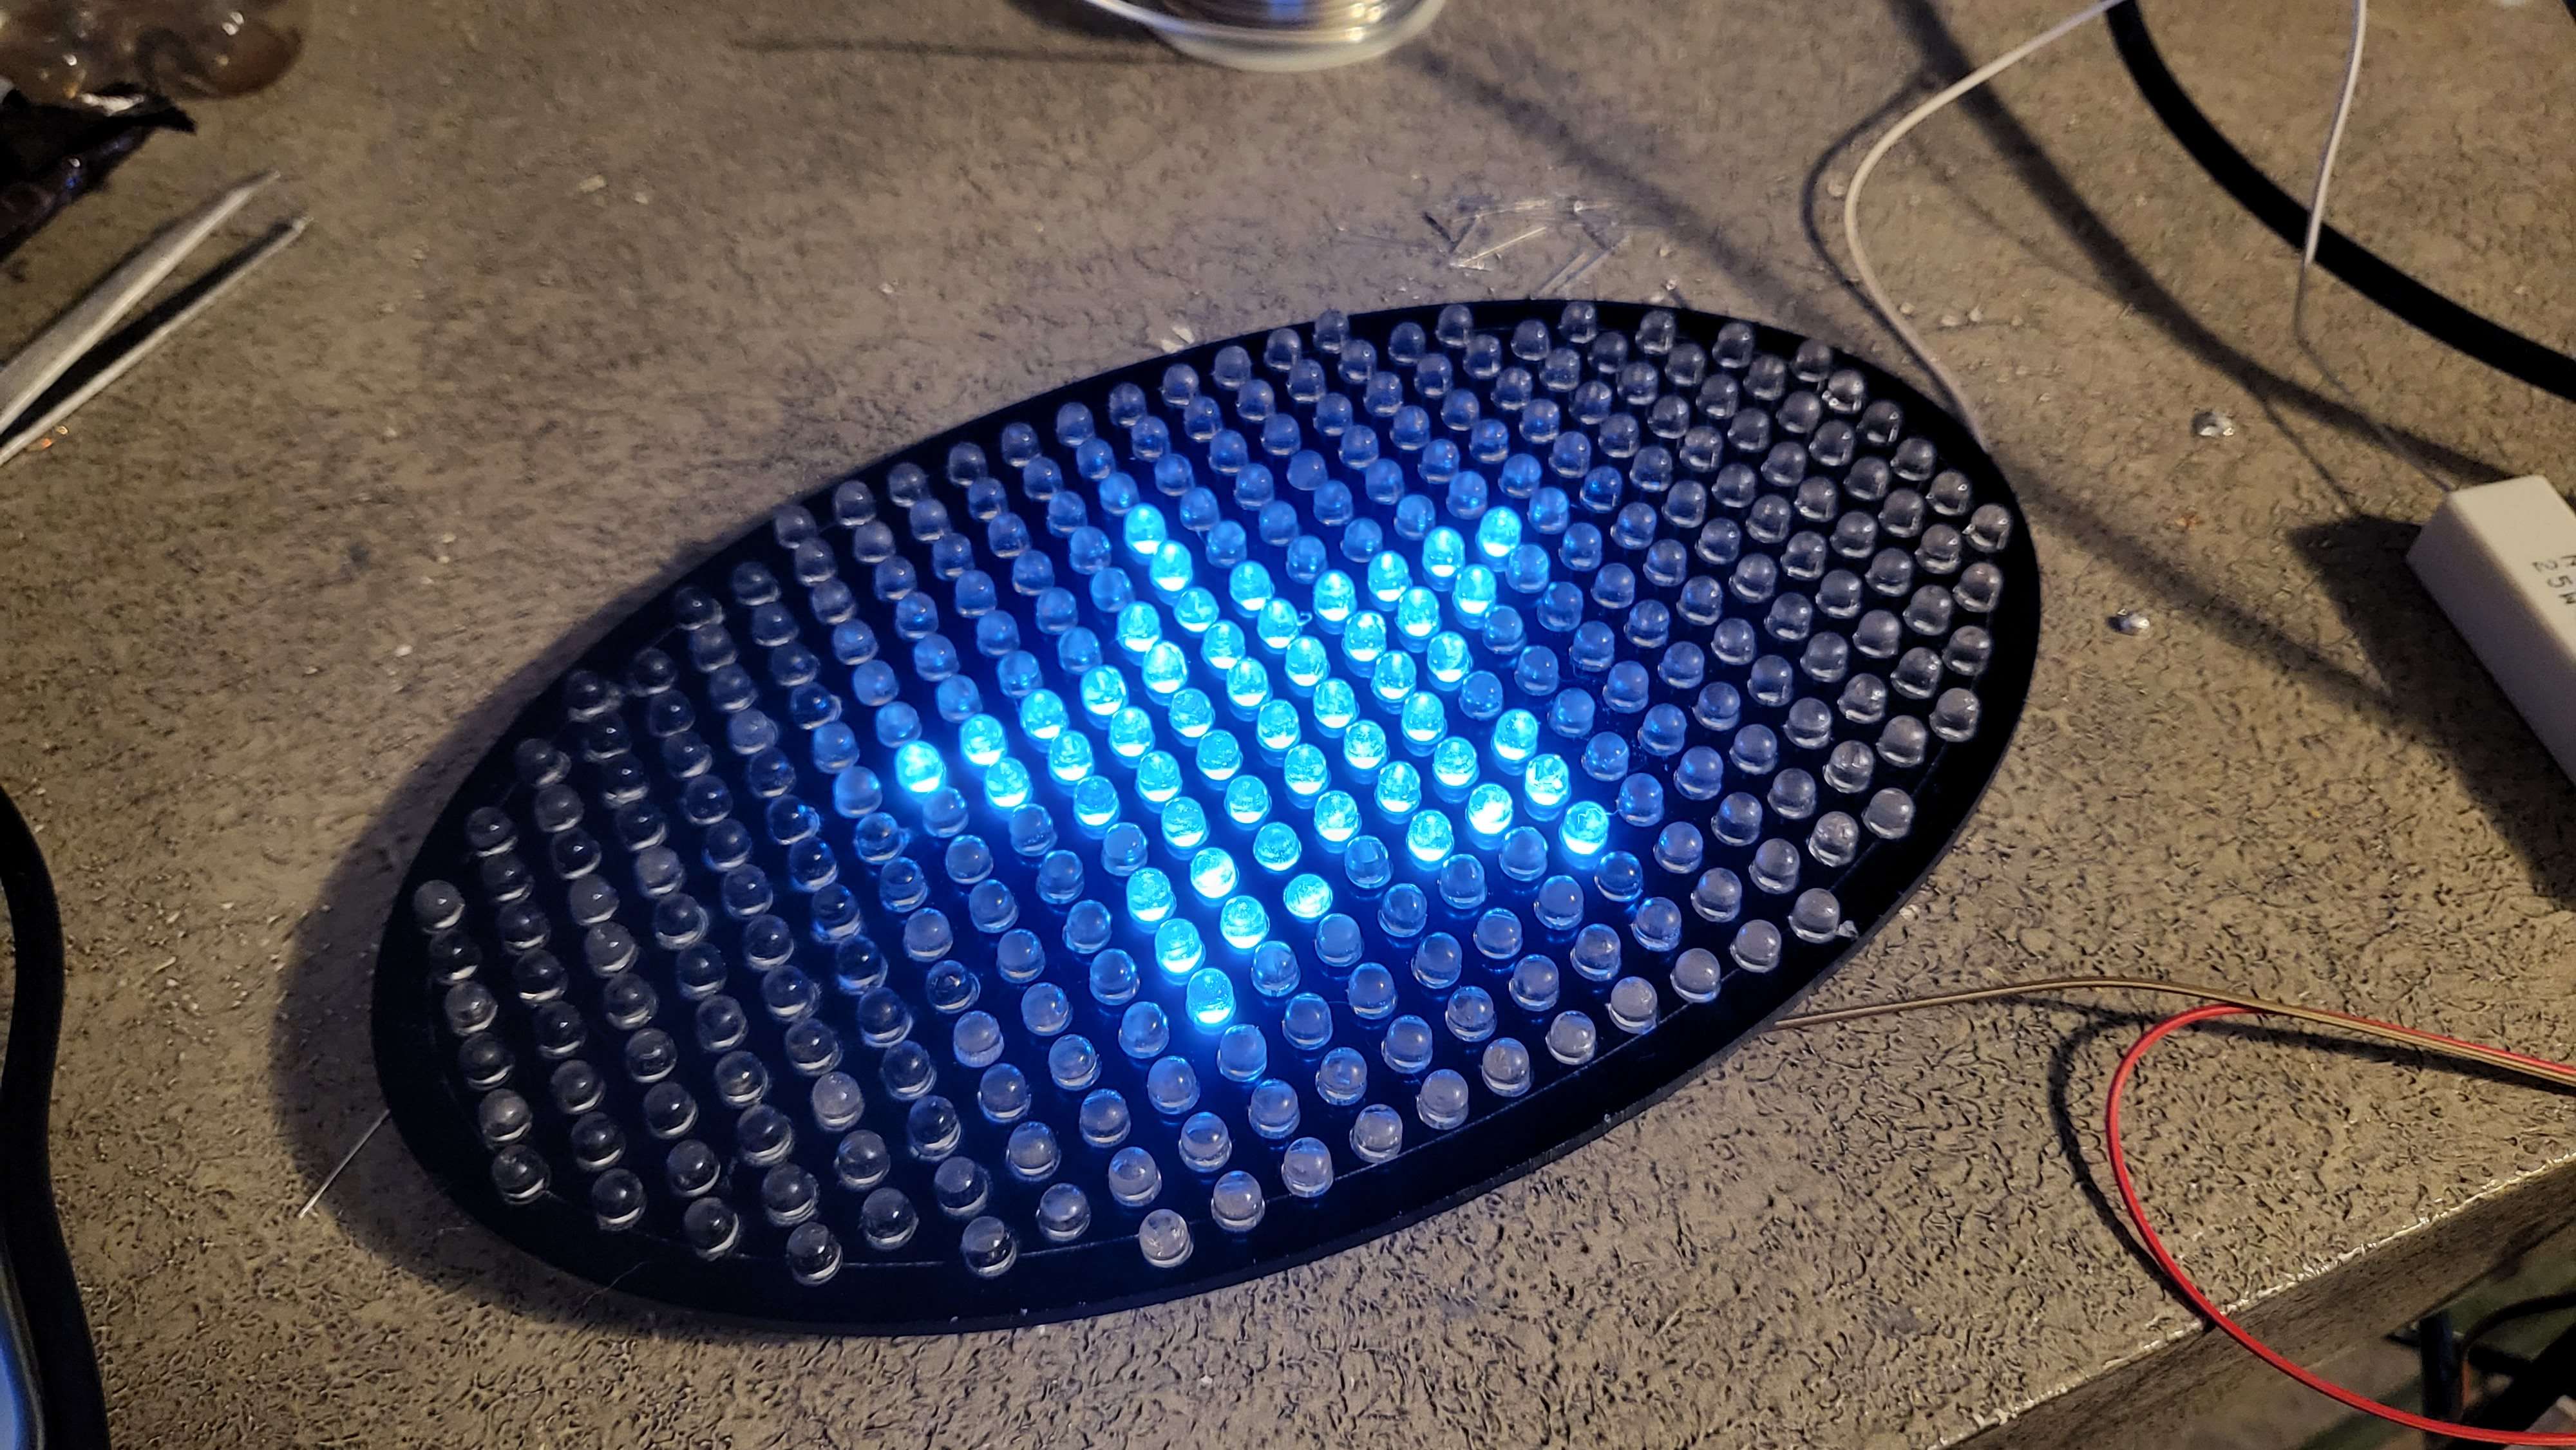
It was then time to get back to work on the body. I coated the entire thing in resin, which would protect the somewhat fragile foam, but also sealed the whole thing and made it sandable, so I could make it perfectly smooth later. For this step I used Epsilon by Smooth On.
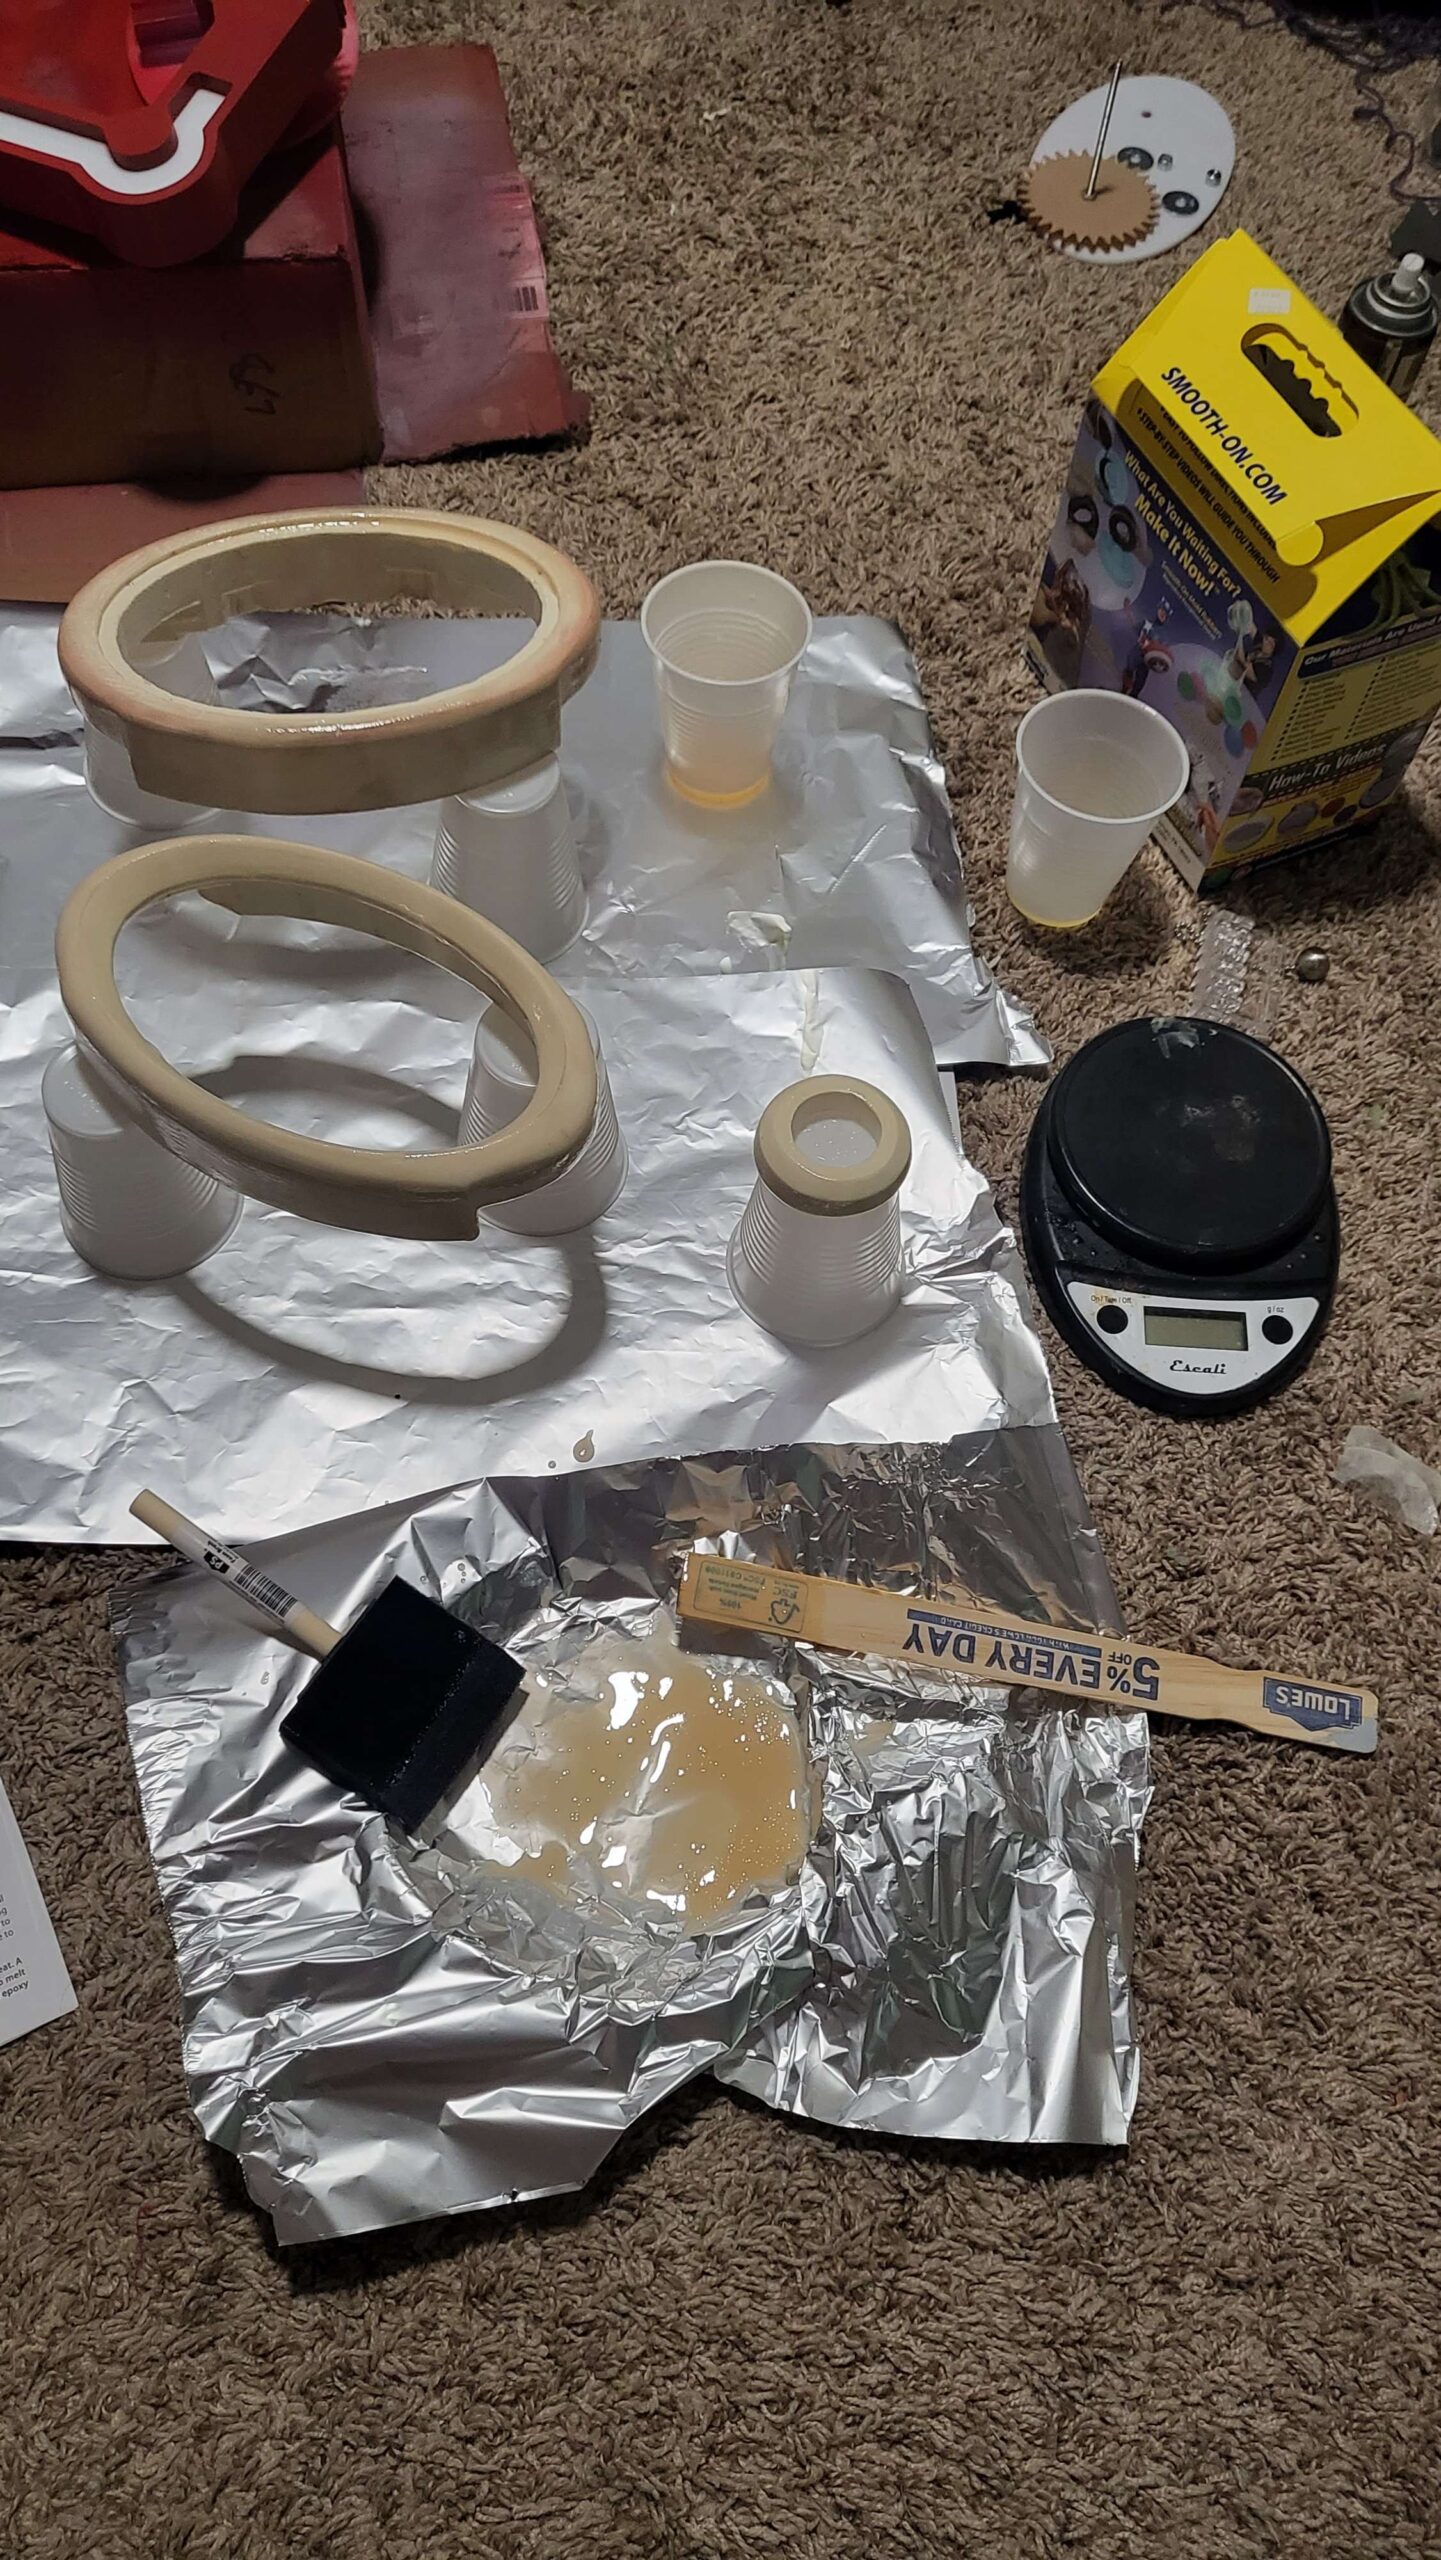
Here’s what it looked like after sanding and doing a layer of filling with some spot putty.
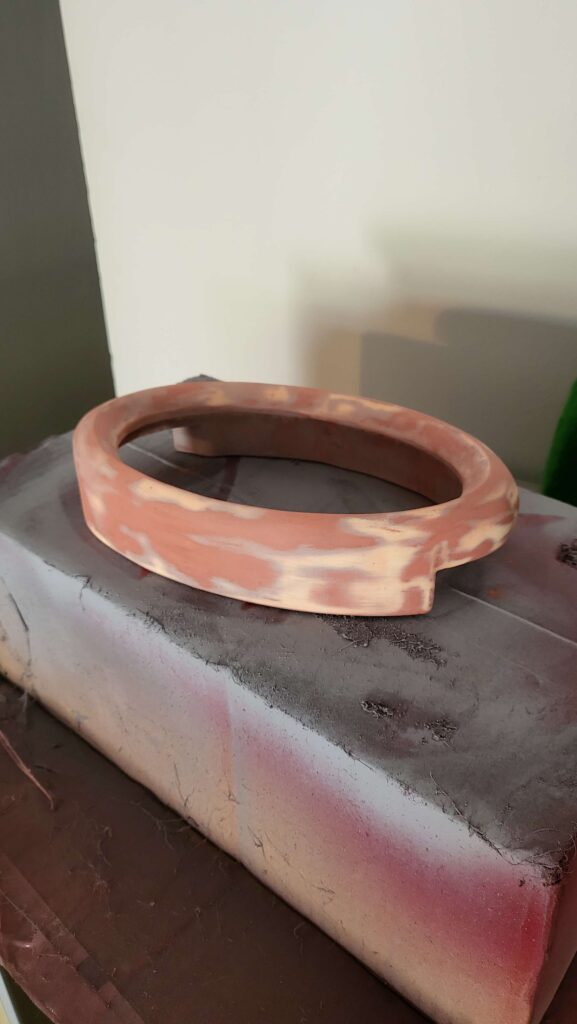
And with some primer:
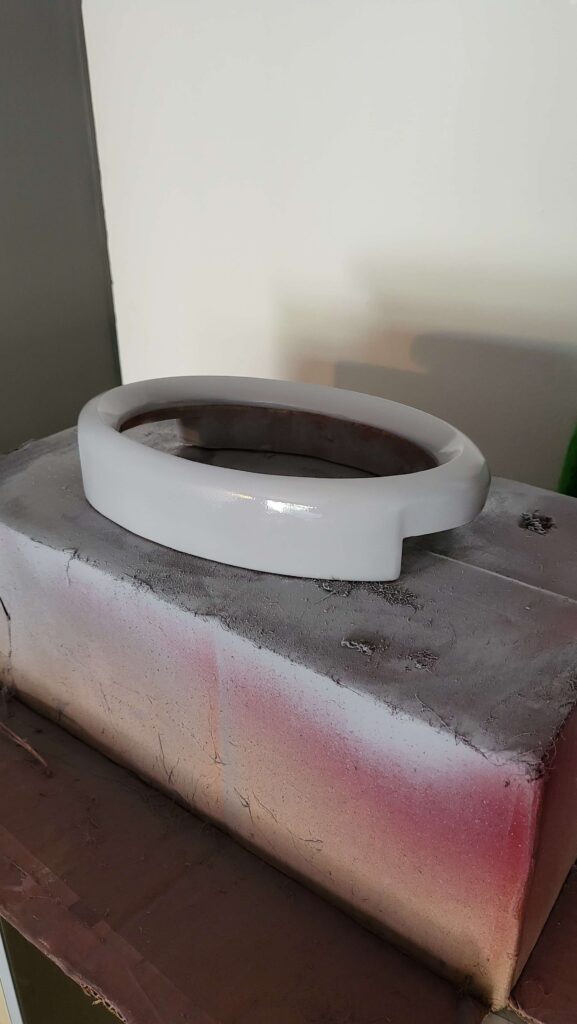
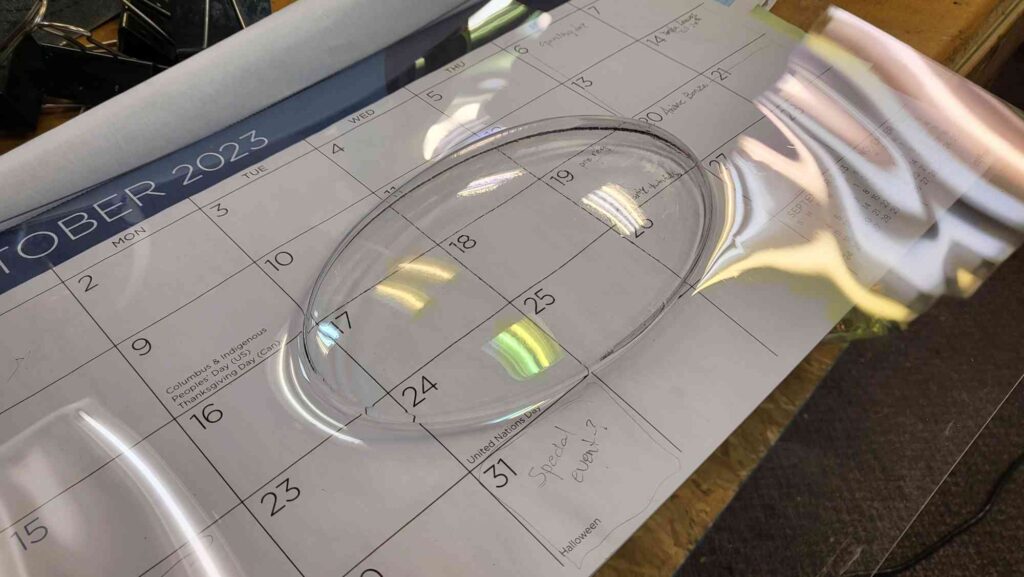
I vacuum formed a bubble for the front of screen, by pulling hot plastic around the foam bubble I previously made.
And the only things left to do was paint, assemble, and make a rod to come out of the ceiling. Here’s some nice shots of it complete:

