This is an adventure.
I love The Life Aquatic with Steve Zissou. It is maybe my favorite movie. It’s so rich and vibrant. The characters are so strong, and their relationships and internal struggles are so deep and wonderfully realized. I needed to bring a piece of that into my reality.
This journey began five years ago, in June of 2020, when I made these blueprints, hoping to one day make this helmet, with no idea how I would do it. These are what I ended up basing the final build on, but please note some details, including scale, are far off in the following image:

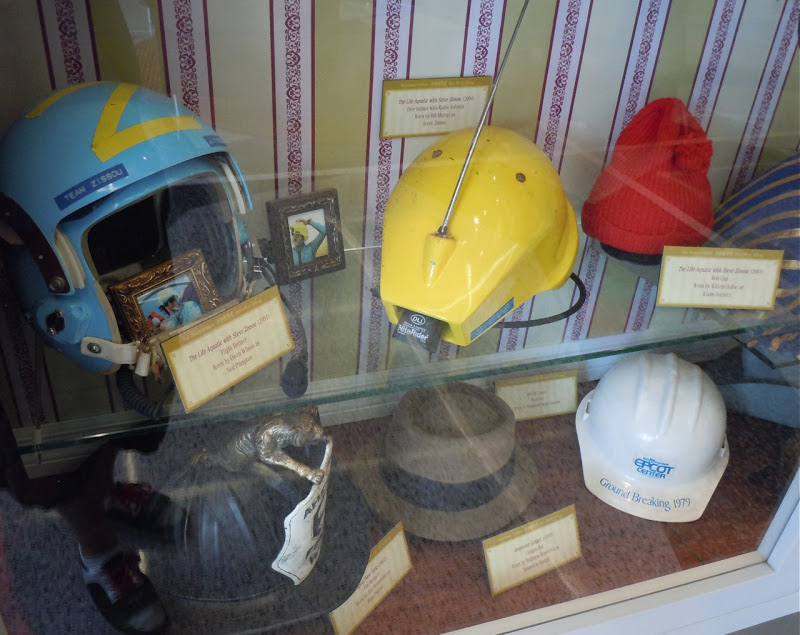
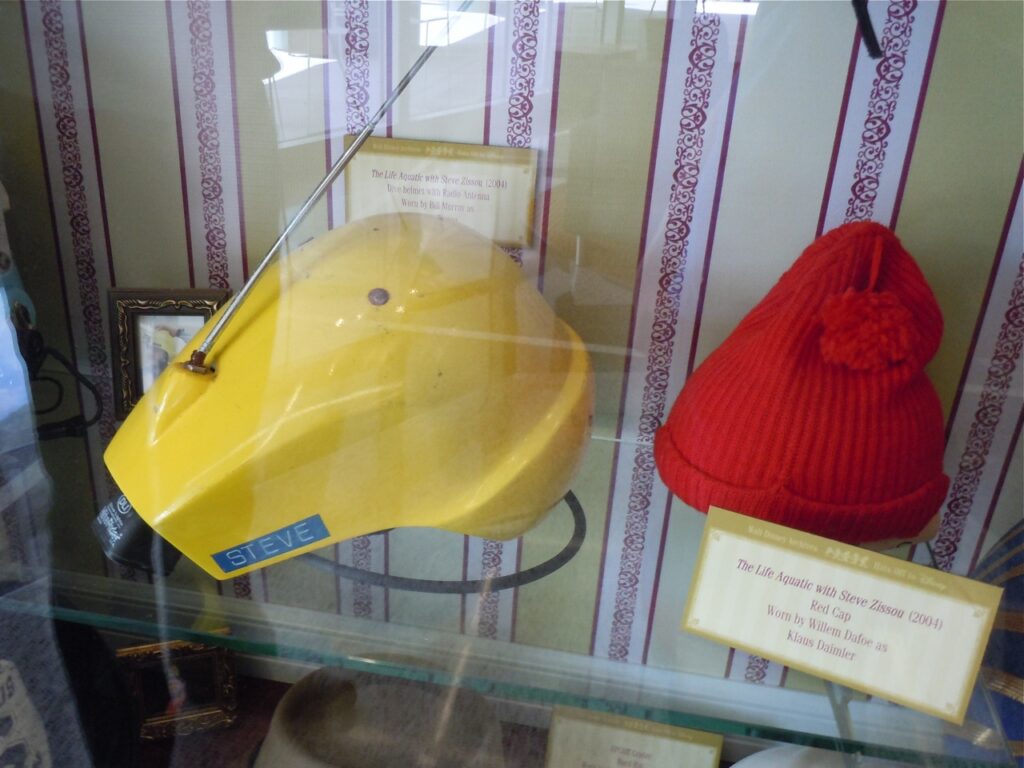
This was based largely on some reference images provided by a blog, whose owner had visited Disneyland and posted some pics of the screen-used helmet prop which was on display. Unfortunately, at the time of writing this, I can’t locate it on Google Images as I had been able to for years prior. If anyone finds it, I’ll happily give credit and link to the blog post. Last time I visited, it was full of malicious-looking ads though, so I’m guessing it was abandoned. I’ll host the pics here for posterity:

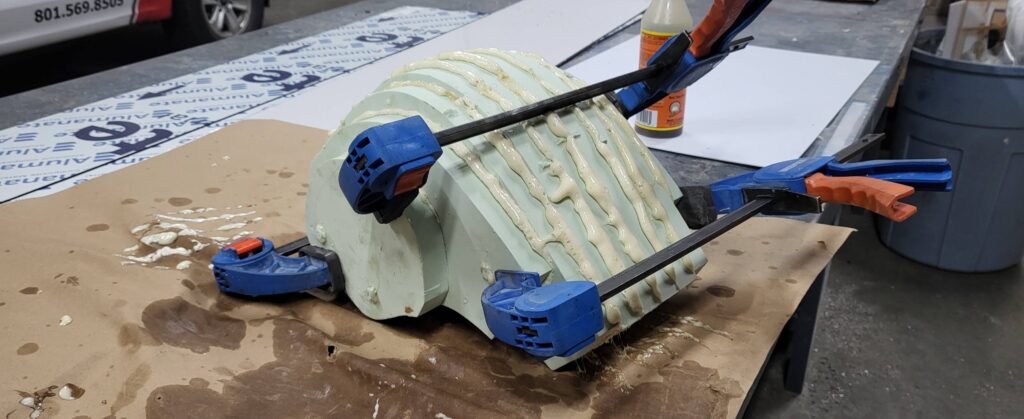
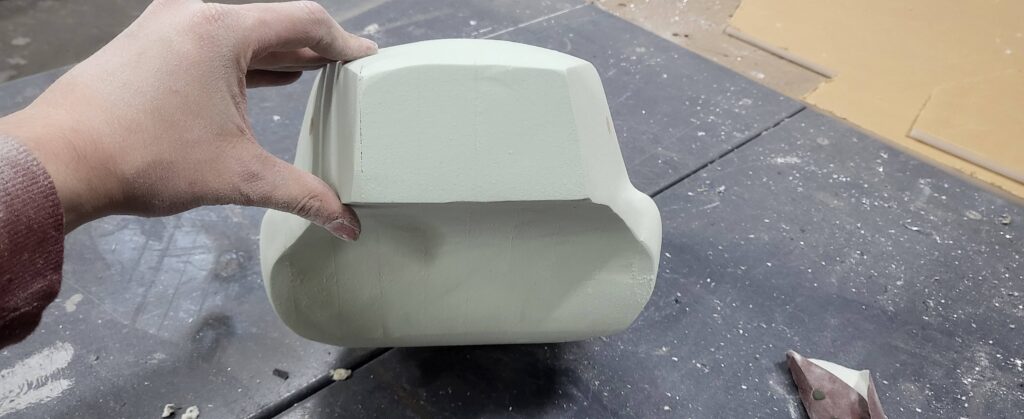
To start the build, I drew, point by point, cross-sections of the helmet, based on the blueprints I had made years prior. I used my work’s router to cut them out of some 1″ high-density urethane foam, but you could just as easily use a band-saw with some printer paper adhered to the foam. I used gorilla glue to laminate the cross-sections together, and wooden dowels to align them.

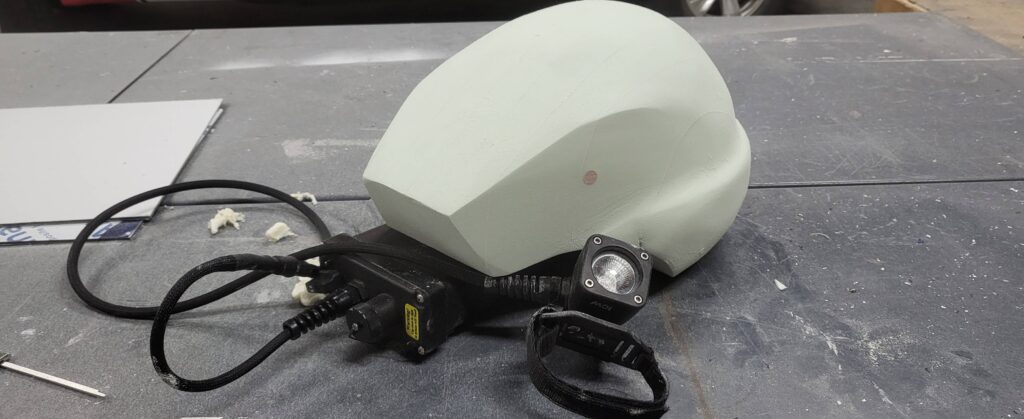
After that, I used hand tools to carve down the high points until I was left with the basic shape of the helmet. Oh yeah, I also made sure to snag the correct NiteRider diving light and battery from eBay. Really, I bought the light years ago, but was finally able to find a battery for it during this fabrication.
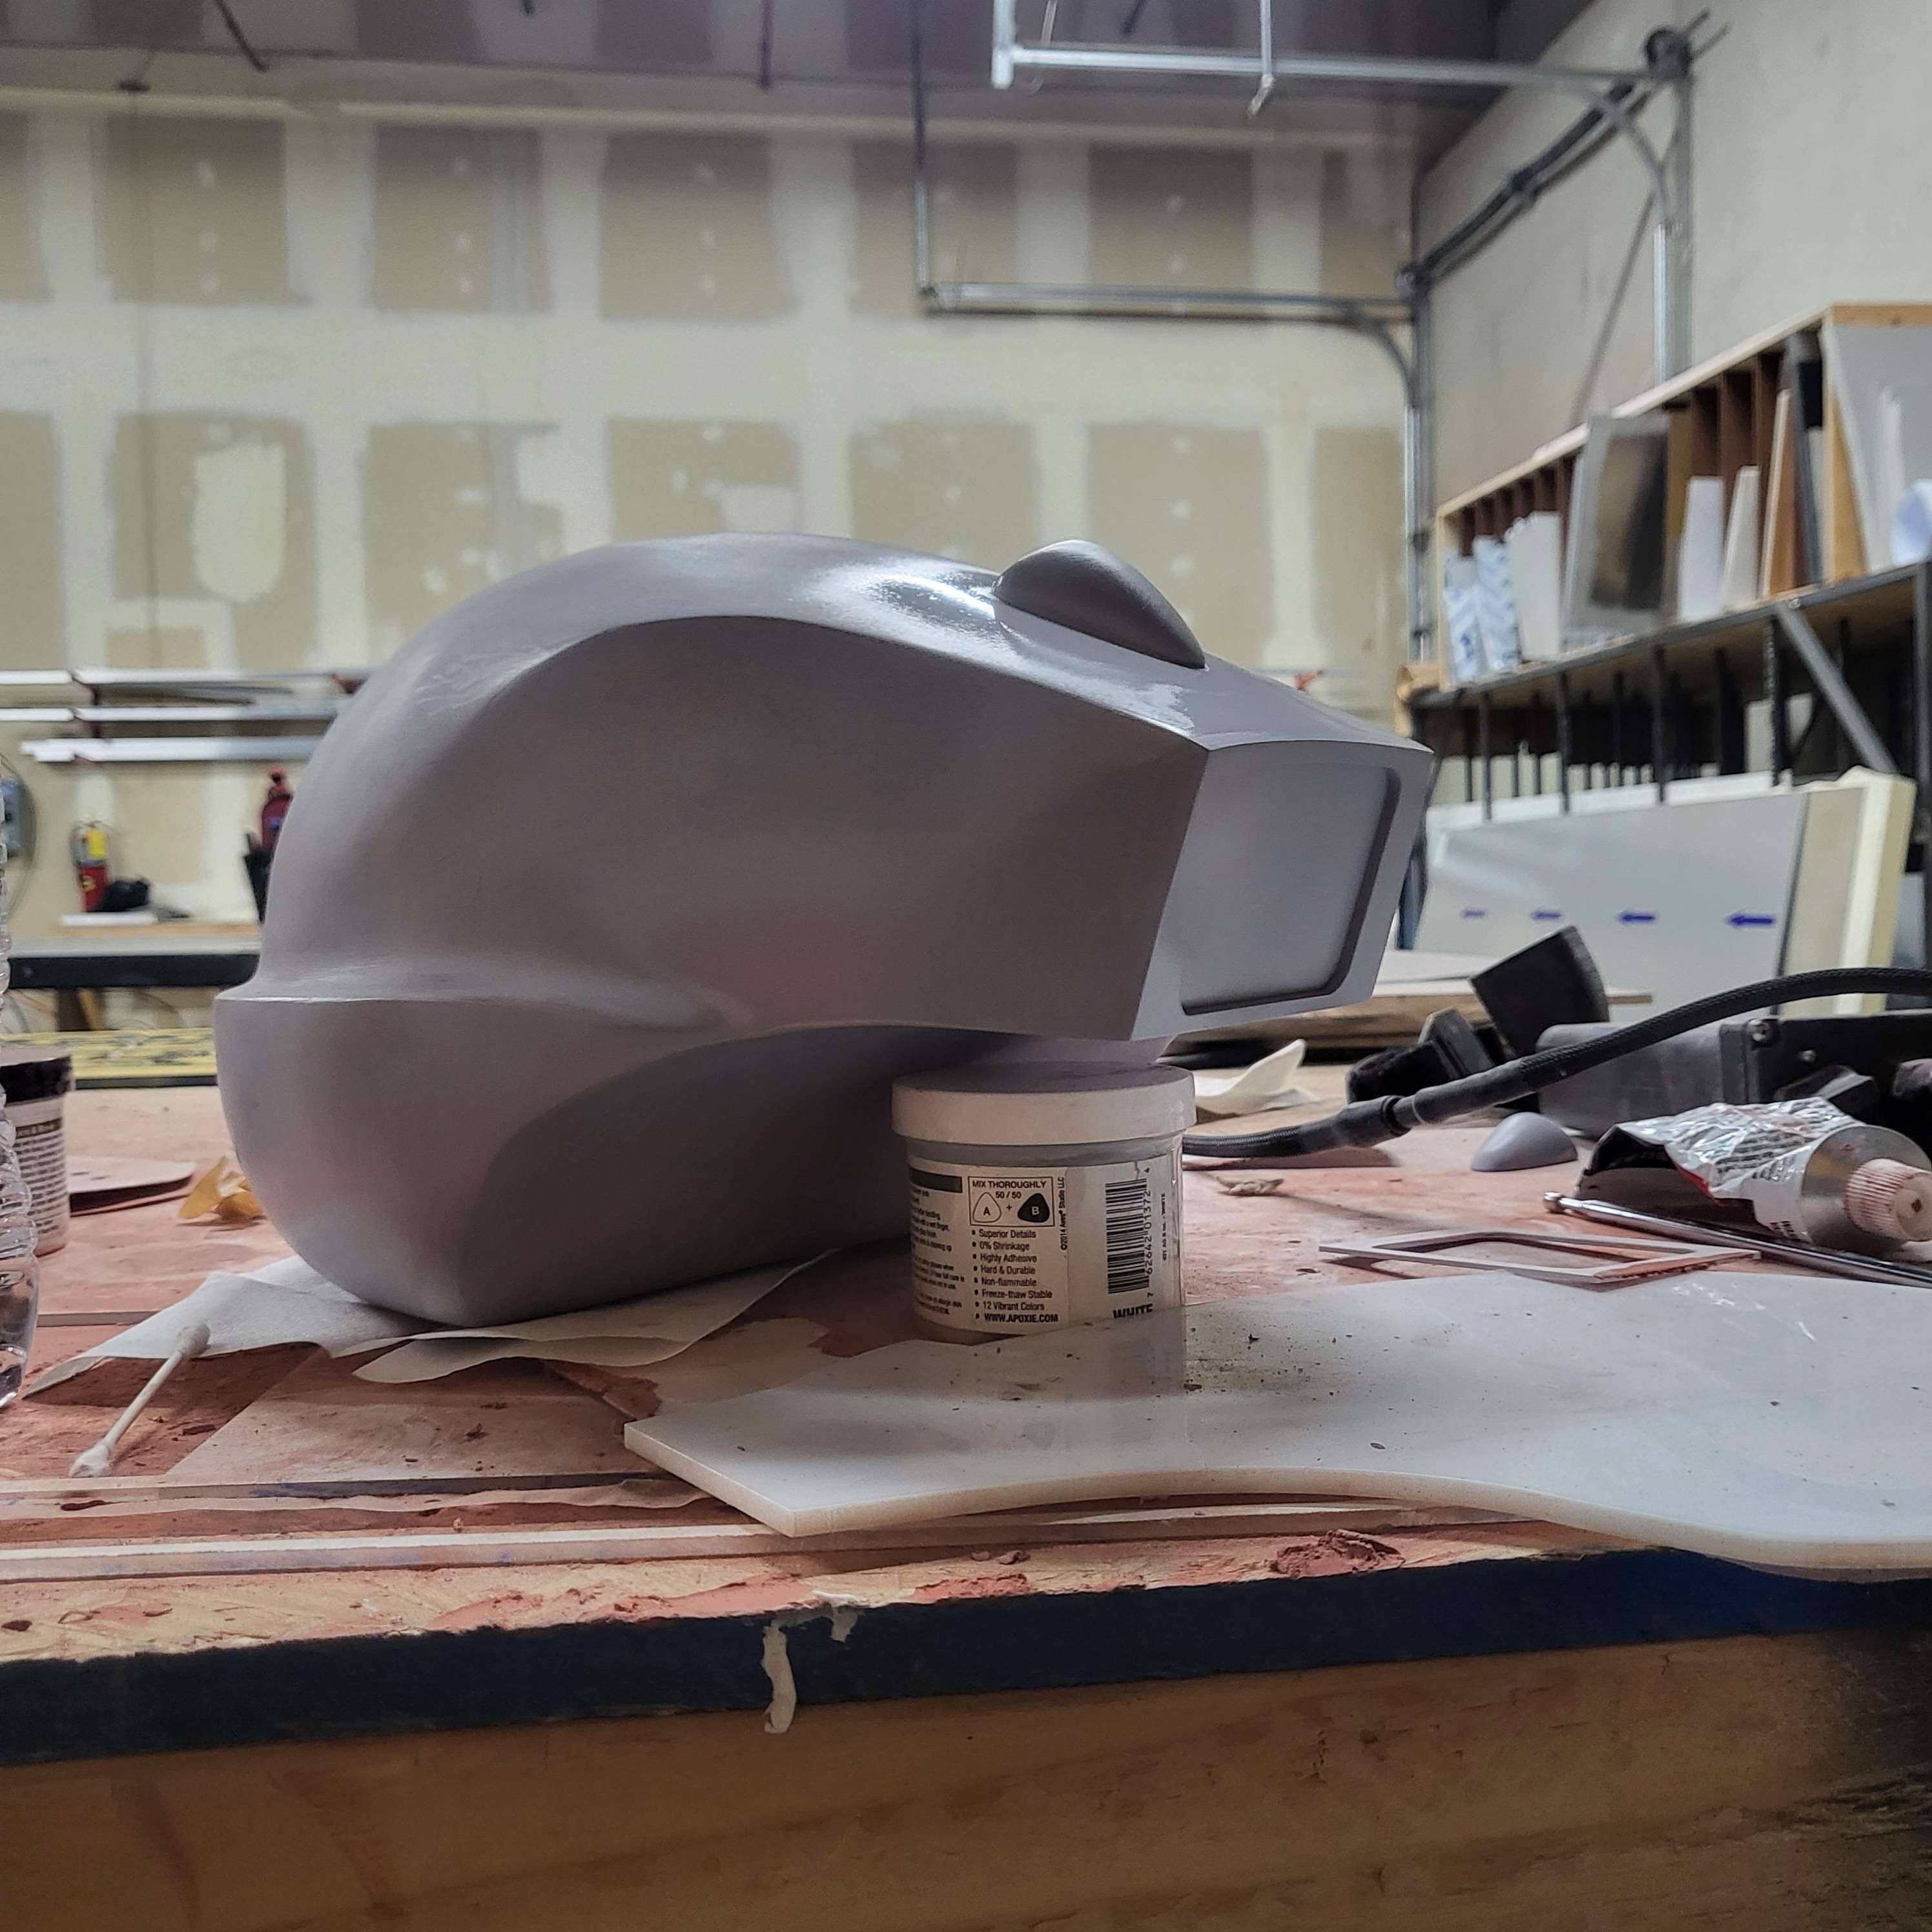
After I was satisfied with the overall shape of the helmet, I gave it a few coats of Epsilon resin by SmoothOn.
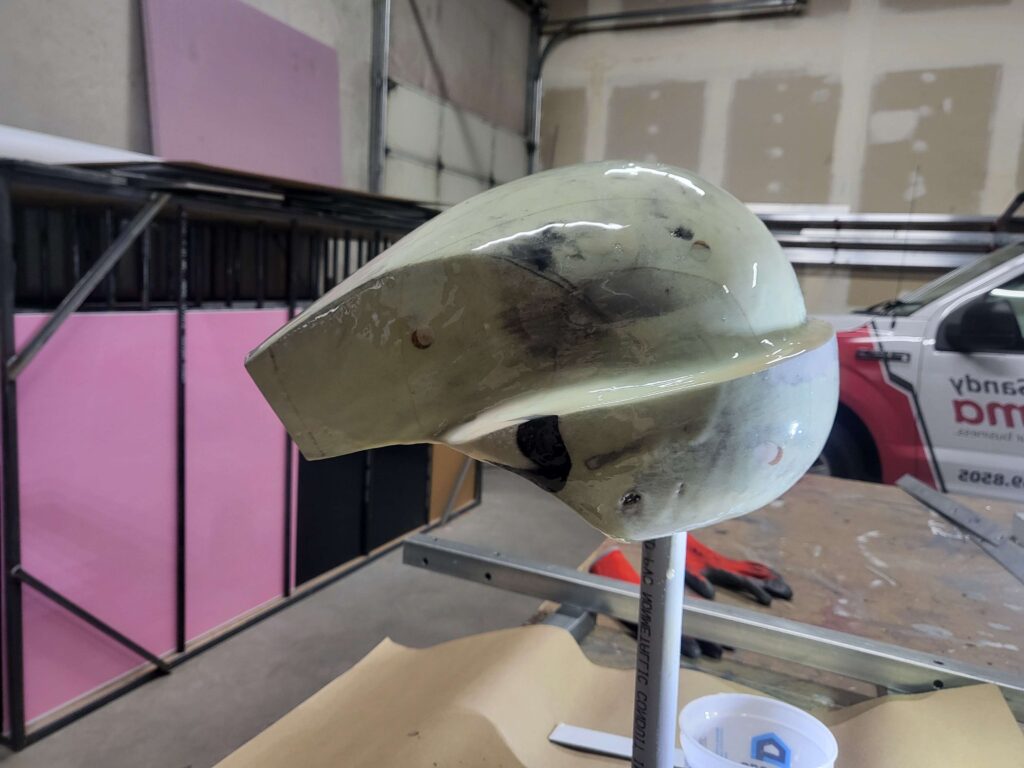
Get used to this angle. It shows up a lot in my pics. The resin was gradually smoothed out, and the shape refined until I was more-or-less happy with it.

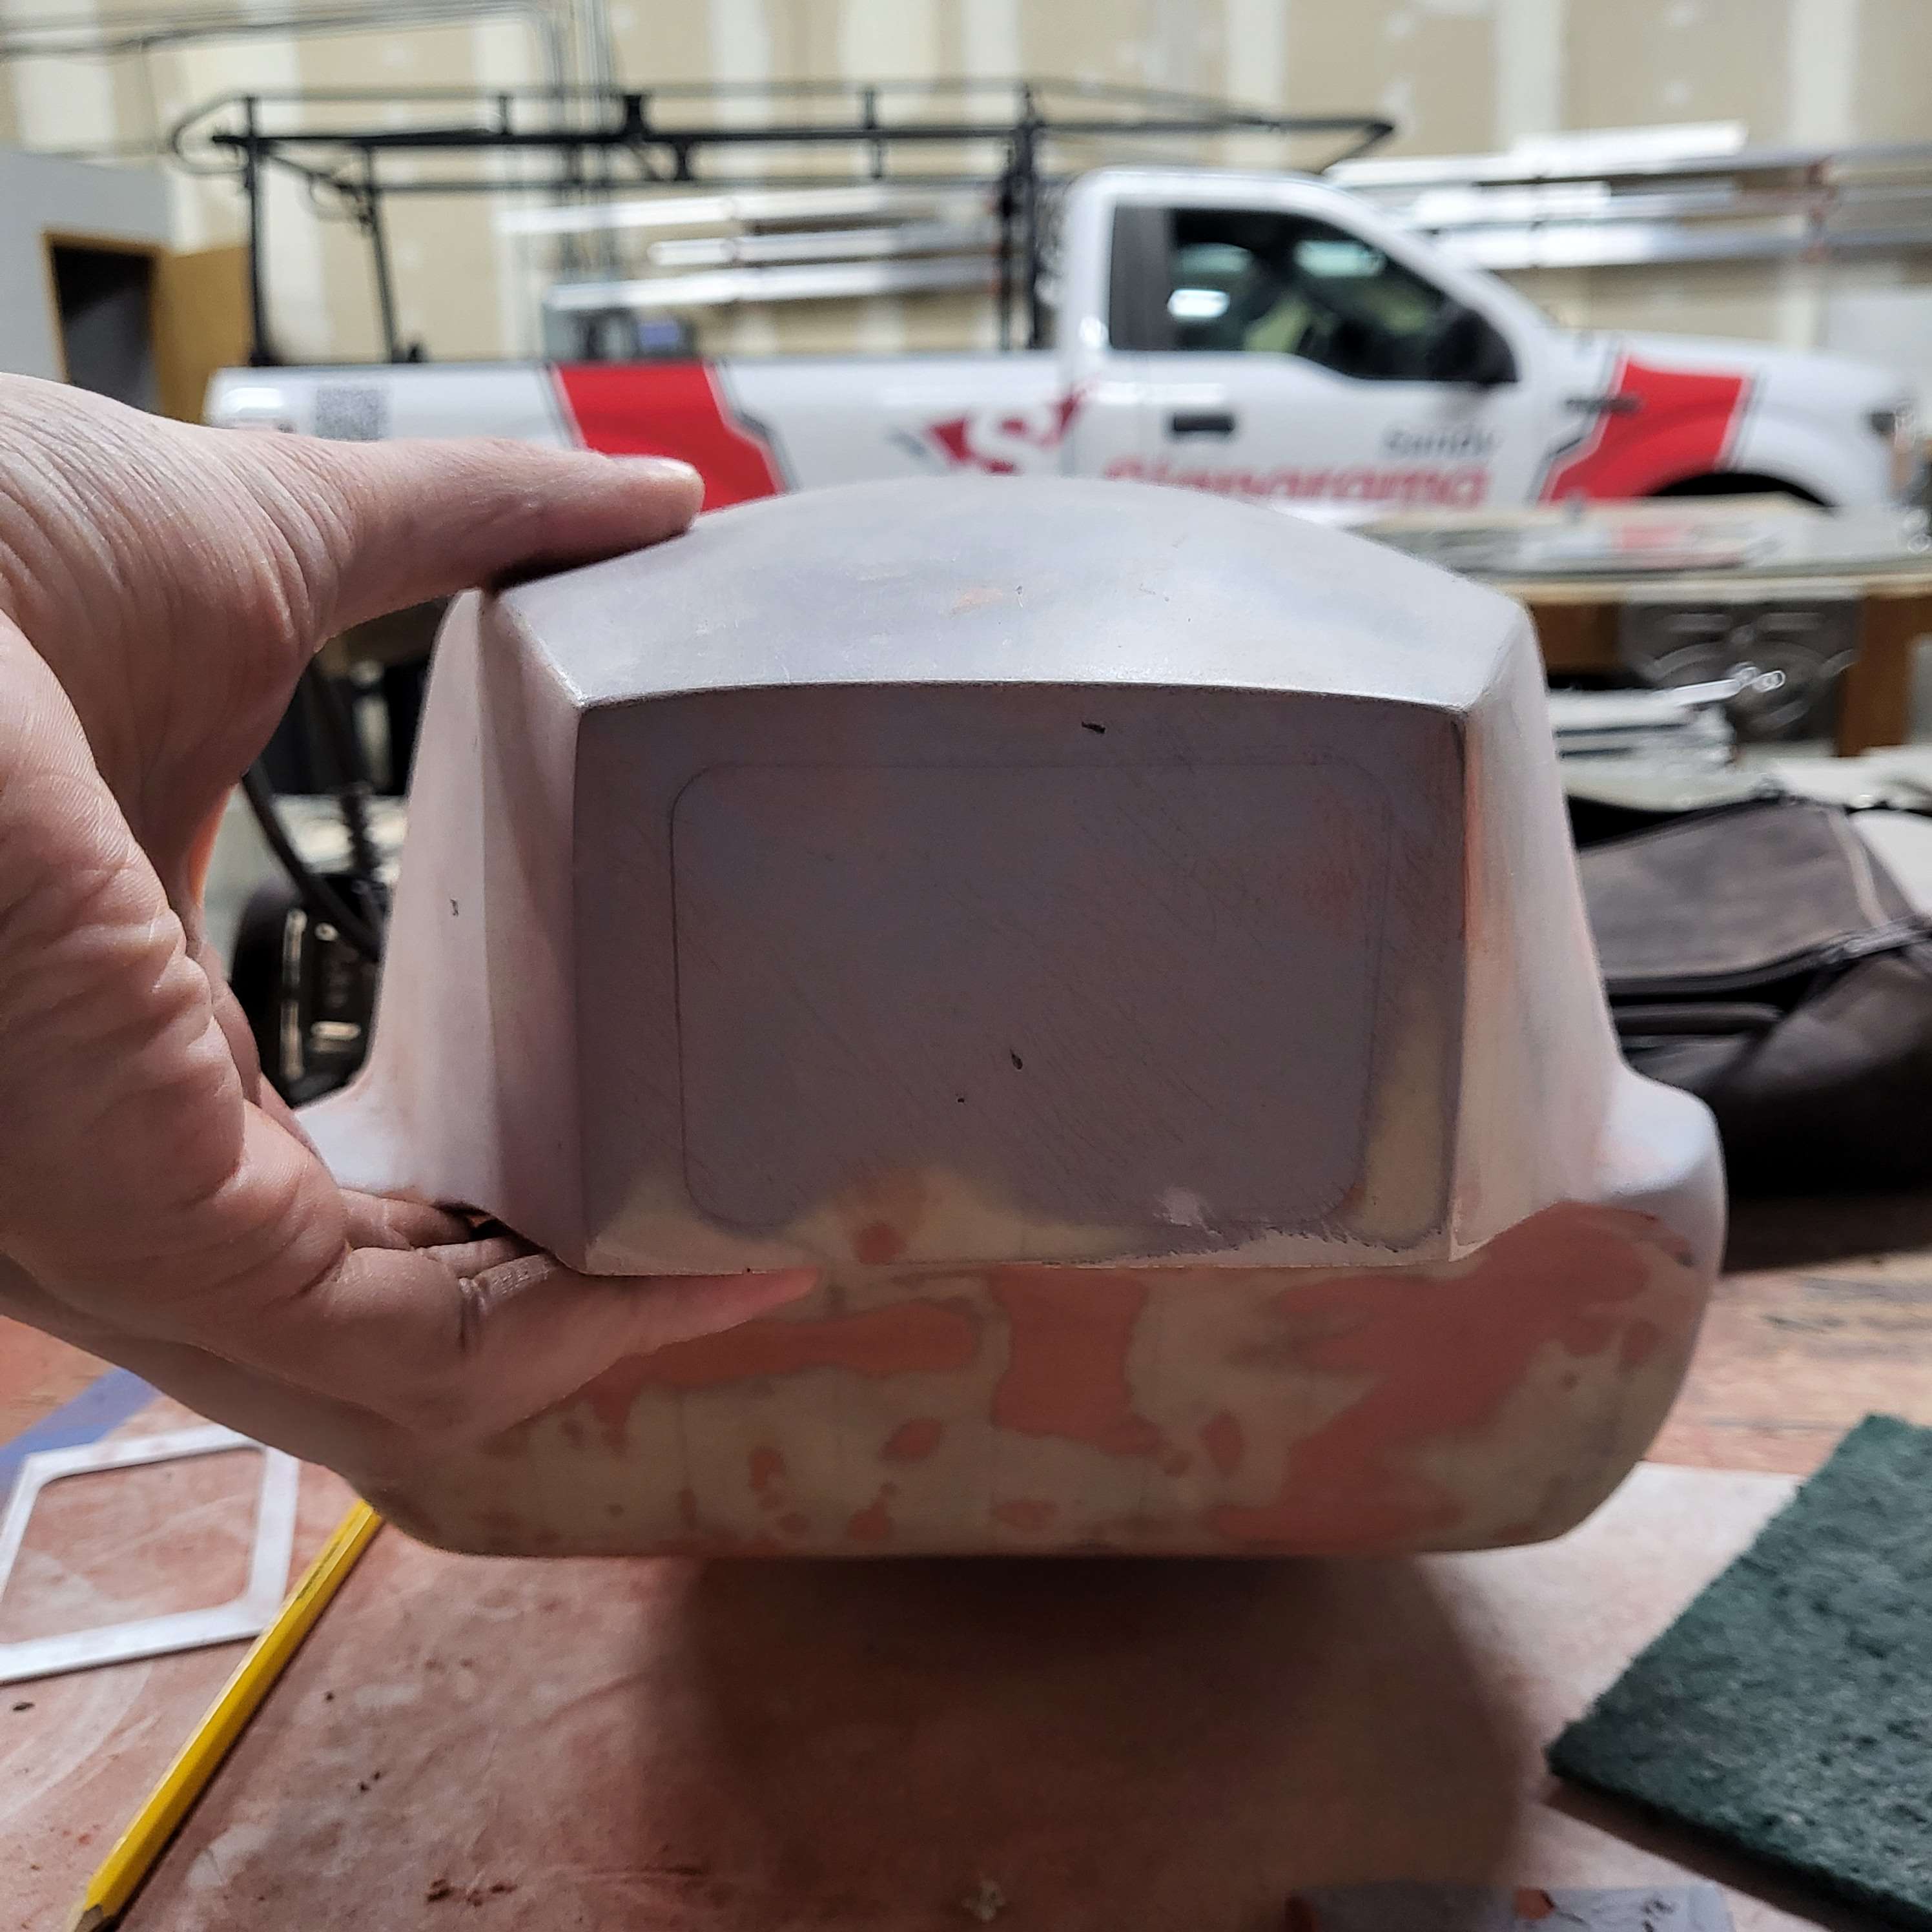
Here you can make out the red blotchy underside of the helmet. This is a great example of the filling and sanding being done at this stage. All of the red is, of course, bondo glazing putty. Lots of refinement, but it’s at least meditative. You’ll also note the helmet is not hollow. We’ll get to that momentarily.
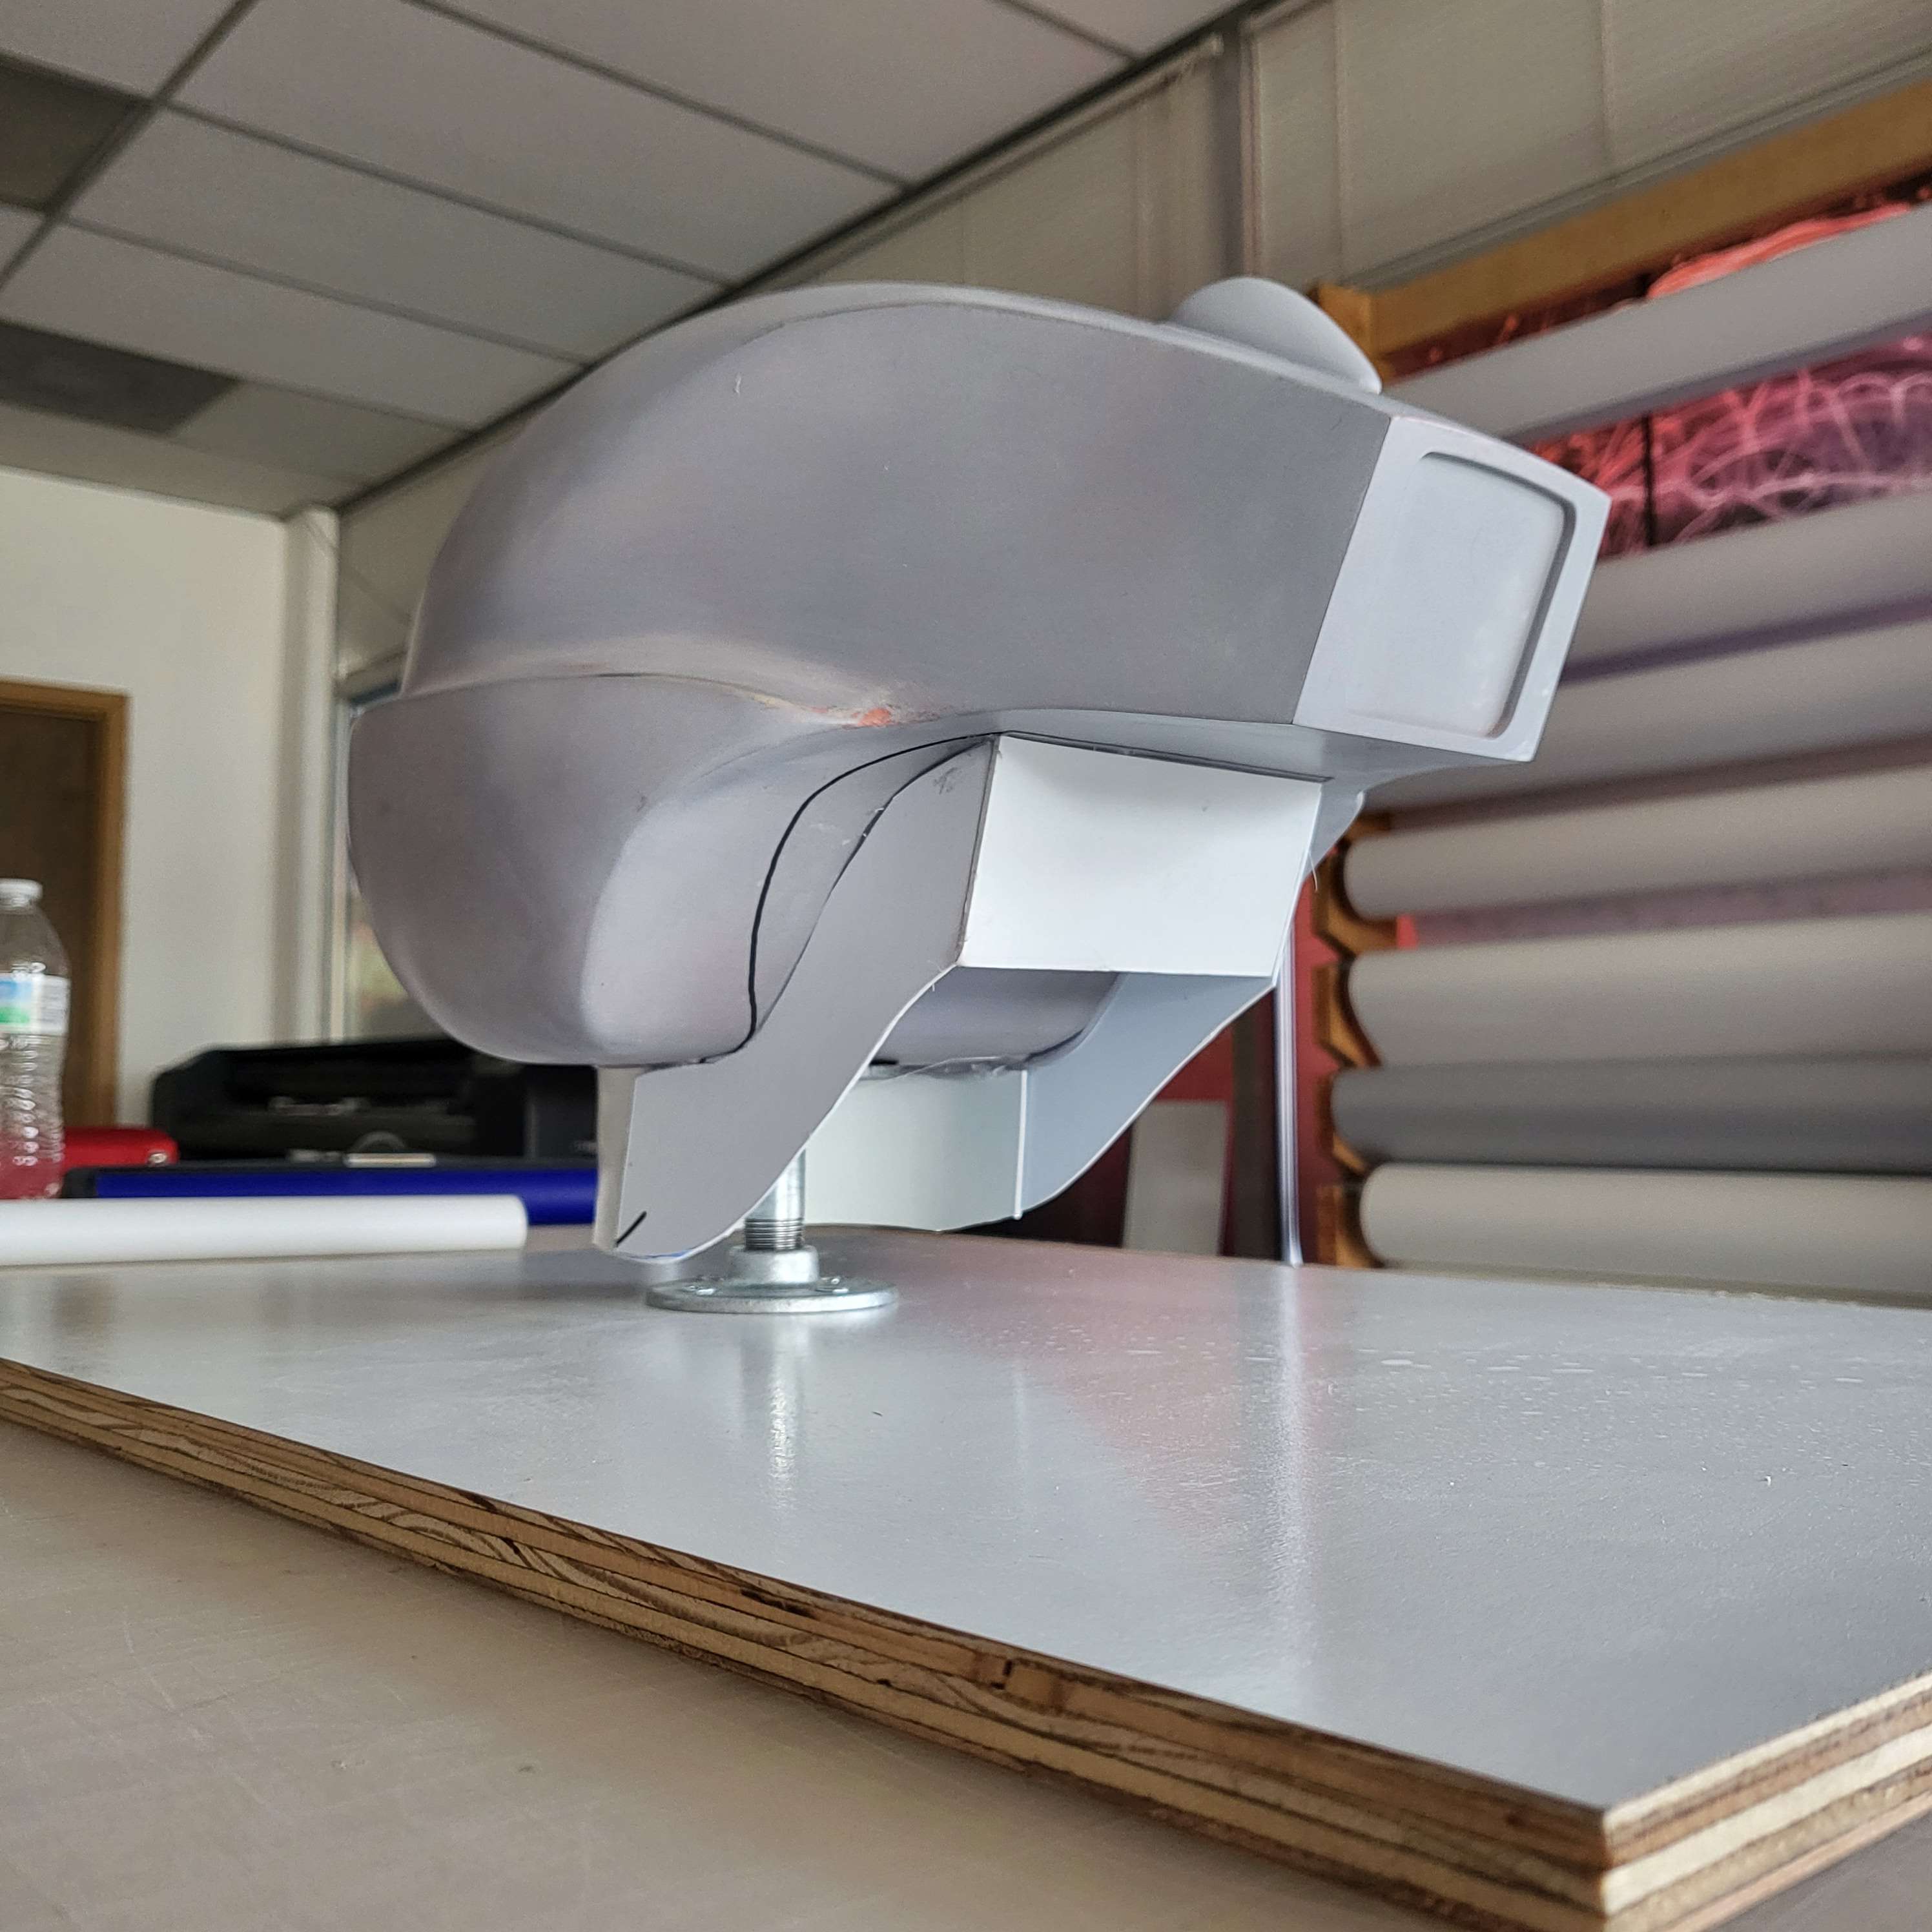
At this point I got a little bit worried about carving in the indent for the light, so I laser cut a piece of 1/8″ acrylic to slap on the front of the helmet to give a proper indication of where to cut later. Fortunately, I was 1/8″ too short up front anyway. Happy accidents.
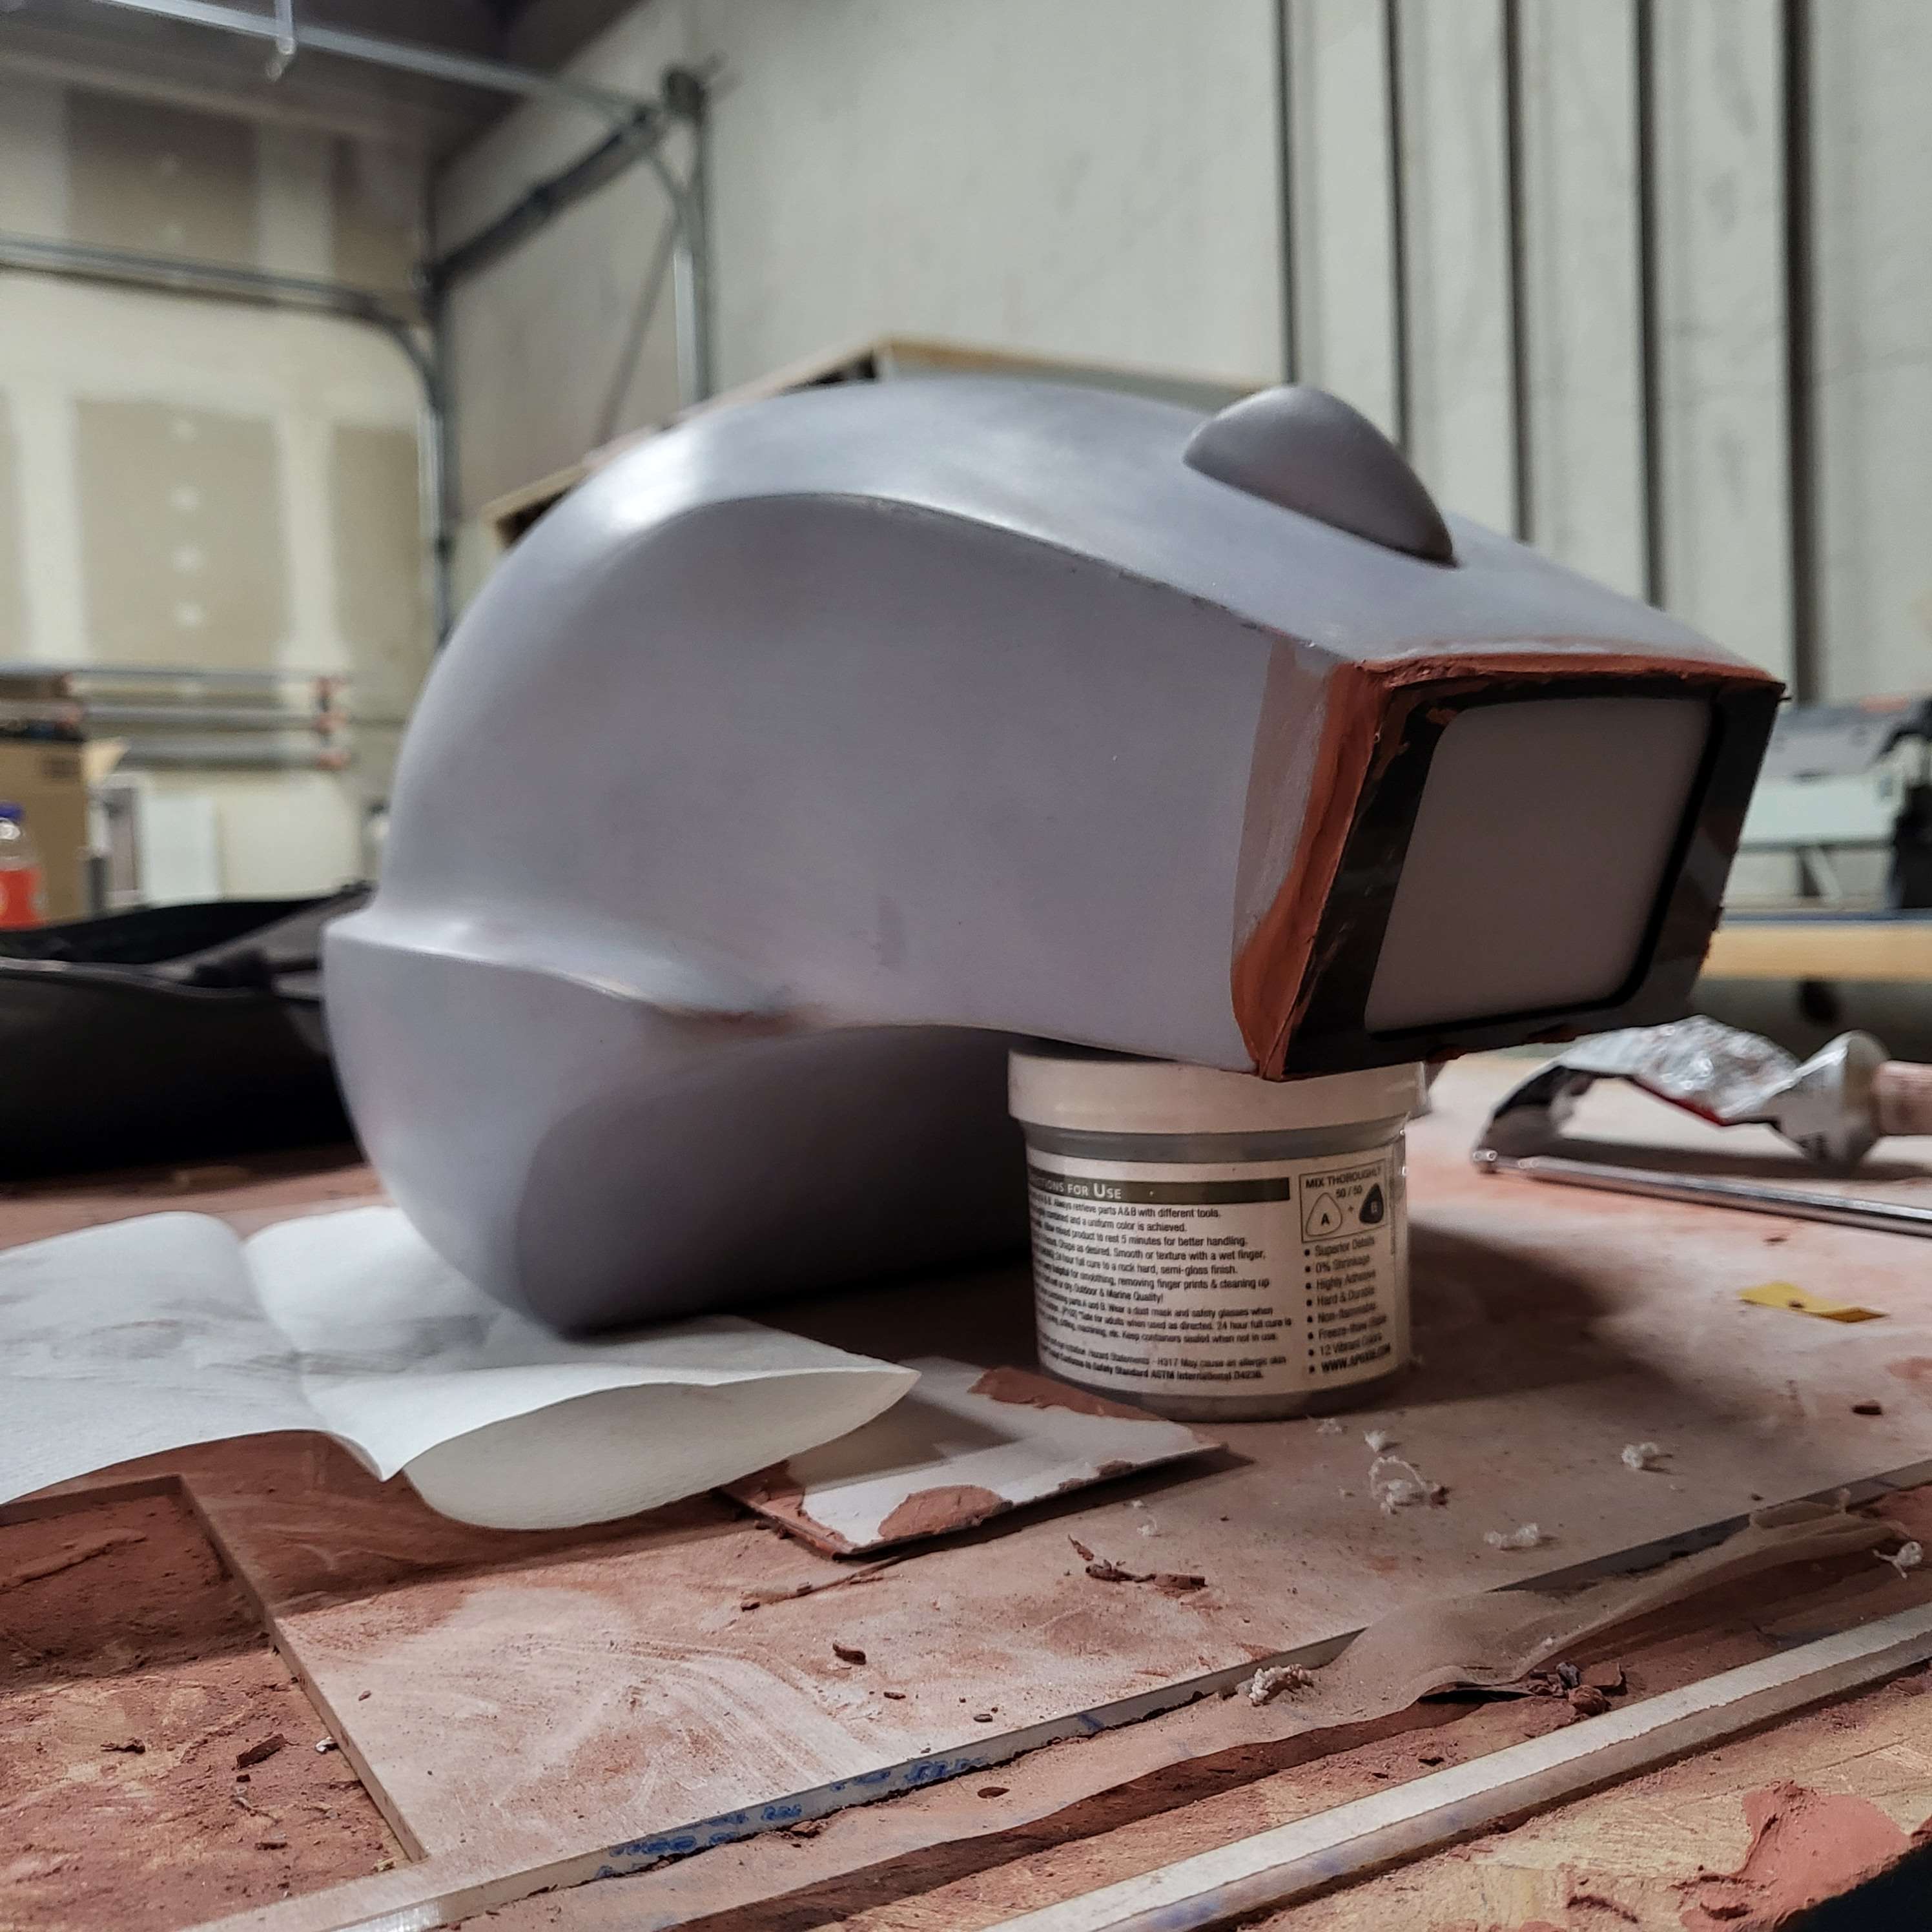
And after some blending, that piece fit right in!
This video gives a good indication of where we’re at on the body work. It’s looking pretty good, huh? Let’s learn how to make a mold to preserve it! I started by mounting the helmet on a wooden board, and glued in some styrene to the bottom side where I wanted the big opening to be for pouring resin later.
I then brushed on silicone in the form of SmoothOn Rebound 40. I could have done this a different way, and made a two part mold, but I’m just planning on making the one helmet at the moment, so it’s fine. If I can get one good pull, it’ll all be worth it.
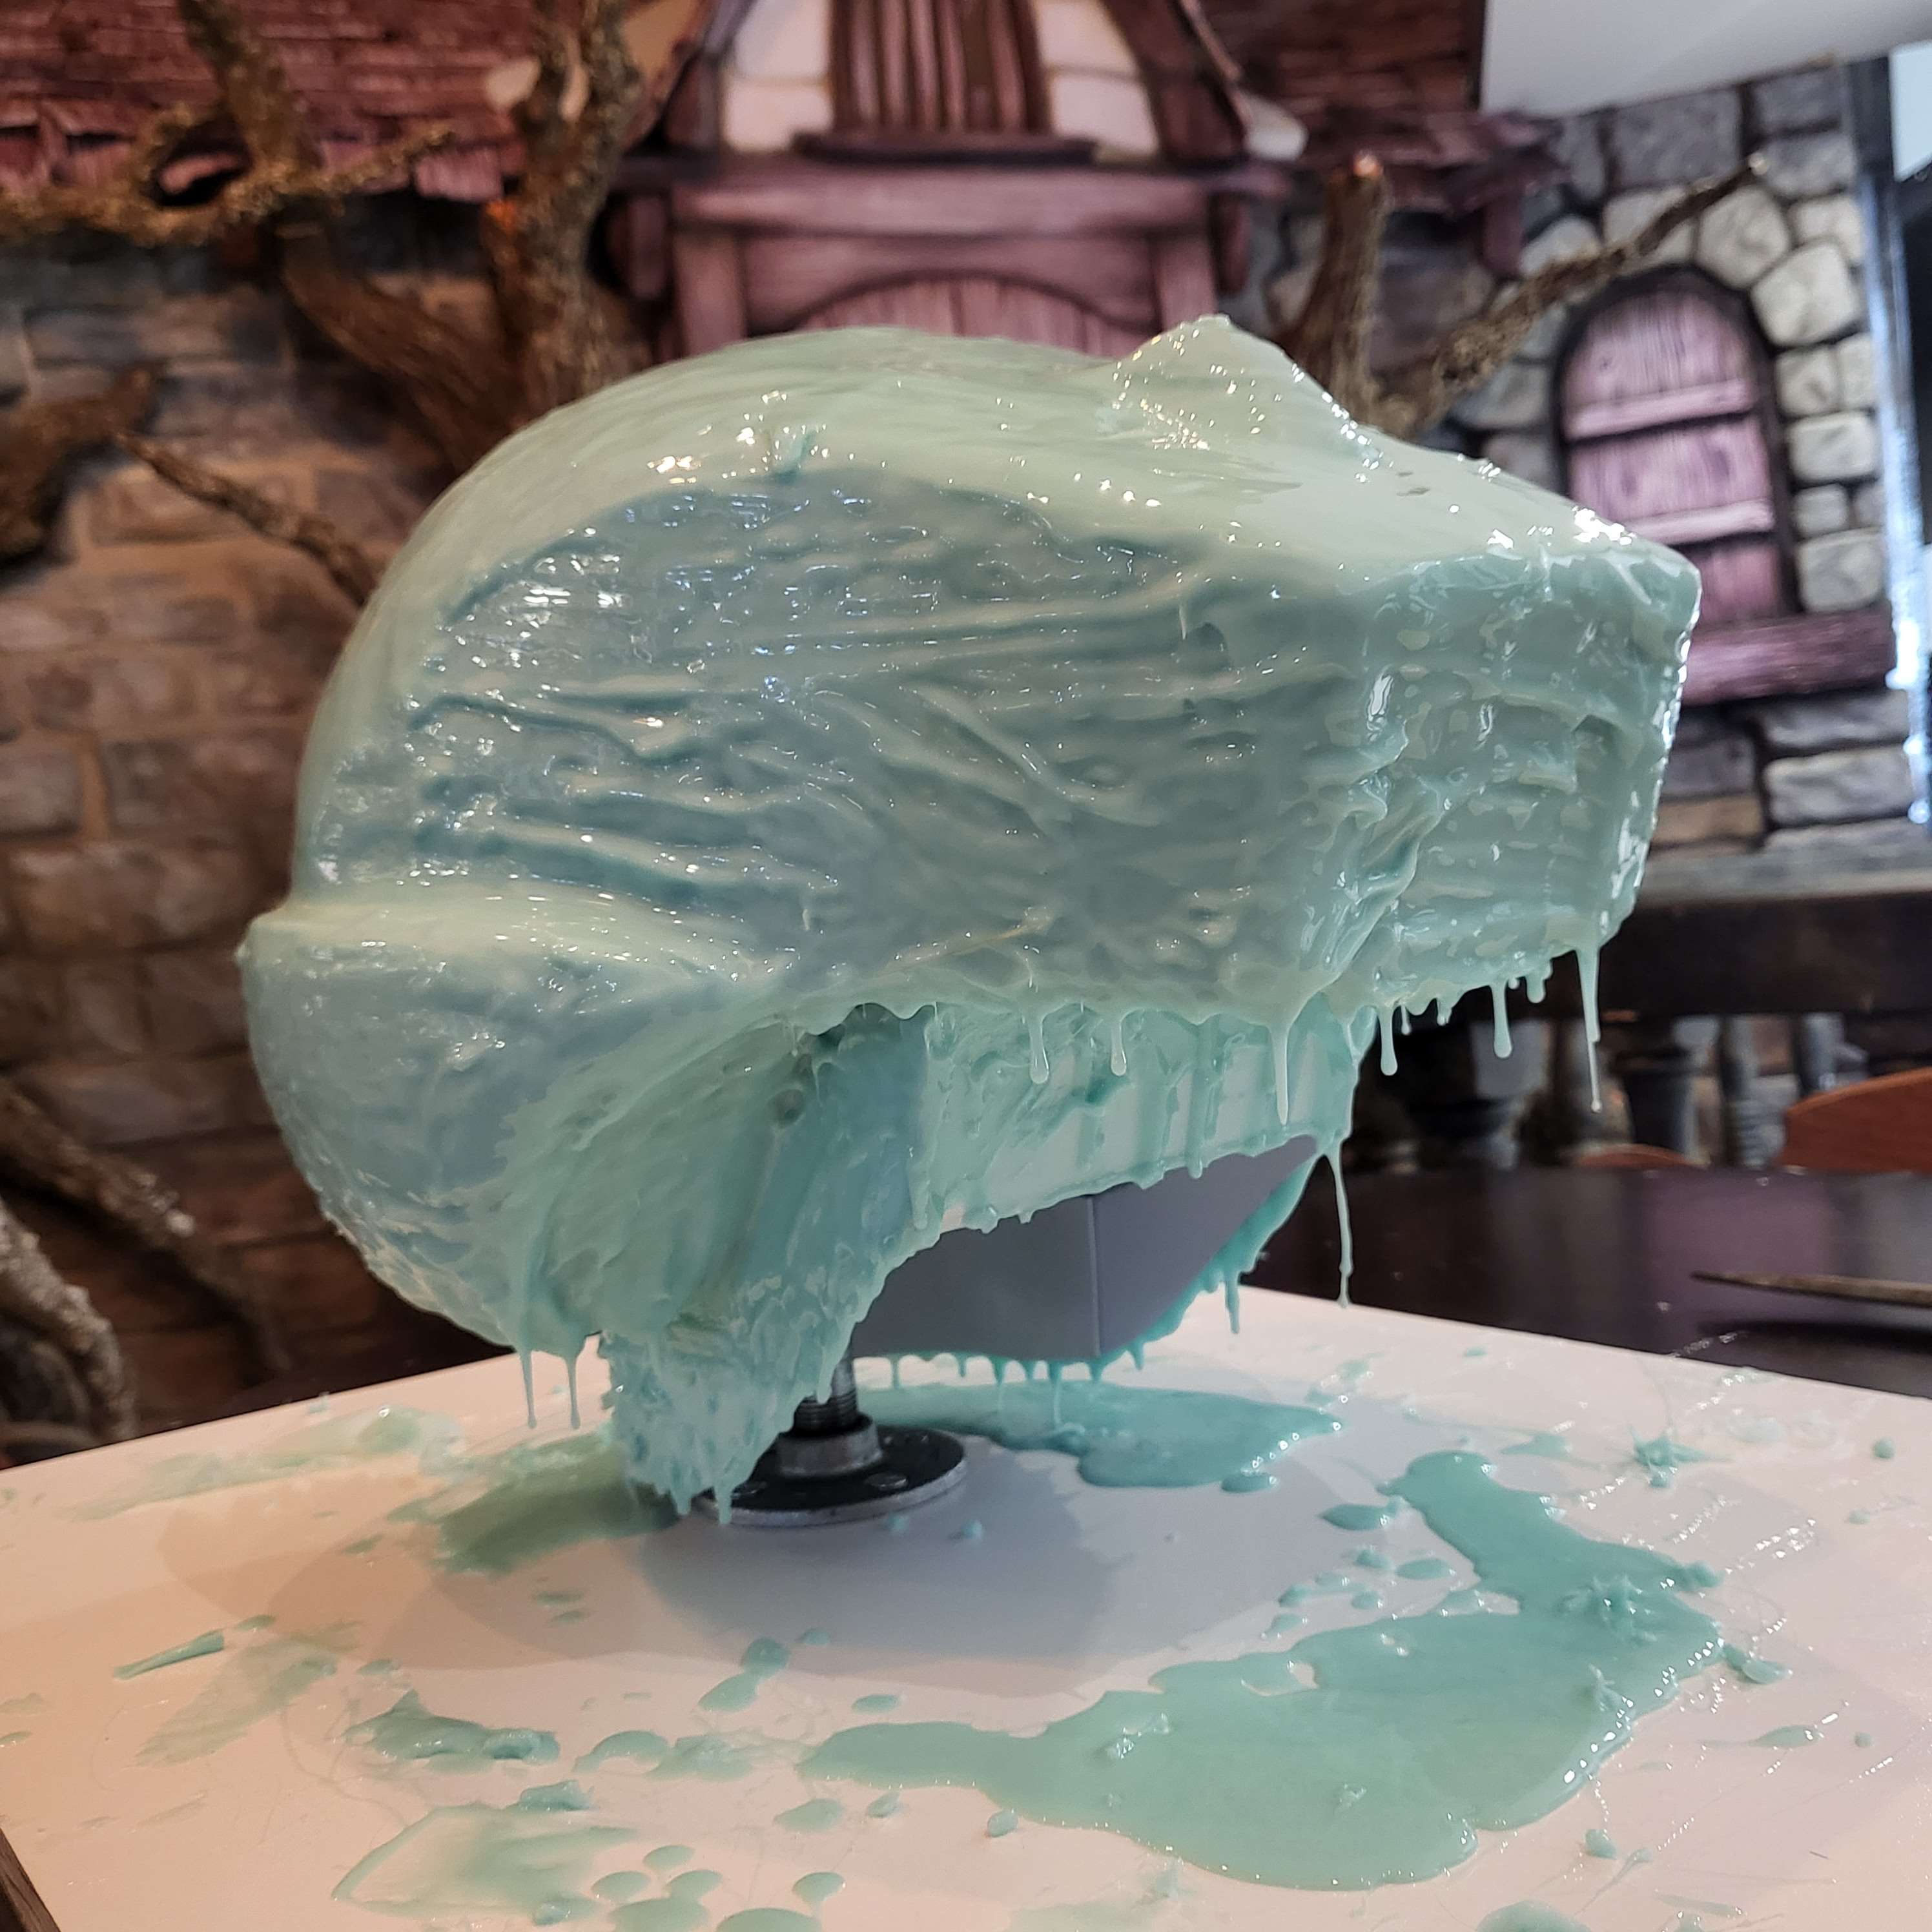
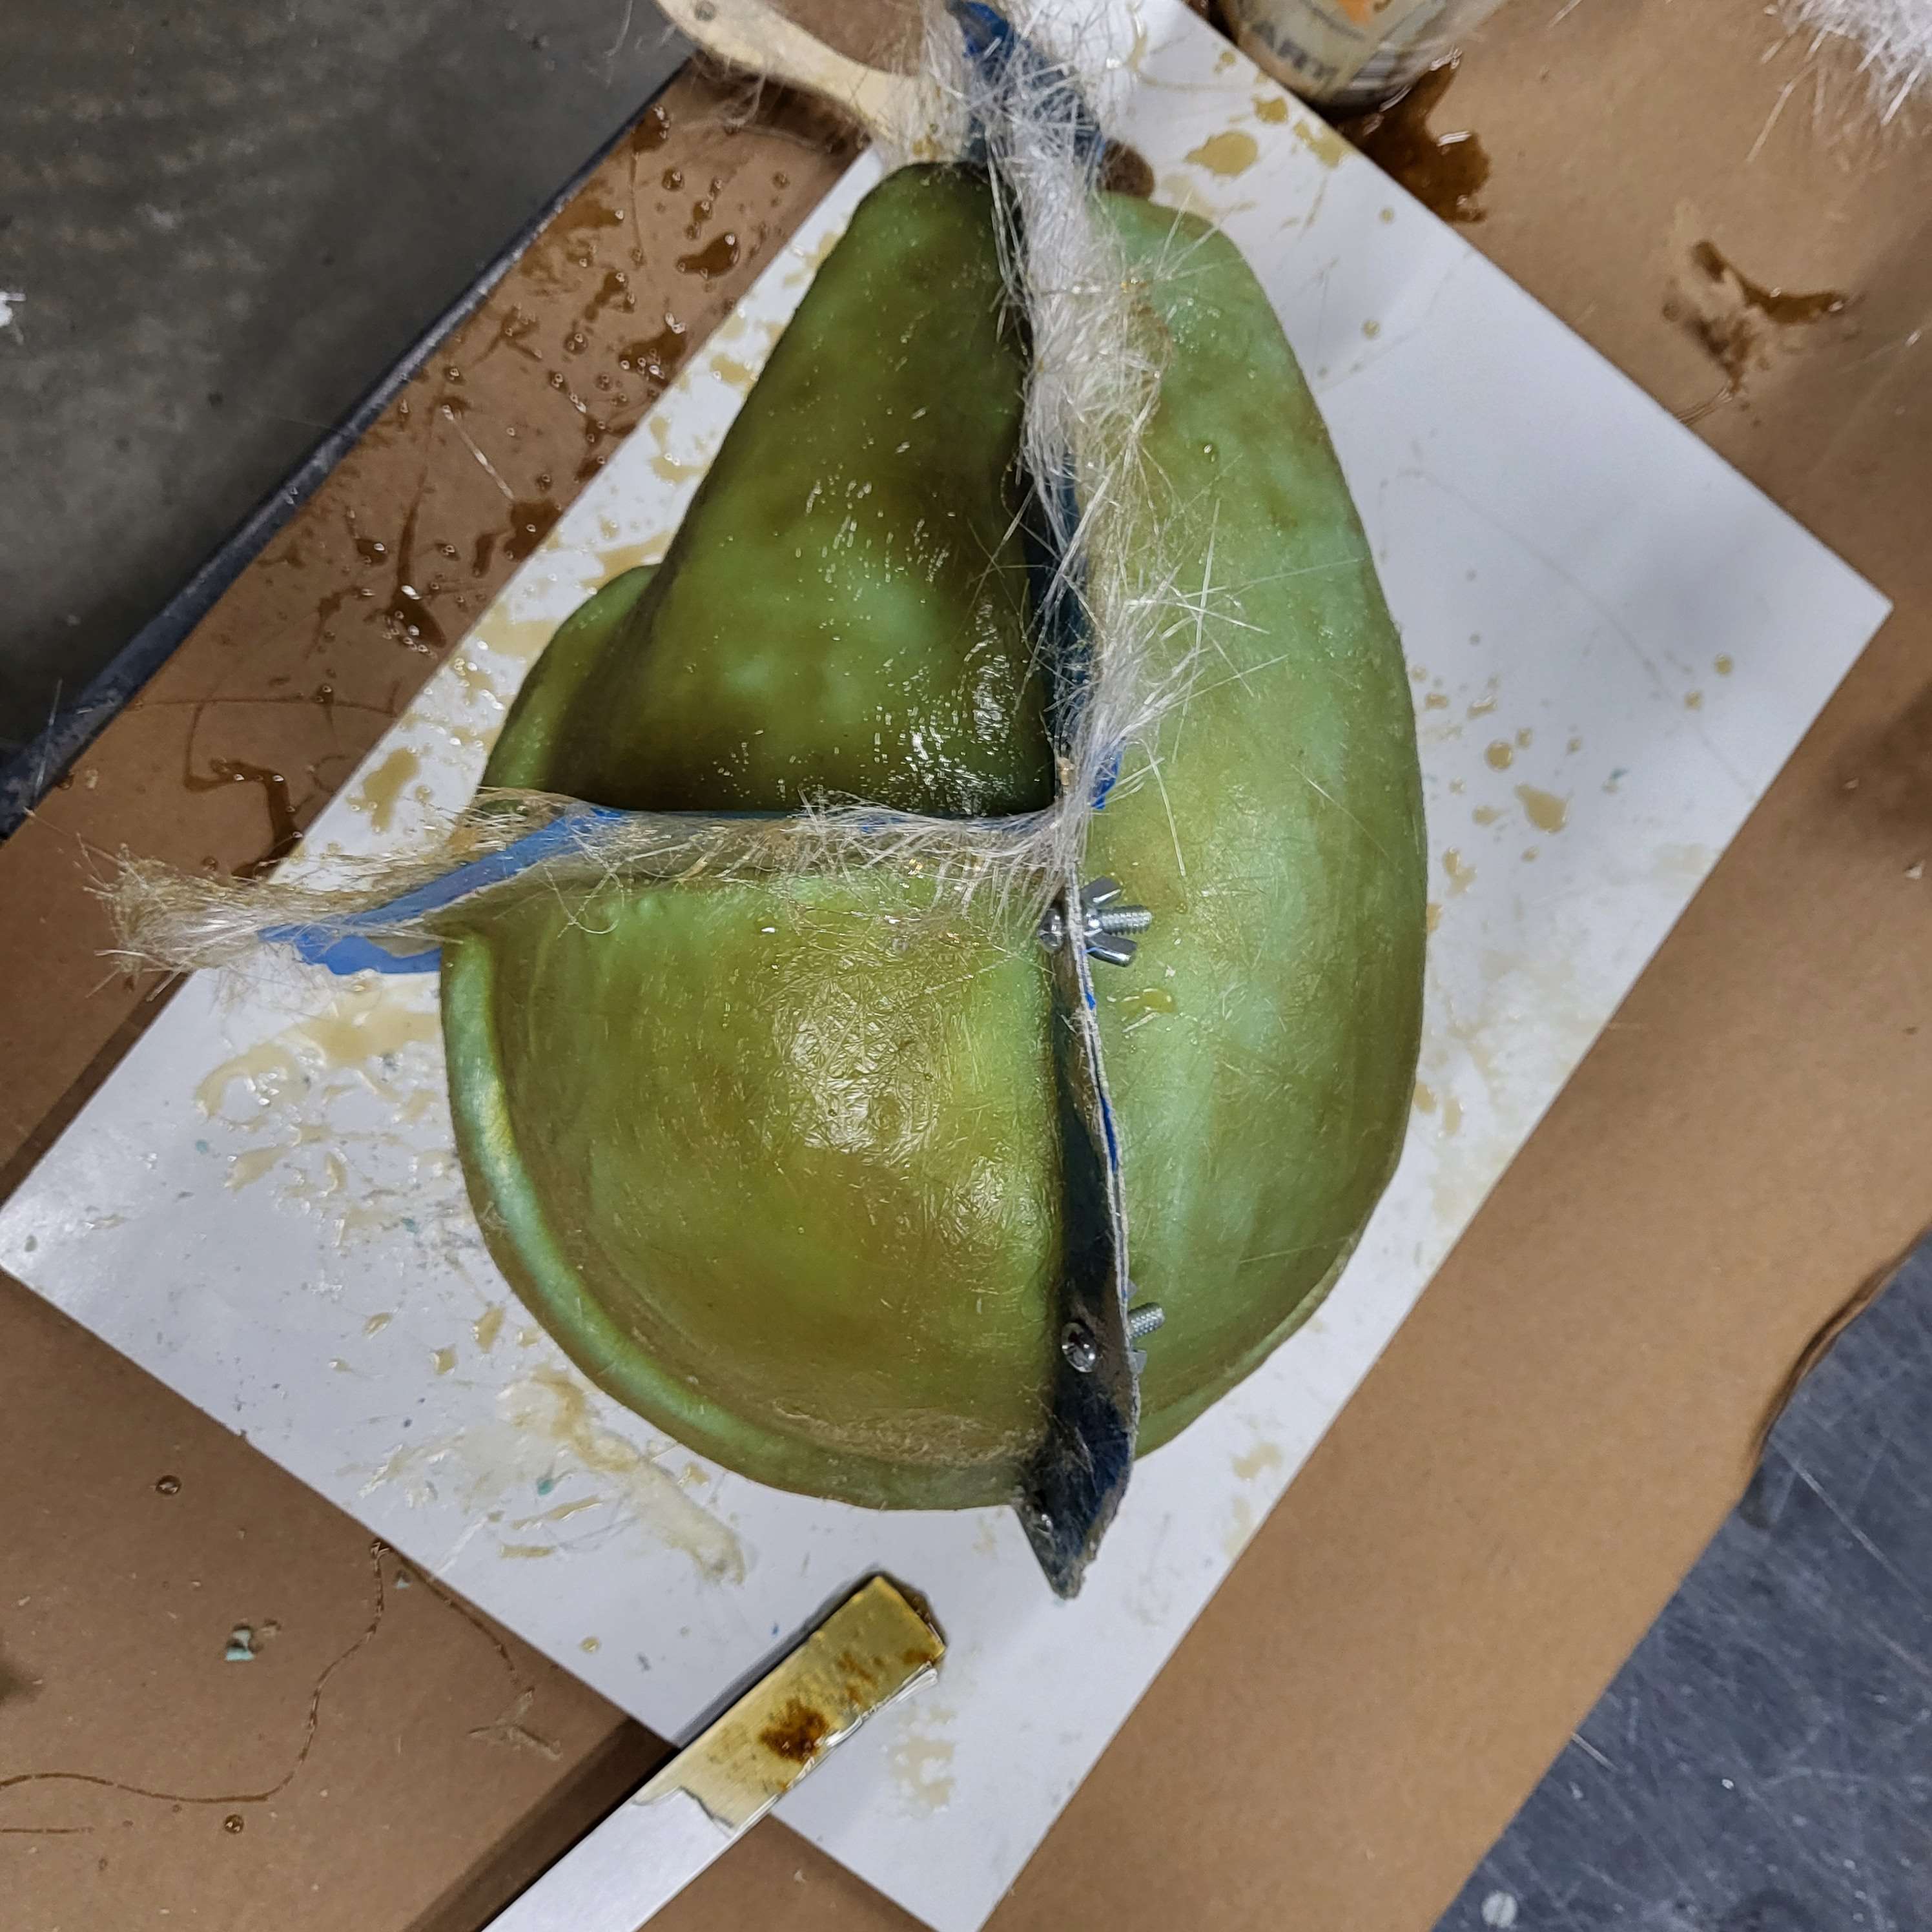
Once I had my silicone on, I made a dam with some tin foil to bisect it.
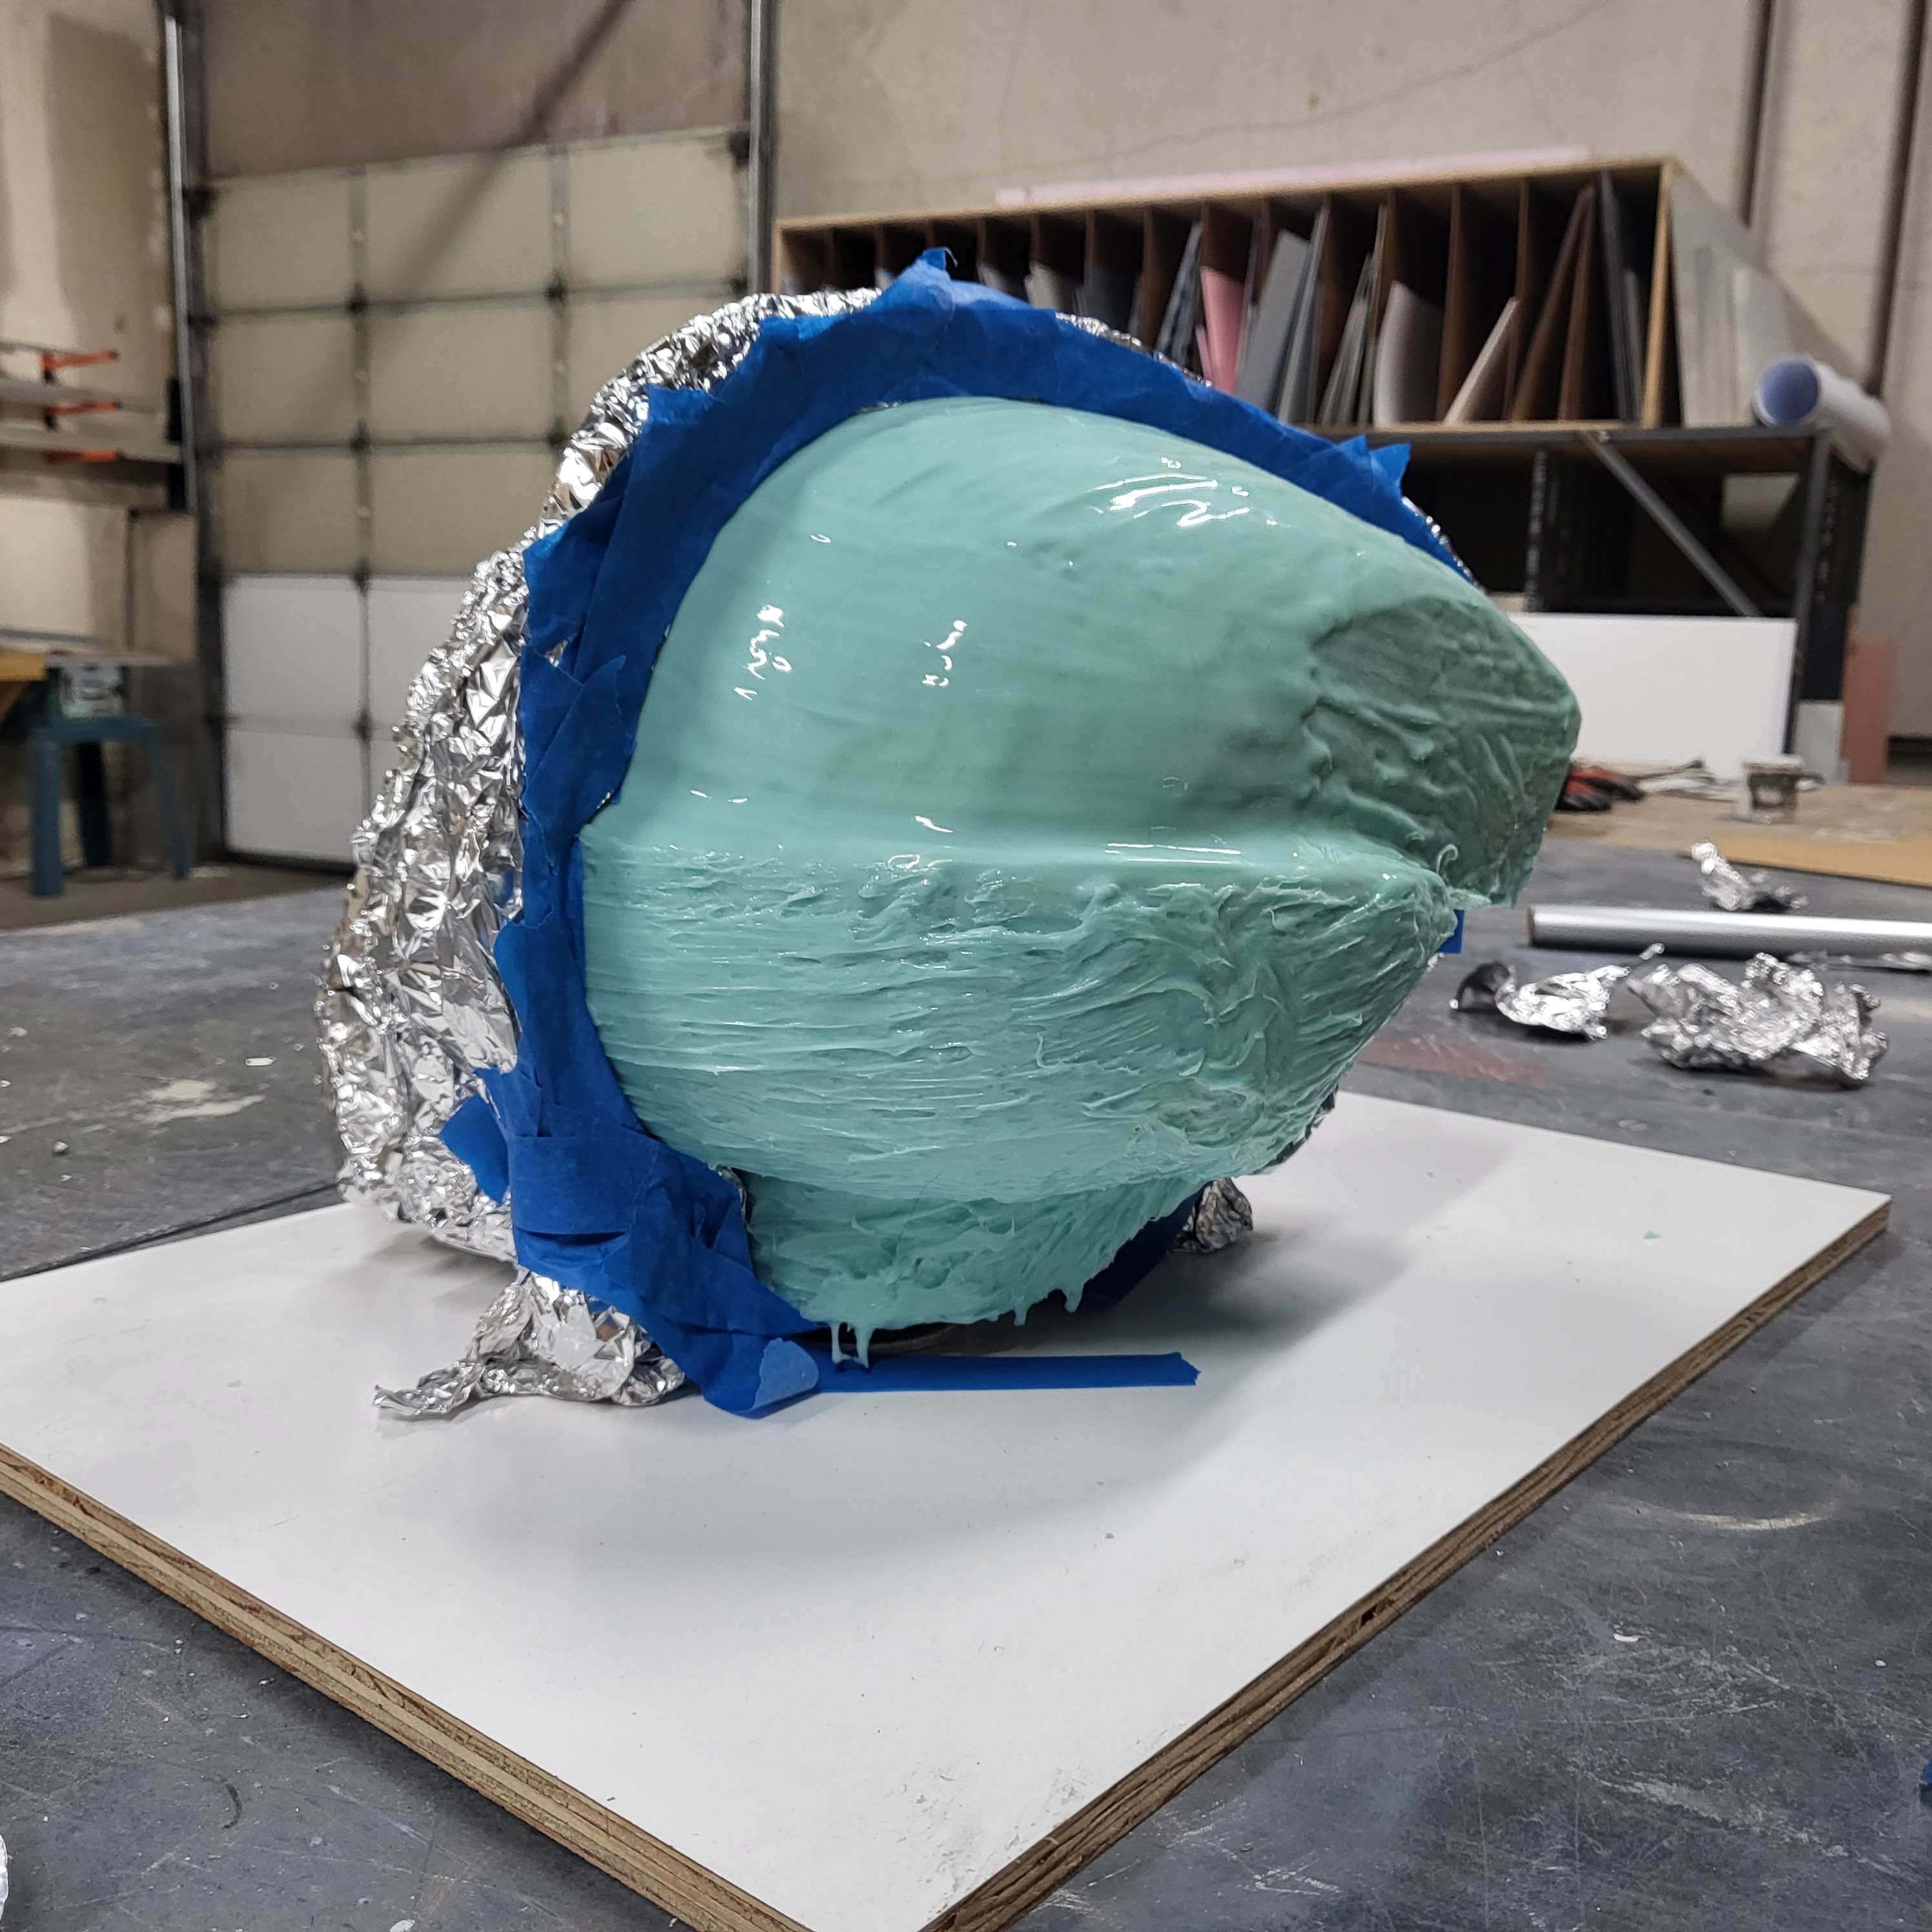
I fiberglassed over the exposed side of the dam, creating a hard jacket. I actually ended up making the jacket in three parts. I probably should have planned it as four, but it worked very well regardless. No regrets on the jacket/mothermold. Here it is from above with 2/3 parts glassed for illustration.

And fully glassed:
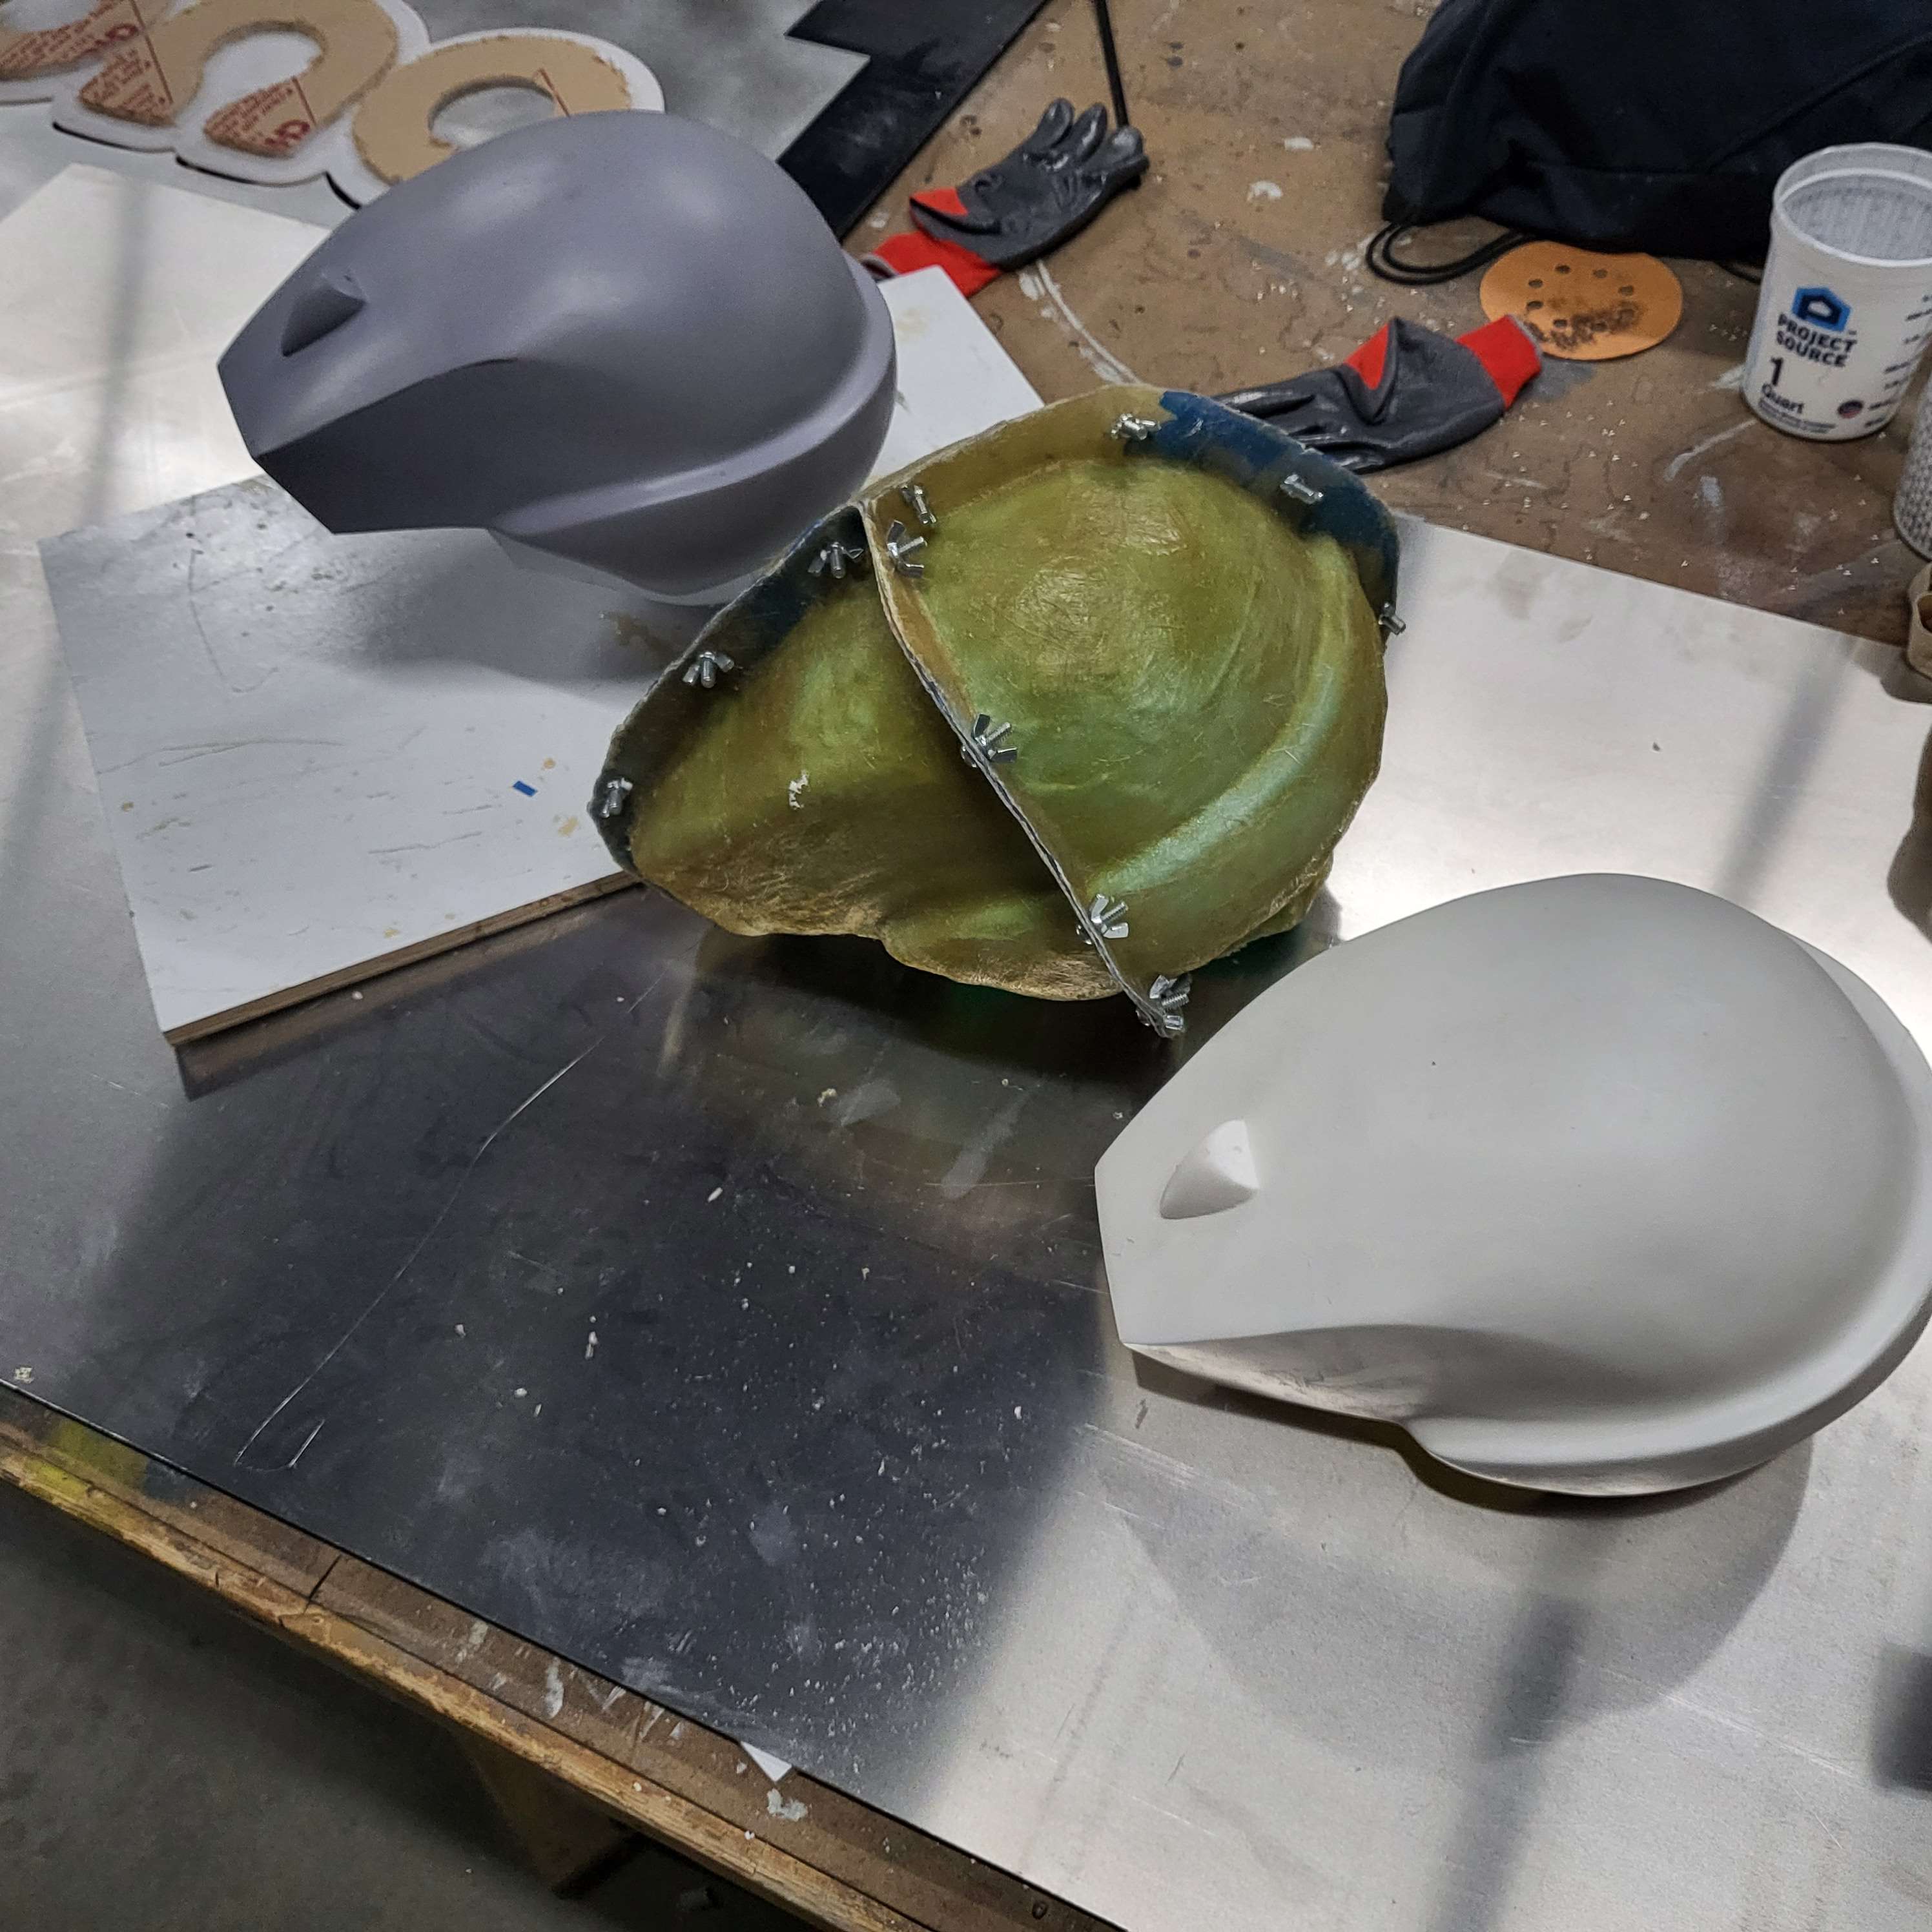
After the fiberglass was cured and trimmed, I could take the silicone off and put it into the jacket. Here’s the original foam buck next to the finished mold:

I could then slosh some SmoothOn Smooth-Cast 300 around inside the mold. Each coat cured in about 5 minutes, so I was able to do maybe four coats of resin in the mold in an hour or less. This sloshing method of coating the inside of a mold is called slush casting, which is a derivative of rotocasting. Here you can peek inside bottom of the mold and see the clean white resin inside:

I excitedly de-molded my new hollow casting. Here’s all three parts we’ve gone over, done:
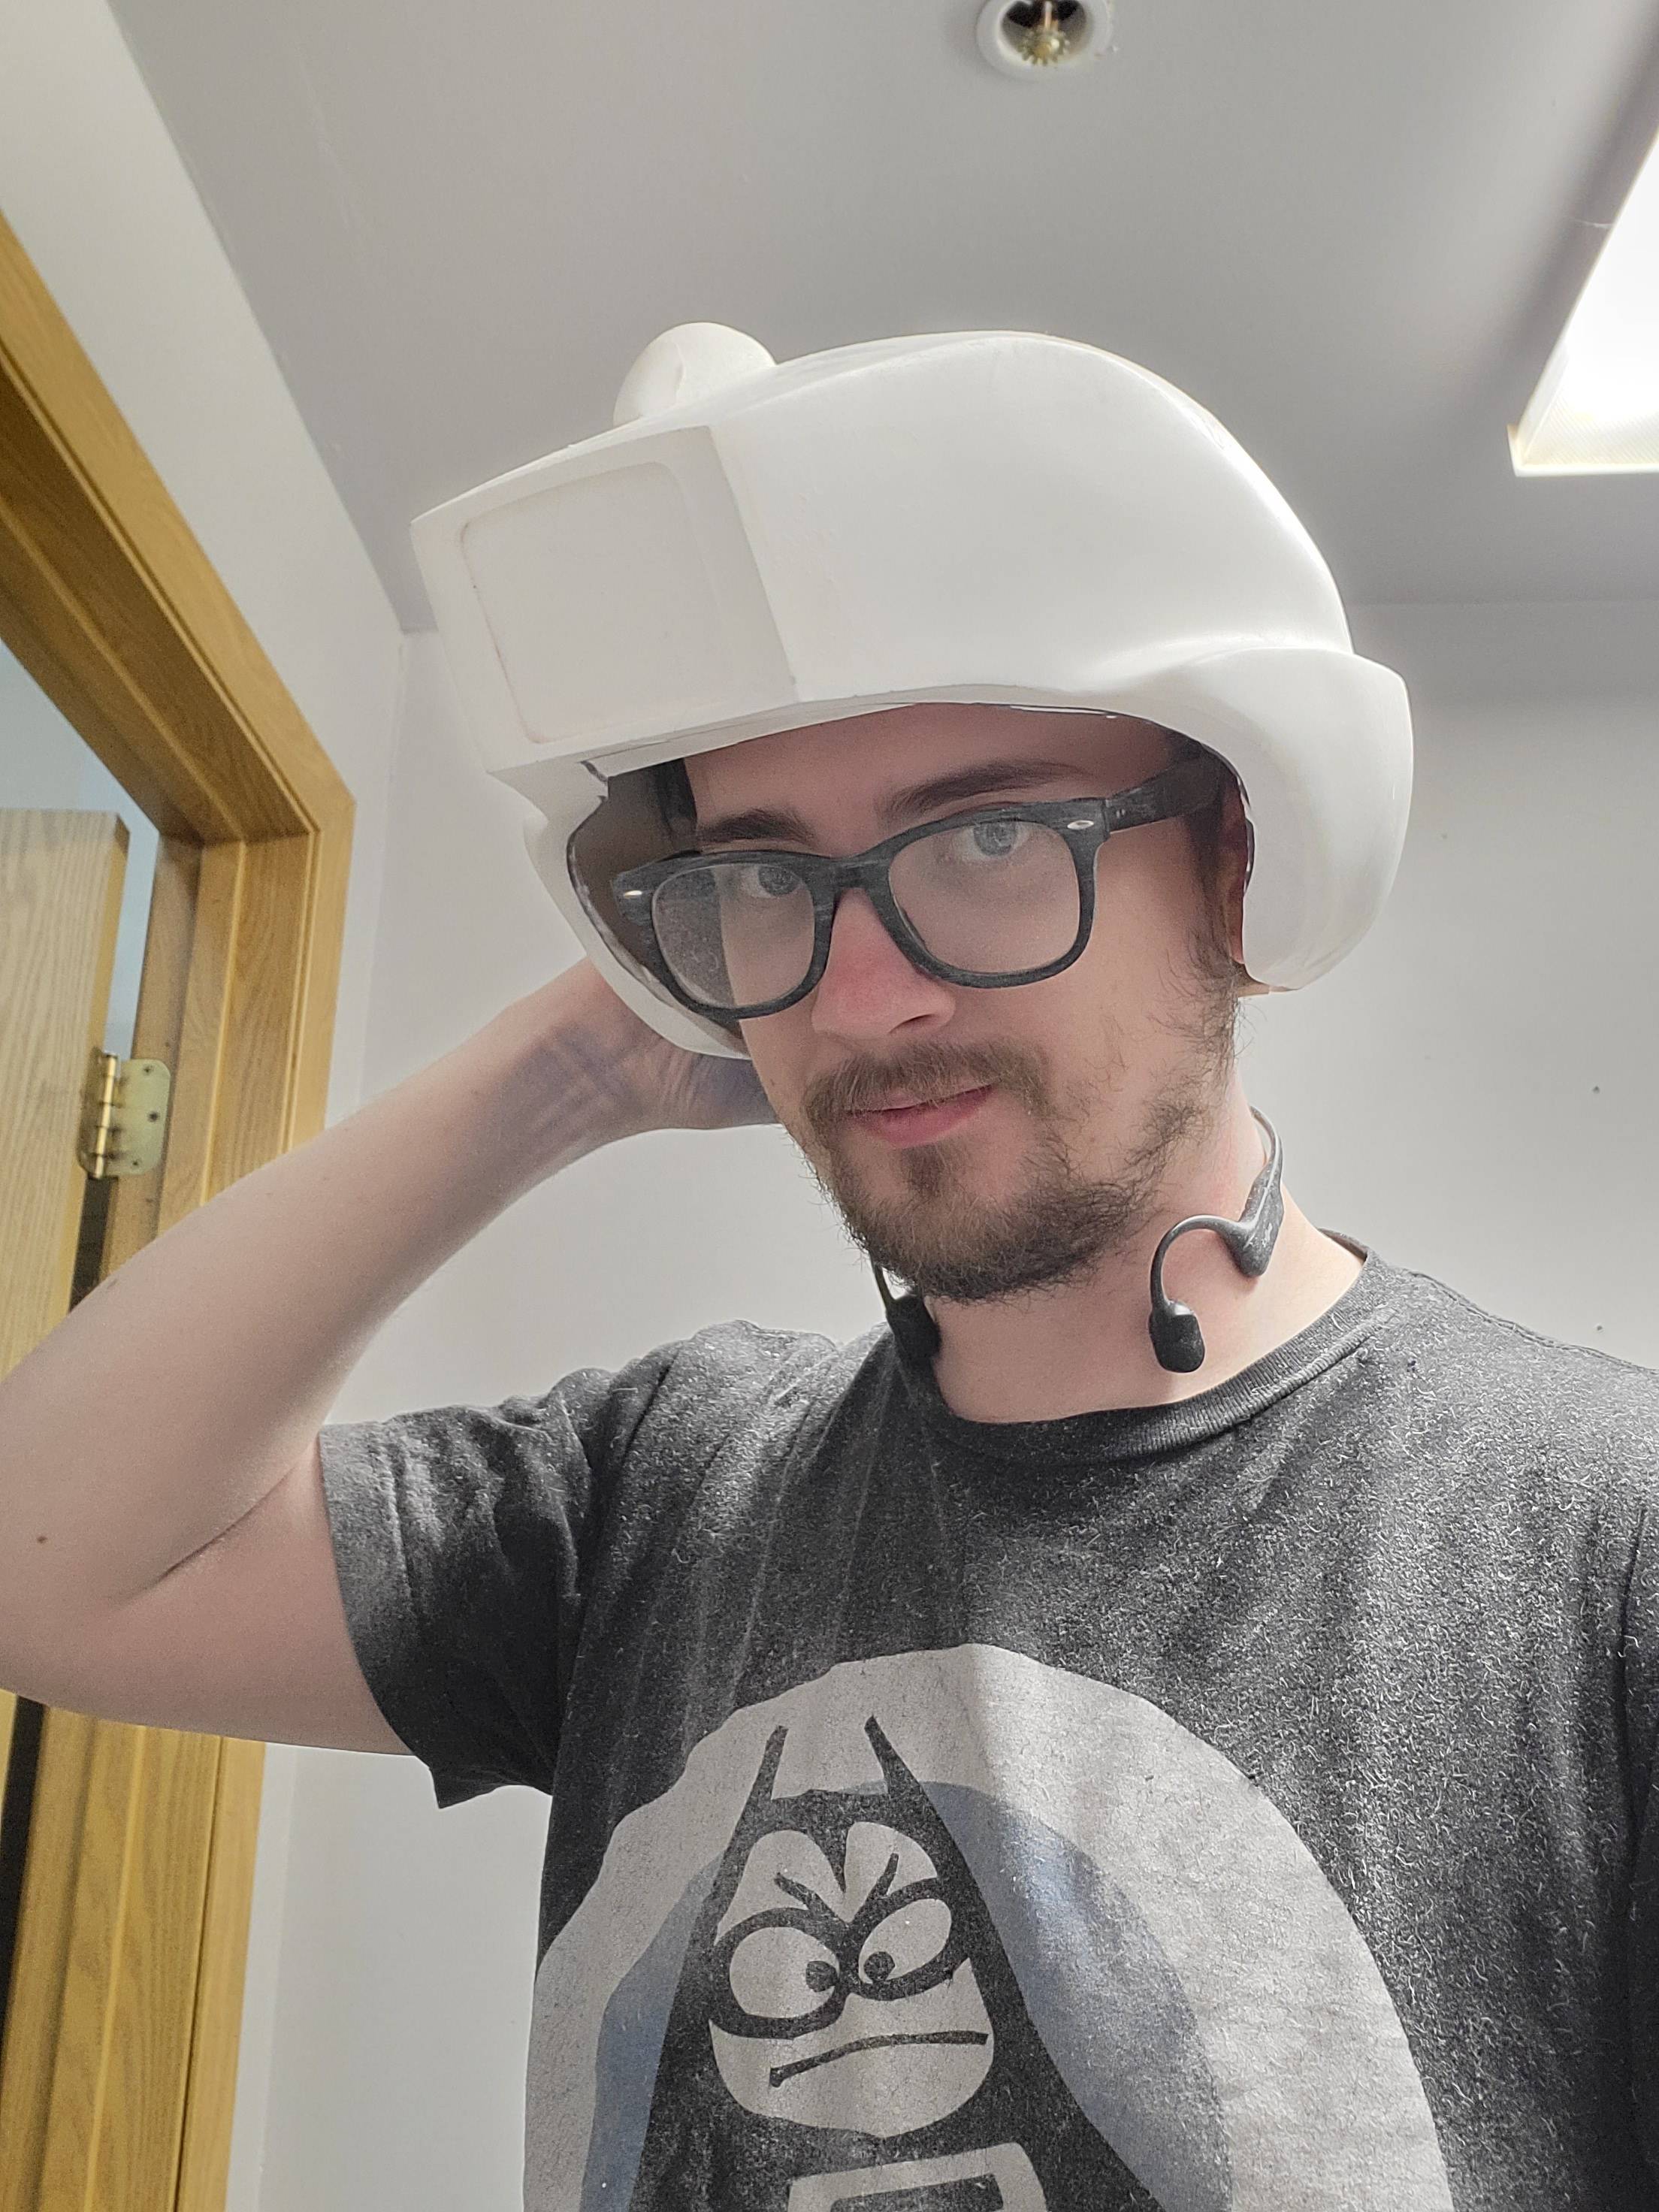
Here I am, relieved that it fits, after I trimmed a hole for my head. I was so nervous it wouldn’t fit. Holy shit.
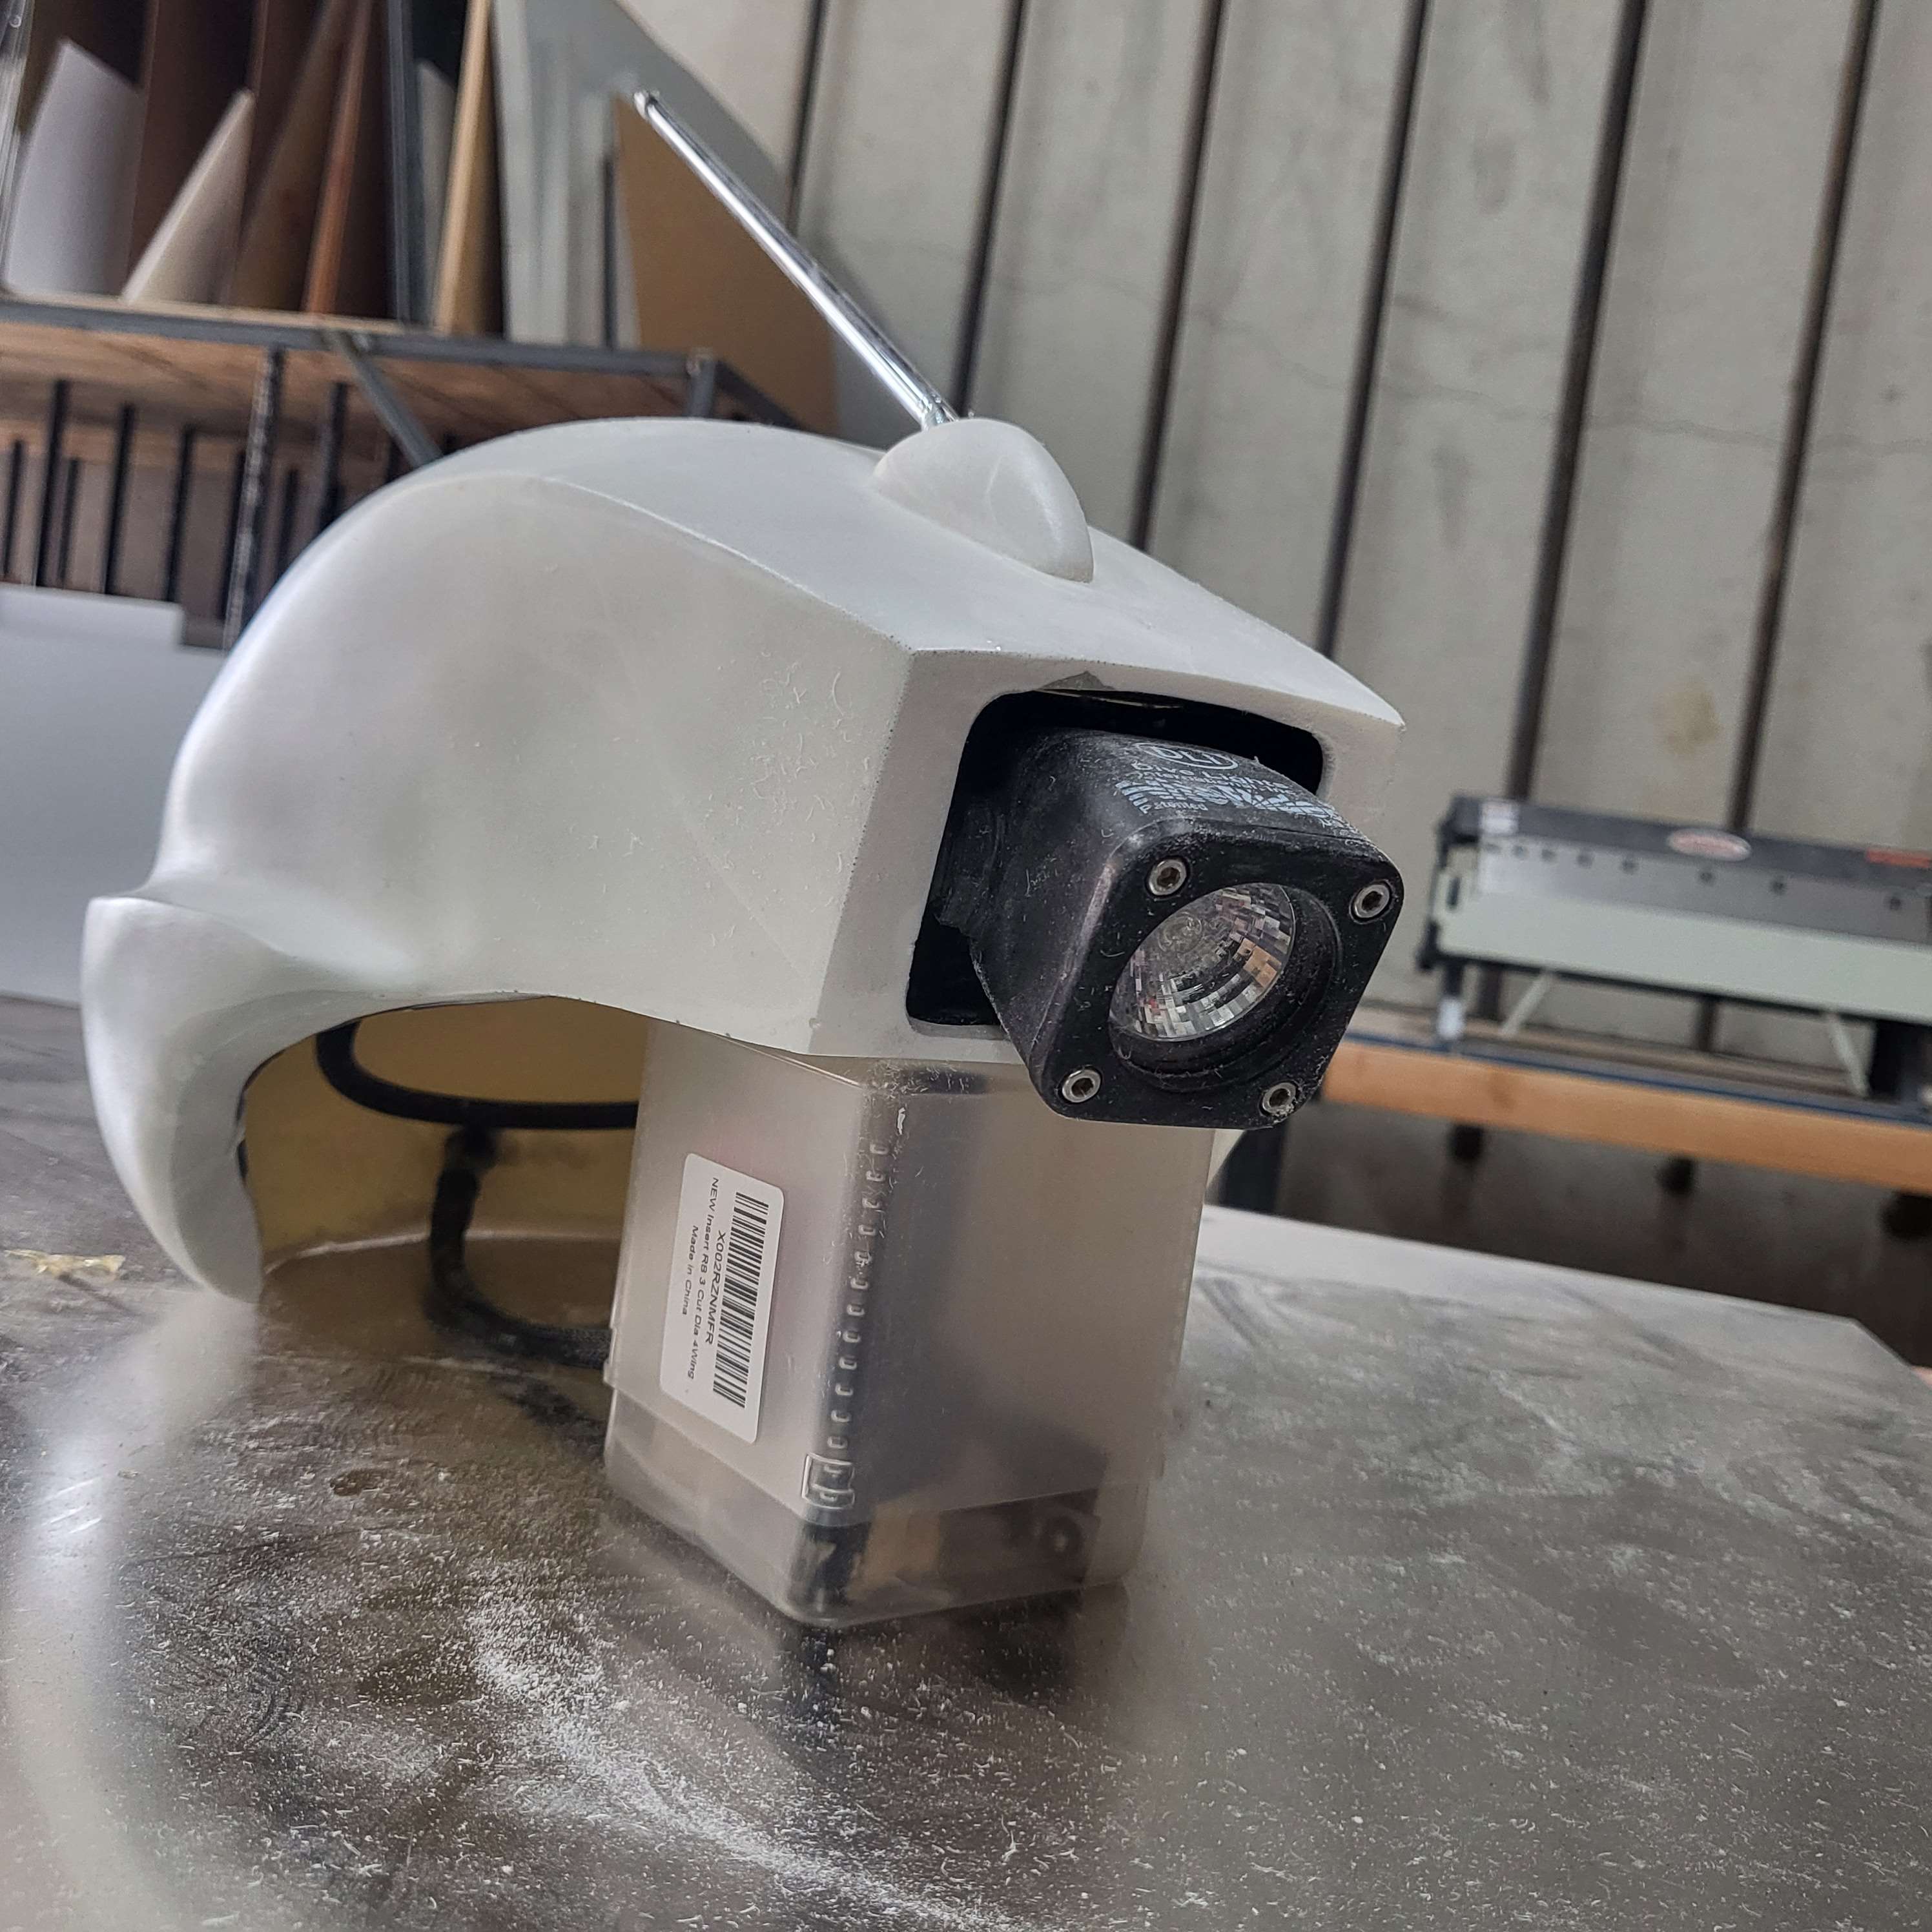
I started making a little cubby to put the NiteRider headlamp inside of. This is just laser cut acrylic as a 5-sided box. I made sure to put a couple mounting holes for the light in the back wall.
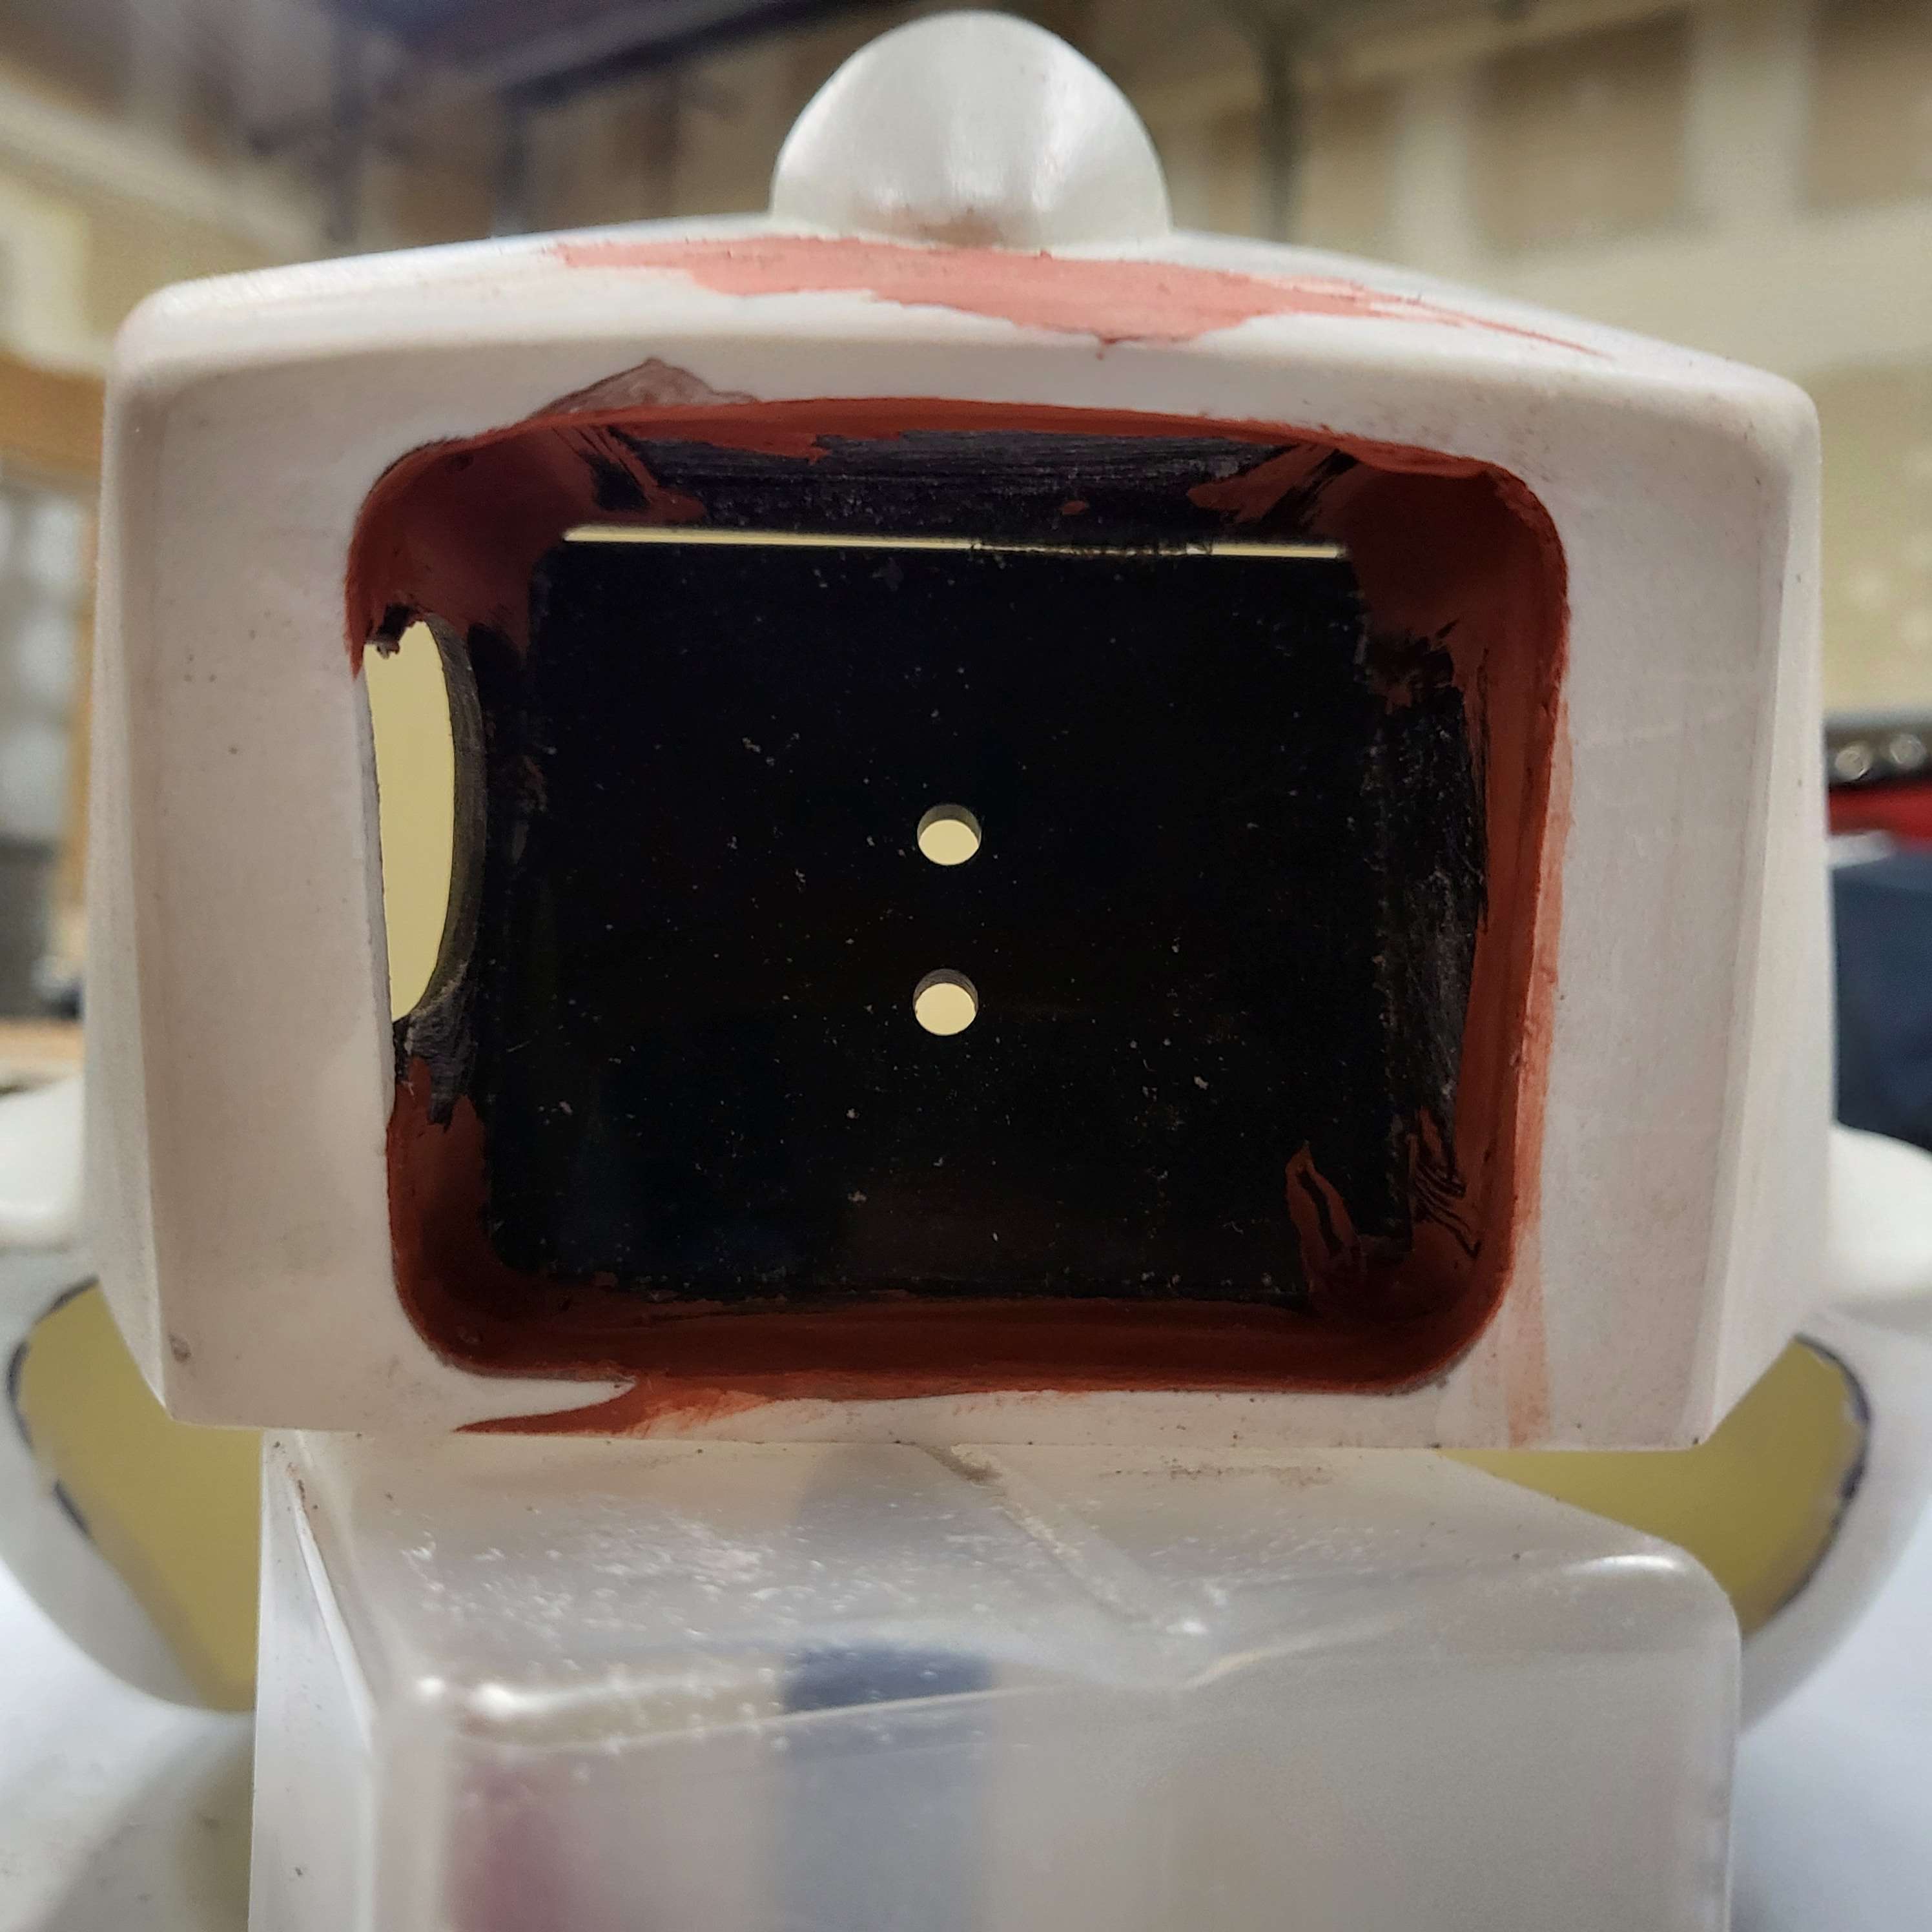
And there’s the light fitted!
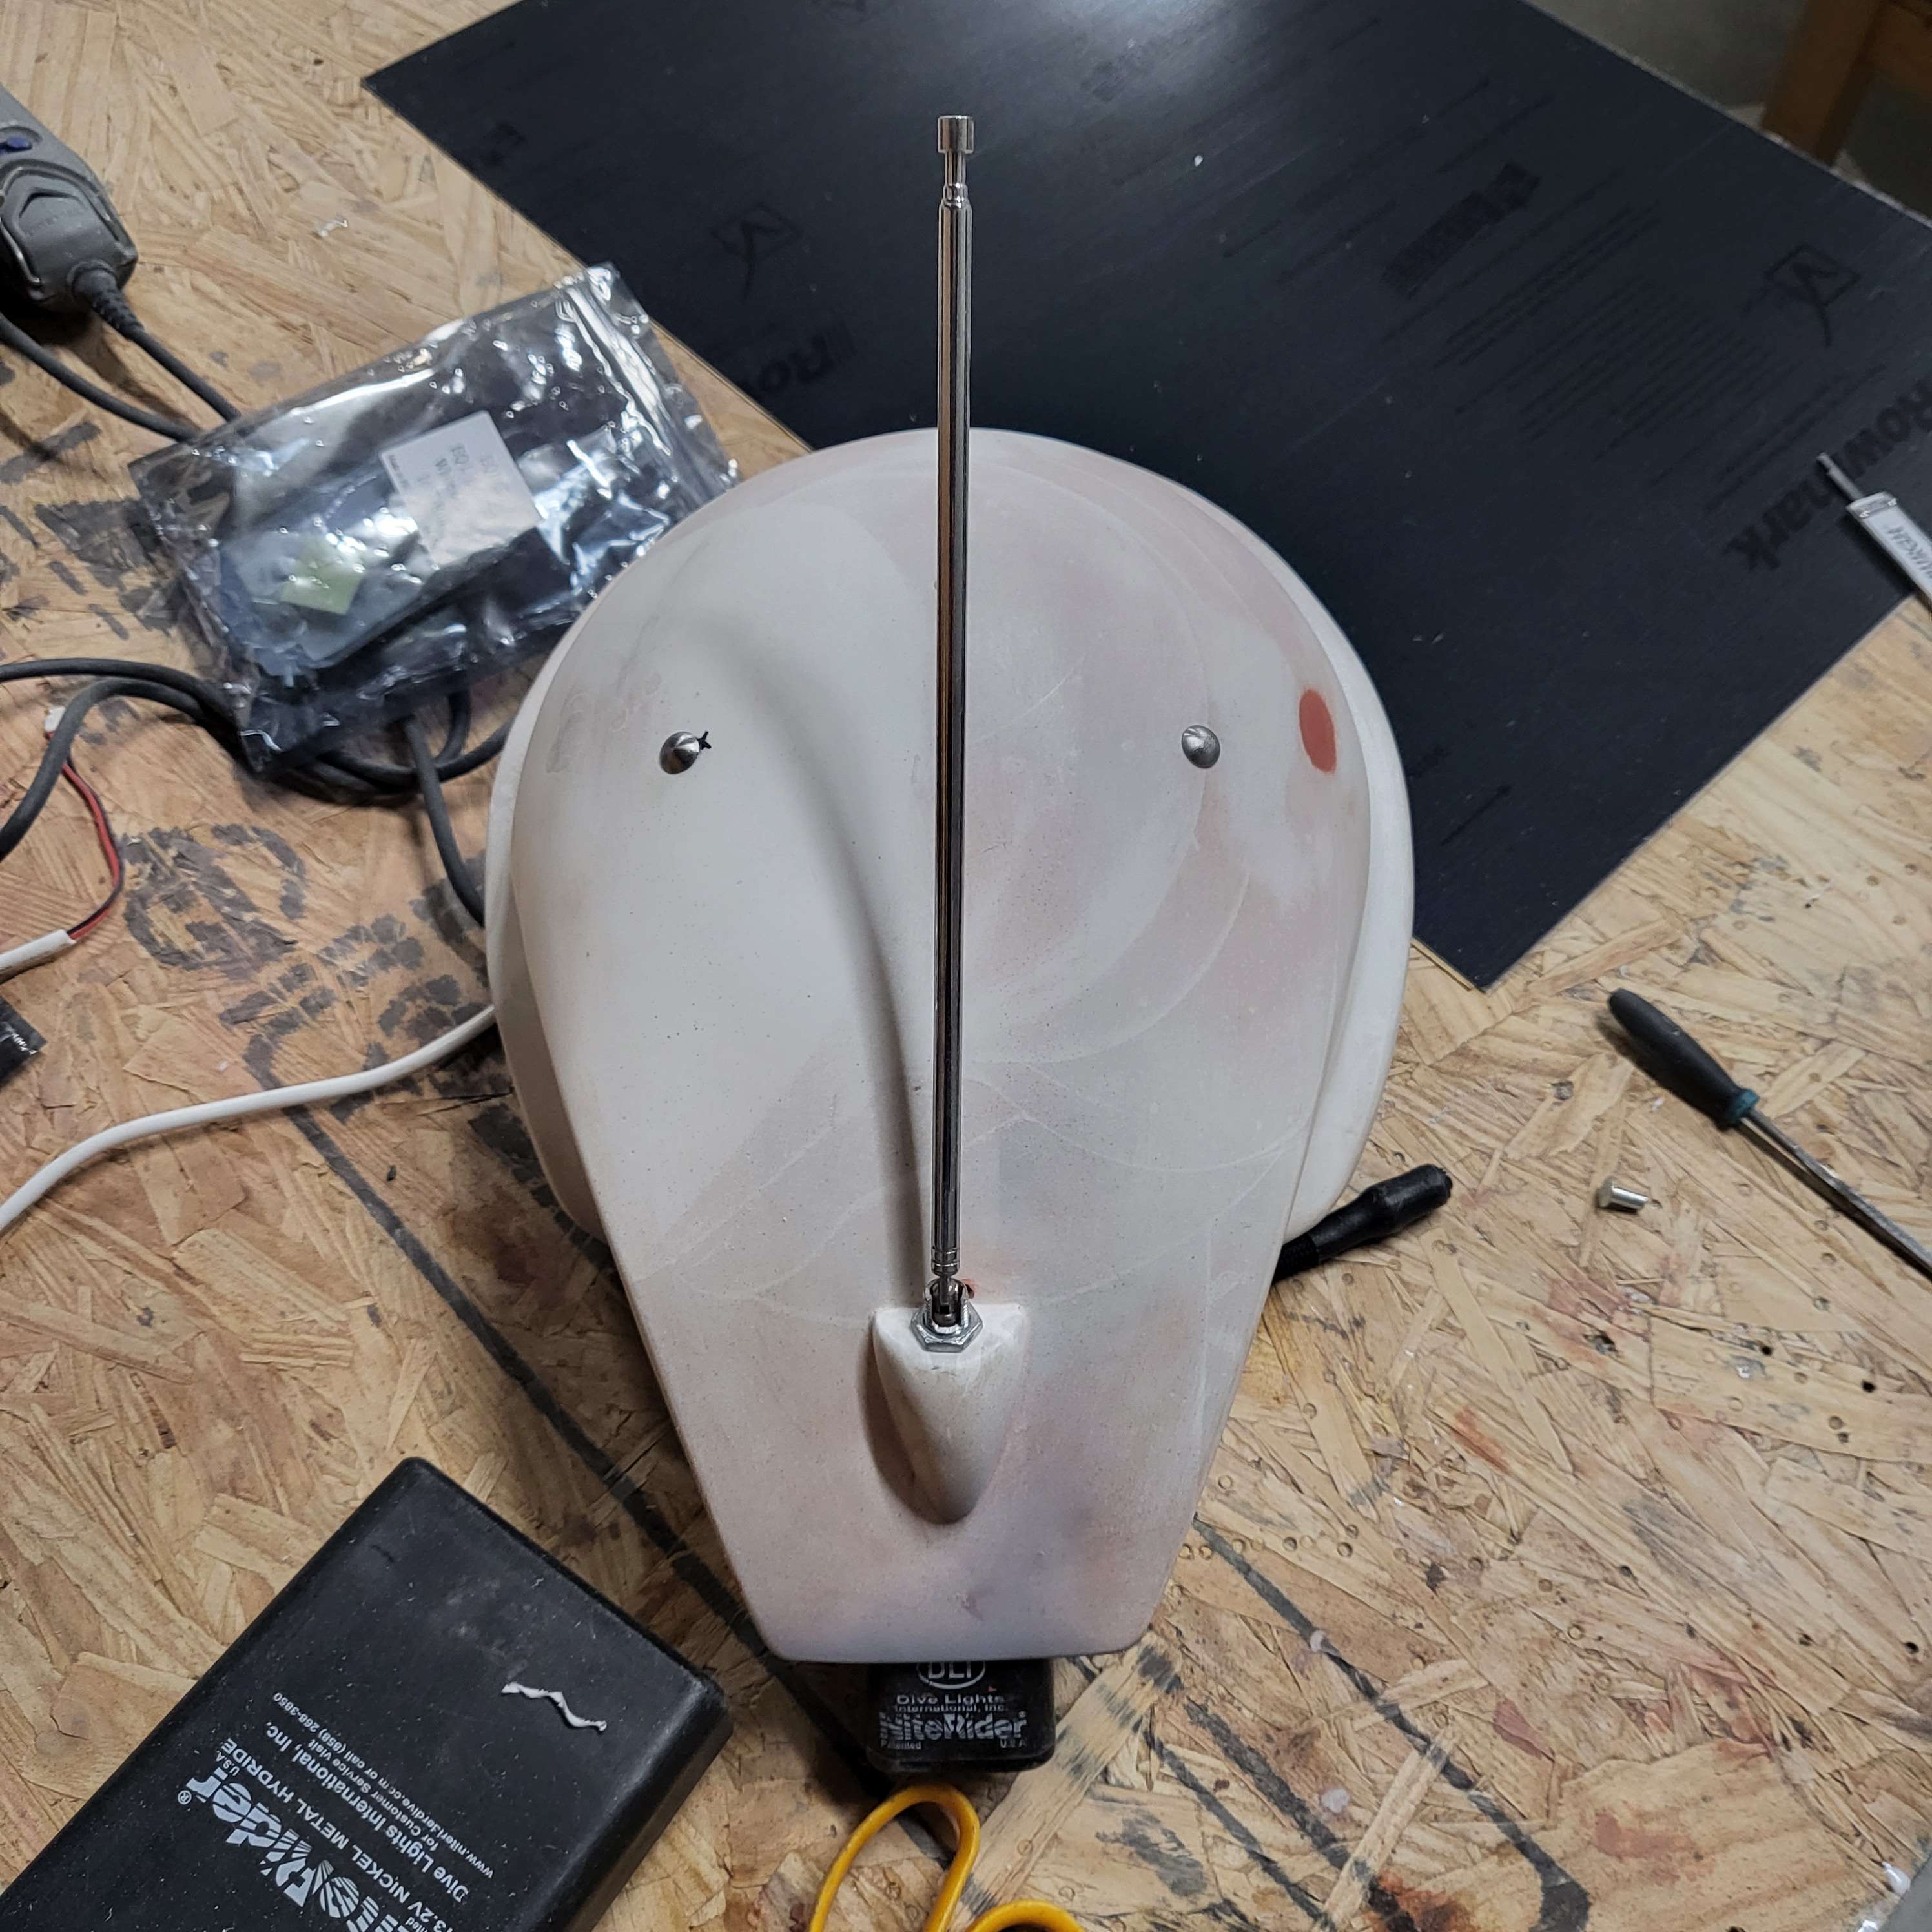
I then focused my attention on the “rabbit ear” as they call it in the film. Man, remember when we would casually joke that TVs have ears? Now every device is always listening to you at all times. Wack.
Oh! So I made a little bezel for the antenna using a hollow fitting for a lamp. Super easy. I think they might have used this same method for the screen-used prop, but the one on display in the pics at the beginning of this post is so corroded, it’s impossible to tell. Sorry for the image quality on this one. You can also see a little oval hole behind the antennae bezel. That’s there, for some reason, in the Disney pics too.
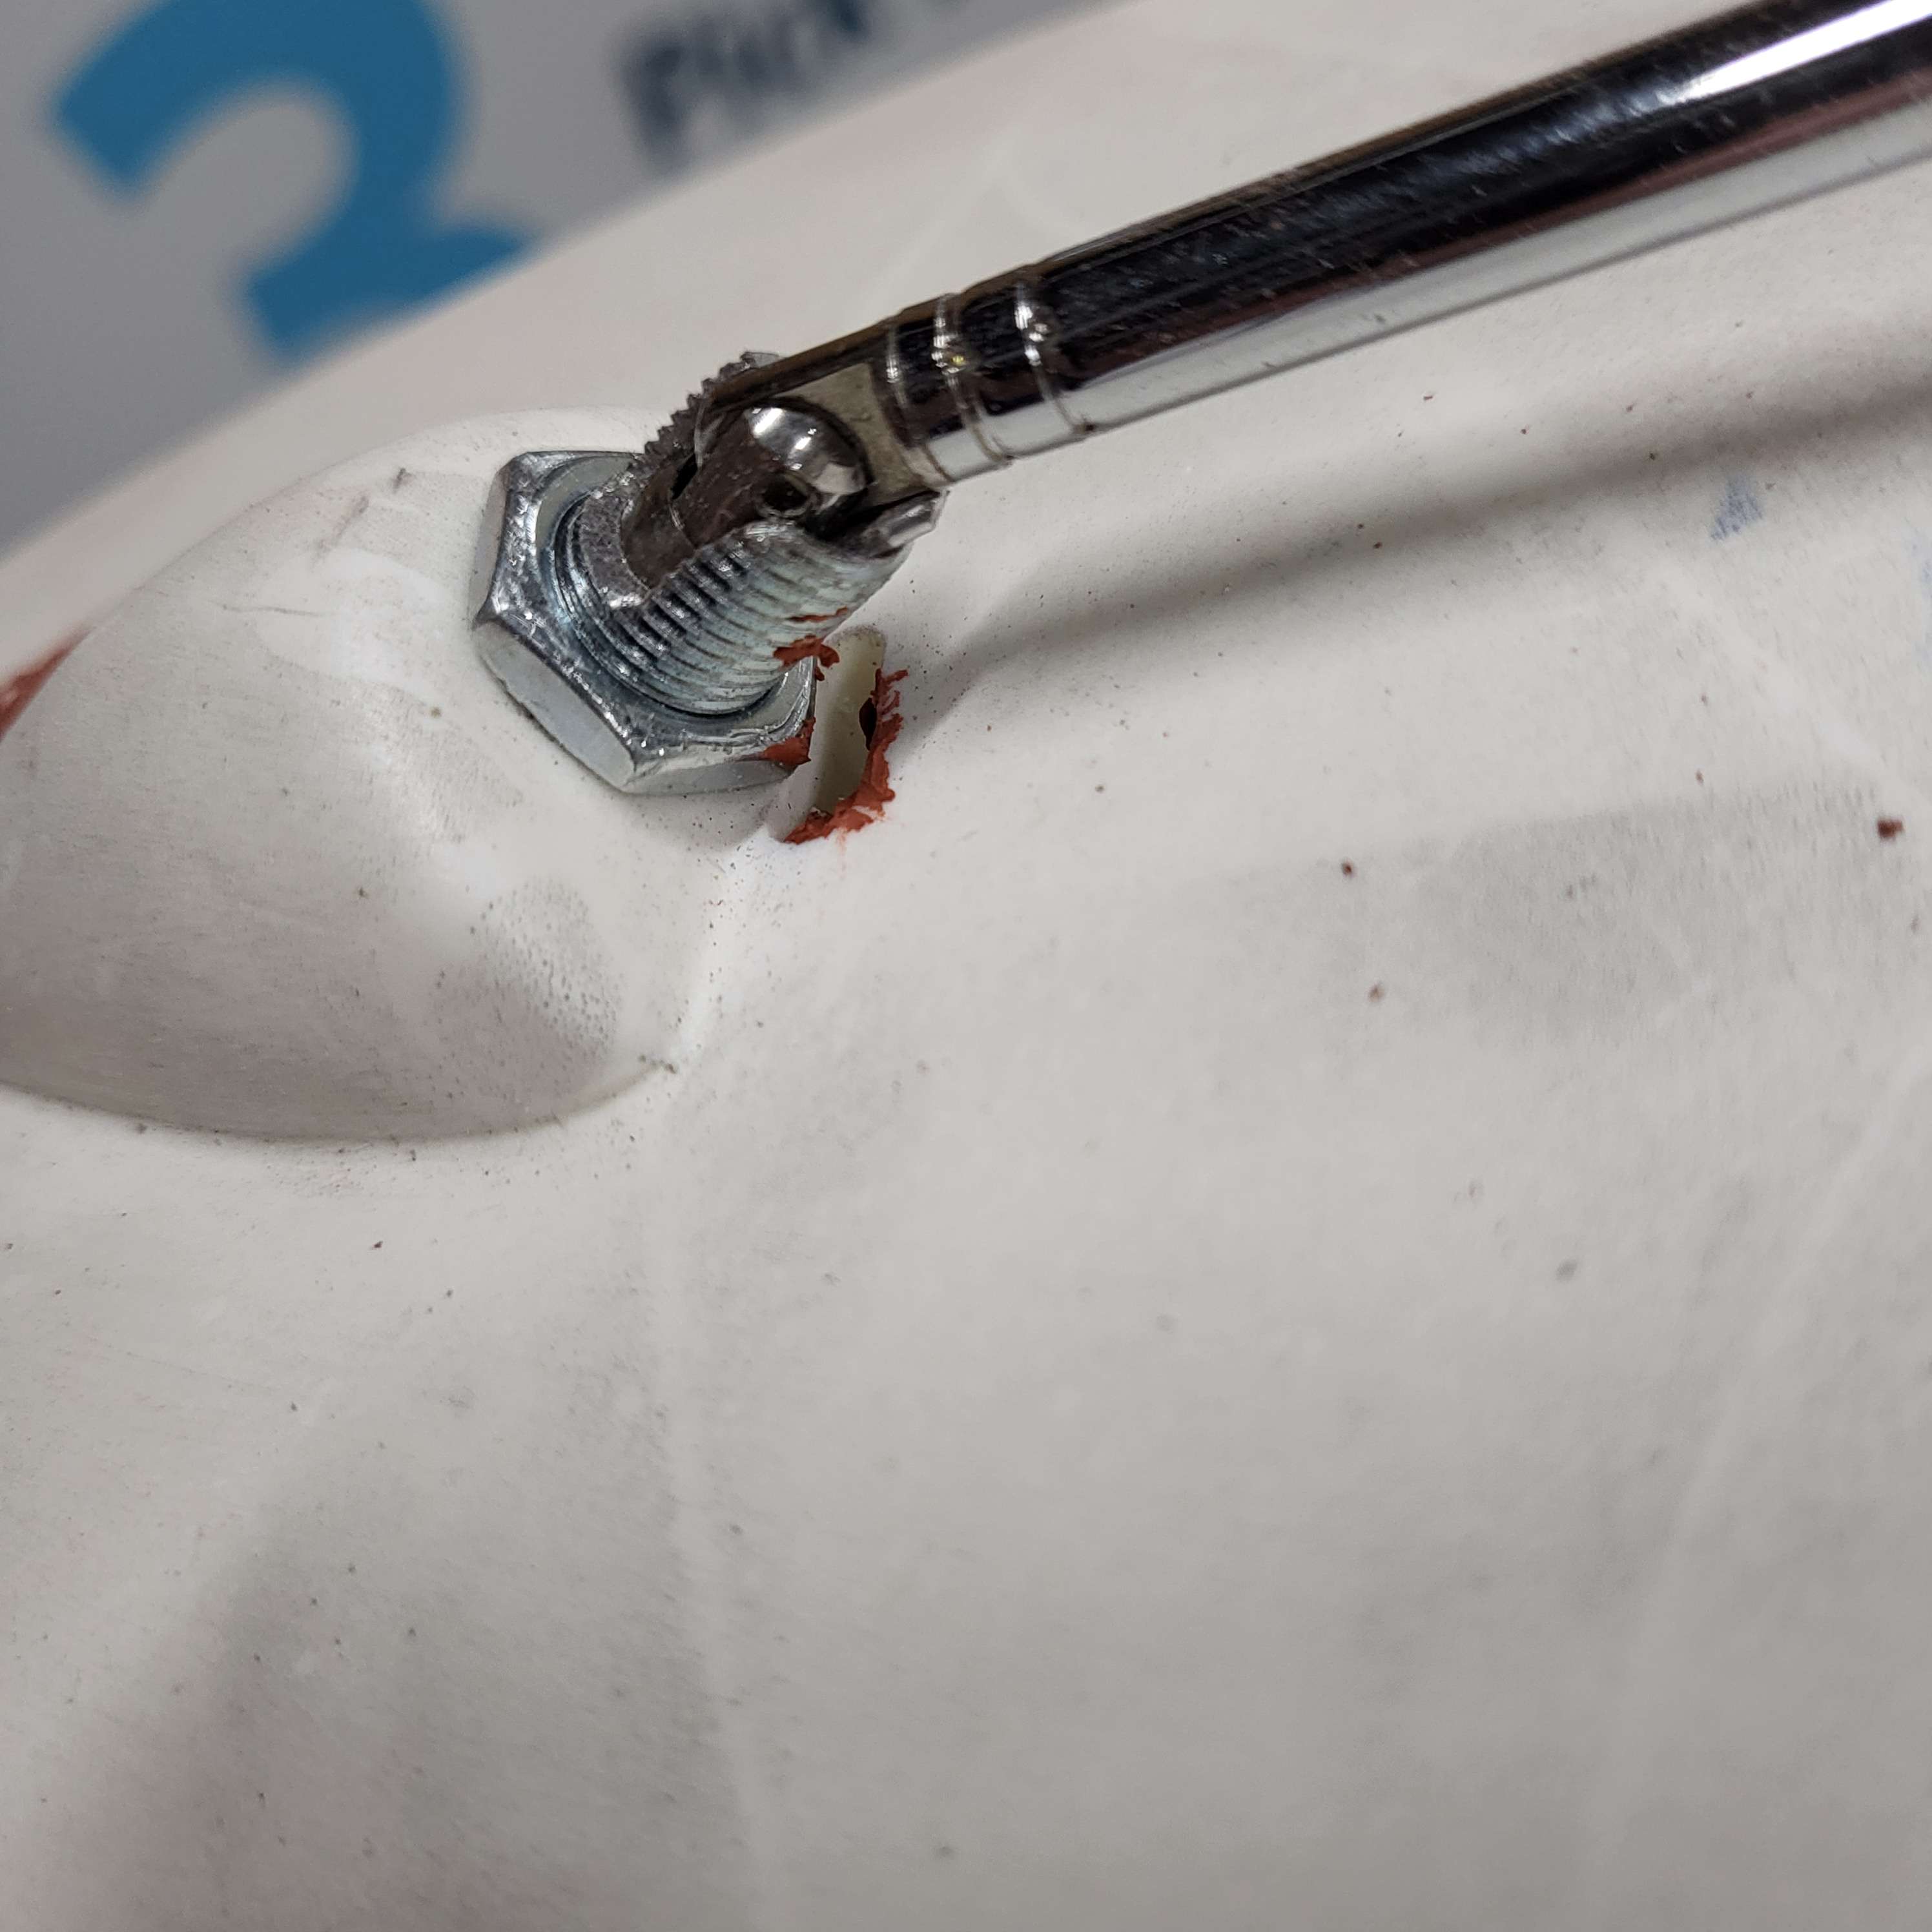
After that, I had to start thinking about the rivets to mount the straps. I wanted the straps removable, so I ground down some small carriage bolts to get a similar effect.
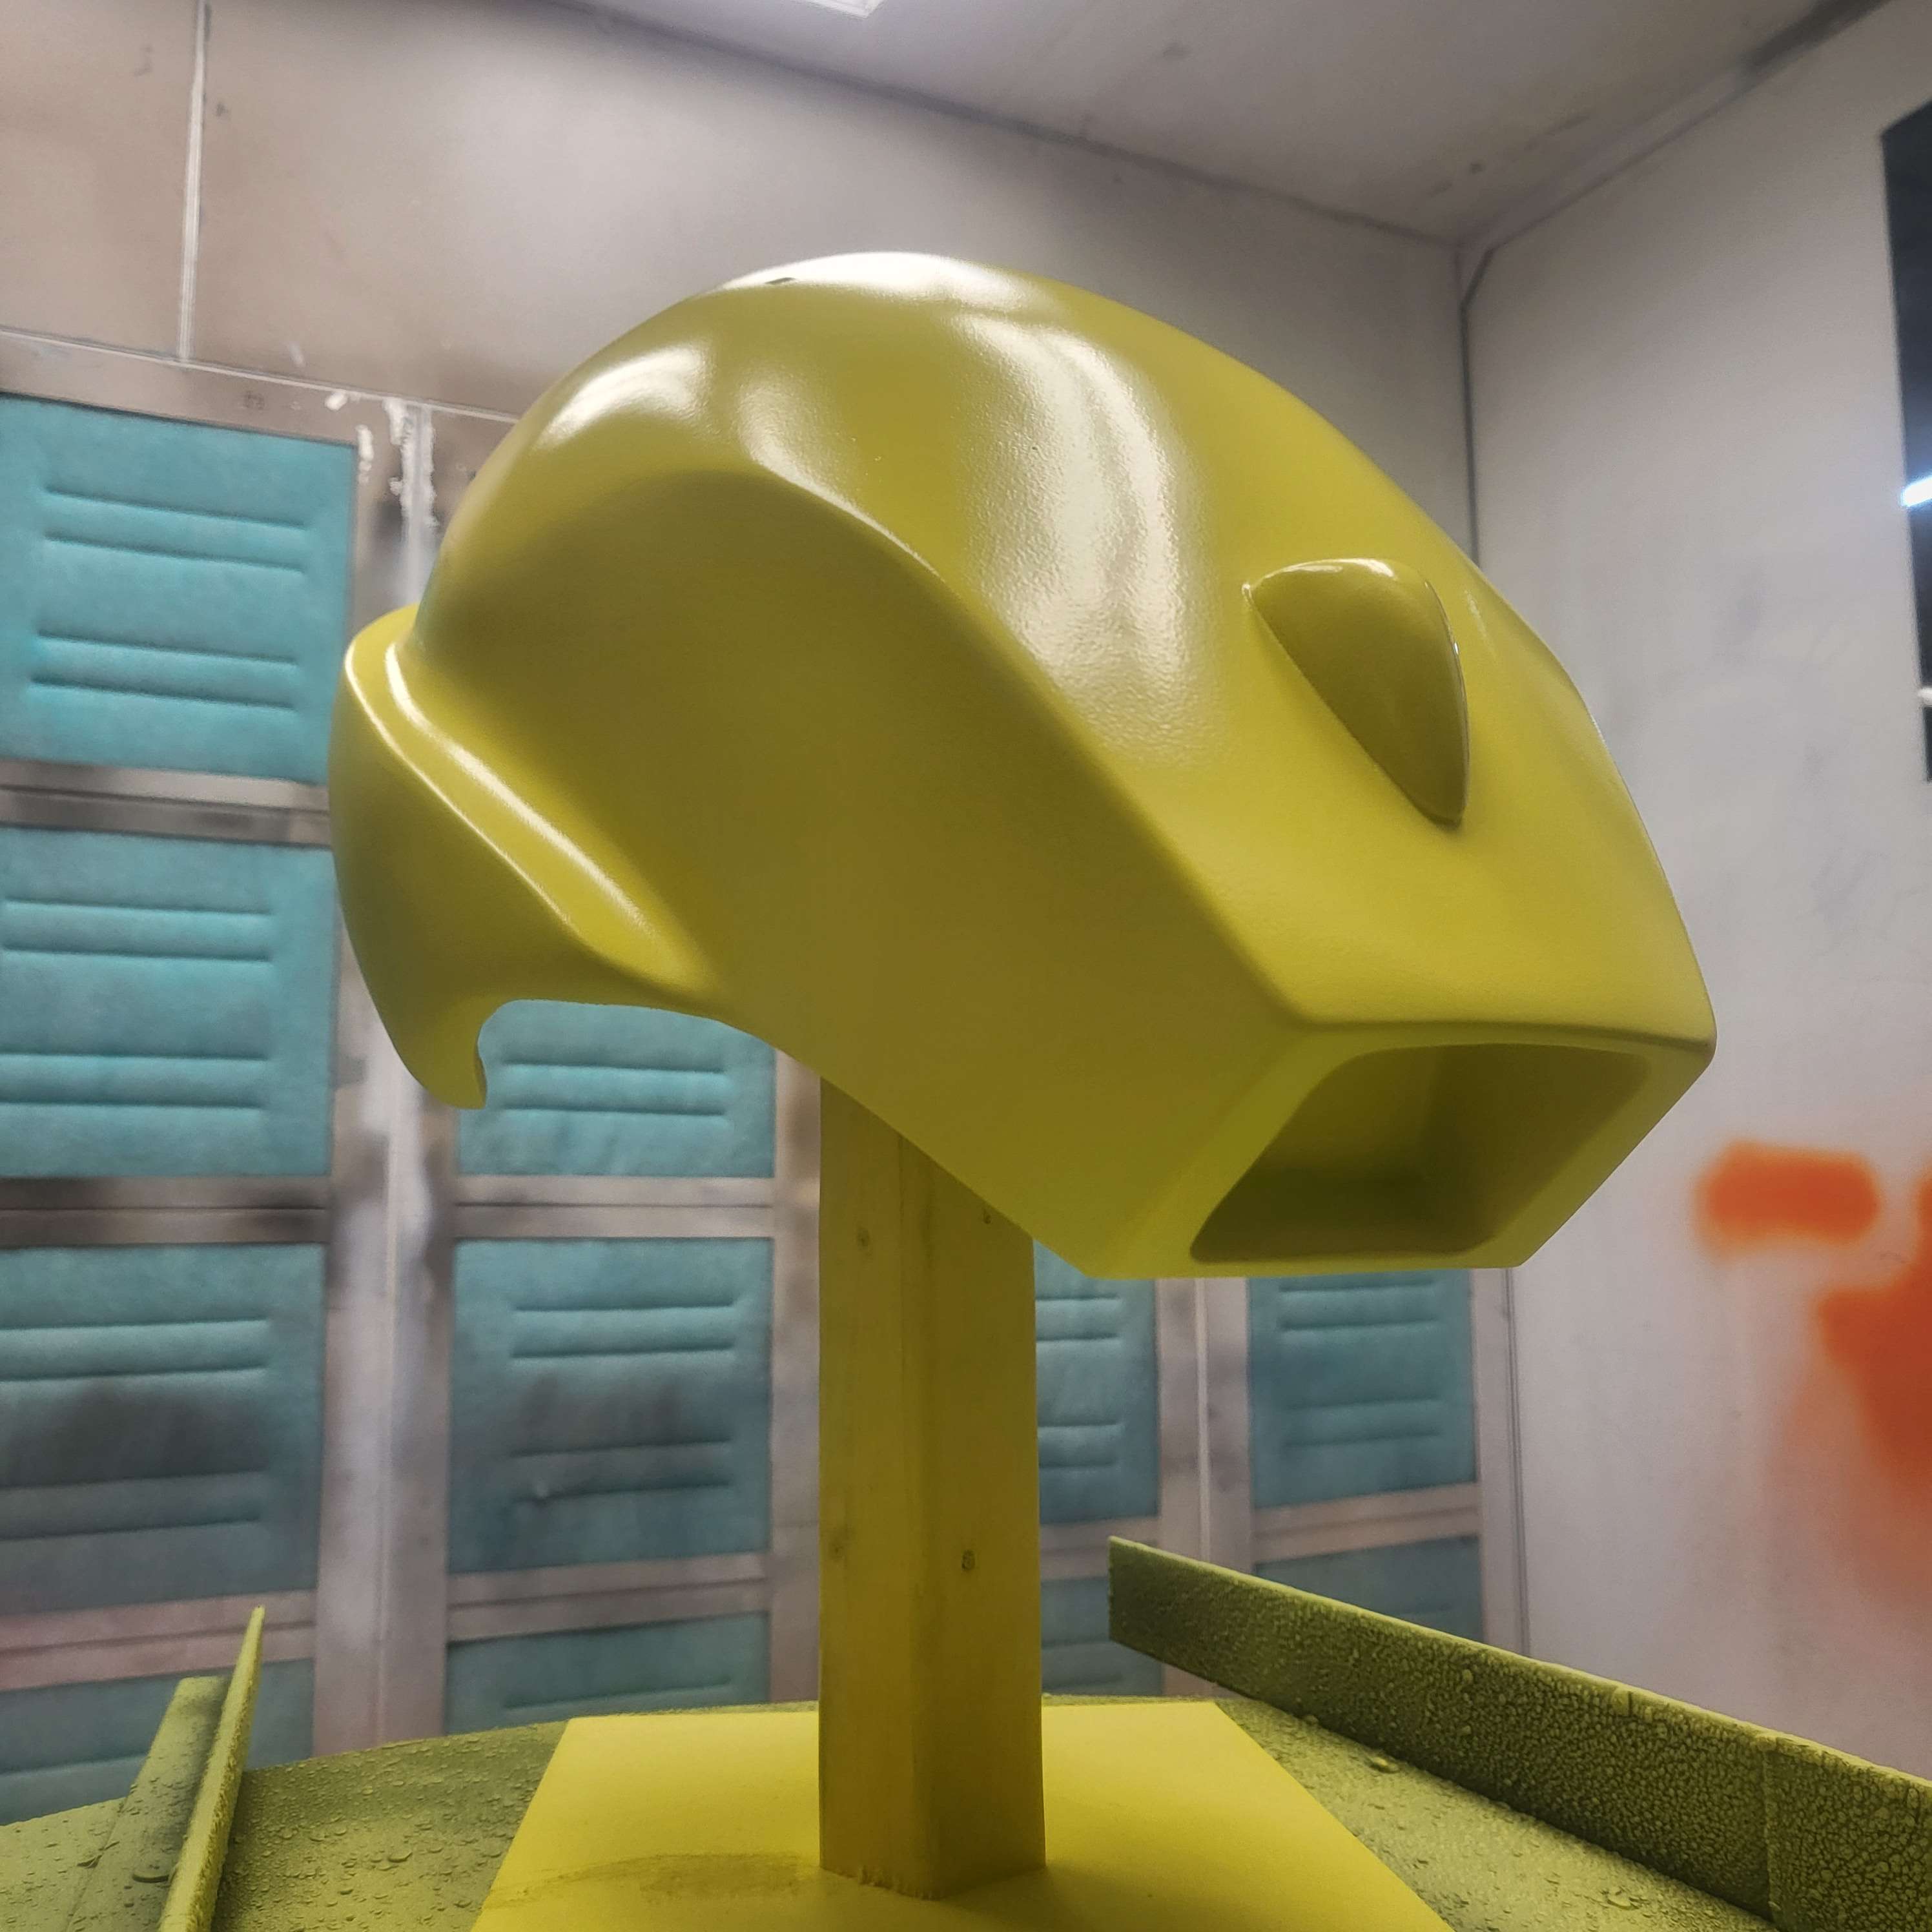
I then got my co-worker to paint the helmet, after picking a Pantone color based on the DIsneyland pics.
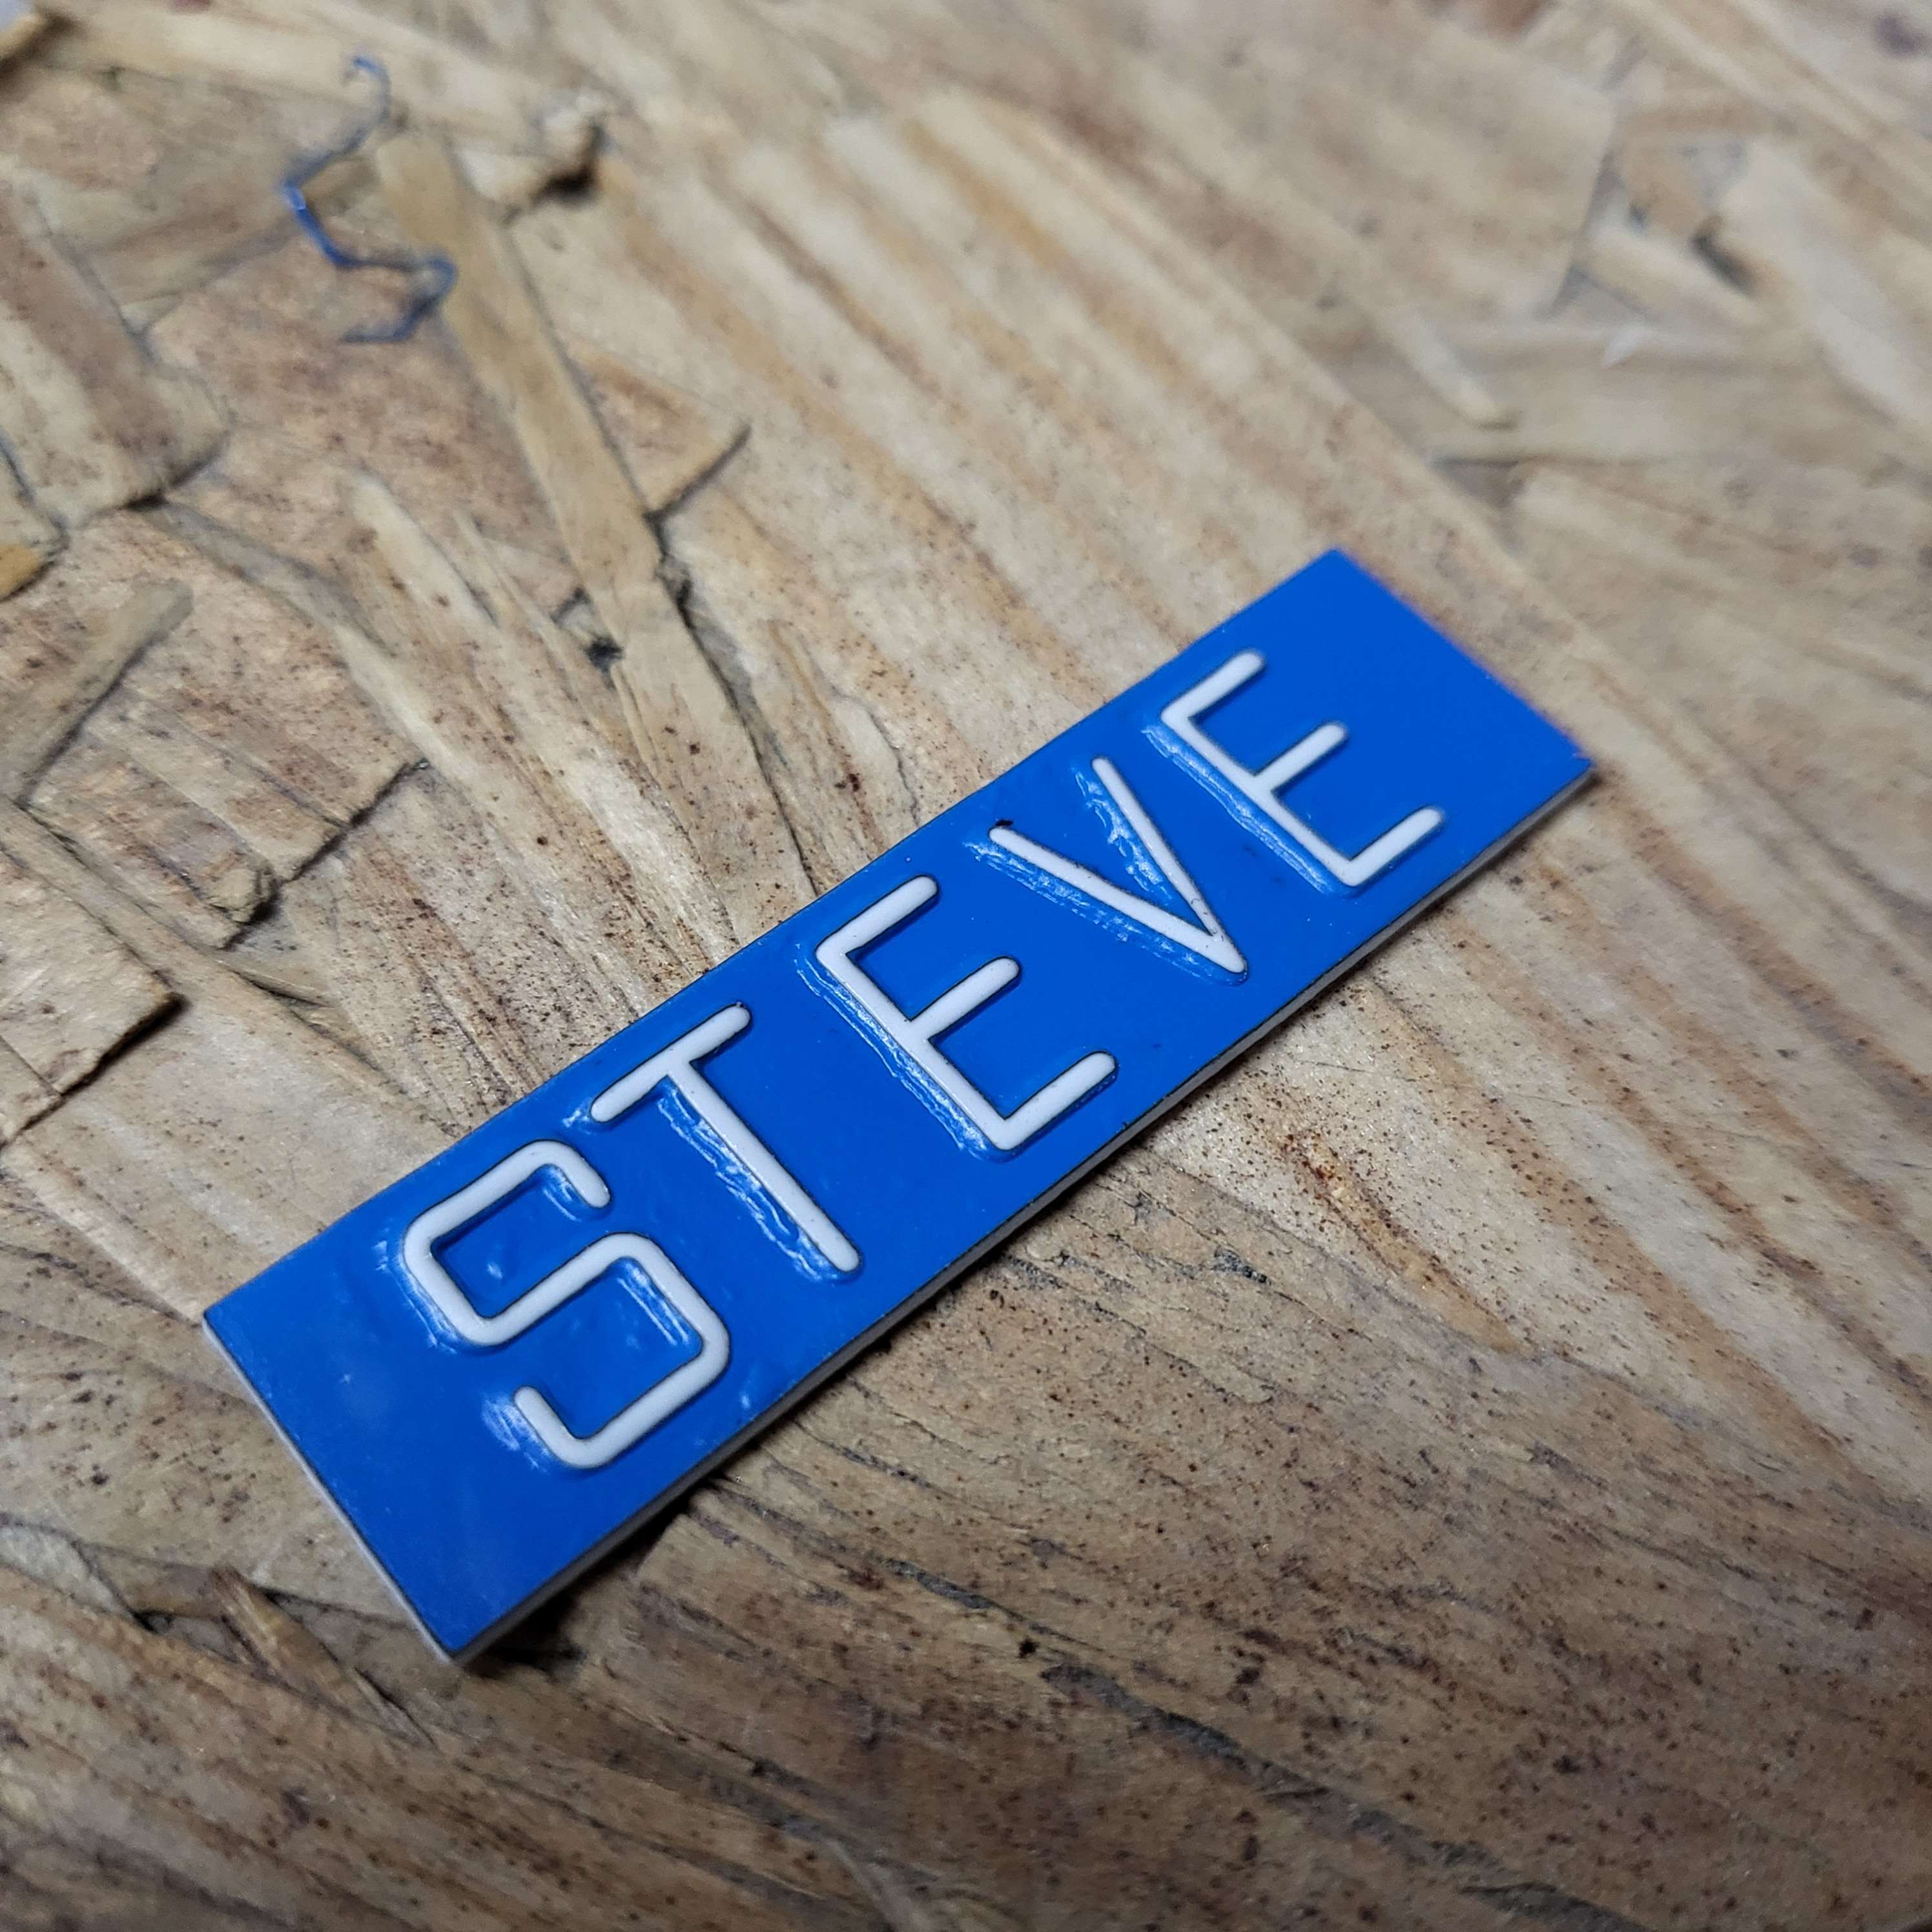
We’re almost ready to wrap it up, but first, here’s a faux label-maker label I made for the STEVE nametag on the side of the helmet. This was made from styrene and heat formed into shape with some laser engraved dies.
Here’s everything roughly assembled.
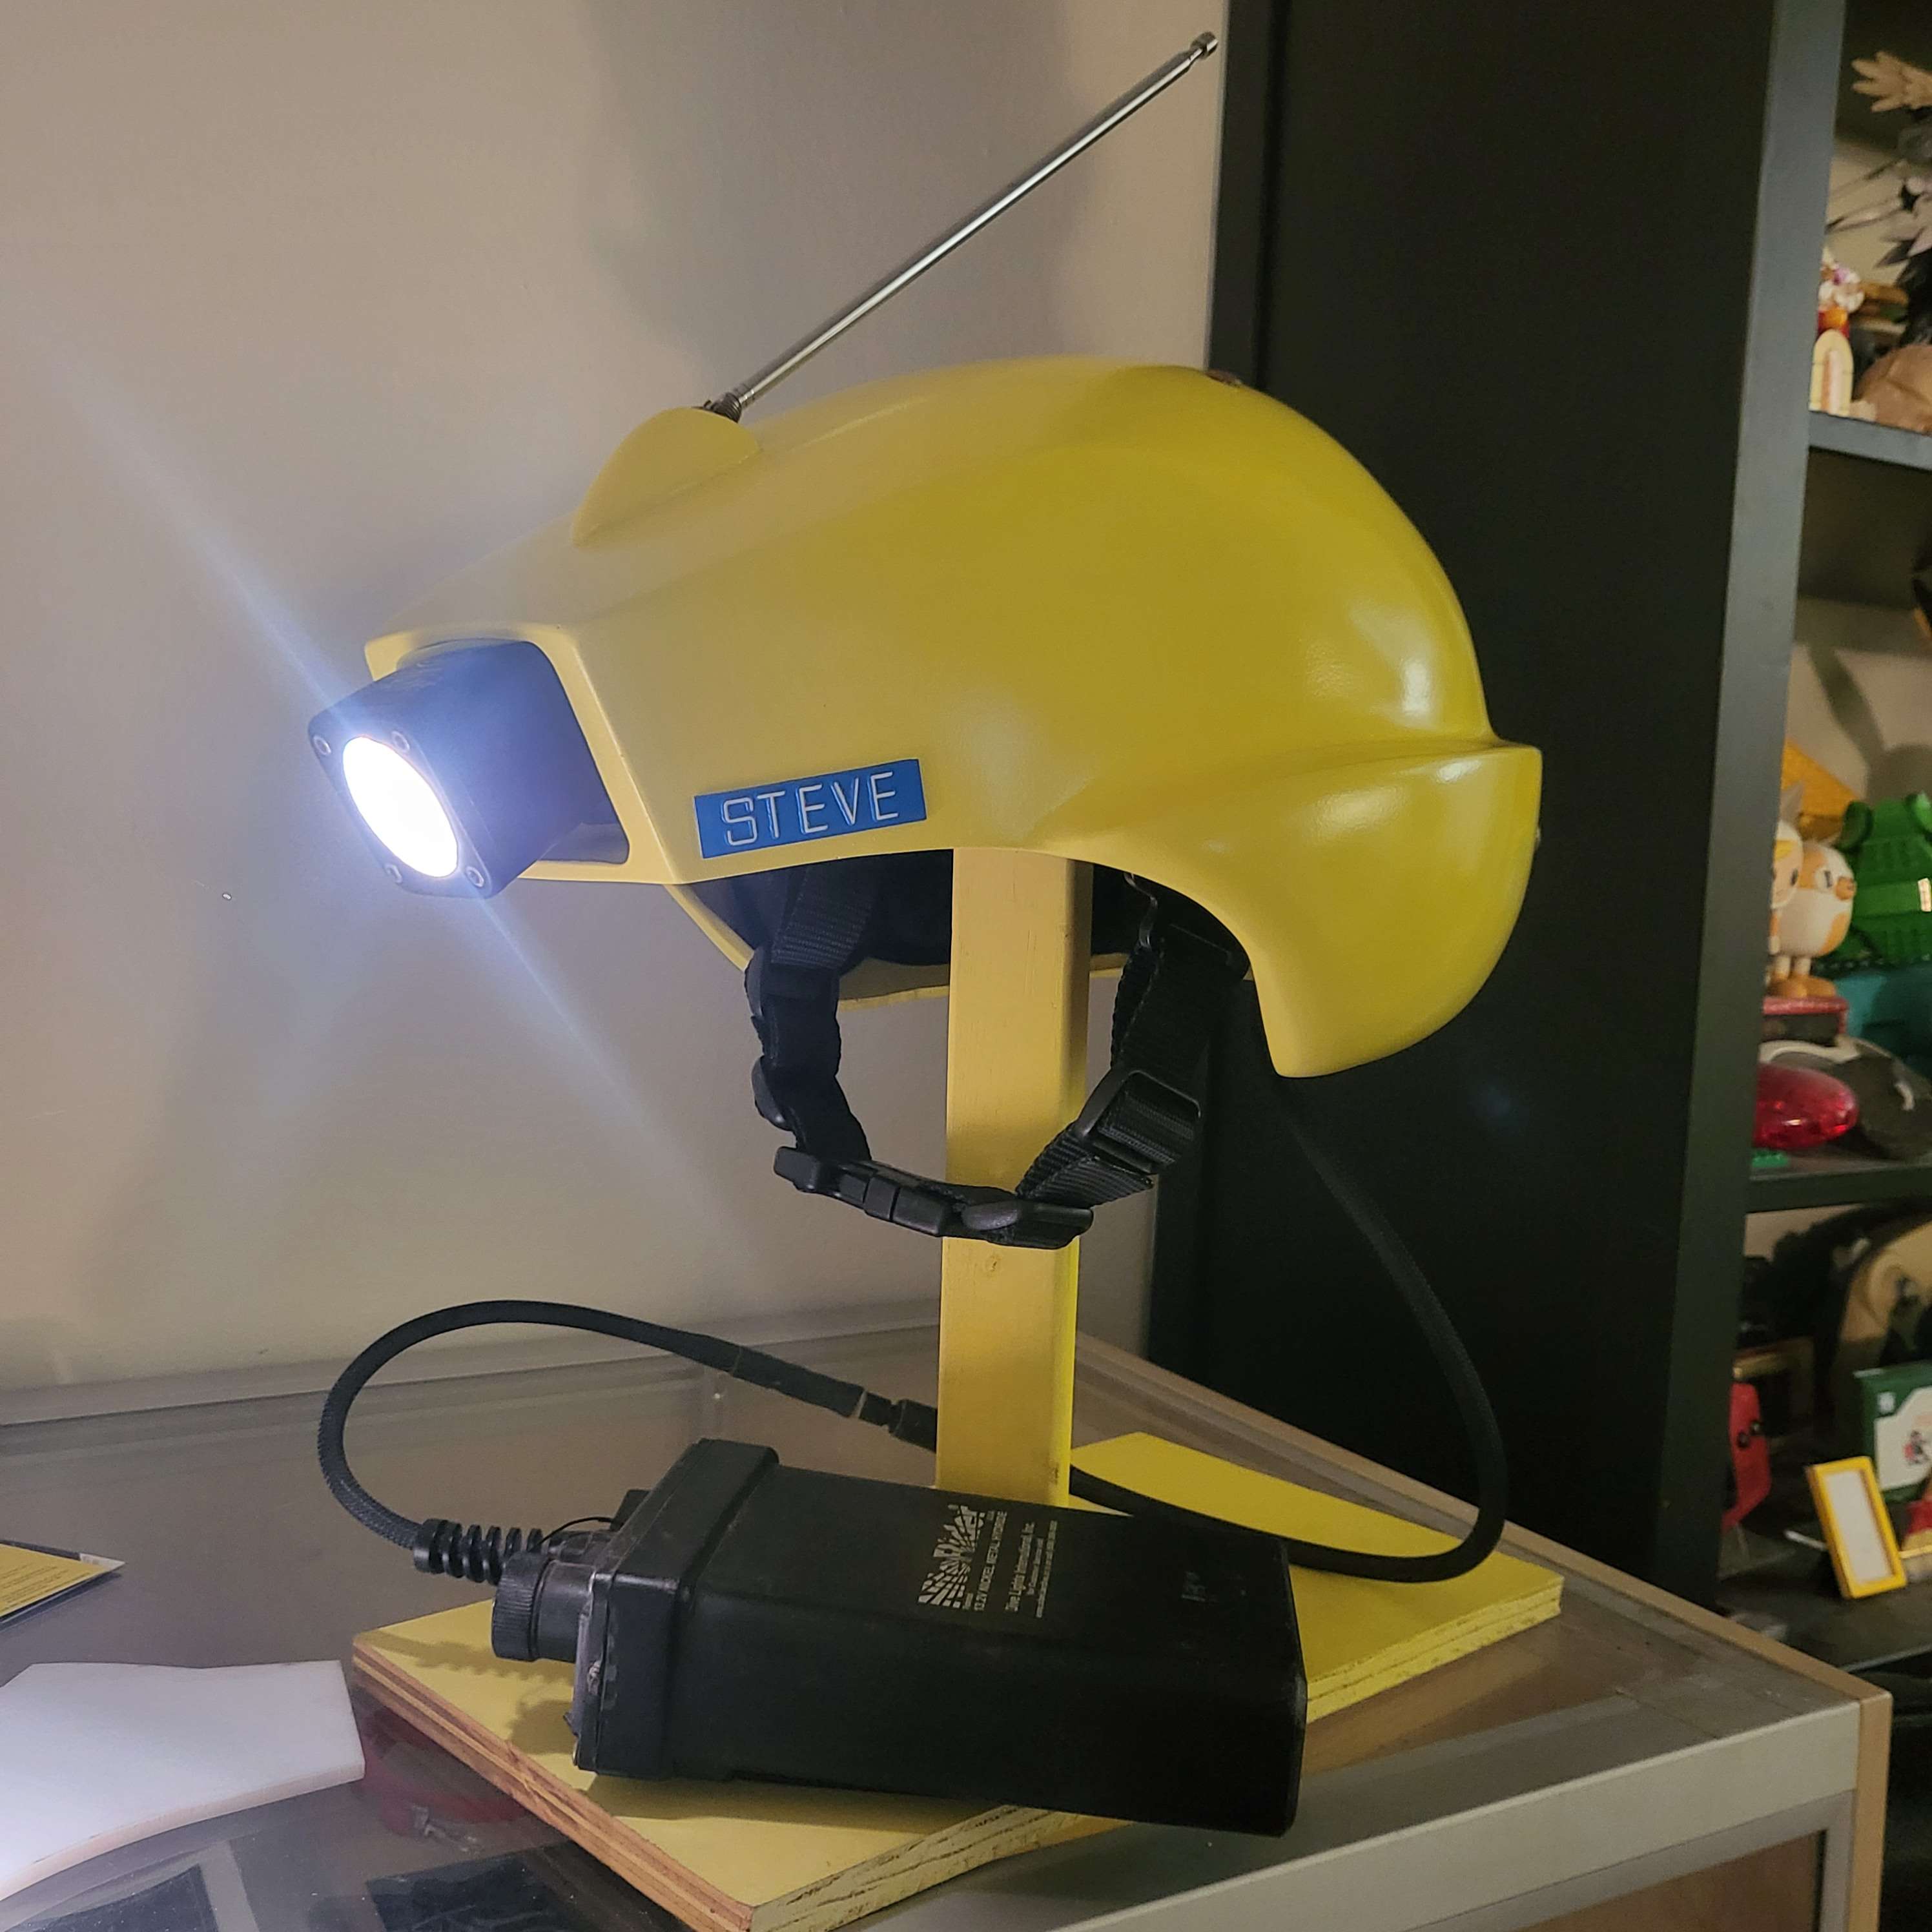
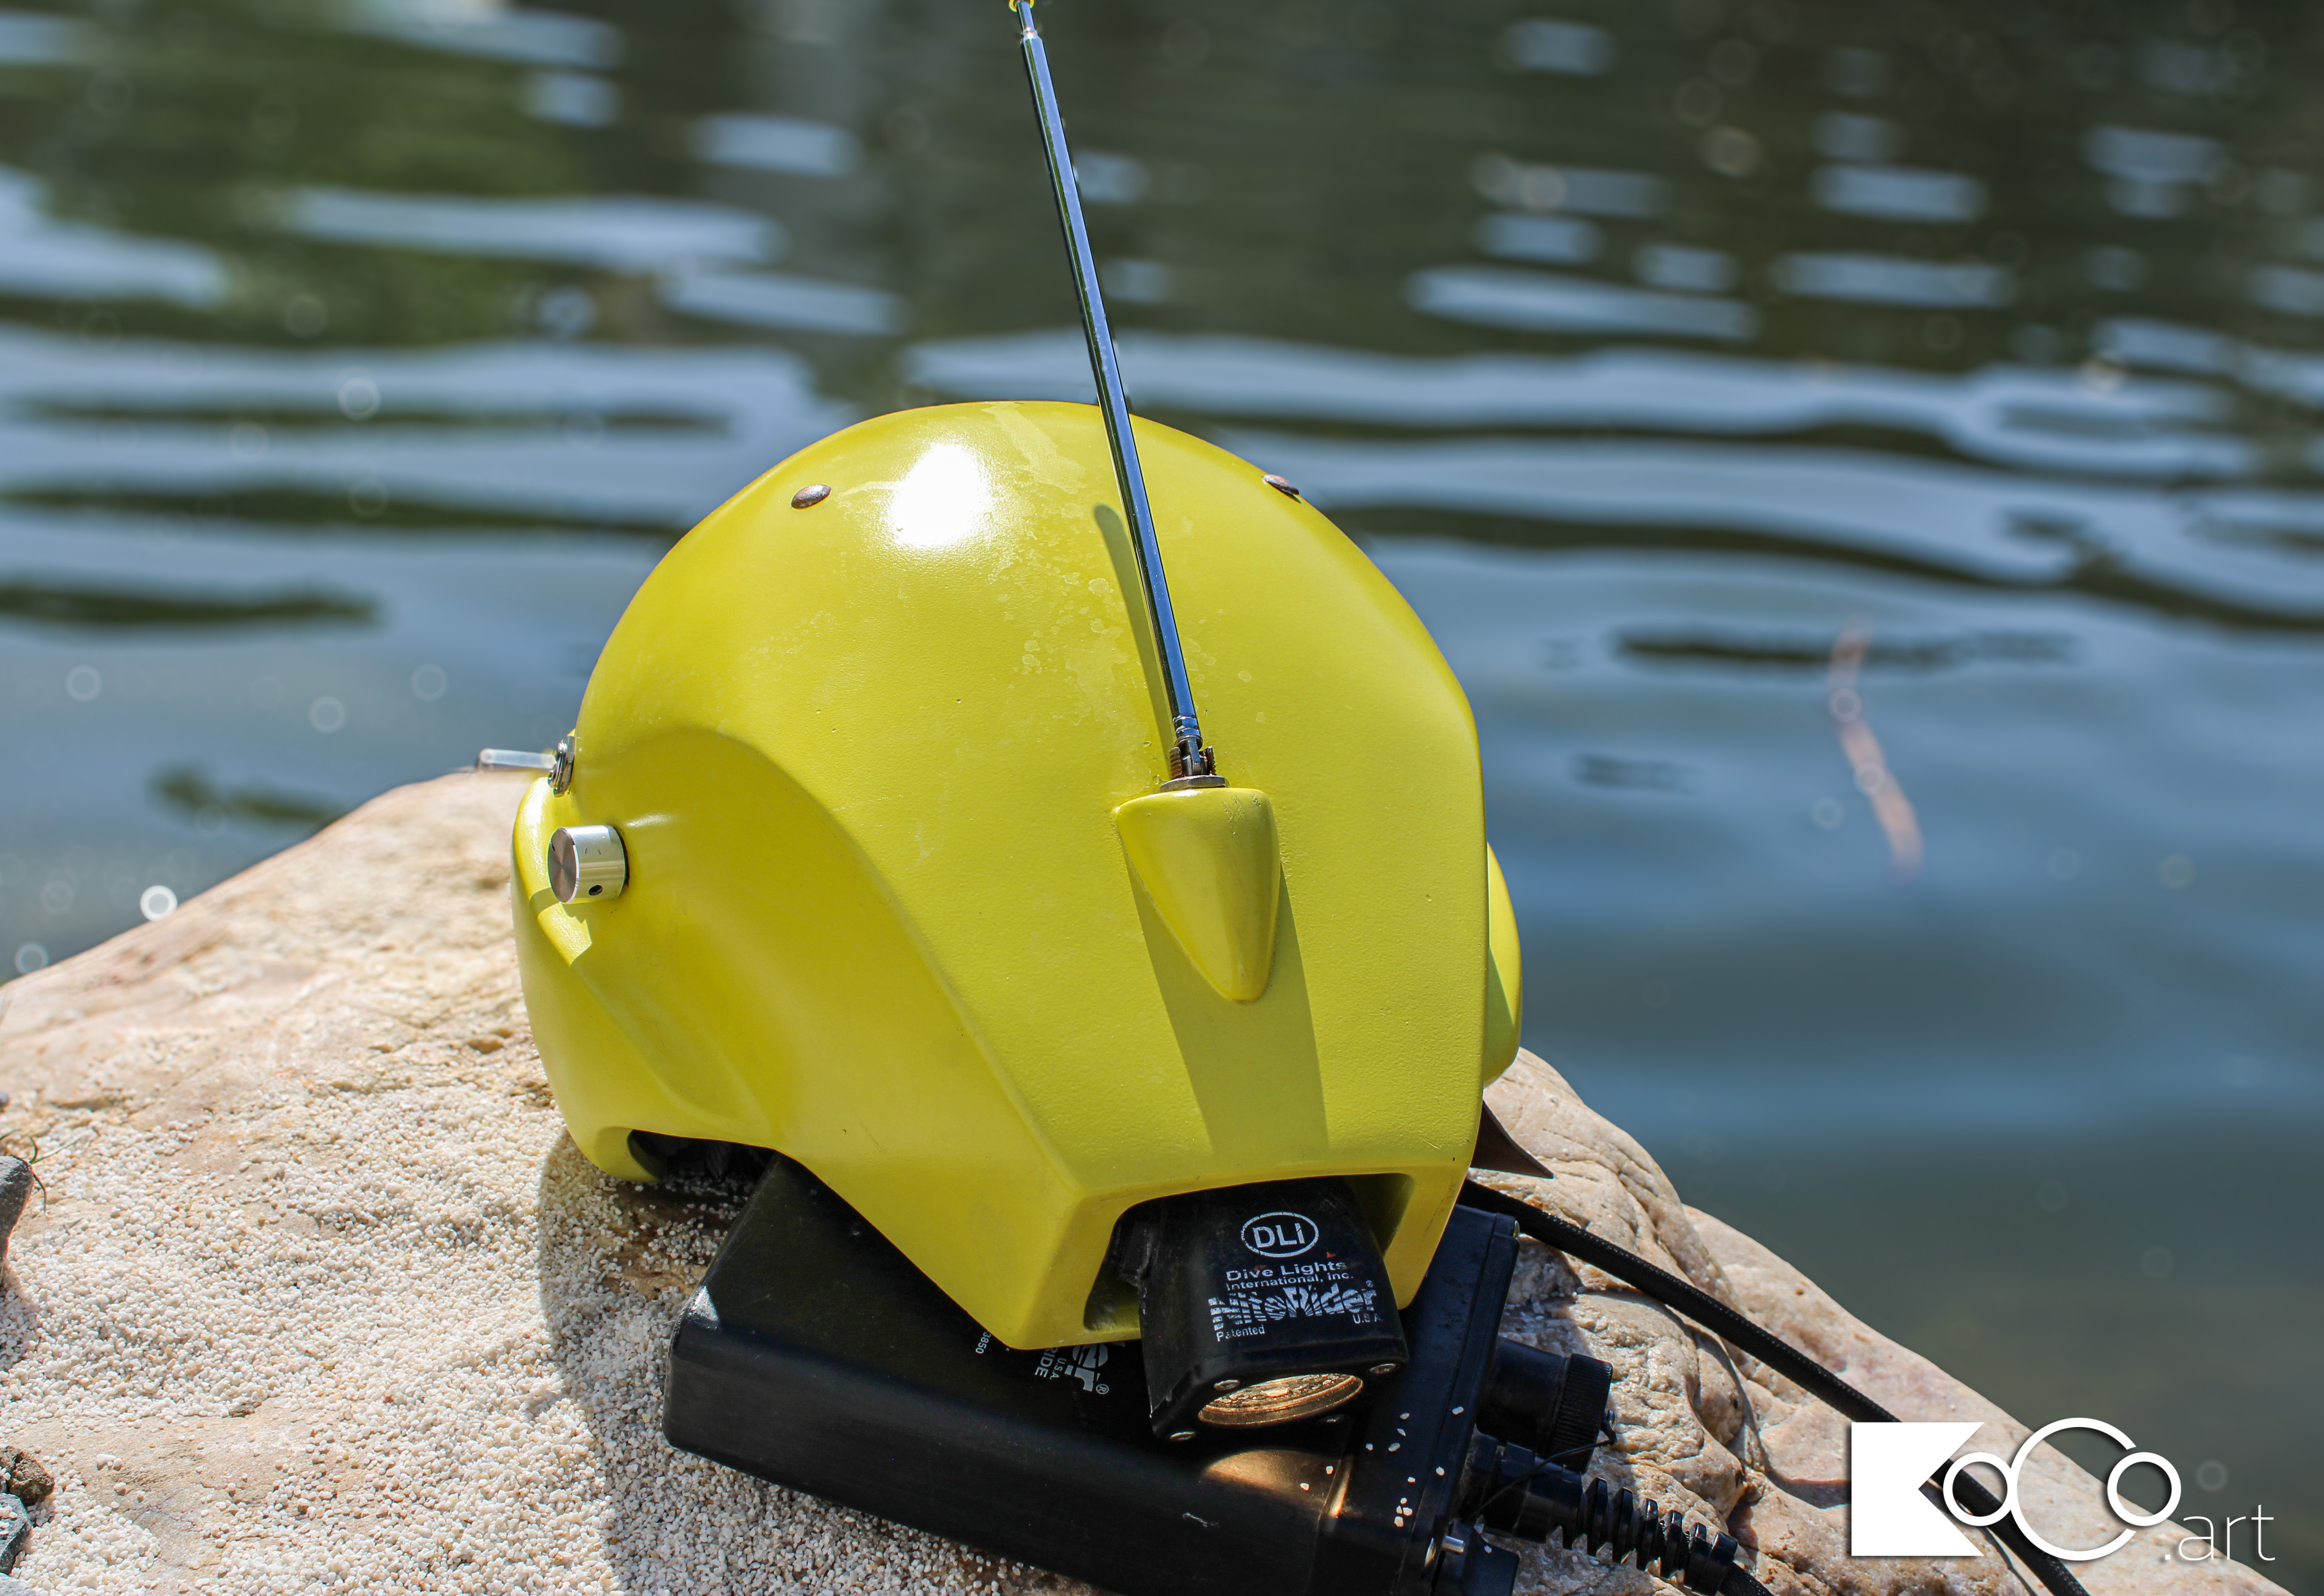
And here’s everything after weathering and final assembly. I did light weathering. Just a little grease here and there, and some mild hard water stains with some baking soda. I tried to make the rivets as rusty as the Disneyland helmet.

As a bonus, the power switch and volume knob on the side work. They control an MP3 player that plays the Seu Jorge “Life Aquatic” album, so I can walk around a con listening to calming music. I had a friend help me record the album digitally off of my vinyl record copy from back in the day. Excuse the post-project clutter in the background.
Leave a Reply