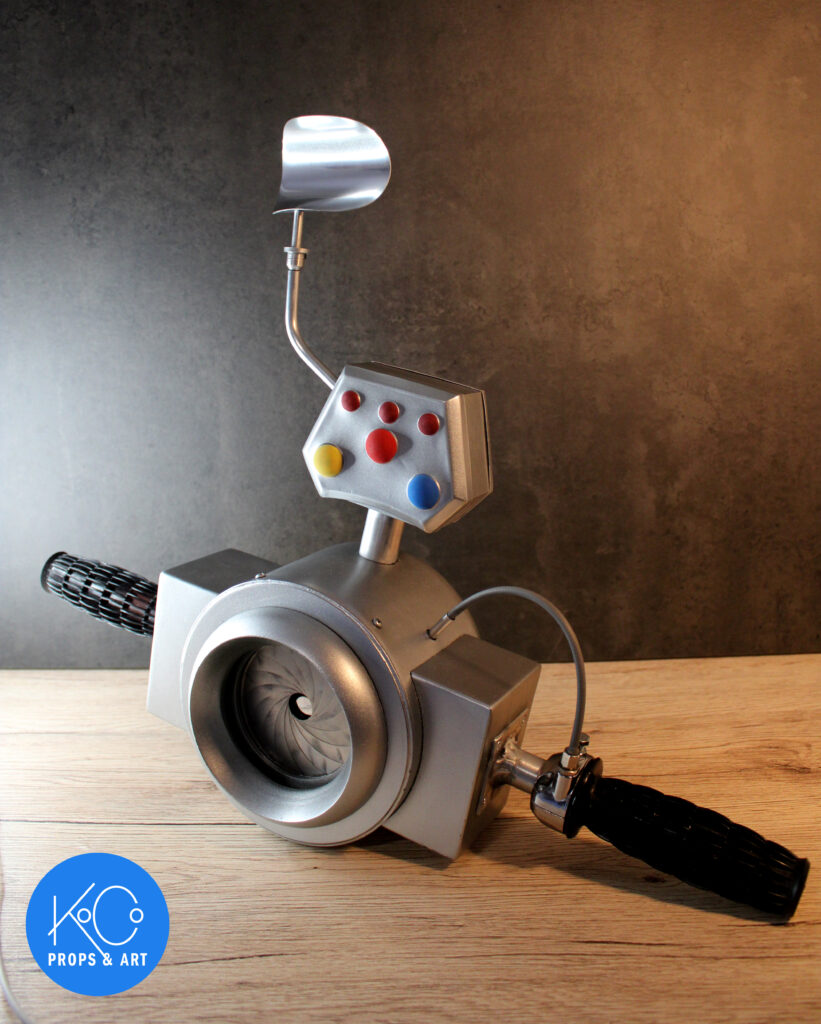
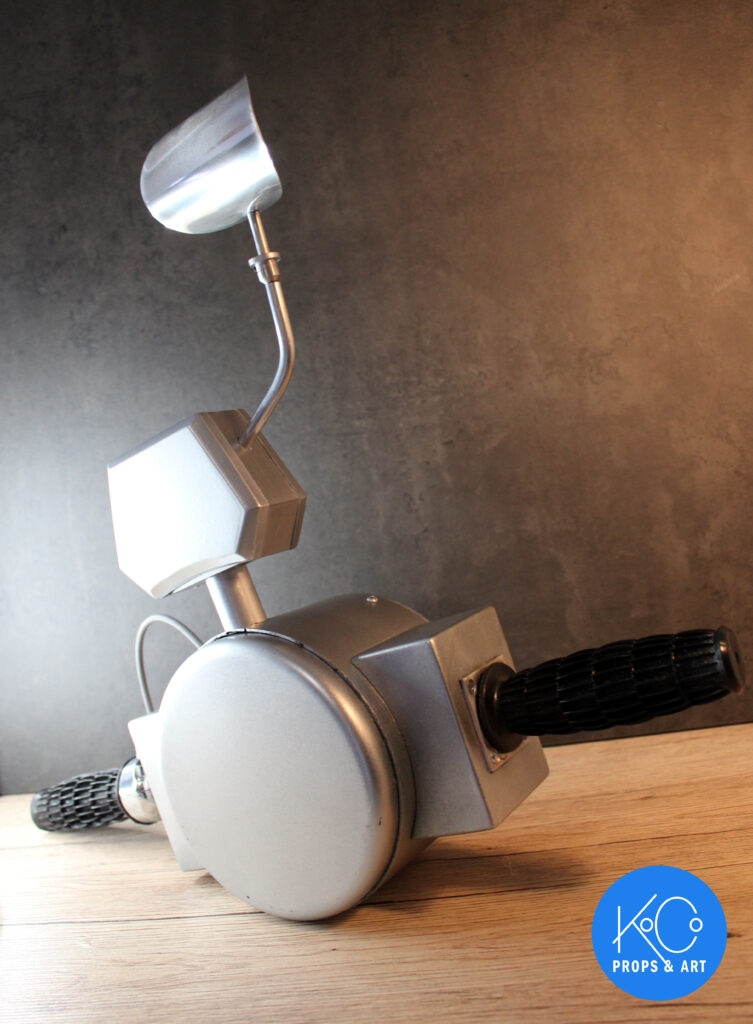
I started blueprinting this project in 2016 or so, and only recently picked it back up in the final days of 2023
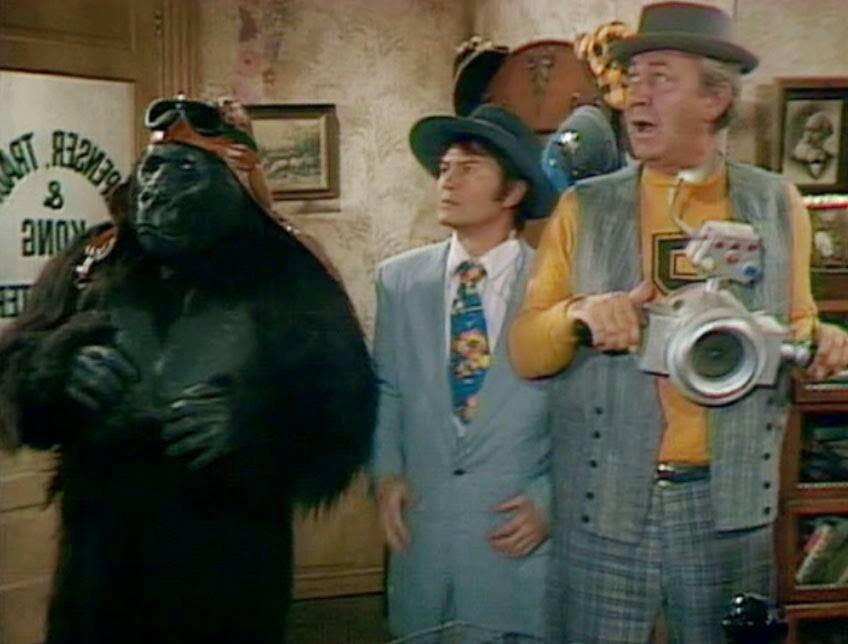
This prop is from an obscure TV show called The Ghost Busters (No relation). In it, the prop is used as a device to zap ghosts back to their dimensions. It’s a hokey show, but I fell in love with it for a time, and have wanted to try my hand making this thing ever since.
Here’s what we’re going for. Note, there are no clear images of it. You have to extrapolate details and scale from many reference photos:
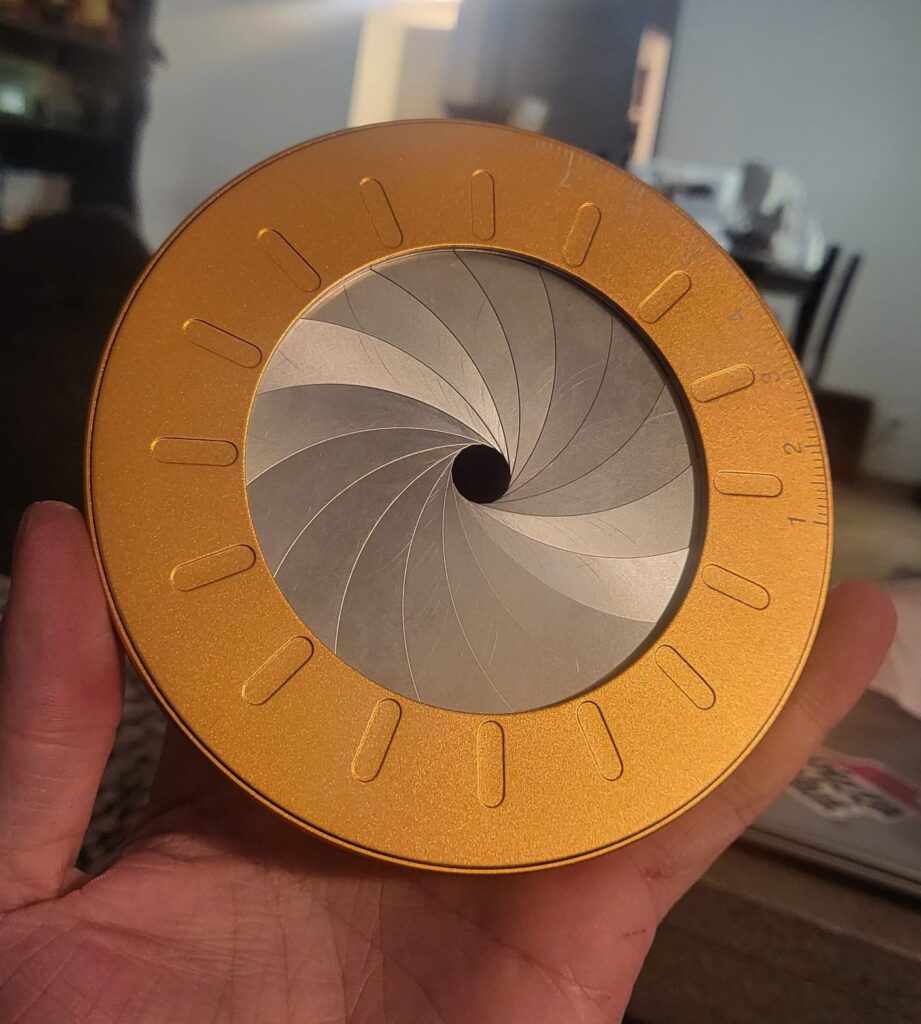
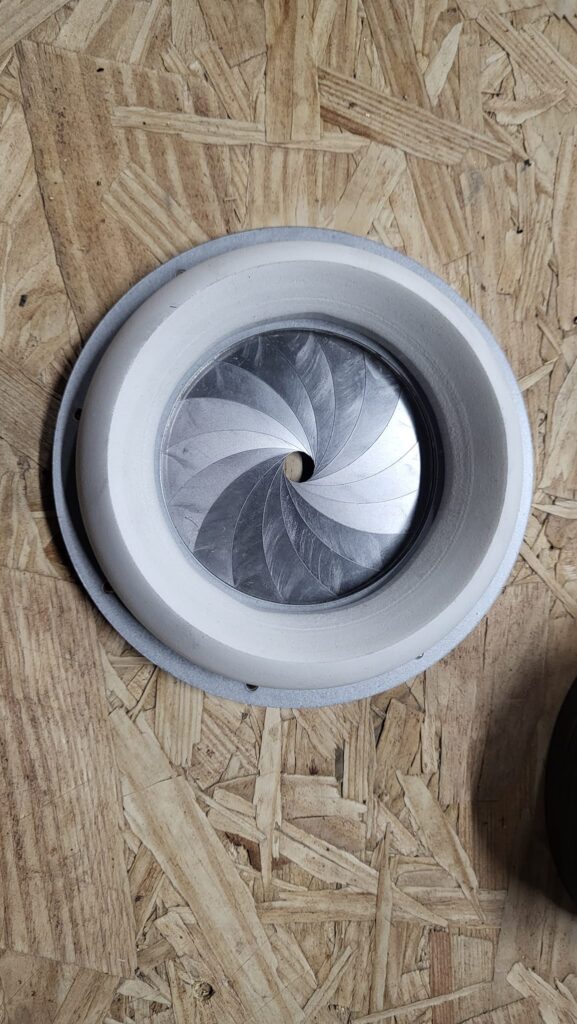
It all started when I saw a drawing compas on Amazon. It would serve as the base aperture that opens in the center of the device. By my count, this aperture has something like two more segments than what is accurate, but it’s plenty close for what I wanted.
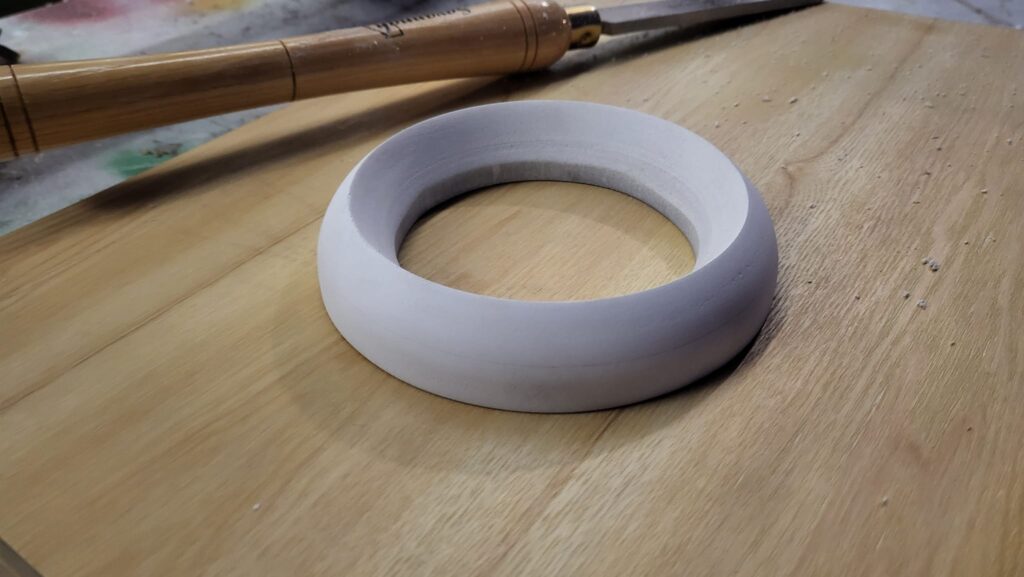
Next, I used my wood lathe to turn some PVC down to an accurate iris bezel. Round on the outside, flat on the inside.
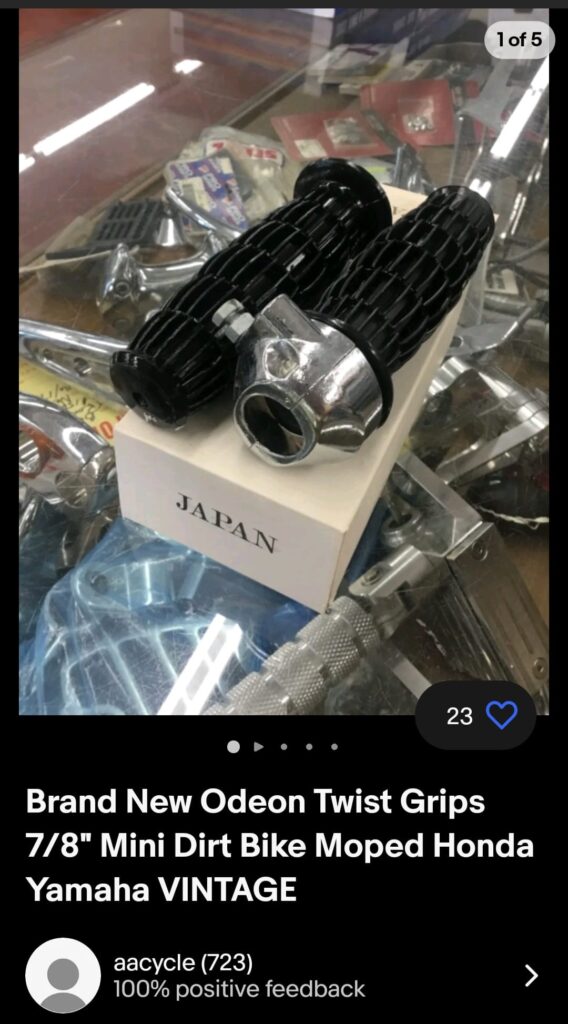
I was able to ID some accurate handles, which is what will inform the scale of the build going forward.
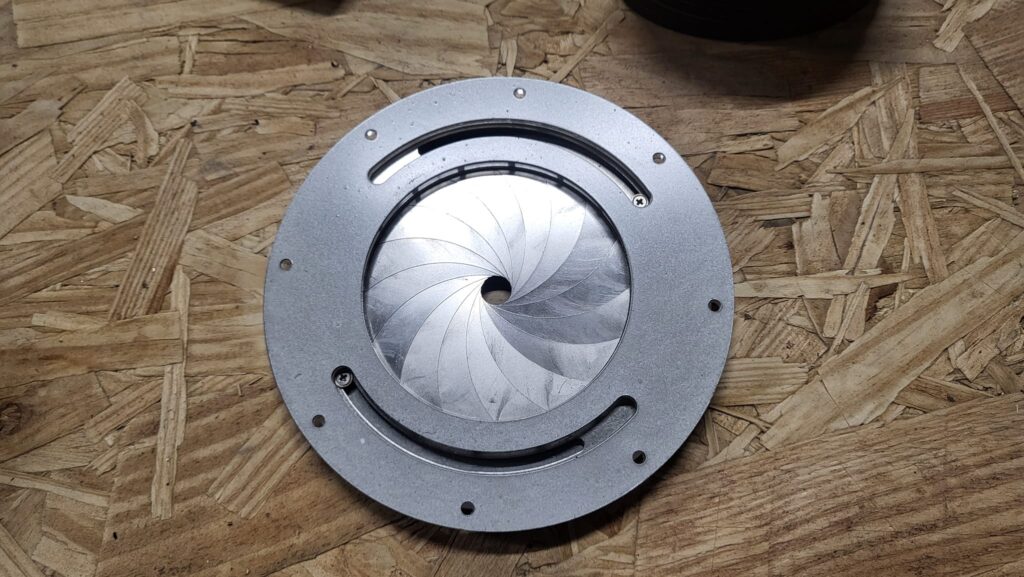
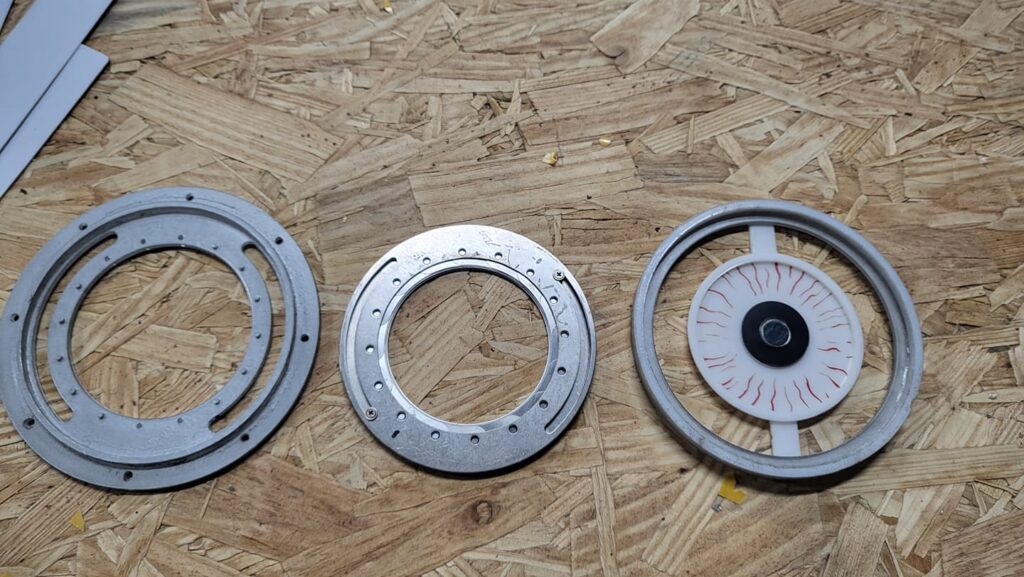
Next, I stripped the iris down and made a laser cut holder for it. This allows me some additional mounting holes to attach more of the opening mechanism later.
The mechanism is going to be difficult for me to explain, and even more difficult for you to follow, so bear with me. For now, know that if you twist the front and back of the iris, it opens, and this lets us grip the front separate from the back, so the back can spin and the front can remain stationary.
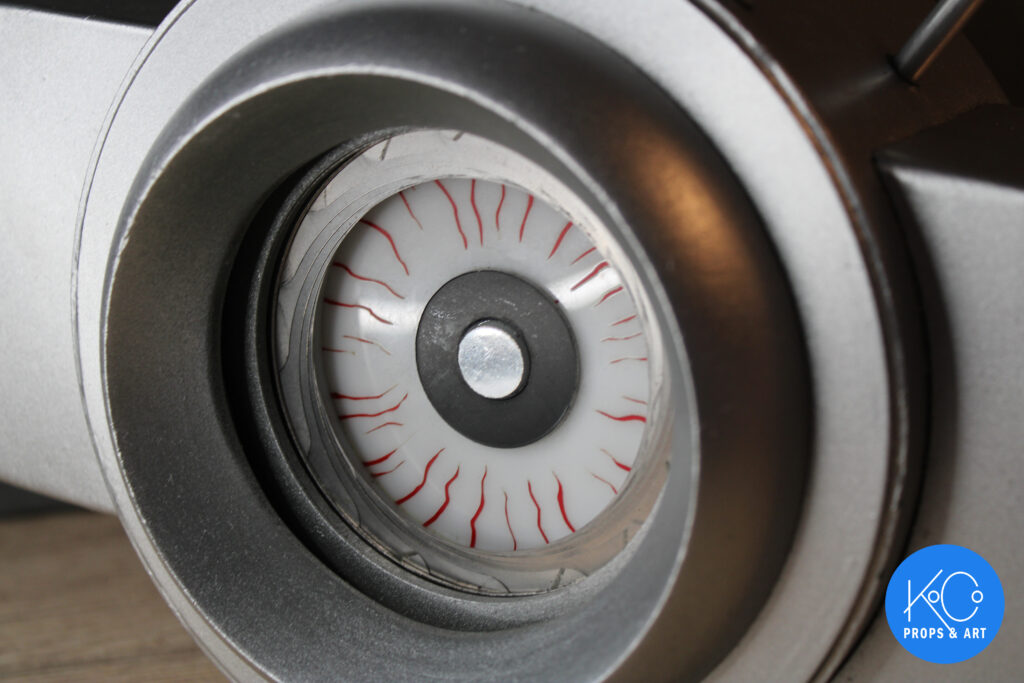
In the show, once the iris opens, an eyeball can be seen, and crappy 70’s sci-fi effects are overlaid onto it. I needed the eye to remain stationary while the iris twisted, so I mounted it to the front holder. The iris is sandwiched in between the front holder and the back eye, and the back of the iris can still turn freely.
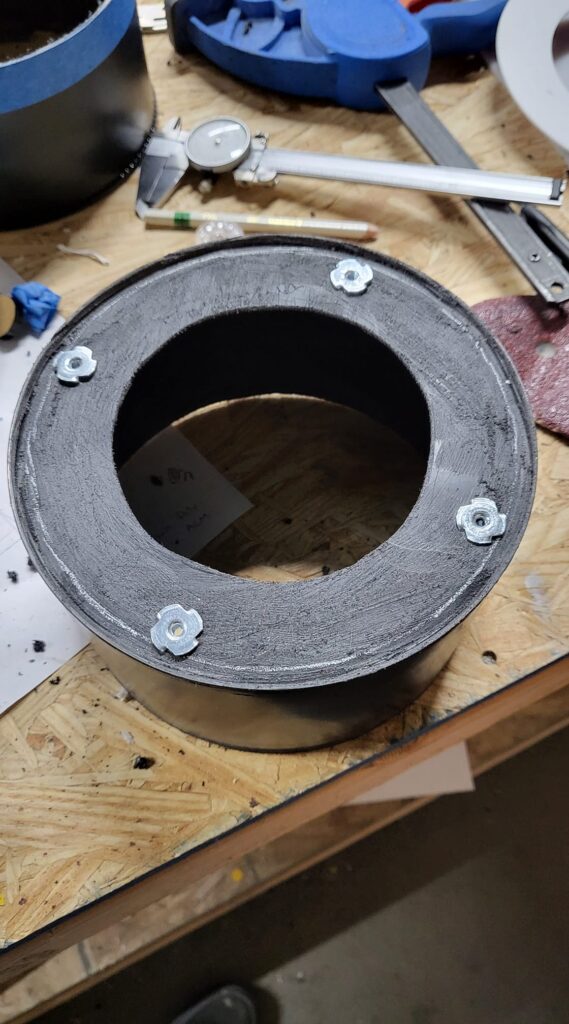
The main body of the device is made from a plastic paint can. I cut a hole for the iris to show through and embedded some T-nuts to thread the front holder onto.
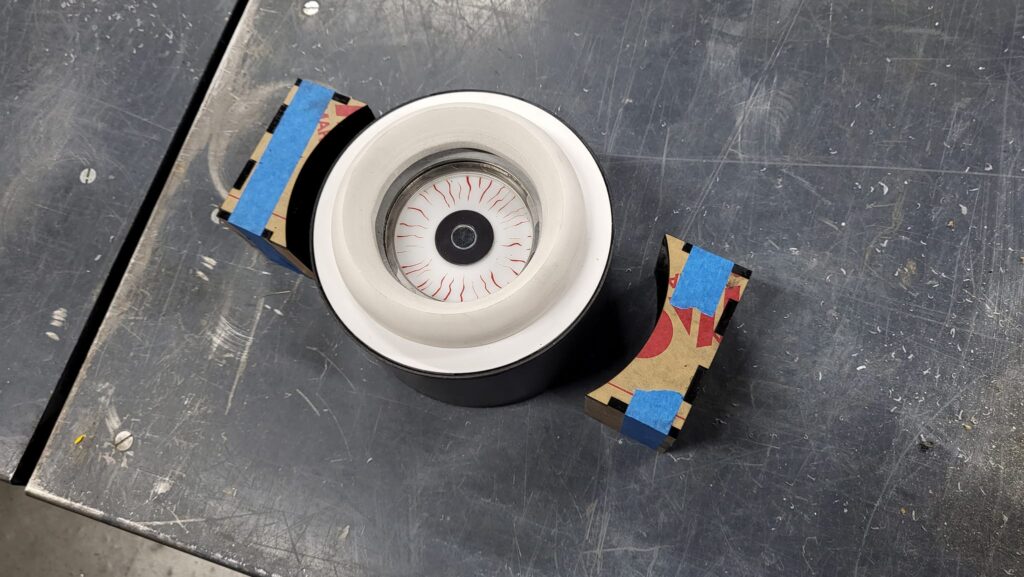
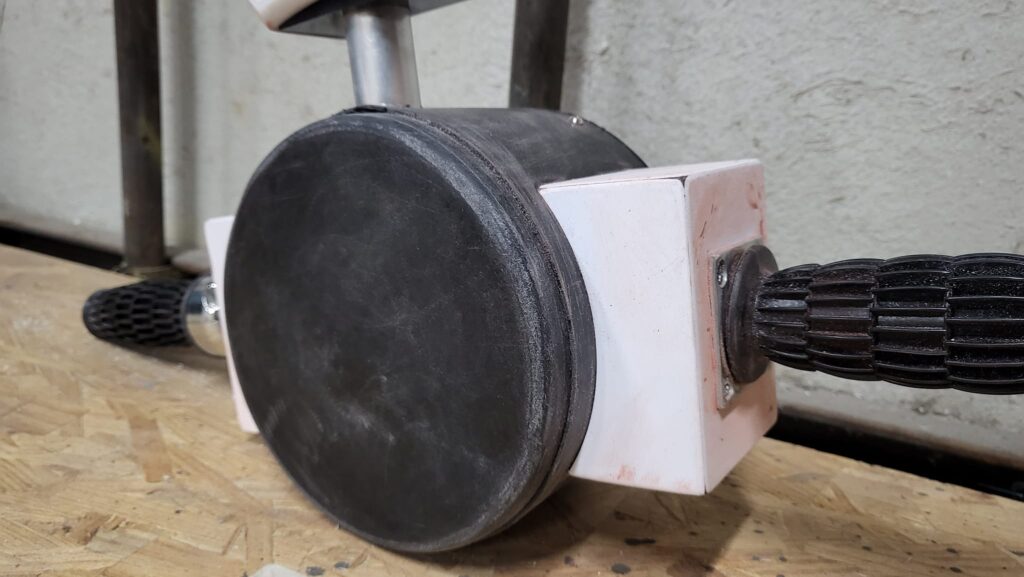
With that out of the way, I attached the iris, covered up the front of the paint can with some styrene, and laser cut the side boxes from acrylic.
Once the side boxes were made, I welded up some aluminum handles. Yes, I know how to weld, no, I don’t know how to weld very well. I don’t have any sort of formal training in it, but these handles feel more than solid enough.
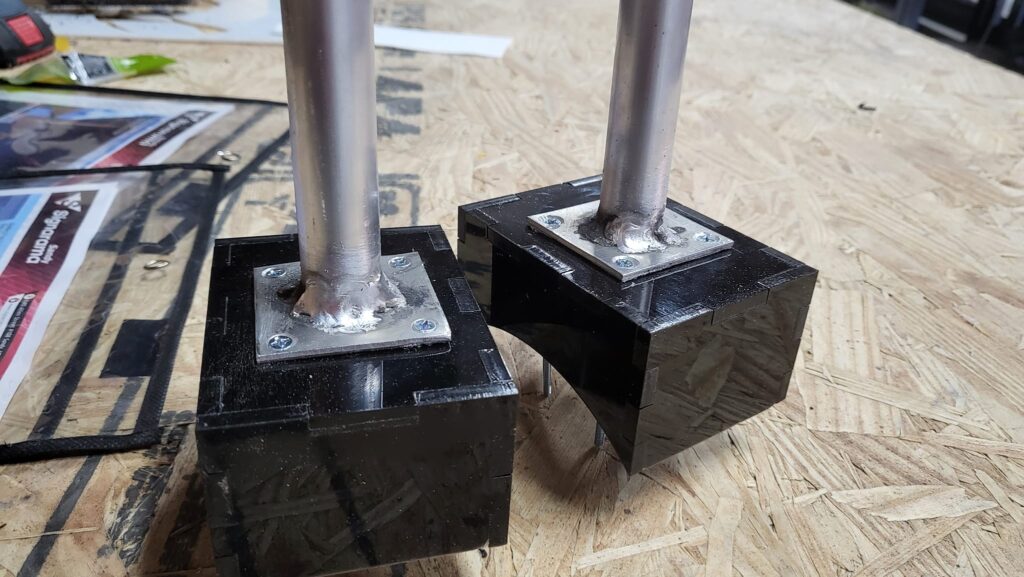
I bolted the side boxes through the main body, and it’s finally looking like something.
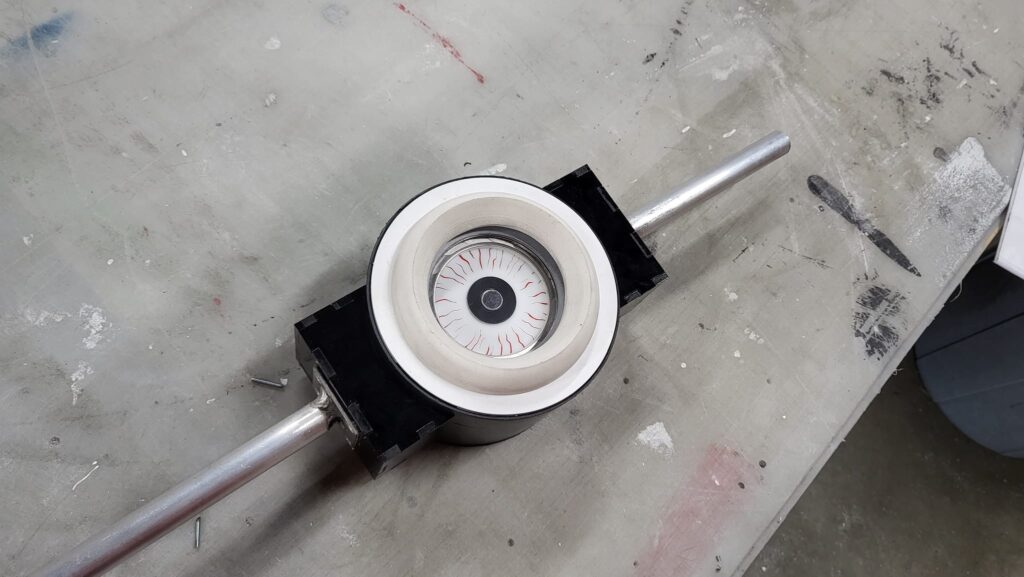
Next up, I attached my handles, attached a vertical tube to the top of the device, and threw together the top radar box.
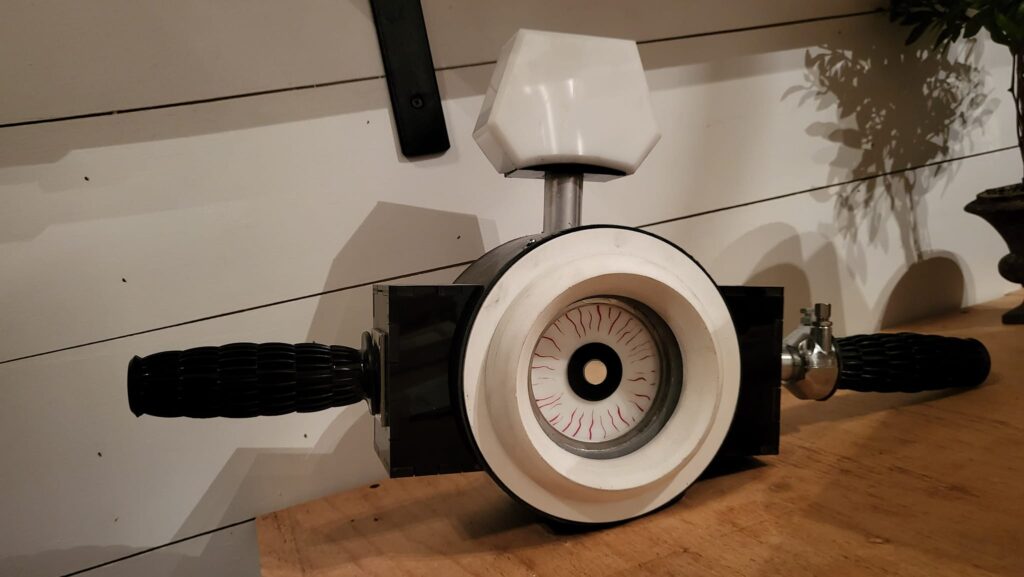
I decided to skin the side boxes with styrene instead of filling and sanding all of the interlocked tabs.
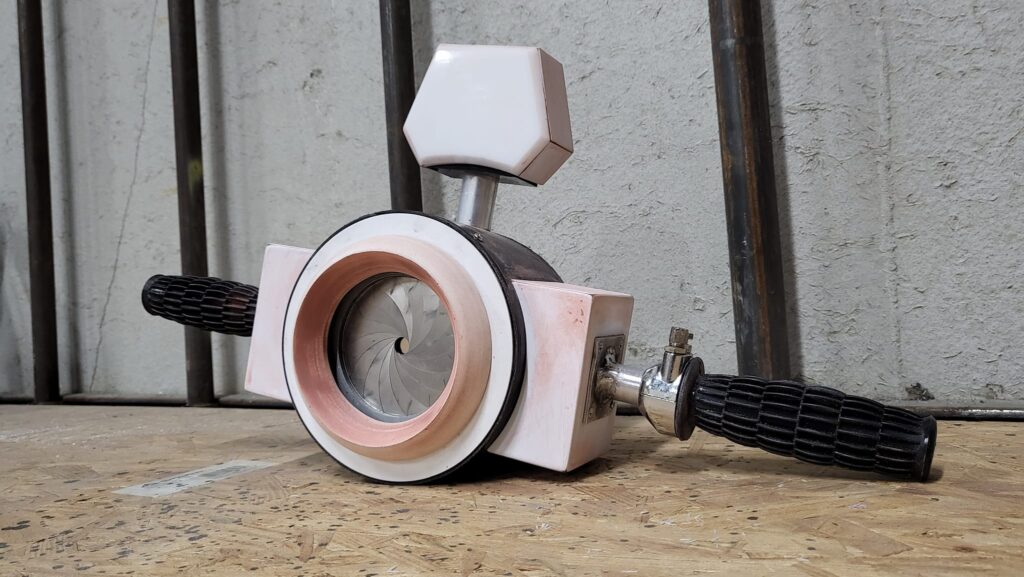
I also turned a back plate on my lathe. This will hold the back of the device open at a perfect circle, which makes it way sturdier.
I made all of the hemispheres for the radar box by turning some acrylic on a drill and using a grinder to carve the desired radius.
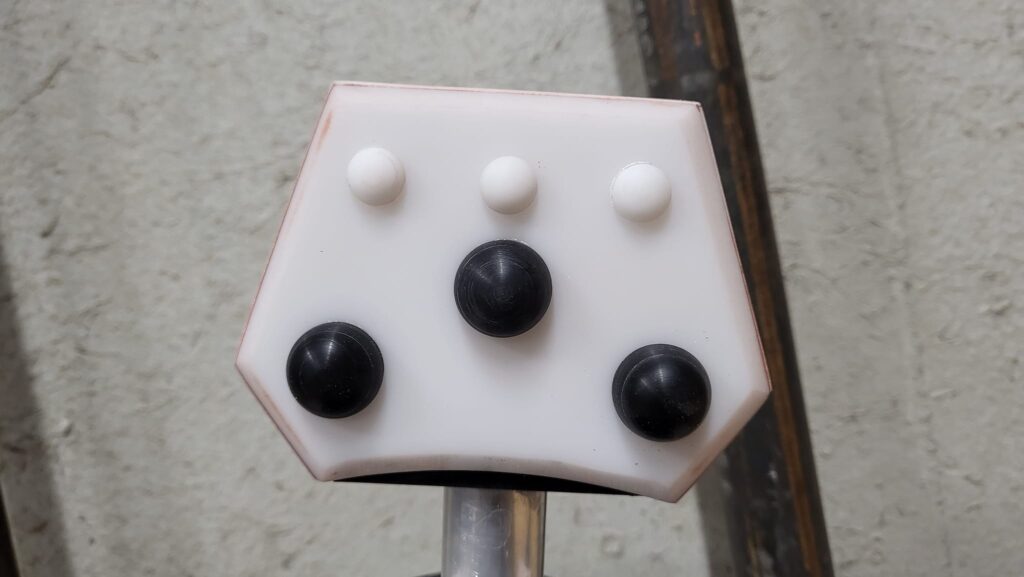
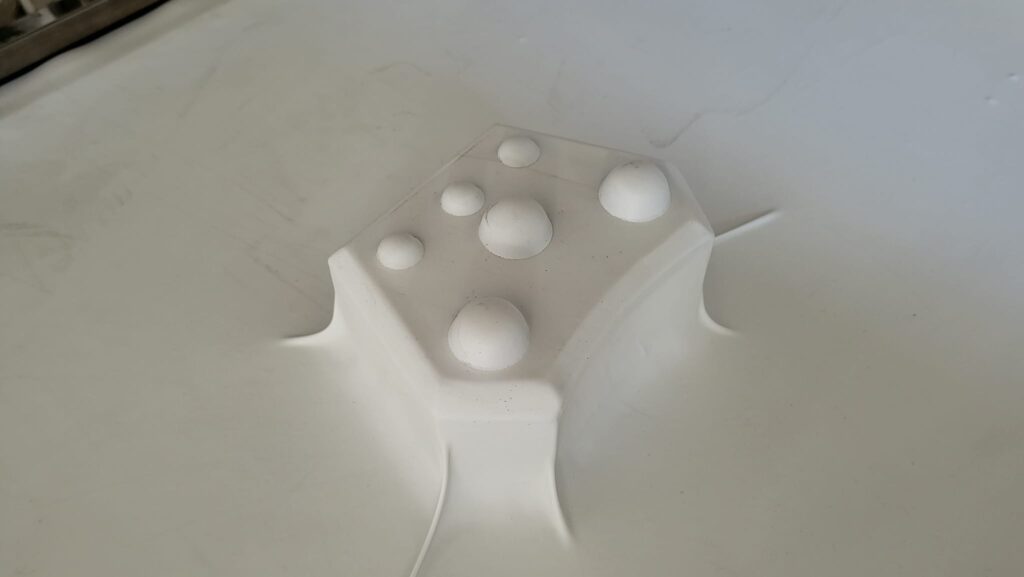
I then vacuum formed the front and back of the radar box.
The next part I don’t have documented very well, but I made a radar dish for the top of the unit, and attached that to a small motor mounted in the radar box via a flex shaft.
I also finished up the iris mechanism by rigging a bike cable to turn the back side of the aperture. It’s not pretty inside, or I would have taken some pics.
Here it is working:
