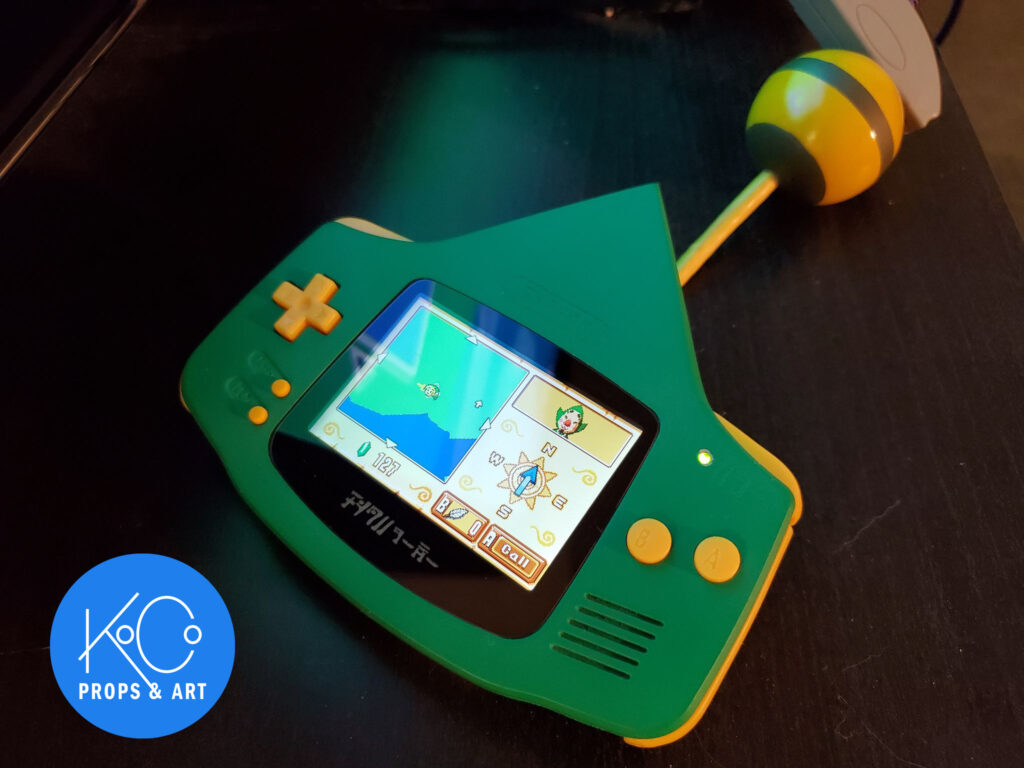
This project was made in 2021. This blog post is based on a build thread from therpf, which can be found here: https://www.therpf.com/forums/threads/the-legend-of-zelda-kocos-tingle-tuner-build.338911/
For those not in the know, the Tingle Tuner is an item from ” The Legend of Zelda: The Wind Waker Zelda: The Wind Waker” which utilizes a real-life Game Boy Advance to connect to the Gamecube. The in-game item looks like a normal GBA which has been modified to match the aesthetic of the in-game world. It’s a niche item, but a prop I’ve wanted for many years.
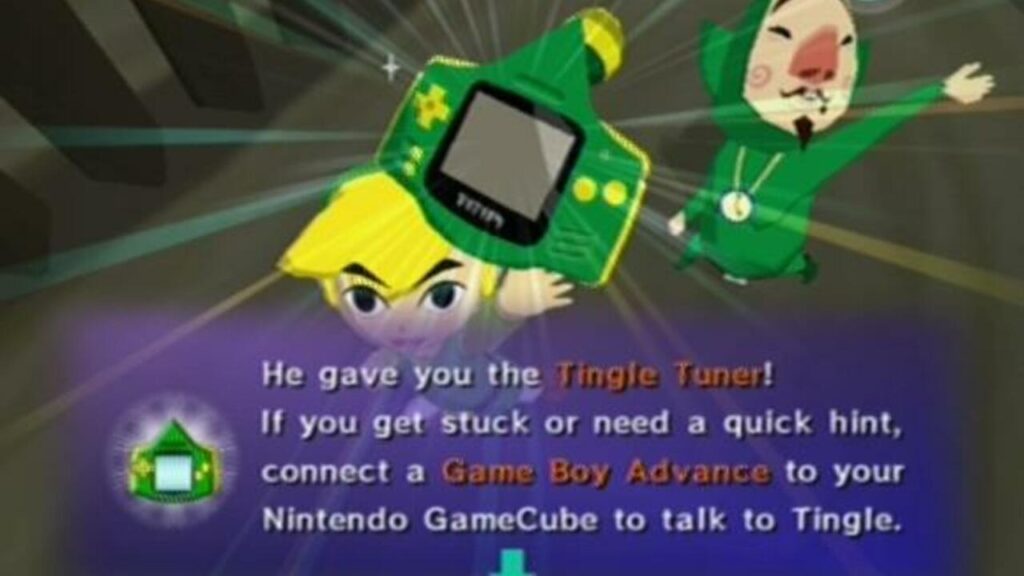
Since the in-game model is pretty low-poly, here is the official art we’ll be using as a reference for almost everything:

And a picture taken in-game for clarity:
I started out purchasing an aftermarket GBA shell without the “Nintendo” logo on the top, a screen lens without the “Game Boy Advance” logo, and some yellow buttons. It’s probably good to note that I bought a Glowforge a couple months back, and when all you have is a hammer…
The screen lens was easy enough. I traced the translated logo in Illustrator, etched it into the back with my Glowforge, making sure it was mirrored, and when finished, it looked spot-on!

Next, I laser cut some stacked acrylic in the shape of the triangle to attach to the front shell, then filled, sanded, etc. You know the drill.


Next it was on to the Hylian “Nintendo” logo (really it’s Tintendo, but I know nobody wants to hear all that).
I thought it would be a good idea to laser etch the logo in acrylic, cut out the oblong shape, and file a hole for it in the shell.

Unfortunately, that left a gnarly gap between the laser cut edge and my filed hole. I don’t have a closer-up picture of that, as I was too ashamed to document it better.
Instead, I ended up cutting a bigger square hole, and re-etching the logo in a new piece of acrylic that roughly matched that new hole. Once glued in place, I could fill and sand until it looked great. The problem with the first one was that the edge I needed to fill was integrated into the logo, which made touching it up impossible.

From there, I took a nice relaxing afternoon to etch the rest of the Hylian text into the shell, replacing the “power”, “start”, and “select”.

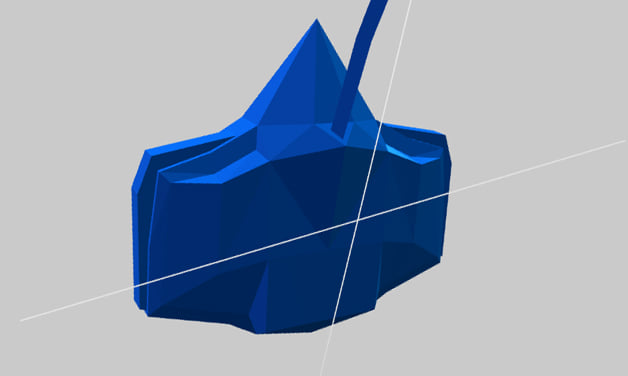
After that, it was time to work on the back of the triangle. The low-poly model in game is pretty ambiguous back there, so I’ve been toying with sketches of it for months. Here’s a picture of the in-game model, courtesy of Thingiverse:
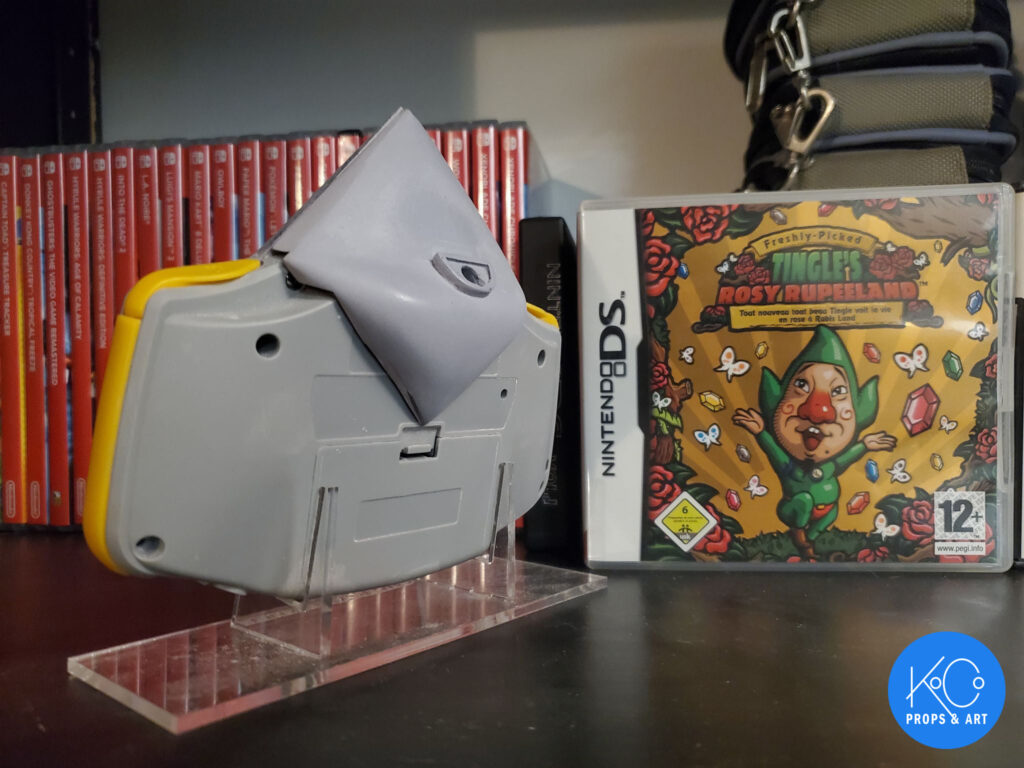
I started with a skeleton made of cut acrylic. This gave me enough form to sculpt the rest with some plumber’s epoxy. I embedded a GBA cartridge inside, so it can be attached/detached via the cartridge slot. In this pic, you can see the basic structure of the skeleton:

And here’s a picture of it primed that you can compare with the screenshot above:
I then started working on embedding a GBA link cable port in the ball that sits at the end of the antenna, so you can hook it up to a Gamecube and use it in-game.

I painted everything up! I have to find a really solid way to seal the paint, and I’ve already replaced the broken screen lens. As soon as a clear coat goes on, I can start assembly!
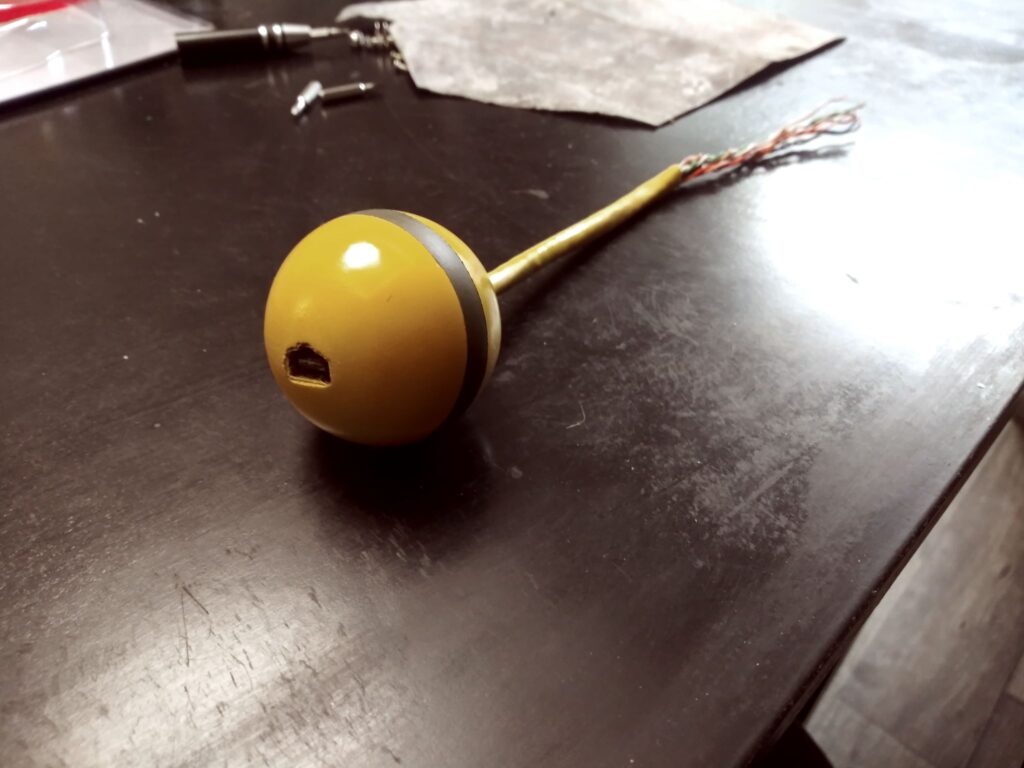
The antenna is done! To make this, I soldered a GBA link cable port to a yellow CAT5 cable, fiberglassed that port to the inside of an acrylic hemisphere, then joined that with another hemisphere. After some sanding/painting, I had this:
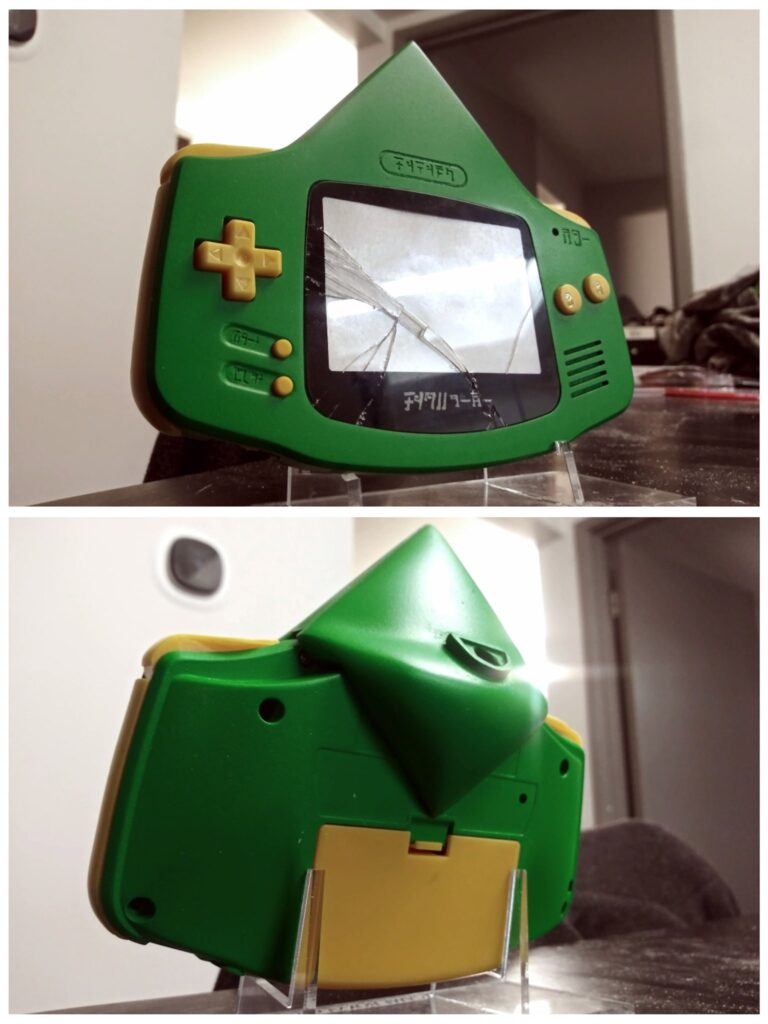
After that, I tried to wrap the whole build up. I soldered the CAT5 cable onto the GBA motherboard, carefully installed the screen and battery mods, and in the end, I ended up breaking the screen by putting too much pressure on the backside. Womp womp.
I have another screen in the mail. Until then, enjoy this picture of it assembled, and only partially working.
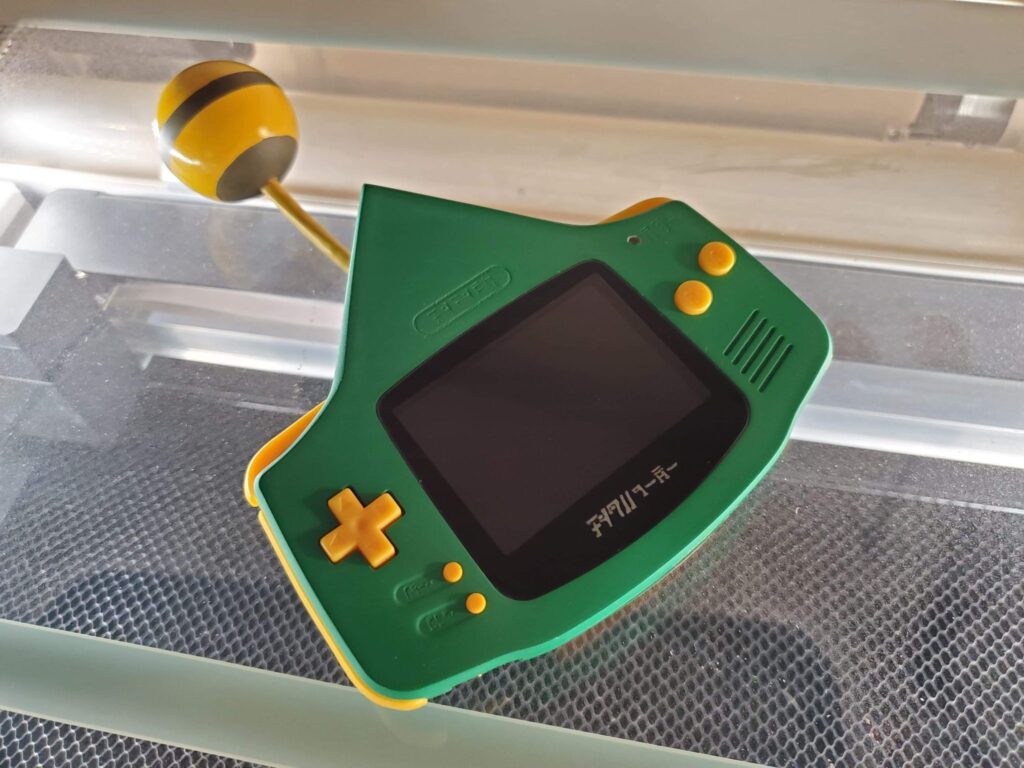
I got the new screen in and installed it and a new battery, and everything works! There’s not much to say, but enjoy the following, and thanks for making it this far. It means a lot!
Wind Waker came out when I was a kid, and for some reason the Tingle Tuner stuck with me. I tried coloring my indigo GBA with green and yellow markers, and it looked terrible. I never thought I’d be able to do this weird little thing justice.
